


First, make sure the machine is unplugged and the water source is disconnected. Safety is paramount. I remember a time when I was in a rush and forgot this step; it led to a rather unpleasant surprise!
Next, locate the connection point of the nozzle on the lance. Most models have a simple twist mechanism or a quick-release button. If it’s stuck, a gentle wiggle usually does the trick. I’ve encountered stubborn attachments before, and a little patience goes a long way.
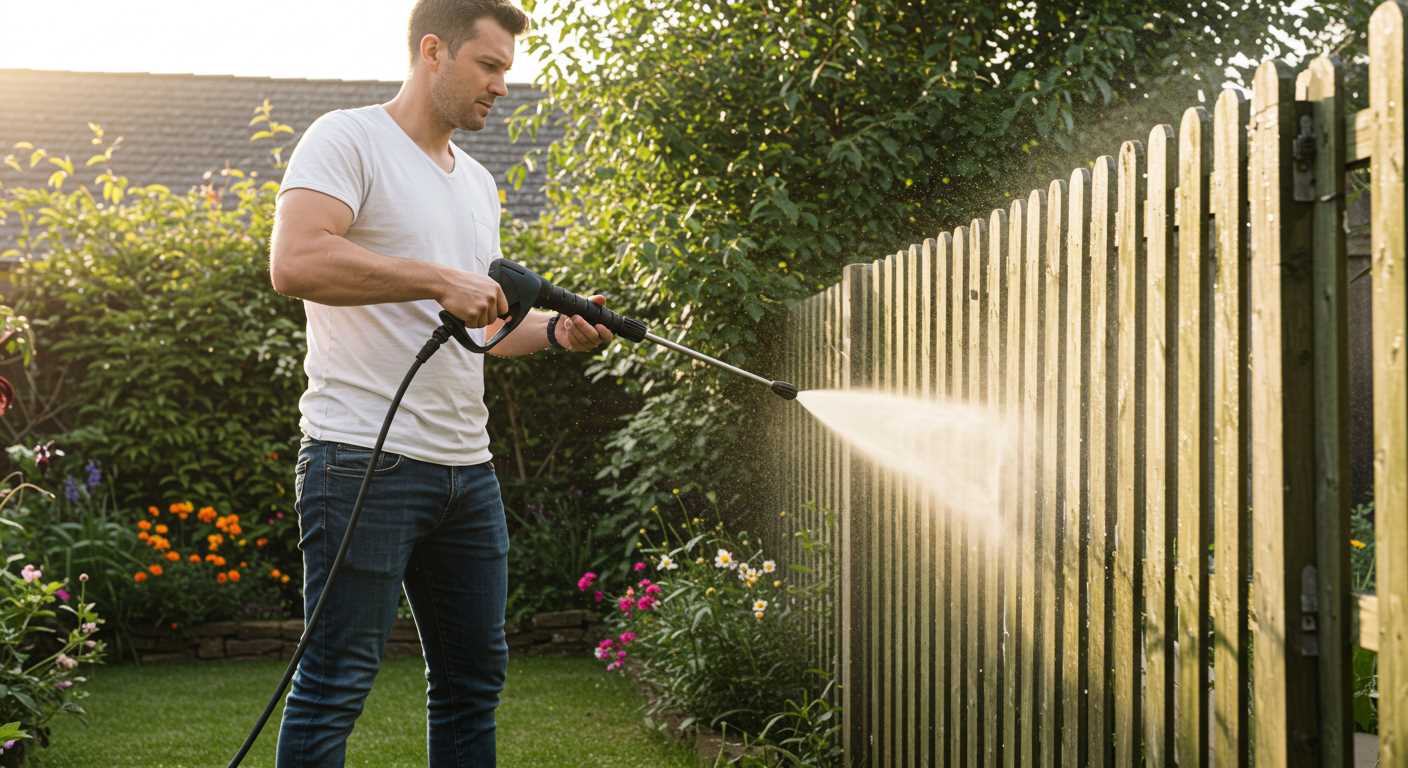
Once you have removed the old attachment, choose the new one based on your cleaning needs. For patios and driveways, a wide-angle nozzle works wonders, while a narrow jet is perfect for stubborn stains. I always keep a few different nozzles handy; versatility has saved me countless hours on various jobs.
Attach the new nozzle firmly, ensuring it clicks into place if applicable. Don’t forget to check the fitting; a loose attachment can lead to leaks or reduced performance. After I learned this the hard way, I’ve made it a habit to double-check my work.
Reconnect your water supply and plug in the machine. Before you tackle your cleaning project, test the new nozzle on a small area to ensure it’s functioning correctly. Each model can behave differently, and it’s better to be cautious than to cause any damage.
Replacing the Nozzle Tool on a High-Pressure Cleaner
Begin by ensuring the device is powered off and disconnected from the water supply. This step is crucial for safety and prevents any accidental starts. Most models feature a quick-release mechanism for the nozzle attachment. Locate the lever or button, usually situated near the handle or base, and activate it to release the current tool.
Once the tool has been removed, take a moment to inspect the new nozzle. Check for any debris or damage that may hinder performance. Align the new attachment with the connection point on the lance. Apply firm pressure until you hear a click, indicating a secure fit. If your model uses a threaded connection, twist the nozzle clockwise until snug, but avoid overtightening, which can cause damage.
Final Checks
Before testing, ensure the water supply is turned on and all connections are secure. Stand clear of the nozzle and turn on the device to confirm proper functionality. Listen for any unusual sounds, as they could indicate an improper fit or air leaks. If everything appears normal, you’re ready to tackle your cleaning tasks with your newly fitted tool.
Maintenance Tips
After use, regularly inspect the attachment for wear and tear. Clean it thoroughly to prevent clogs, especially if using detergents. Store the equipment in a dry and protected area to prolong its lifespan. By following these practices, you can ensure optimal performance and reliability from your high-pressure cleaner.

Identifying the Right Wand for Your Pressure Washer
Choosing an appropriate attachment for your cleaning device is paramount for optimal performance. It’s not just about fit; it’s about matching the nozzle type and spray pattern to your specific tasks.
Consider Compatibility
First, verify compatibility with your specific model. Here’s how:
- Check the manufacturer’s specifications for compatible attachments.
- Look for universal adapters if you own multiple devices.
- Ensure that the diameter of the attachment matches the connector on your device.
Types of Nozzles
Different spray nozzles serve distinct purposes. Familiarise yourself with these options:
- Zero-Degree Nozzle: Produces a concentrated jet, ideal for tough stains.
- 15-Degree Nozzle: Effective for stripping paint or cleaning concrete.
- 25-Degree Nozzle: Versatile for general cleaning tasks, such as patios and vehicles.
- 40-Degree Nozzle: Gentle spray suitable for delicate surfaces like wood.
- Soap Nozzle: Used for applying detergents, enhancing cleaning efficiency.
In my experience, I once tackled an old, stubborn driveway with a 15-degree attachment. It worked wonders, cutting through years of grime with ease. Selecting the right nozzle not only saves time but also prevents damage to surfaces.
Length and Reach
Consider the length of the attachment. A longer lance can reach high places without the need for a ladder. However, be mindful of the balance and weight:
- Longer attachments may be cumbersome for extended use.
- Shorter attachments offer greater control for detailed work.
Once, I opted for a longer lance to clean the second storey of a building. While I could reach the area without climbing, I had to be cautious to maintain stability and control.
Ultimately, selecting the right tool enhances both performance and safety. Take the time to assess your needs and match them with the appropriate equipment for the best results.
Gathering Necessary Tools for Wand Replacement
Begin with a few specific items to make this task seamless. First, a wrench or socket set is crucial for loosening and tightening fittings securely. I recall a time when I attempted a replacement without the right tools, which only led to frustration and wasted time. Ensure you have the correct size; usually, a 10mm or 13mm works for most units.
Next, grab a pair of pliers. These will be handy for gripping fittings and hoses that may be too tight to handle with your hands. I’ve often found that a sturdy pair can make all the difference, especially with stubborn connections that resist movement.
Having a towel or rag nearby is a good idea to wipe away any residual water or grime from the old unit. This not only keeps your workspace clean but also helps prevent slips when handling parts.
Safety Gear
Don’t overlook safety equipment. Gloves protect your hands from sharp edges and any cleaning chemicals that might linger on the fittings. Safety goggles are also wise, particularly if you’re working with older equipment that may have parts that are more prone to failure.
Additional Supplies
Consider having some thread seal tape at hand. If you’re working with threaded connections, this tape ensures a watertight seal, preventing leaks after installation. I’ve experienced leaks firsthand due to skipping this step, which can lead to further issues later on.
| Tool | Purpose |
|---|---|
| Wrench/Socket Set | Loosening and tightening fittings |
| Pliers | Gripping tight fittings and hoses |
| Towel/Rag | Cleaning residual water and grime |
| Gloves | Hand protection |
| Safety Goggles | Eye protection from debris |
| Thread Seal Tape | Ensuring watertight seals |
Collecting these tools in advance will streamline your process and help you avoid unnecessary interruptions. I’ve learned from experience that preparation is key to a smooth operation.
Disconnecting the Pressure Cleaner from Power and Water Supply
Always disconnect the unit from both the electrical outlet and water source before starting any maintenance. This prevents accidents and ensures you can work safely. Unplugging the machine is straightforward; simply pull the plug from the wall socket. If your model has a power switch, ensure it’s in the off position.
Next, turn off the water supply at the faucet. If your setup includes a garden hose, unscrew it from the inlet of the cleaner. Be prepared for some residual water to spill out; it’s best to have a cloth nearby to mop up any mess. If a quick-release coupler is installed between the hose and the cleaner, engage the release mechanism to disconnect easily.
After detaching the water supply, it’s wise to check for any leaks or damages to hoses or fittings. Regular inspections can prevent future issues. In my experience, keeping everything in good condition saves time and enhances performance, especially when using a pressure cleaner for mountain bikes.
Lastly, ensure the machine is stored in a dry, safe place. This acts as an additional precaution against potential electrical hazards or damage from moisture. Following these steps will make your maintenance process smoother and safer.
Removing Existing Wand from Pressure Cleaning Device
First, ensure that the unit is completely depressurised. To do this, pull the trigger on the cleaning gun for a few seconds. This step releases any remaining water and pressure inside the system, preventing any sudden sprays when detaching the accessory.
Next, locate the connection point where the tool meets the cleaning unit. Most models feature a quick-release mechanism. Identify whether it has a collar, a locking pin, or a simple twist-and-pull design. For those with a collar, squeeze it while pulling the accessory away from the main body. If your model uses a locking pin, push it down and pull the tool off simultaneously.
Dealing with Stubborn Attachments
Sometimes, the accessory may be stuck due to dirt or corrosion. If you encounter resistance, spray a small amount of lubricant around the connection point. Allow it to sit for a few minutes, then attempt to detach it again. If it still won’t budge, gently tap the connection point with a rubber mallet to loosen any debris.
Final Checks
After removing the tool, inspect both the connection point on the unit and the accessory for any signs of wear or damage. This ensures a secure fit when attaching a new tool later. Keeping these parts clean and well-maintained extends the lifespan of your equipment.
Preparing the New Wand for Installation
Before attaching your new accessory, ensure it’s clean and free from debris. I’ve seen too many users overlook this step, leading to performance issues down the line. A quick wipe with a damp cloth does wonders.
Next, check the connection fitting. Make sure it matches the specifications of your unit. I once had a customer who rushed this part and ended up with a mismatch, resulting in a frustrating experience. Double-checking measurements can save you time and hassle.
Inspect the rubber O-rings or seals. If they’re worn or damaged, replace them to prevent leaks. I learned this the hard way after a particularly messy day on the job. A few minutes spent here can avoid a lot of unnecessary clean-up later.
Also, look for any additional components that may come with the new attachment. For instance, some models may require an adapter. Keeping all parts together ensures a smoother installation process. I recommend laying everything out before you start, similar to how you would prepare before shooting a digital camera looks almost identical to a traditional camera.
Finally, read through any instructions provided. Each product may have specific guidelines that could save you from potential issues. I’ve seen many people skip this step, only to face complications later. Taking a moment to understand the details can make a significant difference.
Attaching the New Wand Securely
Align the new attachment with the outlet on your cleaning machine, ensuring any locking mechanisms are properly positioned. A snug fit is crucial; any looseness can lead to leaks or, worse, disconnections during use. I recall a time when I overlooked this detail, and the wand detached mid-clean, creating quite the mess. Not a pleasant experience!
Locking Mechanism Engagement
Many models feature a twist-lock or push-and-click mechanism. If yours has a twist-lock, turn it clockwise until you hear a click, confirming it’s engaged. For push-and-click models, press firmly until you feel resistance; it should lock in place without excessive force. Check the manufacturer’s manual for your specific model if you’re uncertain about the locking process.
Final Inspection
Before powering on, give the connection a firm tug. If it feels secure, you’re ready to go. I’ve learned through experience that a quick inspection can save time and effort later. Avoiding any surprises during that first blast of water can make your cleaning tasks much smoother. Remember, a well-attached tool enhances performance and ensures safety.
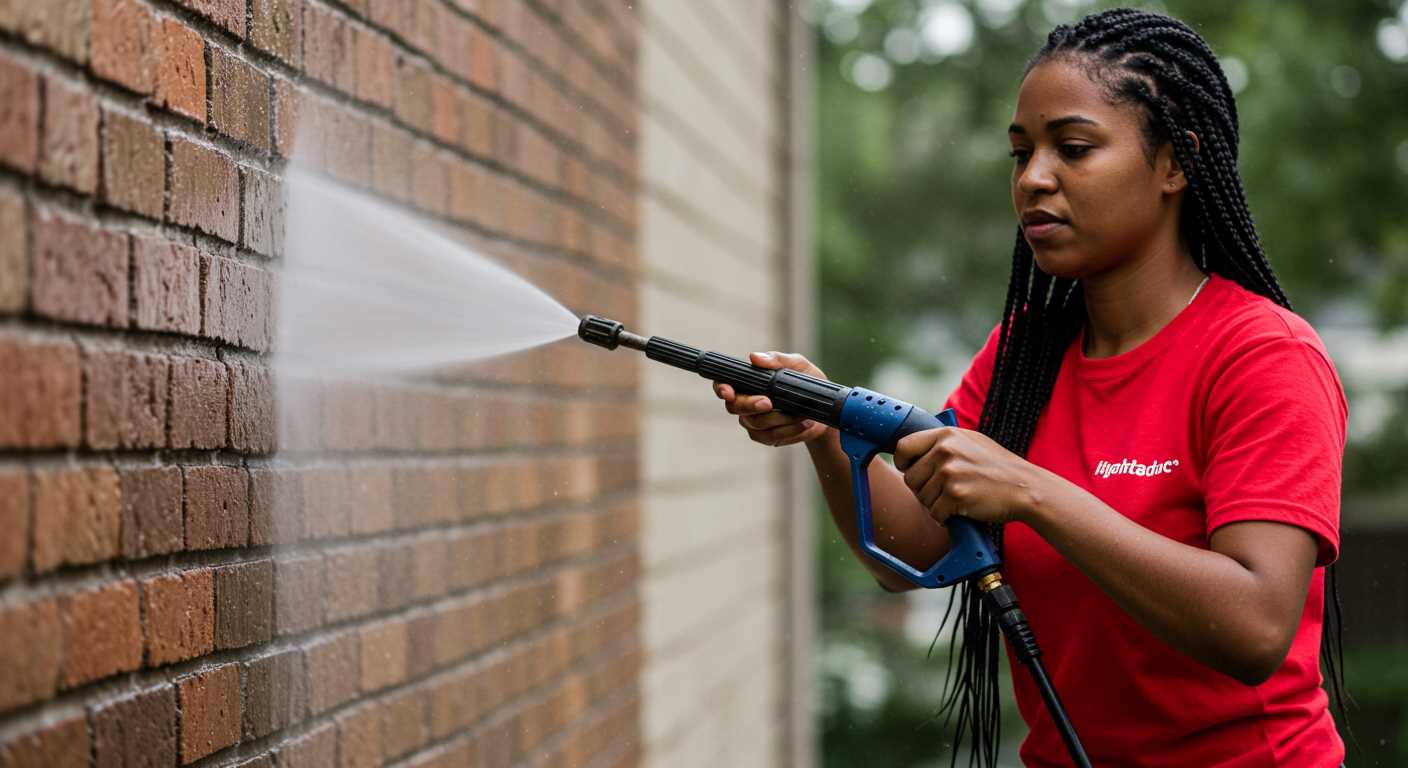
Testing the New Wand for Proper Functionality
After installing the new accessory, it’s crucial to ensure it performs as expected. Here’s what I recommend based on my years of experience.
-
Reconnect the water supply and plug in the unit. Make sure everything is secure before proceeding.
-
Start the machine and let it run for a minute. This allows any air in the system to escape and builds up pressure.
-
Check for leaks. Inspect all connection points between the new attachment and the main unit. Any sign of water escaping indicates a poor fit.
-
Test the spray pattern. Aim the nozzle towards a surface and activate the trigger. The spray should be consistent and powerful without any pulsing or interruptions.
-
Vary the pressure settings if available. This helps ensure the attachment functions correctly at different intensities. Adjust to a lower setting first, then gradually increase.
-
Listen for unusual sounds. A properly functioning accessory should operate quietly. Any strange noises may indicate a problem.
From my experience, these checks not only verify that the new part is installed correctly but also enhance the overall efficiency of your cleaning tasks. If anything seems off during testing, revisit your installation steps before proceeding with any cleaning jobs.
Maintaining Your Cleaning Tool for Longevity
Regular upkeep of your cleaning tool’s attachment can significantly extend its lifespan. After each use, rinse the nozzle and wand thoroughly to remove dirt and debris. This simple habit prevents blockages and ensures optimal performance for your next task.
Inspect the attachment regularly for signs of wear, such as cracks or leaks. A compromised tool can lead to decreased efficiency and may even damage the machine. If you notice any damage, replace the part immediately to avoid further complications.
When storing your equipment, keep it in a dry and protected environment. Avoid leaving it exposed to extreme temperatures or direct sunlight, as these conditions can deteriorate materials over time. A dedicated storage area can help preserve the integrity of your tools.
Lubrication is another key aspect of maintenance. Occasionally apply silicone spray to the connection points to ensure smooth attachment and detachment. This practice not only makes future use easier but also reduces wear on the threading.
Lastly, consult the user manual for specific maintenance guidelines tailored to your model. Following the manufacturer’s recommendations will provide insights into best practices and help you maintain the longevity of your cleaning equipment.
.jpg)


