


The first step involves disconnecting the power supply and ensuring all pressure is released from the machine. This is non-negotiable; safety must come first. I recall a time when I underestimated this step and ended up with a surprise spray of water – not a pleasant experience!
Next, locate the bypass component, typically situated near the pump. Use an appropriate wrench to loosen it, but be cautious not to apply excessive force, as you could damage surrounding parts. I learned this the hard way; a little patience goes a long way in preventing unnecessary repairs.
Once removed, inspect the old part for wear or damage. If it shows signs of deterioration, it’s crucial to replace it with a quality part. I always recommend sourcing components from reputable suppliers to avoid future headaches. After securing the new piece in place, make sure to tighten it adequately, but again, not too tight. A snug fit is all you need to maintain performance.

Finally, reconnect the power supply and test your equipment. A smooth operation signifies success. I remember the satisfaction of hearing that first burst of water after a successful installation – it’s a rewarding moment! With these steps, you can ensure your high-pressure cleaner operates at its best.
Replacing the Pressure Control Mechanism on Your Cleaning Equipment
Start by disconnecting the unit from the power source and water supply. This is crucial to ensure safety during the entire process. Next, locate the mechanism you need to swap out, usually found near the pump assembly. It’s often secured with screws or bolts, which you’ll need to remove using a suitable tool.
Removing the Old Component
Once the fasteners are off, gently pull out the old mechanism. Sometimes, it may be stuck due to debris or corrosion. A light tap with a rubber mallet can help loosen it. Be careful not to damage surrounding parts. Take note of how the old unit is oriented; this will assist in properly installing the new one.
Installing the New Part
Before inserting the new mechanism, ensure the O-rings or seals are in good condition. If they seem worn or damaged, replace them to prevent leaks. Position the new part in the same orientation as the old one and secure it with screws or bolts. Tighten them adequately, but avoid over-tightening as this can lead to damage. Reconnect all hoses and the water supply, and check for any leaks before powering on the equipment.
Identifying Signs of a Faulty Pressure Relief Mechanism
It’s crucial to spot issues with the pressure relief mechanism early on. Here are key indicators to watch for:
Inconsistent Pressure Output
If you notice fluctuations in the water pressure while operating your equipment, it’s a red flag. A steady stream should be maintained; any variability suggests a malfunctioning relief mechanism. This could result in reduced efficiency, making the task more time-consuming.
Unusual Noise
A high-pitched squeal or rattling sound during operation can indicate a problem. These noises often signal internal wear or blockage. Ignoring these sounds might lead to further damage, so address them promptly.
Another sign is leaking water around the fittings. If you see water escaping, it’s a clear indication that seals are compromised. This not only affects performance but can also lead to costly repairs if left unattended.
Regular checks can prevent more extensive issues. If you find any of these symptoms, it might be time to consider a new part. For those looking for reliable options, check out a mid range pressure washer for a solid balance of performance and value.
Gathering the Necessary Tools and Replacement Parts
Before starting the repair process, ensure you have the right equipment at hand. A socket set or adjustable wrench is crucial for loosening the components. I recommend having both metric and imperial sizes, as different models can vary. A flathead screwdriver may also come in handy for prying off any stubborn connections.
You’ll require a replacement component that matches the specifications of your machine. Check the manufacturer’s manual or their website for part numbers. In my experience, using original equipment manufacturer (OEM) parts guarantees compatibility and reliability. I recall once using a generic part that failed within weeks, leading to more hassle than it was worth.
Having a pair of pliers is advisable for gripping and manoeuvring components during installation. A soft cloth or rag will help keep everything clean, preventing debris from entering the system while you work. A bucket or container can be useful for catching any residual water that may leak during the process.
Finally, consider wearing safety goggles and gloves. I once overlooked this, and a small splash of water caught me off guard. Protecting yourself ensures you can work without distractions. Prepare your workspace by ensuring it’s clear and well-lit; a tidy area will help you focus on the task at hand.
Safely Disassembling the Pressure Washer
Before you start taking apart your cleaning machine, ensure that it’s completely disconnected from any power source. For electric models, unplug the unit, and for gas-powered ones, turn off the fuel supply and remove the spark plug to prevent accidental starts.
Next, wear protective gear such as gloves and safety glasses. This isn’t just about comfort; it’s about safety. During my years of working with these machines, I’ve encountered numerous sharp edges and heavy components that can cause injury if not handled properly.
Begin the disassembly process by carefully removing any panels or covers. Most models will have screws or clips that need to be loosened. Keep these fasteners in a small container to avoid losing them. I learned the hard way that losing a single screw can turn a simple task into a frustrating hunt.
When accessing internal components, take photos or make notes of the arrangement. This practice has saved me countless hours when reassembling different models. It may seem tedious, but trust me, it pays off. You’ll appreciate having a reference when you’re putting everything back together.
As you proceed, be cautious of any springs or small parts that might pop out unexpectedly. I recall a time when a spring launched across the workshop and took me 30 minutes to find. These seemingly minor details can make a significant difference in reassembly.
Here’s a simple guide for the disassembly steps:
| Step | Description |
|---|---|
| 1 | Disconnect from power source and remove the spark plug. |
| 2 | Put on gloves and safety glasses for protection. |
| 3 | Unscrew and remove panels or covers. |
| 4 | Take photos or notes of the internal layout. |
| 5 | Carefully remove any springs or small parts. |
Once you’ve completed disassembly, place all components in an organized manner. This helps avoid confusion when it’s time to put everything back together. I’ve found that using a labelled container for each section of the machine works wonders.
Following these steps ensures a smoother and safer experience when you need to access the inner workings of your cleaning equipment. Remember, patience is key. Rushing can lead to mistakes that could have been easily avoided.
Removing the Old Unloader Component
First, ensure the machine is completely powered off and disconnected from the water supply. Locate the component, typically positioned near the pump assembly. Use a suitable wrench to loosen the fittings. It’s essential to turn counterclockwise to avoid damaging the threads.
As you remove the component, be prepared for potential water spillage. Have a cloth or container handy to catch any residual liquid. Pay attention to the orientation of the component; this will aid in installing the new part accurately.
Inspecting for Damage

Once detached, examine the old assembly for signs of wear or damage. Look for cracks, corrosion, or any debris that might have accumulated. This inspection helps identify whether the issue was purely mechanical or if other factors contributed to its malfunction.
Storing the Old Part
Keep the old assembly in a safe place until the new one is installed. This can help if you need to reference it for any reason during the installation process. Additionally, having it on hand allows for easy comparison to ensure the replacement fits correctly.
Installing the New Unloader Valve Correctly
Ensure the new component is aligned properly with the mounting area. Use a thread sealant on the threads to prevent leaks. Here’s a straightforward approach for installation:
- Carefully position the new component onto the threaded opening.
- Hand-tighten the component to avoid cross-threading.
- Use a wrench to secure it further, ensuring not to overtighten, as this could damage the component or the housing.
After securing the component, reattach any hoses or fittings that were disconnected during the process. Make sure they are snug but not overly tight. Test each connection for leaks before proceeding.
Once everything is connected, restore power to your equipment and run a brief test to confirm the proper functioning of the new part. Observe for any irregular noises or leaks during operation. If everything operates smoothly, you can proceed to clean up your workspace.
For those interested in enhancing their outdoor tool collection, I recommend checking out the best garden blowers and vacuums. They can significantly improve your garden maintenance routine.
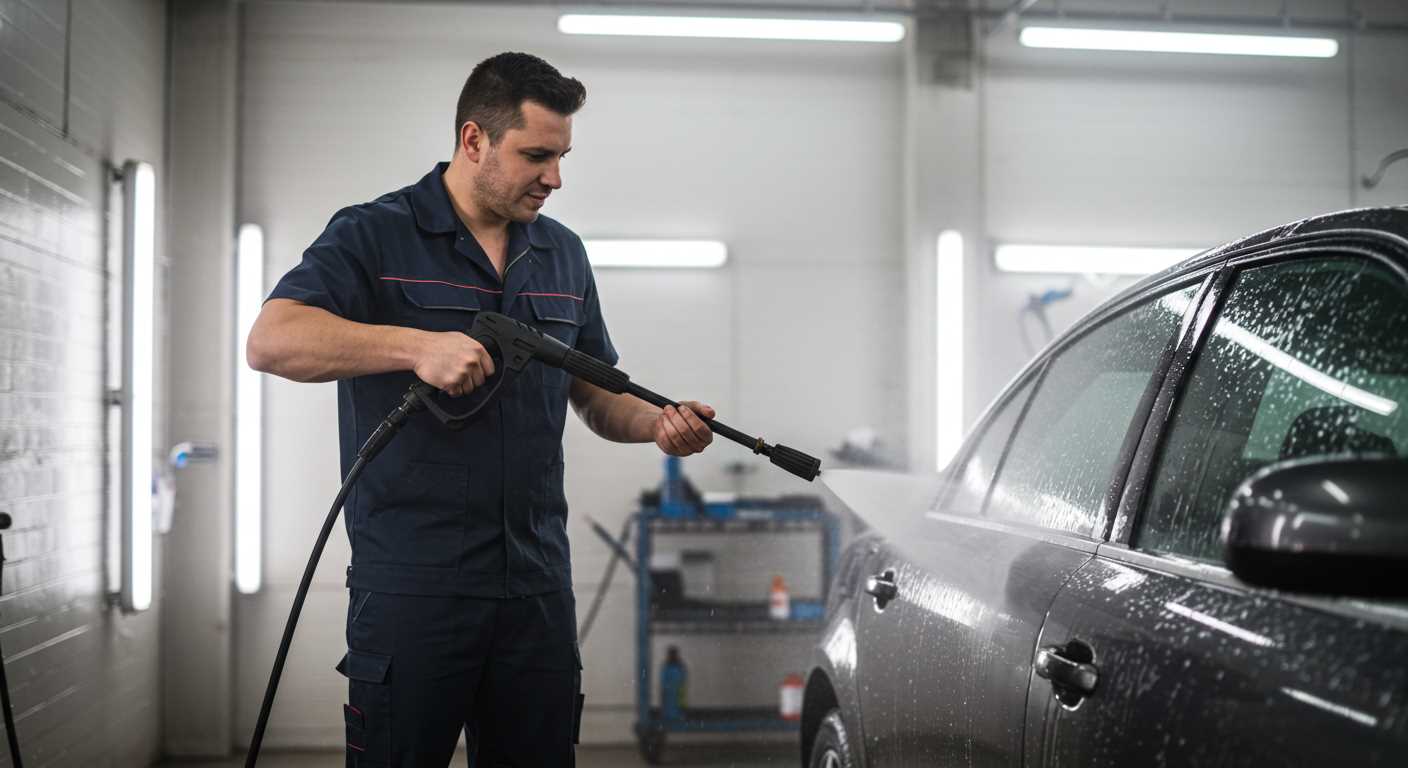
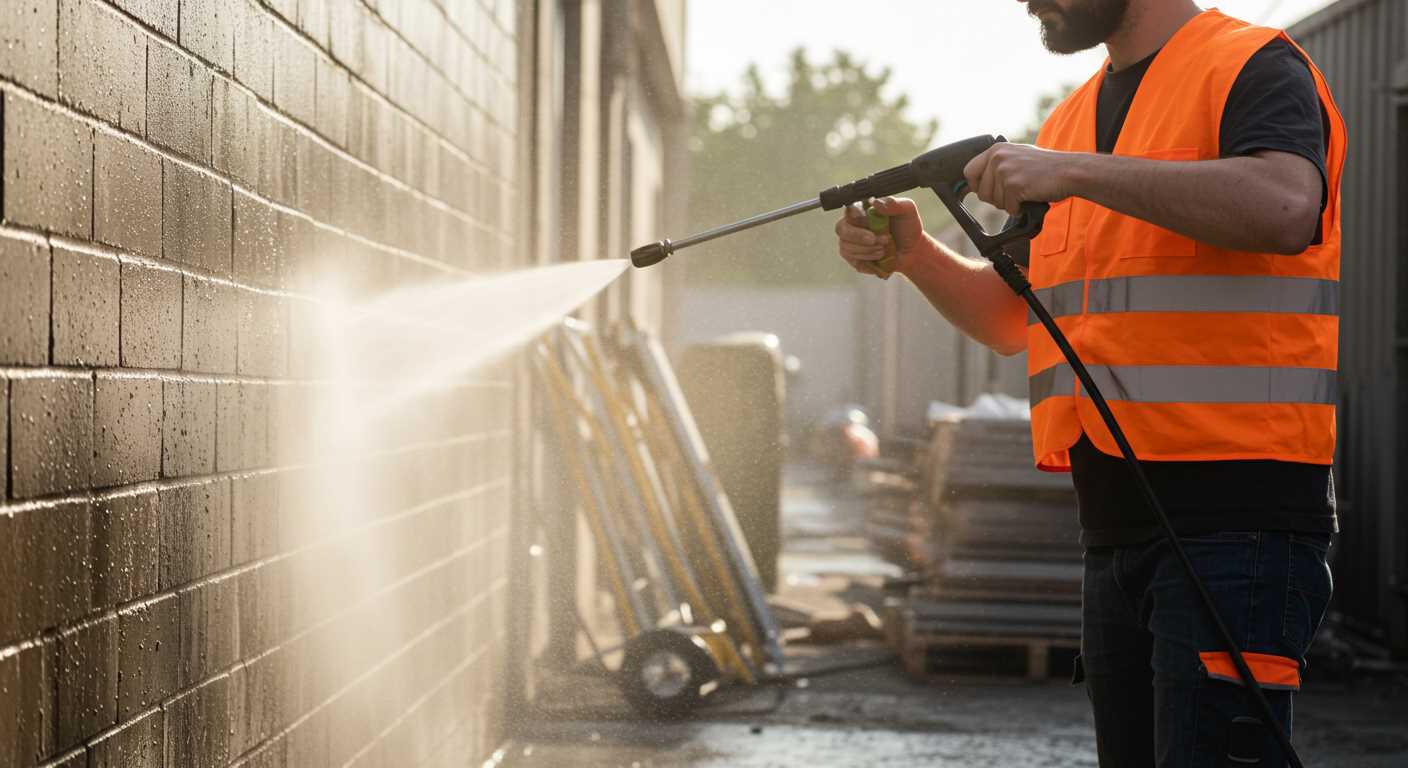
Testing the Pressure Cleaner After Installation
Once the new component is fitted, it’s time to put your machine to the test. Start by reconnecting all hoses and ensuring there are no leaks. Turn the water supply on, but keep the cleaner switched off initially. This will help to fill the system and eliminate air pockets.
Initial Run
After a minute or so, switch on the equipment. Observe the operation closely. The flow should be steady and consistent, without any pulsating or irregular pressure. If you notice any fluctuations, this may indicate an issue with the recent installation.

Performance Check
Next, try using the cleaner on a small surface. A patio or driveway works well for this test. Watch for any signs of reduced performance, such as uneven spray patterns or lack of power. If everything appears smooth, you’ve successfully completed the installation. Always remember to check the manufacturer’s instructions for any specific testing protocols or recommendations to confirm optimal performance.
.jpg)
.jpg)


