
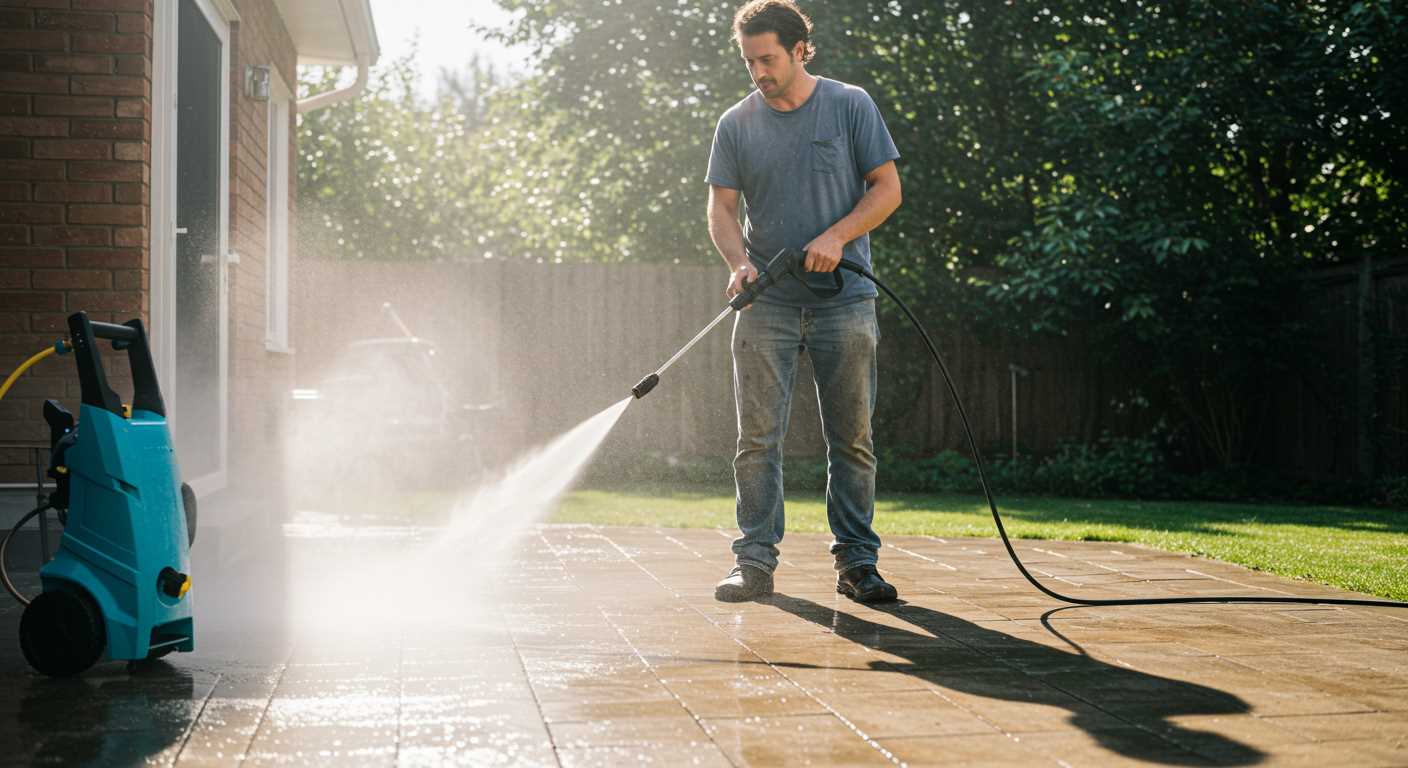


If you’re looking to enhance your cleaning tasks, replacing the nozzle on your machine can make all the difference. I’ve had my fair share of experiences with these devices, and I can assure you that a new nozzle can really elevate your efficiency. The right attachment allows for better water flow and targeted cleaning, which can save you time and effort.
Begin by ensuring your machine is turned off and unplugged. Safety first! Most nozzles can be removed simply by twisting or pulling them off the lance. With some models, you may need to press a small release button or lever. I remember a time when I was in a hurry and made the mistake of not checking the attachment mechanism. I ended up wasting precious minutes figuring it out–don’t let that happen to you!

Once you’ve removed the old nozzle, take a moment to inspect the connection points for any debris or damage. A clean surface ensures a better fit for the new attachment. When you’re ready, align the new nozzle properly and secure it tightly, ensuring it’s locked in place before you power up the machine again. I’ve seen too many people overlook this step, leading to frustrating leaks or loss of pressure during use.
After you’ve completed the swap, test it out on a small area to see how it performs. Adjust your technique based on the spray pattern you now have. I often find that experimenting with different nozzles makes cleaning tasks feel less like a chore and more like an opportunity to tackle new challenges. Happy cleaning!
Replacing the Nozzle on Your Cleaning Device
To begin, ensure the device is turned off and unplugged for safety. Disconnect the existing nozzle by pulling back the collar on the lance, allowing you to slide off the current attachment. This step is crucial; I’ve seen many users struggle here due to improper handling.
Next, select the new nozzle that suits your task. There are typically several options available, each designed for specific cleaning jobs. For instance:
- 15-degree nozzle: Ideal for heavy-duty tasks like stripping paint.
- 25-degree nozzle: Great for general cleaning on surfaces like driveways.
- 40-degree nozzle: Best for delicate surfaces, such as cars or windows.
Once you have your preferred nozzle, align it with the lance and push it onto the end until you hear a click. This sound indicates a secure fit. It’s a step I’ve often overlooked when I was new, leading to frustrating leaks during use.
Before starting the machine, double-check that everything is connected securely. A quick inspection can save you from potential mishaps. After confirming the attachment, plug in your unit and turn it on. Test the new nozzle on a small area to ensure it performs as expected.
In my experience, regularly changing nozzles based on cleaning requirements can significantly enhance efficiency. It’s a simple yet effective way to keep your cleaning tasks straightforward and productive. Don’t forget to clean your nozzles after use to prolong their lifespan.
Identifying the Correct Wand for Your Ryobi Model
To ensure optimal performance, always check your model number before selecting a new accessory. For instance, many users overlook the subtle differences between models. I recall a customer who purchased a generic attachment, only to find it incompatible due to slight variances in design. Always refer to the user manual or the manufacturer’s website for specific details on compatible tools.
Another tip is to examine the connection type. Most units feature either a quick-connect or threaded fitting. It’s vital to match this aspect precisely. I once encountered a situation where an adapter was incorrectly used, resulting in water leaks and diminished pressure. Avoid such pitfalls by ensuring the new component aligns perfectly with your existing setup.
Dimensions also play a significant role. Some attachments may appear similar but differ in length or diameter. I remember a case where a short nozzle was mistakenly chosen, limiting the reach and functionality of the equipment. Measure the current attachment or consult the technical specifications to confirm the right size.
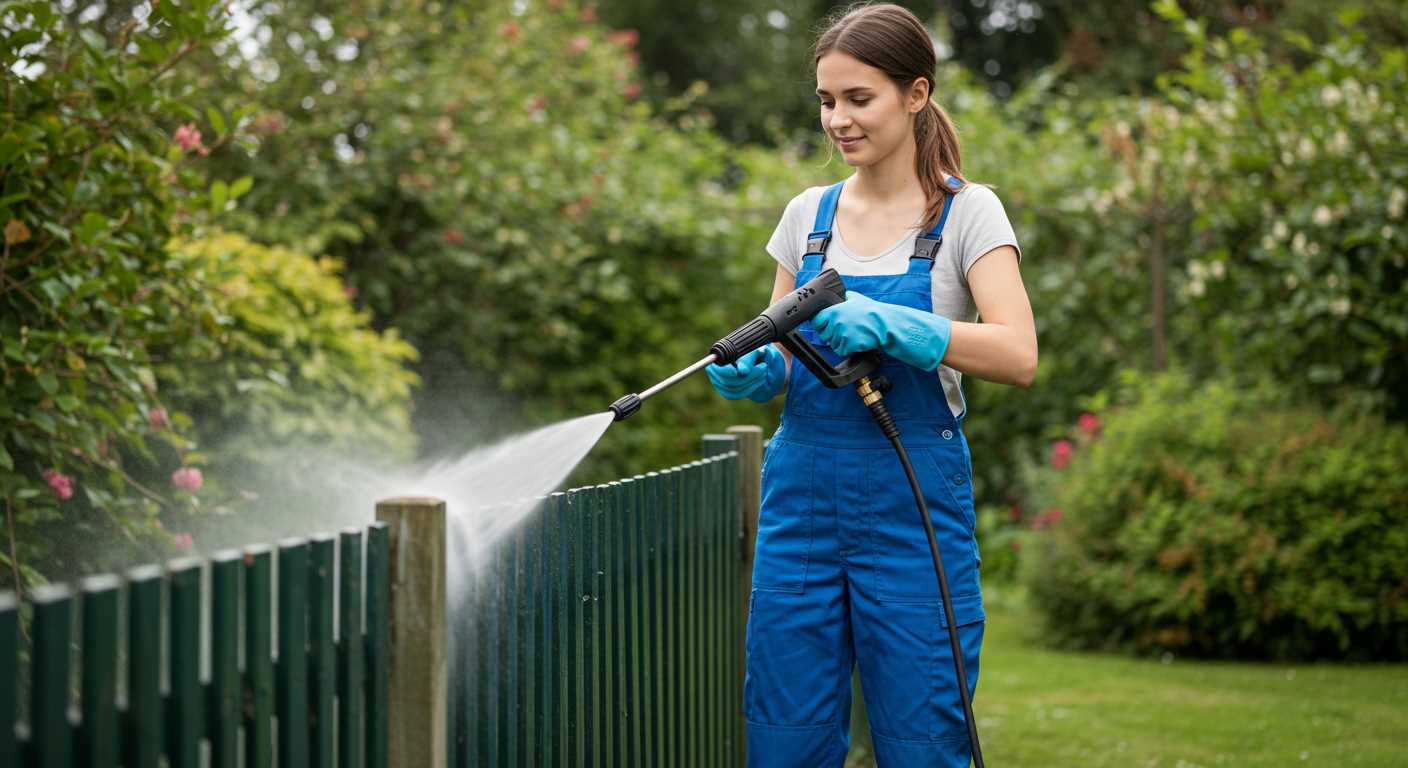
Lastly, consider the intended usage. Different nozzles offer varied spray patterns. If your goal is to clean delicate surfaces, a lower-pressure option is advisable. Conversely, for tough stains, a more robust choice is necessary. I’ve seen how the right selection can drastically improve cleaning efficiency, saving both time and effort.
Gathering Necessary Tools for Wand Replacement
Before starting the replacement process, ensure you have the right tools at hand. This will save time and make the task smoother.
Required Tools
- Wrench or Pliers: These are necessary for loosening any fittings that may be tight.
- Replacement Nozzle: Ensure you have the correct nozzle compatible with your model.
- Safety Goggles: Protect your eyes from debris during the swap.
- Cleaning Cloth: Useful for wiping down any residue or dirt before installation.
- Anti-Seize Lubricant: Applying a small amount can prevent future sticking of fittings.
Preparation Steps
- Disconnect the unit from the power source and water supply.
- Inspect the current setup for any additional tools you might need based on the condition of your fittings.
- Organise your workspace to keep everything within reach.
Having these items prepared will streamline the process. Once you have everything ready, you can proceed confidently. If you’re interested in cleaning techniques, check out this guide on how to clean oven with steam cleaner. It’s a great resource for keeping your equipment and home in top shape.
Disconnecting the Equipment from Power and Water Supply
Before tackling any maintenance or modifications, ensure the device is completely disconnected from both the electrical outlet and the water source. This step is non-negotiable for safety.
Power Disconnection
Unplug the unit from the wall socket. If your model has a dedicated switch, ensure it is turned off first. I’ve seen too many mishaps happen because someone forgot this simple step. Always double-check that the power cord is tucked away and not posing a tripping hazard.
Water Supply Shutdown
Next, locate the water supply valve and turn it off. Release any remaining pressure in the system by squeezing the trigger on the gun. This prevents unexpected spray, which could lead to injury. I recall a time when I neglected this and ended up drenched. After shutting off the water, disconnect the hose from the inlet. You’ll want to ensure that no water is left in the line to avoid any mess during the upcoming tasks.
Removing the Old Wand Safely and Effectively
Begin by ensuring your unit is completely detached from any power source and water supply. It’s critical for safety. Once confirmed, locate the connection point where the cleaning tool meets the machine. This is usually a quick-connect fitting that you can easily access.
To remove the tool, grasp it firmly and twist gently until it releases from the fitting. If you encounter resistance, check for any locking mechanisms that may need disengaging. A slight wiggle while twisting can often help in loosening any stubborn connections.
Be cautious of any residual water inside the fitting. Have a cloth or small container handy to catch any spills when detaching. If the nozzle or attachment appears corroded or damaged, take a moment to inspect for any debris or blockages that could hinder the removal process.
Once detached, set the old tool aside on a clean surface, avoiding contact with dirt or debris. This not only keeps your workspace tidy but also protects any seals or fittings for future use. If you notice any signs of wear on the old tool, consider replacing it at your earliest convenience to maintain optimal performance.
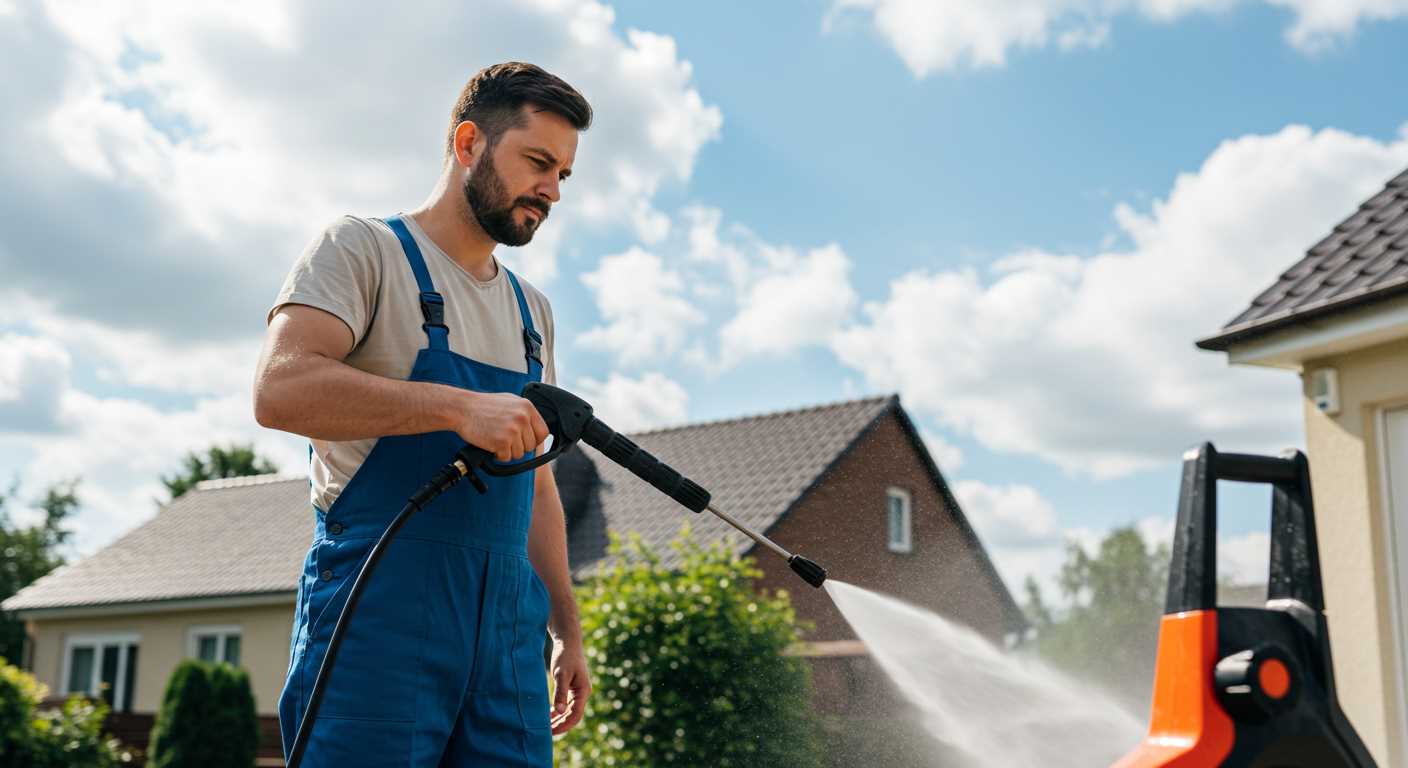
Attaching the New Wand to the Pressure Washer
Align the new nozzle with the connection point on the cleaning equipment. Ensure that both components are clean from debris to guarantee a snug fit. Once aligned, push the nozzle firmly into place until you hear a click, indicating that it’s securely attached.
Final Checks Before Use
After securing the attachment, gently tug on the nozzle to confirm it is locked in. This prevents any accidental disconnection during operation. Next, inspect the connection for any visible gaps or misalignments. If everything looks good, you’re ready to proceed.
Testing the Connection
Before diving into your cleaning tasks, it’s wise to conduct a quick pressure test. Reconnect your equipment to the water supply and power source. Turn on the machine and release any air trapped in the line by activating the trigger. Observe the connection for leaks during this process. If water sprays out from the joint, disconnect and reattach the nozzle, ensuring a proper seal.
| Step | Action |
|---|---|
| 1 | Align the new nozzle with the connection point. |
| 2 | Push firmly until a click is heard. |
| 3 | Tug gently to ensure it’s locked in. |
| 4 | Reconnect to water and power, then test. |
| 5 | Check for leaks during operation. |
Testing the New Wand for Proper Functionality

After attaching the new accessory, it’s crucial to ensure everything is functioning correctly before starting any cleaning tasks. Begin by reconnecting the water supply and power source, then turn on the unit. Observe the flow of water through the new tool; it should be steady and without leaks. If you notice any irregularities, turn off the unit immediately to prevent potential damage.
Performing a Pressure Test
Next, conduct a pressure test. Aim the nozzle away from yourself and any bystanders, then squeeze the trigger. The spray should be strong and consistent. If there’s a significant drop in pressure or if the spray is uneven, there might be an issue with the connection or the component itself. Double-check the fittings to ensure they are secure.
Adjusting Nozzle Settings
Experiment with different nozzle settings, if applicable. Each setting should produce a distinct spray pattern. If the adjustments aren’t yielding different results, there might be a blockage or malfunction. A thorough inspection is warranted. For those looking for additional accessories, consider checking out karcher pressure washer accessories for options that might enhance performance.
.jpg)


