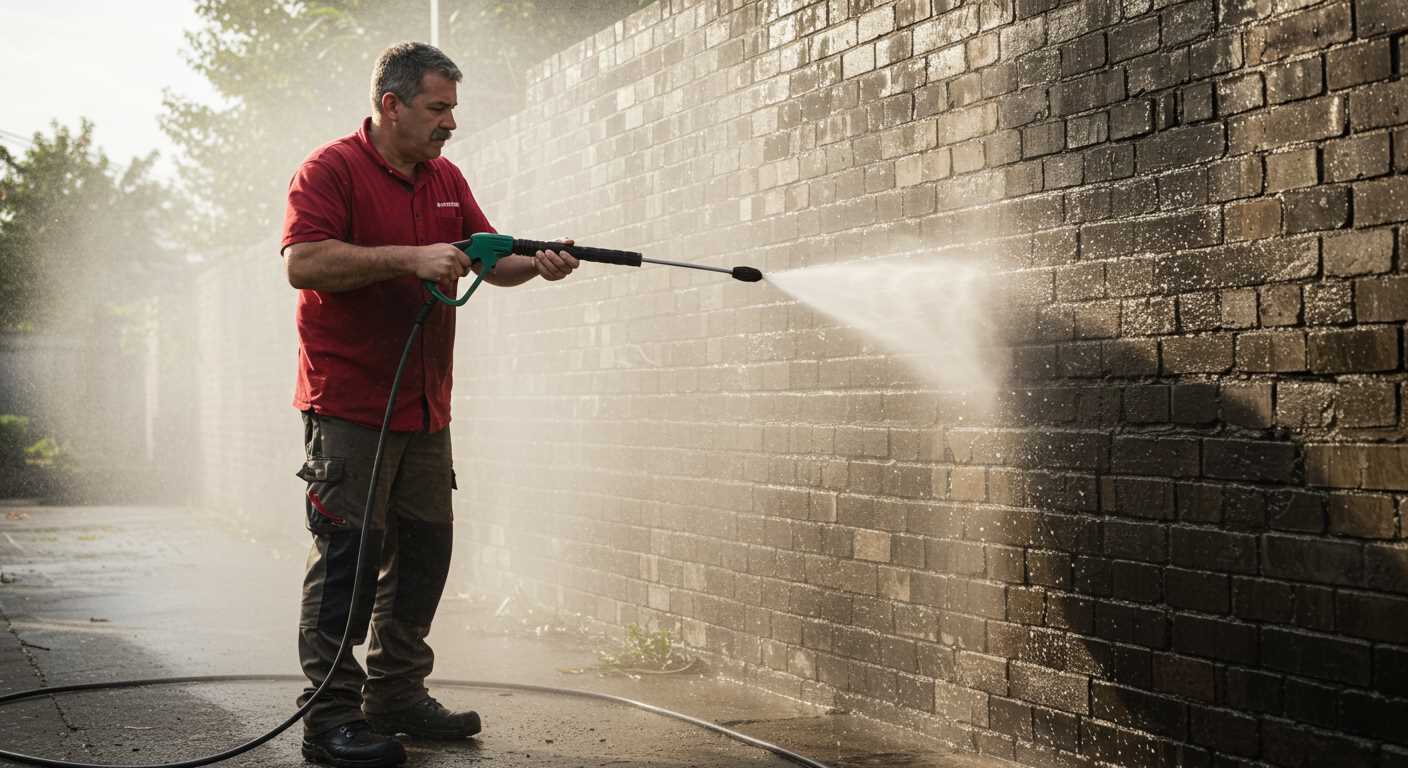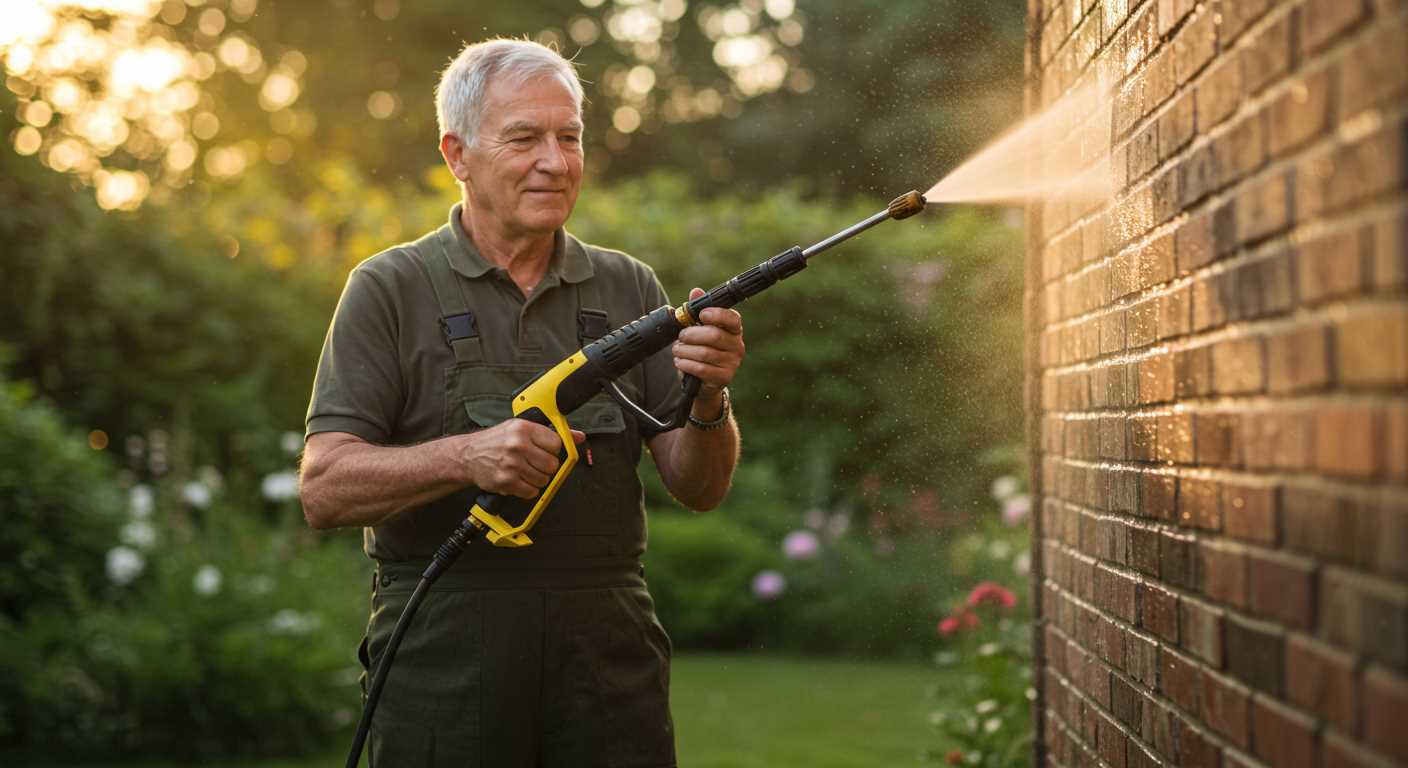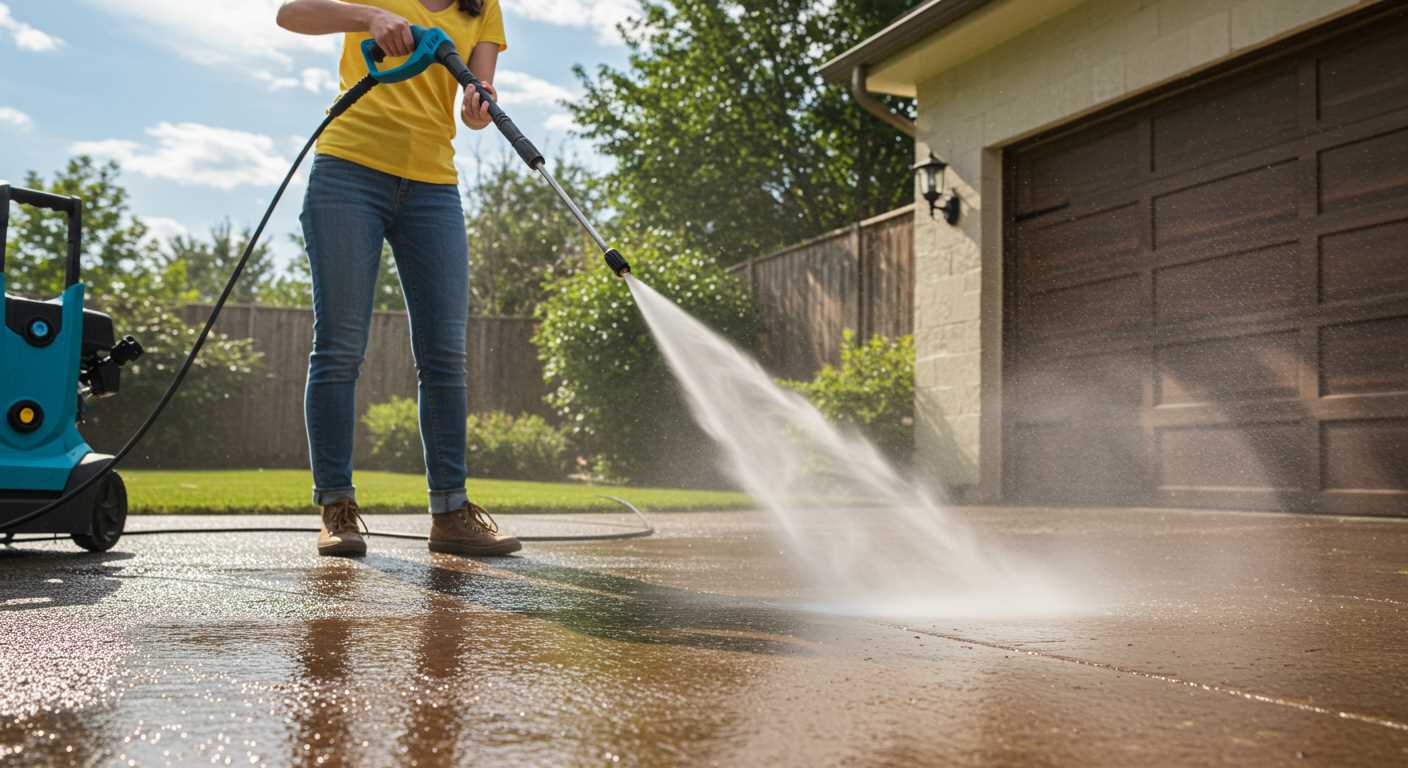


Start with a simple mixture of warm water and dish soap. This solution works wonders on grime and stains that accumulate over time. Use a stiff-bristled broom or brush to agitate the surface, focusing on areas with the most buildup. Rinse with a hose to remove any residue, leaving a fresh canvas for relaxation.
For tougher spots, a paste of baking soda and water can be a game changer. Apply it directly to stubborn marks and let it sit for about 15 minutes. Scrub with a brush, and then rinse thoroughly. This method not only tackles stains but also deodorises the area, leaving it smelling clean.
Consider using vinegar as a natural alternative. Combining equal parts vinegar and water in a spray bottle creates an effective cleaning agent. Spray the solution on the surface, let it sit for a few minutes, and then scrub with a brush. The acidity of the vinegar helps break down dirt and algae without harsh chemicals.
Lastly, don’t underestimate the power of regular maintenance. Incorporate sweeping and rinsing into your weekly routine. Keeping debris at bay prevents the build-up of dirt and moss, making those deep-cleans less frequent and easier overall. By using these techniques, you can ensure your outdoor space remains inviting and enjoyable all season long.
Effective Techniques for Refreshing Outdoor Surfaces
Start with a mixture of warm water and mild dish soap. Use a scrub brush with stiff bristles to apply this solution generously to the surfaces. Focus on one section at a time, scrubbing vigorously to lift dirt and stains. Rinse with a hose to prevent soap residue from drying on the surface.
For tougher grime, a baking soda paste can work wonders. Combine baking soda with water to form a thick paste, then apply it to stained spots. Let it sit for about 15 minutes before scrubbing and rinsing. This method is particularly effective against mildew and algae.
Vinegar is another excellent natural cleaner. Mix equal parts of white vinegar and water in a spray bottle. Apply it generously to the affected areas, allowing it to penetrate for a few minutes. Follow up with scrubbing and rinsing. This not only cleans but also acts as a disinfectant.
If you encounter stubborn stains, consider using an oxygen bleach solution. It’s safe for most surfaces and effective in breaking down tough stains. Always follow the manufacturer’s instructions and test in a small area first.
Here’s a handy comparison table for quick reference:
| Cleaning Solution | Application Method | Best For |
|---|---|---|
| Dish Soap & Water | Scrub with brush | General dirt |
| Baking Soda Paste | Apply, wait, scrub | Tough stains, mildew |
| Vinegar Solution | Spray, wait, scrub | Algae, disinfecting |
| Oxygen Bleach | Mix, apply, scrub | Stubborn stains |
After cleaning, it’s wise to seal the surface if it’s porous. This helps protect against future staining and makes maintenance easier. Regular upkeep will make your efforts less daunting in the long run.
For those interested in preserving food without the use of a pressure cooker, you might find this guide on how to can food without a pressure cooker quite insightful.
Choosing the Right Cleaning Supplies for Your Pool Deck
Start with a high-quality broom or brush with stiff bristles. This tool will help remove dirt and debris effectively. I remember using a heavy-duty brush on my own terrace, and it made a significant difference in the overall appearance.
Next, consider a suitable cleaning solution. A mild detergent or a specially formulated cleaner designed for outdoor surfaces is ideal. I’ve found that using a product like pressure washer soap for house works wonders, even when diluted for manual use. It breaks down grime without damaging the surface.
Don’t forget about protective gear. Wearing gloves is essential, as some cleaning agents can irritate the skin. Additionally, a mask can be helpful if you’re sensitive to strong scents or chemicals.
For tougher stains, a mixture of baking soda and vinegar can be effective. This natural remedy has worked for me on stubborn spots. Just sprinkle baking soda on the area, spray with vinegar, let it fizz, and scrub away.
Lastly, ensure you have a bucket and plenty of water on hand for rinsing. This step is crucial for removing any leftover cleaning solution and avoiding slippery surfaces post-cleaning. I’ve learned the hard way that skipping this can lead to accidents.
Preparing the Area for Maintenance: Steps to Follow
Begin by clearing the entire space of any furniture, planters, or decorative items. This allows for unobstructed access and prevents damage to these items during the cleaning process.
Gather Necessary Tools
- Broom or brush for sweeping away debris.
- Stiff-bristled brush for scrubbing stubborn stains.
- Bucket for mixing cleaning solutions.
- Garden hose for rinsing.
- Spray bottles for applying cleaning solutions.
Assess the Surface Condition
Check for any cracks or chips in the material. Addressing these issues before starting will enhance the maintenance process. If needed, fill any cracks with a suitable filler to prevent further damage.
Next, inspect for any mould or mildew. If present, treat these areas with a mixture of water and bleach or a specialised mould remover. Allow it to sit for a few minutes before proceeding.
Remove Loose Material
- Sweep the area thoroughly to eliminate dirt, leaves, and other loose debris.
- Pay special attention to corners and edges where dirt tends to accumulate.
- Use a leaf blower for quick removal of lighter debris, if available.
Following these steps prepares the area effectively, ensuring that the subsequent cleaning process is smooth and thorough. Ready the space, and you’re set for a successful maintenance session!
Hands-On Techniques for Removing Stains and Dirt
For tackling stubborn marks, a combination of scrubbing and the right solutions makes a world of difference. Start with a solution of warm water mixed with a few drops of dish soap. Use a stiff-bristled brush to apply it to the affected areas. Scrub in circular motions, applying more pressure on tough spots. This technique not only lifts dirt but also helps dislodge grime embedded in the surface.
Natural Remedies for Tough Stains
Baking soda is an excellent choice for lifting stains. Create a paste using baking soda and water, applying it directly to the spot. Let it sit for 15-20 minutes before scrubbing with a brush. The mild abrasiveness of baking soda works wonders on organic stains like algae or food residues. For rust stains, a mixture of lemon juice and salt can be effective. Apply it liberally, allowing it to sit and work its magic before scrubbing.
Utilising Tools for Enhanced Results
A good-quality scrub brush is indispensable. Look for one with stiff bristles and a comfortable grip. If you encounter particularly stubborn stains, consider using a broom with a long handle to reach wider areas without straining your back. A mop can also help with larger sections; just ensure you use one suited for outdoor surfaces. Rinse the area thoroughly with clean water after scrubbing to remove any residue from your cleaning solutions.
Regular maintenance is key to preventing the buildup of stains. A quick sweep and wash every week can keep surfaces looking fresh and inviting, reducing the need for intensive scrubbing sessions.
Natural Cleaning Solutions You Can Use at Home
For those stubborn stains and grime, consider using a mixture of vinegar and baking soda. Combine one cup of each in a bowl until you have a paste. Apply this to the affected areas and let it sit for about 15 minutes before scrubbing with a stiff brush. The acidic nature of vinegar helps break down dirt, while baking soda acts as a gentle abrasive.
Lemon Juice and Salt
Lemon juice is a natural bleaching agent, and when combined with salt, it becomes a potent solution for tackling hard-to-remove spots. Squeeze the juice of two lemons and mix it with half a cup of salt. Apply this mixture directly onto the stains, and let it sit for at least 30 minutes. Rinse thoroughly afterwards. This not only helps with discolouration but leaves a fresh scent as well.
Castile Soap Solution
For a more gentle approach, use liquid Castile soap mixed with warm water. This plant-based soap is biodegradable and safe for various surfaces. Mix a quarter cup of Castile soap with a gallon of warm water in a bucket. Use a mop or sponge to apply the solution, scrubbing in circular motions. Rinse with clean water after cleaning to remove any soap residue.
Maintaining a Clean Pool Deck: Tips for Longevity
Regular upkeep is key to extending the life of your outdoor surfaces. One of my go-to methods involves a simple routine of sweeping and mopping. I recommend sweeping at least once a week to remove debris that can trap moisture and promote mould growth. Pair this with a damp mop using a mild solution to keep surfaces looking fresh.
In my experience, the choice of materials plays a significant role in maintaining your space. Opt for non-slip surfaces; they not only enhance safety but also resist stains better. Investing in quality materials upfront can save you from frequent, laborious maintenance down the line.
Pay attention to weather conditions as well. During rainy seasons, I found that mildew tends to develop more rapidly. Keeping a close eye on any damp areas and addressing them promptly can prevent them from becoming a bigger issue. If you notice dark patches, don’t hesitate to act; a simple scrub with a vinegar solution can work wonders.
Another tip I learned over the years is to create designated zones for furniture. By moving lounge chairs and tables regularly, you can avoid uneven wear and discolouration. I’ve seen the difference this makes, as it allows the surface to breathe and dry evenly.
Finally, consider applying a sealant once every few years. I’ve tested various products, and those designed specifically for your surface material can add a protective layer, making future maintenance much easier. This small step can drastically reduce stain penetration and fading from sun exposure. Trust me; your future self will thank you for it!


.jpg)


