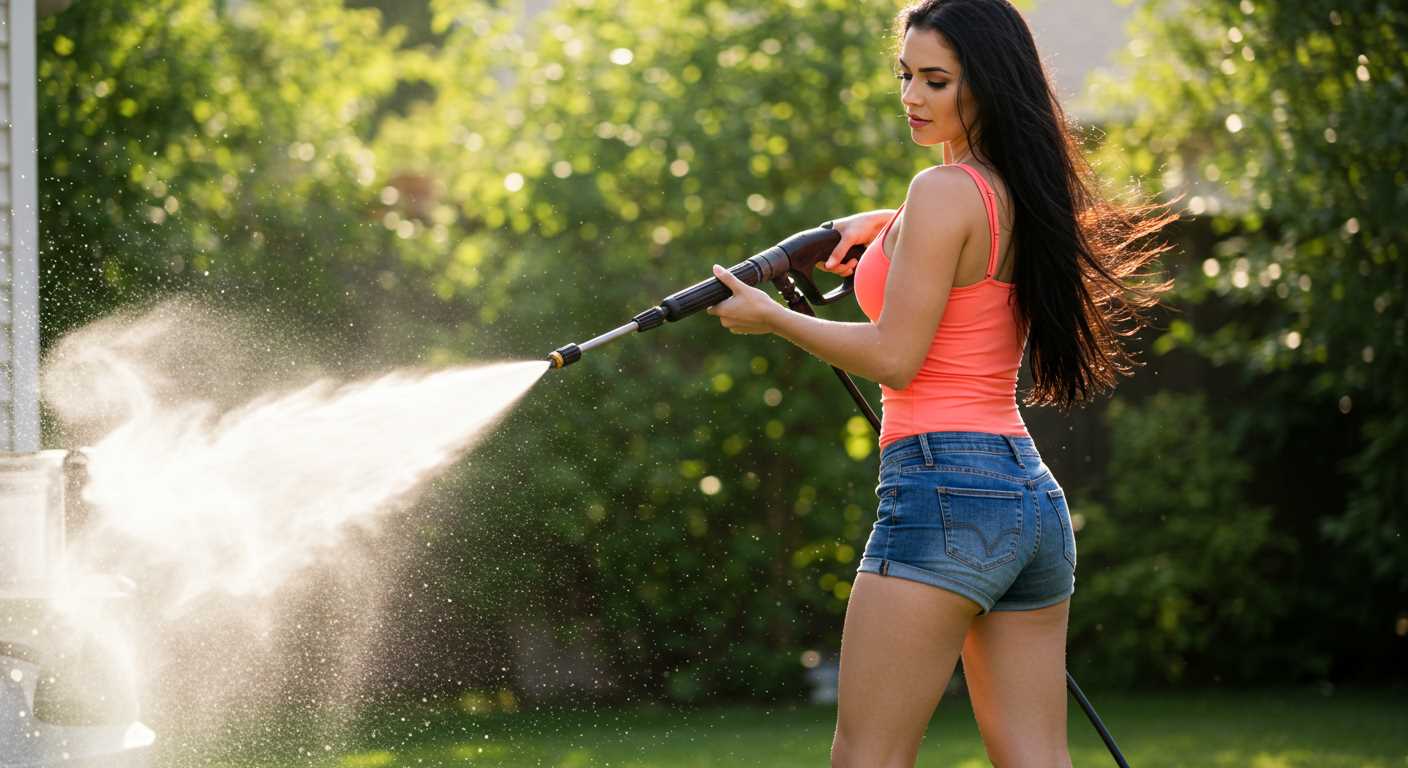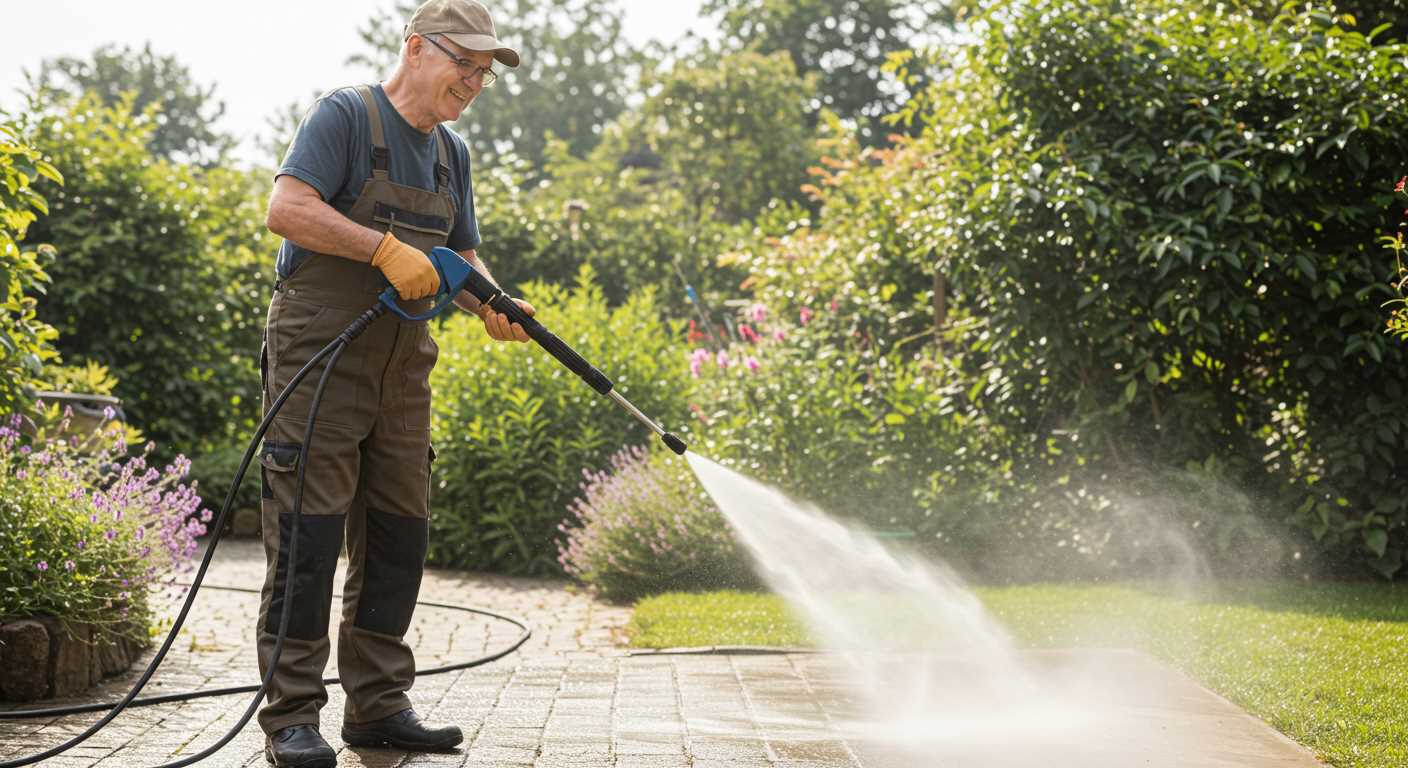


Start by adjusting your equipment to a lower pressure setting. It’s tempting to go all out, but too much force can damage the surface. I’ve seen it happen more times than I can count; a beautiful outdoor area ruined by excessive pressure. A gentle touch often yields the best results.
Next, prepare a suitable cleaning solution tailored for outdoor surfaces. I’ve found that a mixture of warm water and a mild detergent works wonders. Apply it generously, allowing the solution to penetrate any grime or stains. Patience pays off here; giving it a few minutes to settle can make all the difference.
Once the solution has done its job, it’s time to tackle the task. Hold the nozzle at a 45-degree angle, maintaining a safe distance of around 12 inches from the surface. This angle aids in removing dirt effectively while preserving the integrity of the material. Trust me, I’ve learned this from countless trials and errors–precision is key!
After the initial rinse, rinse thoroughly with clean water, ensuring no residue remains. I recall a time when I skipped this step, thinking it was unnecessary, only to be left with streaks and spots. A thorough rinse ensures a refreshed look without any leftover cleaning agents.
Finally, allow the area to dry completely before adding any furnishings or decorations back. This step is crucial; I once made the mistake of moving everything back too soon, resulting in unsightly marks. A little patience here will reward you with a beautiful, inviting outdoor space.
Effective Techniques for Revitalising Your Outdoor Surface
Begin by gathering your equipment: a high-quality unit, a suitable nozzle (15° or 25° is ideal), and a sturdy extension wand for those tricky spots. Always wear protective gear–goggles and gloves are a must. I recall a day when I neglected to wear eye protection; the debris that flew back was a harsh reminder of safety’s importance.
Set the pressure to a moderate level, around 1500 to 2000 PSI. Too high, and you risk damaging the surface, too low, and the results will be lacklustre. I once witnessed a friend using excessive pressure; the timber splintered, resulting in more work than anticipated. A gentle approach often yields better results.
Before starting, give the area a thorough sweep to remove loose debris. This simple step prevents dirt from being blasted into the grain, which can cause staining. I often use a stiff-bristled broom for this: it’s quick and effective.
When you’re ready, begin spraying at a distance of around 12 inches from the surface. Move in a sweeping motion, overlapping each pass to ensure an even finish. Keep in mind that working with the grain, rather than against it, helps maintain the wood’s integrity. I remember the first time I made this mistake; the results were far from satisfactory.
For stubborn stains or mildew, consider applying a specially formulated solution prior to pressure application. Let it dwell for a bit to break down the grime effectively. On one occasion, I underestimated the power of a good cleaner; a few minutes of waiting made all the difference.
After the initial wash, inspect the area. If necessary, repeat the process on particularly dirty spots. It’s often the second pass that reveals the true potential of your hard work. Once satisfied, rinse thoroughly with clean water, ensuring no residue is left behind. I’ve had clients who skipped this step, only to regret it when they noticed discolouration later.
Finally, give the surface time to dry completely before applying any finishes or sealants. This patience is key to achieving long-lasting results. I’ve rushed this before, and the outcome was a peeling mess. Trust me; letting nature do its work is worth it.
Choosing the Right Pressure Washer for Your Deck
For optimal results, select a unit with a PSI rating between 1500 and 3000. This range provides sufficient power to remove grime without damaging the surface. I’ve used various models, and the difference in performance is significant.
- Electric vs. Gas: Electric machines are quieter and easier to handle, ideal for smaller areas. Gas models deliver more power, suitable for larger projects. I prefer gas for extensive cleaning tasks, as they handle tougher stains effectively.
- Flow Rate: Look for a high GPM (gallons per minute) rating to ensure a thorough rinse. A machine with 2 GPM or higher offers a good balance between pressure and water flow.
- Weight and Portability: Consider the weight, especially if you’ll be moving the unit around. Lighter models are easier to manoeuvre, while heavier ones tend to be more stable during operation.
Nozzle selection is equally crucial. A pressure washer nozzle for garden hose can enhance your cleaning experience, allowing for greater control and versatility.
- 25-Degree Nozzle: Great for general cleaning. It offers a good spray pattern for most surfaces.
- 15-Degree Nozzle: Perfect for tough stains, providing a more concentrated stream.
- 40-Degree Nozzle: Best for gentle rinsing, useful for delicate areas.
Always remember to review the manufacturer’s guidelines for your equipment. I’ve seen too many people overlook this, leading to subpar results or even equipment damage. Choose wisely, and your outdoor area will thank you!
Preparing the Deck Surface Before Cleaning
Before taking on the task of revitalising your outdoor surface, ensure the area is ready. Begin by clearing away all furniture, planters, and any decorative items. This step not only protects your belongings but also gives you ample space to work safely.
Inspect for Damage
Next, conduct a thorough inspection of the surface. Look for cracks, loose boards, or any signs of rot. If you find any damaged sections, consider making repairs before proceeding. This can save you time and effort later, as damaged areas can trap dirt and hinder the cleaning process.
Remove Debris and Mildew
Once repairs are addressed, focus on removing debris such as leaves, twigs, and dirt. A broom or leaf blower works well for this task. If you notice any mildew or mould, treat those spots with a suitable cleaner prior to using the high-pressure equipment. Allow it to sit for the recommended time to ensure effectiveness.
| Step | Description |
|---|---|
| Clear the Area | Remove all items from the surface to prevent damage and ensure safety. |
| Inspect for Damage | Check for cracks or rot and repair any issues found. |
| Remove Debris | Use a broom or blower to clear leaves and dirt. |
| Treat Mildew | Apply a cleaner to affected areas and let it dwell. |
Completing these tasks will set a solid foundation for the cleaning process, leading to better results and a longer-lasting finish.
Selecting the Appropriate Cleaning Solution
Opt for a biodegradable cleaner specifically formulated for outdoor surfaces. These solutions are environmentally friendly and effective at removing grime, mildew, and stains without harming vegetation or wildlife.
- Wood-specific cleaners: These are designed to penetrate and lift dirt while being gentle on the fibres. Look for ones that contain oxalic acid, which brightens and restores the natural colour.
- Eco-friendly options: Consider using vinegar or baking soda mixed with water for a natural approach. They can be surprisingly effective for mild stains and general cleaning.
- Mildew removers: If your surface has persistent mould or mildew, a dedicated mildew remover can be beneficial. Ensure it’s safe for the type of timber you have.
Always follow the manufacturer’s recommendations for dilution rates and application methods. Testing a small, inconspicuous area is wise to ensure compatibility and desired results.
In my experience, a mixture of a wood cleaner and a little bit of bleach can be effective for stubborn spots, but be cautious–too much bleach can damage the surface. Always rinse thoroughly after application to avoid residue.
Staying aware of the weather is also crucial. Avoid applying any solution before a rainstorm, as it can wash away your efforts before they take effect. Timing your tasks with dry, sunny weather will yield the best results.
Setting Up Your Pressure Washer Safely
Before you start, ensure you’re in a well-ventilated area to prevent inhalation of harmful fumes. Place the unit on a stable surface to avoid any accidents. Always check the manufacturer’s manual for specific safety instructions and guidelines. I’ve seen too many people skip this step, leading to mishaps that could have been easily avoided.
Protective Gear
Wear sturdy footwear and gloves to shield your hands and feet from potential injuries. Safety goggles are a must; they protect your eyes from debris and any unexpected splashes. I once neglected this and ended up with a nasty piece of wood splinter in my eye. Trust me, it’s not worth the risk.
Electrical Connections
Inspect all electrical connections before plugging in your device. Ensure the power cord is free from frays and damage. Use an outdoor-rated extension cord if necessary, and avoid running the power cord across walkways where it may pose a tripping hazard. I learned this the hard way when a colleague tripped over a cord, causing a spill and a delay in our project.
Adjusting the Pressure Settings for Wood
Start by setting your machine to a lower pressure, ideally around 1200 to 1500 PSI. I recall a time when I thought more power would yield better results, only to regret it as the surface began to splinter. Trust me, softer settings are safer and more effective for delicate surfaces.
Use a fan-shaped nozzle, typically 25 or 40 degrees, to distribute the water more evenly. I’ve found that a wider spray is less likely to damage the grain. Avoid narrow nozzles, as they concentrate the force and can wreak havoc on the finish.
As you adjust the pressure, test it on a small, inconspicuous area first. This step saved me from a major mishap during a friend’s project. The wrong setting can strip away more than just dirt; it can take off the finish and require extensive refinishing.
Monitor your distance from the surface while working. Maintaining at least 12 to 18 inches between the nozzle and the surface is key. I learned this the hard way after getting too close once, leaving noticeable marks. Gradually move closer if needed, but always err on the side of caution.
Periodically check your results as you work. If you notice too much water penetration or damage, reduce the pressure immediately. I often adjust settings on-the-fly based on how the surface reacts. The goal is to restore, not ruin.
Lastly, keep in mind that conditions like humidity and temperature can affect how the cleaner interacts with the surface. Adjust accordingly. Just last summer, I had to lower my PSI when the humidity was high, and it made a world of difference.
Techniques for Cleaning Different Areas of the Deck
Focus on the corners and edges first. These spots accumulate dirt and grime more easily. I recommend using a narrow nozzle for precision. Stand about 12 inches away and maintain a consistent angle to avoid damaging the surface. Pay attention to any stubborn stains; a direct stream can help lift them more effectively.
For larger areas, work in sections. Begin at one end and move methodically across the surface. Overlapping each pass ensures even results. I’ve found that a fan nozzle works well here, allowing broader coverage while still providing enough pressure to remove debris.
Railings and vertical surfaces require a different approach. Tilt the nozzle slightly upwards to prevent water from pooling at the base. Start from the top and work downwards to keep loose dirt from dripping onto already cleaned areas. Consider using a lower pressure setting to protect the finish.
Stairs can be tricky. Use a step-by-step technique. Position yourself safely on each step, ensuring stability. A rotating nozzle can be helpful for this task, as it combines power and coverage. Always check for any loose boards or nails before you start to avoid injury.
When dealing with furniture or additional fixtures, clear these items away first. If they’re too heavy, cover them with plastic sheeting. Use a lower pressure setting for any decorative elements to avoid chipping or damage. Always follow up with a rinse to remove any residue from cleaning solutions.
For tough areas, a two-step approach may be necessary. First, apply the cleaning solution according to the manufacturer’s instructions and allow it to dwell for the recommended time. Then, follow up with washing to lift the grime effectively. A detailed spot check can reveal any overlooked patches.
| Area | Recommended Nozzle | Technique |
|---|---|---|
| Corners & Edges | Narrow | 12 inches away, consistent angle |
| Larger Areas | Fan | Work in sections, overlap passes |
| Railings | Fan or adjustable | Top to bottom, slight upwards angle |
| Stairs | Rotating | Step-by-step, focus on stability |
| Furniture | Low pressure | Cover or move, detailed rinse |
| Tough Stains | Narrow or adjustable | Apply solution, dwell, then wash |
Paying Attention to Stains and Difficult Spots
For stubborn blemishes, tackling them head-on is essential. I’ve encountered many types of marks over the years, from oil to mildew, and each requires a specialized approach. For grease stains, a degreasing agent applied directly to the affected area before any washing can make a significant difference. Let it sit for about 10-15 minutes, then rinse lightly before using the high-velocity sprayer. You’ll see the results instantly as it lifts the grime away.
Dealing with Mildew and Mould
Mildew can be particularly stubborn. I recommend using a mixture of water and vinegar or a commercial mould remover. After applying it, scrub the area with a stiff-bristle brush. Once you’ve agitated the mildew, switch to the sprayer. Keep the nozzle at a 45-degree angle to avoid damaging the surface while ensuring you effectively wash away the remnants.
Handling Hard-to-Reach Areas
Don’t overlook corners and crevices. I often use a rotary nozzle attachment to get into tricky spots. This tool increases the coverage area and provides a more thorough clean. If you notice any remaining stains, it’s worth going back with a targeted approach–apply cleaning solution and use a brush again, followed by a focused spray. Regular attention to these areas keeps your structure looking its best and extends its lifespan.
Rinsing and Inspecting the Deck After Cleaning
After finishing the scrubbing process, it’s crucial to rinse thoroughly. Use a wide spray nozzle to cover more area efficiently. Start from one end and work your way to the other, ensuring no residue remains.
- Maintain a distance of 6 to 12 inches from the surface to prevent damage.
- Use a sweeping motion to avoid concentrating the water on any one spot.
- Pay special attention to corners and edges where dirt may linger.
Once rinsing is complete, inspect the area meticulously. Look for any missed spots or stubborn stains that may require additional attention. It’s best to take notes during this inspection, as this will help in planning any further action needed.
- Check for signs of mould or mildew that might not have been removed.
- Examine the wood for any signs of damage or splintering.
- Verify that the surface is drying evenly; areas that stay damp longer may indicate underlying issues.
If you notice any areas requiring further treatment, consider using a suitable cleaning solution specifically designed for those stubborn spots. For persistent dirt or stains, using a best air scrubber for grow room can be beneficial for rapid drying and additional cleaning power.
Finally, ensure the entire area is free of debris and allow the surface to dry completely before applying any sealant or protective finish. This step is vital for prolonging the life of the materials and maintaining their appearance.
Maintaining Your Deck Post-Cleaning
After giving your outdoor surface a thorough refresh, the next step is preservation. I can’t stress enough the importance of applying a protective finish. A high-quality sealant or stain will guard against moisture and UV damage. I remember a client who skipped this step; within a year, the boards showed signs of fading and cracking. A simple application could have saved them a lot of hassle.
Timing is key. Wait for the surface to dry completely before applying any product–ideally, 48 hours after washing. This ensures that the sealant adheres properly. I usually recommend testing a small area first to see how the finish looks once dried. It’s always wise to choose a day that’s cloudy to avoid rapid evaporation.
Regular inspections are a must. Keep an eye out for any signs of wear or damage. I often tell homeowners to check for loose boards, nails or screws that may have popped up. Addressing these issues early can prevent more extensive repairs later on.
Routine maintenance should include sweeping away debris and washing off dirt or grime that accumulates over time. For stubborn spots, a gentle scrub with soapy water and a soft brush is usually enough. This keeps the area looking sharp between more extensive cleanings.
Consider seasonal treatments. In autumn, clear fallen leaves promptly to prevent moisture retention. In spring, a light wash can revive the appearance. A consistent schedule will help maintain that fresh look year-round and extend the life of your outdoor space.
Lastly, never underestimate the power of furniture placement. Use mats or rugs under furniture to protect the surface from scratches and indentations. Simple measures can go a long way in keeping your outdoor area in excellent shape for years to come.


.jpg)


