


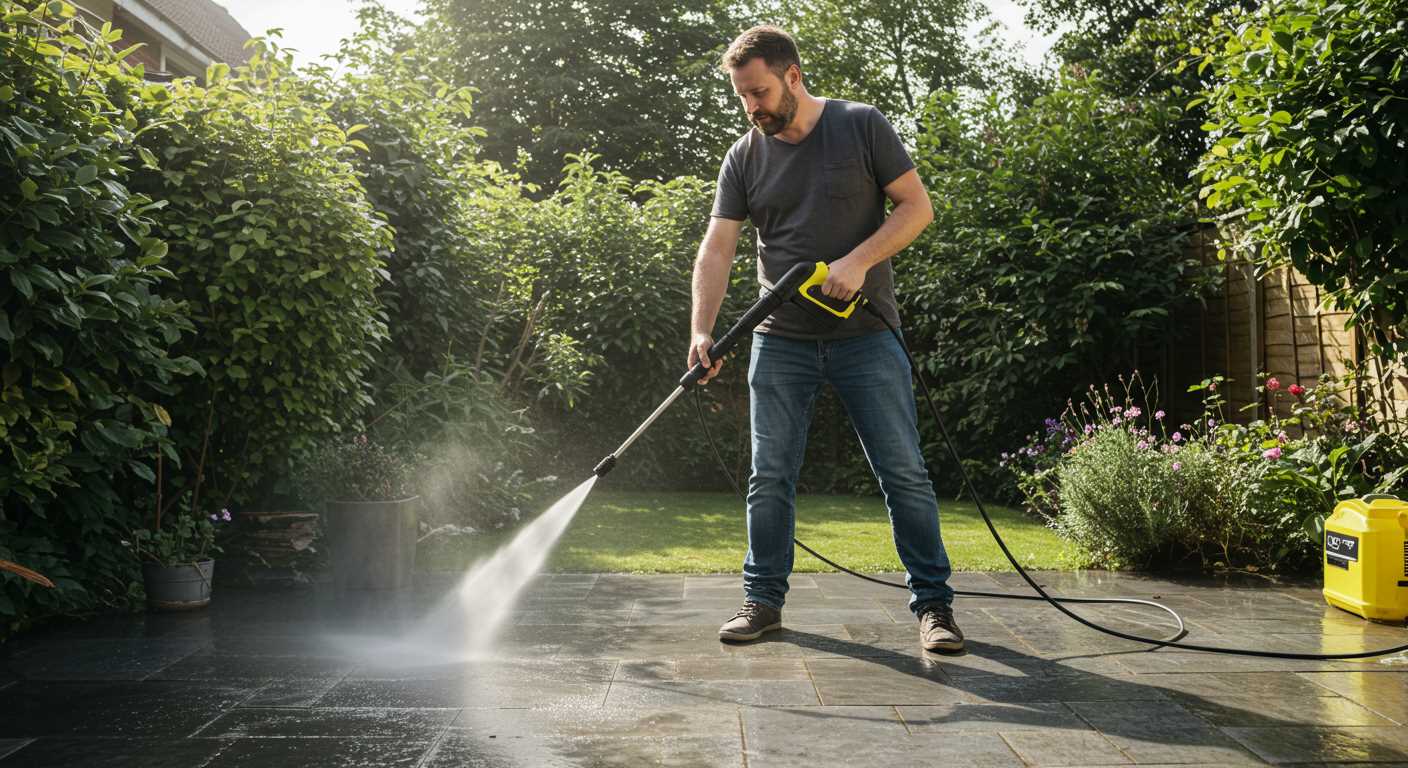
Using a simple mixture of vinegar and warm water can work wonders for removing grime from your outdoor surfaces. In my experience, this method is not only cost-effective but also gentle on the material, helping to preserve its natural beauty.
Mix equal parts of white vinegar and warm water in a bucket. For extra strength, you might add a small amount of dish soap. With a stiff-bristled brush, scrub the surface in gentle circular motions. This approach allows you to tackle tough spots without damaging the finish.
Rinsing is crucial. After scrubbing, use a garden hose to wash away any residue. Ensure you’re rinsing thoroughly to prevent any soap or vinegar from leaving streaks behind. This technique has served me well, especially for areas that see heavy foot traffic or exposure to the elements.
For stubborn stains, consider creating a paste from baking soda and water. Apply it directly to the stain, let it sit for a while, then scrub gently. I’ve found this method particularly effective for mildew or dark spots that tend to accumulate over time.
Maintaining your outdoor space can be straightforward and satisfying. With a little effort and the right approach, your area can look as good as new, ready for gatherings or quiet evenings under the stars.
Choosing the Right Cleaning Solution for Your Wooden Surface
Opt for a mild, biodegradable detergent specifically designed for outdoor use. These products are gentle on the timber and effective against dirt, grime, and mildew. Look for solutions that contain natural ingredients like vinegar or baking soda, which can be very effective without being harsh on the wood.
Commercial vs. Homemade Solutions
Commercial cleaners can offer convenience and targeted formulas, but homemade alternatives are often just as effective. A mix of water and vinegar can tackle light stains, while a solution of water, dish soap, and baking soda works wonders for tougher spots. Always test any solution on a small, inconspicuous area to ensure it doesn’t alter the wood’s finish.
Additional Tips for Selection
Consider the specific issues your surface faces. If mould or mildew is a concern, select a cleaner that addresses these problems specifically. For regular maintenance, a gentle soap will suffice. And if you’re considering tools to assist in the cleanup, check out the best budget garden leaf blower and vacuum to help clear debris before applying any cleaning solution.
Preparing the surface for maintenance: clearing and inspecting
Begin by removing all furniture, planters, and decorative elements from the area. This ensures a clear space for thorough cleaning and prevents any damage to your belongings. I once made the mistake of skipping this step, leading to a chipped planter and a long afternoon dealing with the aftermath.
Once cleared, inspect the surface for any signs of damage. Look for loose boards, protruding nails, or areas of rot. I remember a project where I overlooked a small section of decay; it led to more extensive repairs later. Address any issues immediately by tightening screws or replacing damaged planks before proceeding.
Check for dirt accumulation in the corners and along the edges. Use a broom to sweep away debris, as it can hold moisture and contribute to wear over time. I learned this the hard way; neglecting corners once resulted in a stubborn mould problem.
Finally, ensure the area is dry. Moisture can hinder the effectiveness of your chosen cleaning solution. I once attempted maintenance on a damp surface, and the results did not meet my expectations. Waiting for a sunny day makes a significant difference.
Using a broom and scrub brush for surface dirt removal
Begin by selecting a stiff-bristled broom and a durable scrub brush. The broom will help to sweep away loose debris, while the scrub brush is perfect for tackling stubborn grime. Gently push the broom across the surface to collect leaves, dirt, and other loose particles. Make sure to reach corners and edges where dirt tends to accumulate.
Once the initial sweep is done, mix a mild cleaning solution with water in a bucket. A solution containing vinegar or biodegradable soap works well. Dip the scrub brush into the mixture, allowing it to soak up the liquid. Begin scrubbing in sections, applying firm pressure to dislodge grime and stains. Work in the direction of the grain to avoid damaging the surface.
For particularly tough spots, let the solution sit for a few minutes before scrubbing again. This will help to break down any built-up dirt. After scrubbing a section, rinse it thoroughly with clean water to remove any residue. Use a separate bucket for rinsing, or simply fill a spray bottle for convenience.
Continue this process until the entire area is addressed. It’s also helpful to keep a cloth or sponge handy for wiping away any excess solution. For larger areas, divide the space into manageable sections to ensure thorough attention.
| Tool | Purpose |
|---|---|
| Stiff-bristled broom | To sweep away loose debris |
| Durable scrub brush | To scrub away stubborn grime |
| Mild cleaning solution | To assist in breaking down dirt |
| Cloth or sponge | To wipe away excess solution |
After completing the scrubbing process, allow the surface to dry completely. This will help prevent any potential slipping and prepare it for any additional treatments or sealants you may wish to apply later. Regular maintenance with this method ensures your space remains inviting and in good condition.
Applying homemade cleaners: vinegar and baking soda method
For a natural solution, mix equal parts of white vinegar and water in a spray bottle. This blend acts as a mild acid, effectively breaking down grime. Spray it generously over the surface and let it sit for about 10-15 minutes to penetrate the dirt.
Creating a baking soda paste
Combine baking soda with a small amount of water to form a thick paste. This mixture is excellent for tackling stubborn stains. Apply the paste directly onto the affected areas, using a sponge or cloth to scrub gently. The abrasive nature of baking soda helps lift tough residues without damaging the surface.
Combining the two methods
For enhanced results, after applying the vinegar solution, sprinkle baking soda over the same areas. The reaction between the vinegar and baking soda produces fizzing, which can help dislodge dirt and debris. Rinse thoroughly with water after scrubbing to ensure no residue remains.
Both approaches are eco-friendly and safe for various surfaces, making them ideal for maintaining the appearance of your outdoor space. Regular application can prevent the buildup of dirt and prolong the lifespan of the materials used.
Rinsing and Drying the Outdoor Surface After Maintenance
Once the scrubbing and application of your chosen cleaning solution are complete, the next step is to thoroughly rinse the area. A garden hose with a spray nozzle works well; set it to a medium spray to avoid excessive force that might damage the surface. Start at one end and work your way to the other, ensuring all residues from the cleaner are washed away. Pay special attention to corners and crevices where grime tends to accumulate.
Drying Techniques
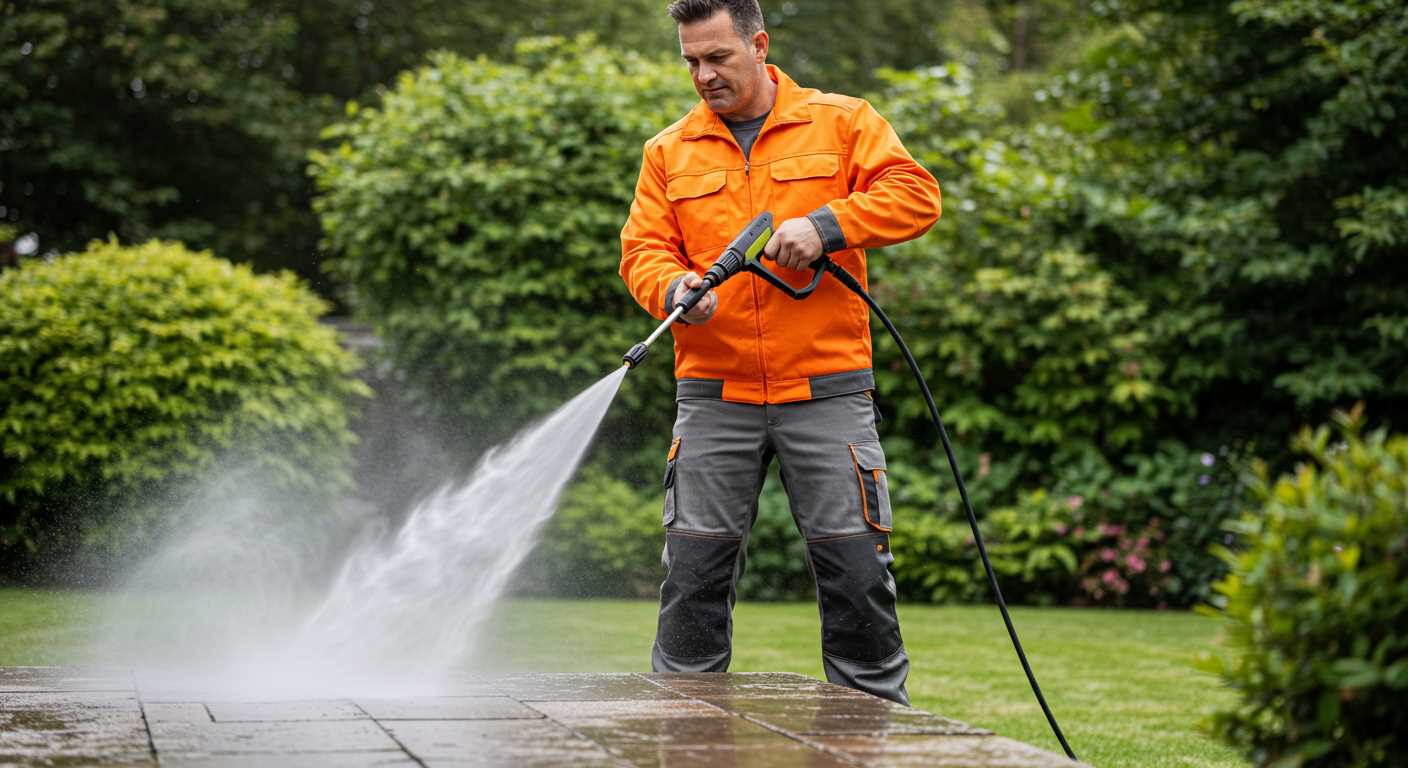
After rinsing, allow the area to dry naturally. If you have access to towels or rags, use them to soak up any puddles or excess water that may linger. For quicker drying, consider using a leaf blower; it can effectively remove moisture from the surface and between boards without causing harm. If the weather permits, leaving the area in direct sunlight can expedite the drying process, helping to prevent water spots or mildew growth.
Final Touches
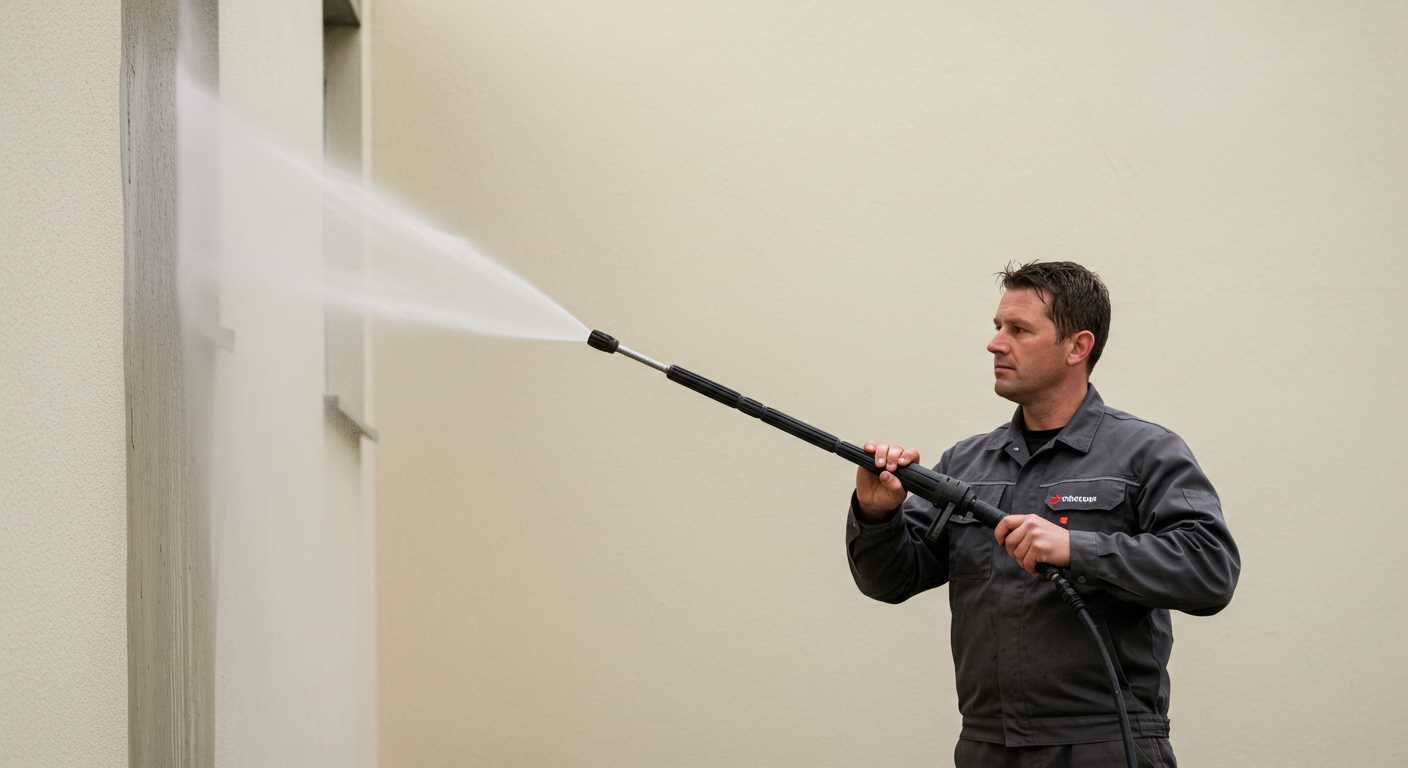
Once dry, inspect the surface for any missed spots. It’s a good idea to keep a small brush handy for any stubborn areas that may need a second round of attention. Regular maintenance checks will keep the area looking its best. If you’re thinking about more intensive cleaning methods in the future, researching the right psi pressure washer for vinyl siding can also be beneficial for larger projects.
Maintaining Your Deck’s Cleanliness with Regular Upkeep
Establish a routine that includes regular inspections and maintenance tasks to keep your outdoor space pristine. Preventive measures are key to avoiding extensive cleaning later on.
- Weekly Sweeping: Dedicate a few minutes each week to remove leaves, dirt, and debris. This simple habit prevents staining and mildew growth.
- Monthly Inspections: Examine the structure for signs of wear or damage. Look for loose boards, cracks, or rot that need addressing before they escalate.
- Seasonal Treatments: Apply a sealant every couple of years to protect against moisture and UV rays. This helps maintain the wood’s integrity and appearance.
Incorporate these practices into your schedule. I recall a deck I maintained that looked fantastic because the owner followed a strict regimen. By being proactive, they avoided major repairs and kept their space enjoyable year-round.
Engage in a thorough wash every spring or autumn. Use gentle solutions tailored for your material, ensuring you don’t harm the surface. Remember, it’s not just about aesthetics; regular upkeep prolongs the life of your outdoor area.
- Keep Furniture Covered: Protect outdoor furnishings during inclement weather to avoid stains and wear on the surface.
- Address Spills Promptly: Any food or drink spills should be managed immediately to prevent staining. A quick rinse and wipe can save a lot of hassle.
Adopting these strategies will help maintain a beautiful outdoor area, allowing you to enjoy it to the fullest. Trust me; the effort pays off in the long run.


.jpg)


