
.jpg)


.jpg "How to clean an area rug with pressure washer")
Begin by ensuring the surface is free from debris. A thorough vacuuming step is essential, as it removes loose dirt and particles that could cause damage during the washing process. This initial action sets the stage for a more thorough rejuvenation.
Next, gather the necessary equipment. A high-pressure cleaning device will be your primary tool, but don’t forget a suitable attachment for delicate fabrics. I recall a time when I rushed into using a standard nozzle without considering the fibre type. The result was not what I had envisioned; some areas ended up frayed and damaged. Always match the nozzle type to the material for optimal results.
Before applying any solution, test it on a small, inconspicuous area. I learned this lesson the hard way; a powerful detergent caused discolouration on an otherwise pristine piece. A mild, eco-friendly solution is generally best for most textiles. Mix it according to the manufacturer’s instructions, and take care to avoid over-saturating the fabric.

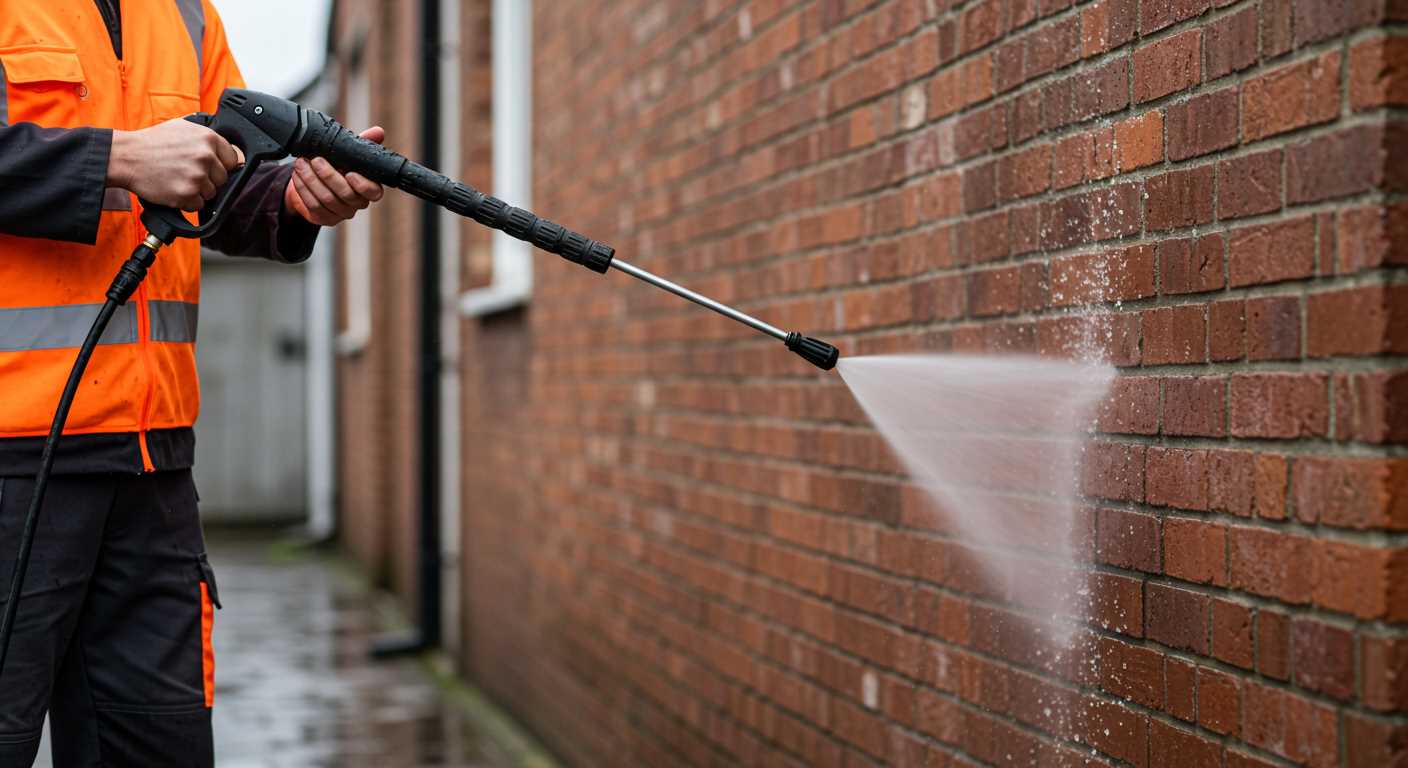
During the washing process, maintain a consistent distance from the surface–around two feet is ideal. This distance prevents unnecessary wear while ensuring thorough penetration of cleaning agents. I’ve found that sweeping motions work best, allowing the water to lift the grime without saturating the fibres.
After the washing, allow the fabric to dry fully before placing it back in its original location. I often use fans or open windows to speed up this process. A damp surface can lead to mould growth, which is a headache no one wants to deal with.
By following these straightforward steps, you’ll be well on your way to restoring the beauty of your textile flooring. The satisfaction of seeing a once-dull piece return to its former glory is truly rewarding.
Effective Techniques for Revitalising Your Decorative Fabric
Begin by taking the item outdoors to avoid any mess indoors. Lay it flat on a clean, dry surface, ensuring it’s free from debris and dirt. A well-maintained area is critical for optimal results.
Before applying any water pressure, check the manufacturer’s guidelines for fabric compatibility. Most decorative textiles can handle moderate force, but some may be delicate. Always test a small corner first to ensure there’s no adverse reaction.
Fill the tank of the machine with a suitable cleaning solution, formulated specifically for upholstery. Avoid harsh chemicals that can damage the fibres. A mixture of water and mild detergent works well for most situations.
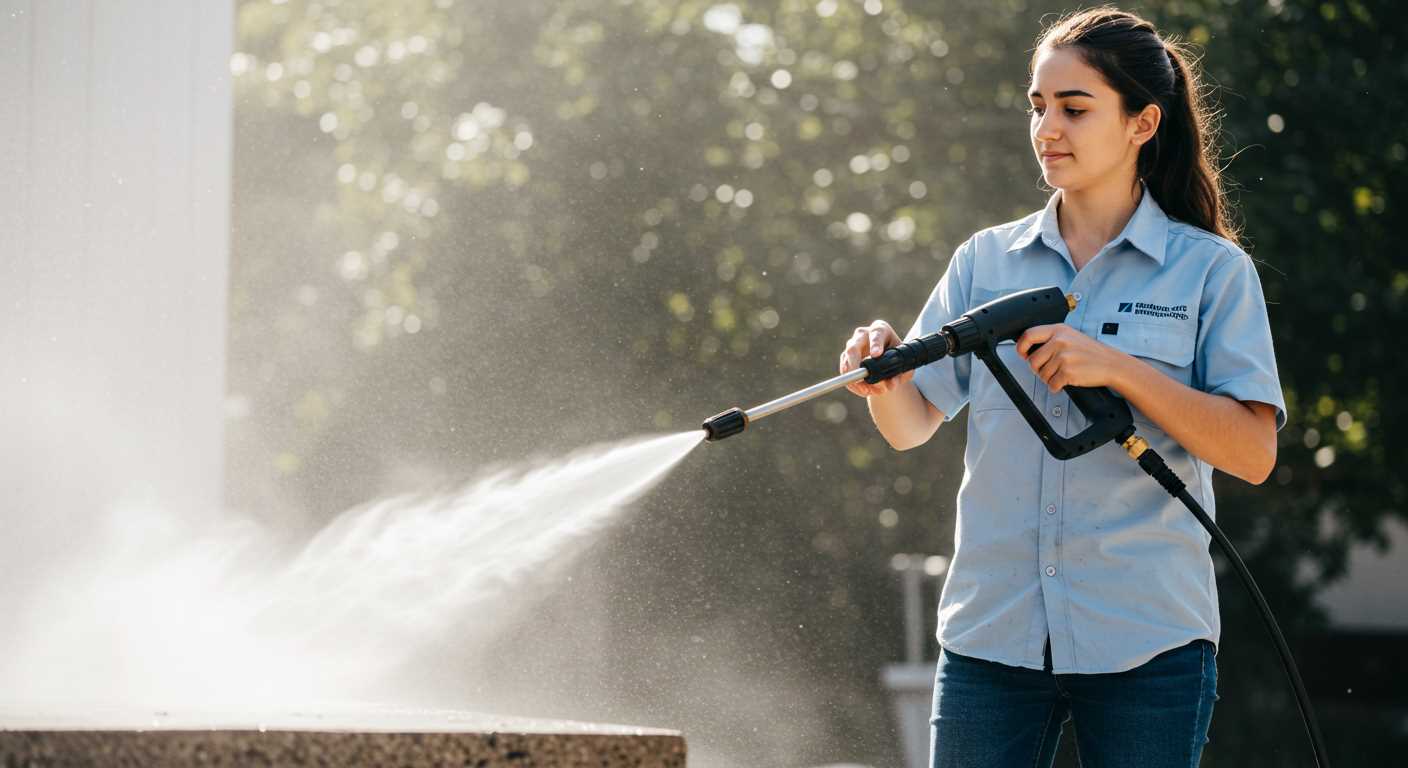
Adjust the nozzle to a fan spray setting. This distributes water evenly without overwhelming the fabric. Start from one end and work your way across, keeping the nozzle approximately 12 inches away from the surface. This distance helps prevent any potential wear and tear.
Pay extra attention to heavily soiled areas, but be cautious not to focus the spray on one spot for too long. Moving in a consistent pattern ensures even cleaning and prevents damage.
Once you’ve finished spraying, allow the piece to dry completely in the open air. Avoid direct sunlight, as this can fade colours. If possible, hang it up to ensure airflow on both sides, promoting quicker drying.
After drying, give it a gentle shake or use a soft brush to restore the texture. This step removes any remaining loose dirt and revitalises the appearance.
| Step | Details |
|---|---|
| Preparation | Move outside, clear debris, and lay flat. |
| Testing | Check for fabric compatibility by testing a small area. |
| Solution | Use a mild detergent mixed with water. |
| Technique | Utilise a fan spray, maintaining a safe distance. |
| Drying | Air dry away from direct sunlight. |
| Finishing Touch | Shake or brush to restore texture. |
Choosing the Right Pressure Washer for Rug Cleaning
Opt for a model that offers adjustable pressure settings. I recall testing a unit that allowed me to dial down the pressure, which was invaluable for delicate fabrics. Too much force can damage fibres, so having that flexibility is key.
Pay attention to the type of nozzle included. A fan spray nozzle is ideal for broader coverage, while a pinpoint nozzle works wonders for stubborn stains. I remember using a fan nozzle on a particularly dirty piece, and it made a noticeable difference in how quickly I could tackle the grime.
Check the flow rate, measured in litres per minute (LPM). A higher flow rate can speed up the cleaning process, but don’t overlook the importance of pressure. I once used a machine with a high flow rate but insufficient pressure, which left me frustrated. Aim for a balance that suits the task at hand.
Consider portability. A lightweight unit is easier to manoeuvre, especially when moving around a larger textile. I once struggled with a bulky model that made the whole experience cumbersome. Look for wheels and a comfortable handle to enhance your experience.
Lastly, ensure that the machine is compatible with eco-friendly cleaning solutions. I’ve found that using biodegradable detergents not only protects the environment but also improves the outcome, leaving the fabric fresh and clean. Choose a washer that can accommodate such options for optimal results.
Preparing the Area Rug for Pressure Washing
Before you begin using a high-powered cleaner, ensure the surface is free from large debris. Shake or beat the mat outside to remove dirt, dust, and any loose particles. This step prevents any unwanted grit from scratching the fabric during the washing process.
If the mat has any stains, treat them beforehand with a suitable stain remover. Apply the product directly onto the affected areas and let it sit for the recommended time as per the manufacturer’s instructions. This ensures the stains are broken down effectively, making the subsequent cleaning process smoother.
Next, check for any signs of wear and tear. Inspect the edges and seams carefully; frayed or damaged areas can worsen during washing. If you find any issues, consider repairing them or avoiding high-pressure settings in those spots.
It’s beneficial to select an appropriate setting on your equipment. Too much force can damage delicate materials. For those stubborn spots, having a sewer jetter kit for pressure washer handy can be a game changer, allowing for targeted cleaning without risking overall integrity.
Lastly, ensure you have a space to dry the mat post-cleaning. A well-ventilated area is ideal, as it prevents mould growth. If you’re short on space, consider using a fan to aid in drying. Remember, a damp surface can lead to unpleasant odours and damage.
Selecting Appropriate Cleaning Solutions for Your Rug
Opt for a pH-neutral detergent that won’t harm fibres. I recall a time when I used a strong alkaline solution on a wool piece, leading to fading and damage. Never again! Always test any cleaner on a small, inconspicuous area before proceeding.
For stubborn stains, consider enzyme-based products. These break down organic matter effectively. A friend of mine had a disaster with pet accidents and discovered that an enzyme cleaner tackled the odour and stain remarkably well.
Avoid bleach and harsh chemicals; they can weaken fibres and alter colours. Instead, I recommend a mix of water and vinegar for a natural solution. It’s gentle yet effective for general refreshment.
For synthetic textiles, specialised carpet shampoos can enhance the results. I once tried a product designed specifically for synthetic materials, and the difference was noticeable–vibrancy returned, and the material felt refreshed.
Always read labels carefully. Some solutions require rinsing, while others may leave residues if not properly diluted. I learned this the hard way; a residue left behind attracted dirt faster than before.
Lastly, consider the drying time of the solution. I had a mishap once where I rushed the process, and it led to mildew growth. Allow adequate drying time to maintain the integrity of the fibres.
Techniques for Pressure Washing an Area Rug
Adjust the nozzle to a fan spray pattern to distribute water evenly without causing damage. I recall a time when I used a narrow stream, thinking it would enhance cleaning power, but instead, it left marks on the fabric. A wider spray not only covers more surface area but also reduces the risk of wear.
Maintain a distance of at least 12 inches from the textile to avoid forceful impacts that could fray the fibres. During one of my earlier attempts, I got too close and ended up with a few frayed edges, which took away from the overall appearance. Keep the nozzle moving in a sweeping motion to prevent concentrated pressure in one spot.
Start at one end and work your way to the other, overlapping slightly with each pass. This technique ensures thorough coverage. I learned the hard way that skipping sections leads to uneven results, leaving behind spots that require additional attention later.
Incorporate sudsy water at the beginning of the process. I’ve found it beneficial to apply a cleaning solution with a garden sprayer before using the high-pressure device. This pre-treatment loosens dirt and grime, making the subsequent wash much more effective. Just remember to rinse thoroughly afterwards to avoid any residue.
After completing the washing, allow the fabric to air dry completely. I’ve made the mistake of moving items back too soon, resulting in dampness that led to mould. Position it in a well-ventilated area or outdoors if possible, but avoid direct sunlight to prevent fading.
Lastly, inspect the material for any signs of damage or wear after washing. It’s a step I now never skip after a few unfortunate incidents. If you notice any weak spots, consider repairing them before the next cleaning session to prolong the life of the textile.
Drying the Rug After Pressure Washing
For optimal results post-cleaning, ensure proper drying to prevent mildew and odours. Start by removing excess water. Use a squeegee or a clean, absorbent towel to blot the surface, pushing water towards the edges for easier removal.
Airflow Maximisation
- Position the item in a well-ventilated area. Open windows or doors to facilitate airflow.
- If possible, place the item outdoors on a dry, sunny day. Natural sunlight can significantly speed up drying.
- A fan can be employed to circulate air around the surface, further enhancing evaporation.
Temperature Considerations
- Avoid placing the item in damp or humid environments, as this can prolong drying time.
- Utilising a dehumidifier can be beneficial in enclosed spaces, especially during humid seasons.
Monitor the drying process closely. Depending on the material, it may take several hours to fully dry. Ensure the underside is also dry to prevent any moisture-related issues. Once completely dry, consider giving it a light vacuum to restore its texture.
Maintaining Your Area Rug Post-Cleaning
After you’ve rejuvenated your floor covering, ensuring its longevity is crucial.
First, inspect for any remaining stains or areas that may need further attention. It’s wise to address them immediately while the fibres are still damp. A gentle blotting with a clean cloth and a suitable spot treatment can work wonders.

Next, consider the following steps:
- Regular Vacuuming: Schedule weekly vacuuming to remove dirt and debris. Use a vacuum equipped with a suction-only feature to avoid damaging fibres.
- Rotate Your Rug: Every six months, rotate your mat to encourage even wear and prevent fading from sunlight exposure.
- Protect from Furniture: Use coasters or pads under furniture legs to avoid indentation and wear. This can help maintain the structure and appearance.
- Limit Exposure to Sunlight: If possible, avoid placing your item in direct sunlight for extended periods. This prevents colour fading and material degradation.
Consider applying a fabric protector suitable for your specific material. This can help repel stains and make future maintenance easier.
Finally, schedule professional deep cleaning every couple of years to maintain the integrity and appearance of your flooring. This proactive approach will save you time and effort in the long run.
.jpg)


