


If you want to restore the original charm of your surface, consider using a mixture of warm water and vinegar. This natural solution not only helps to lift dirt but also acts as a disinfectant. Simply mix equal parts of both ingredients in a bucket, apply it generously to the area, and let it sit for around 15 minutes before scrubbing with a stiff-bristled broom.
An alternative approach involves utilising baking soda. This household staple is excellent for tackling stubborn stains. Create a paste by mixing baking soda with water and apply it to the affected spots. After letting it sit for about 30 minutes, scrub with a brush and rinse thoroughly. This method is particularly useful for oil or grease stains.

To combat moss and weeds that often invade joints, a solution of salt and water can be highly effective. Mix three parts water to one part salt, spray it onto the plants, and allow it to dry. The salt will dehydrate the unwanted growth without harming the surrounding environment. However, be cautious with this method near desirable plants.
Regular maintenance is key. Sweeping away debris and dirt on a weekly basis can prevent the buildup of grime and prolong the life of your surface. Additionally, consider sealing the surface every few years to protect it from stains and wear.
Cleaning Techniques for Paved Surfaces
Start with a broom. Sweep away loose debris and dirt. This initial step makes a significant difference. Next, mix warm water with a mild detergent in a bucket. Use a stiff-bristled brush to apply this solution, scrubbing the surface vigorously. This method lifts grime effectively.
Stain Removal Strategies
For stubborn stains, consider using a paste made from baking soda and water. Apply it directly to the affected area and let it sit for about 30 minutes. Afterward, scrub with your brush and rinse with clean water. If oil stains are present, a sprinkle of talcum powder can absorb the excess before a thorough wash.
Weed Management
Weeds often infiltrate joints. A mixture of vinegar and water can serve as a natural herbicide. Spray this solution directly onto the weeds. After a few days, remove the dead plants and refill the gaps with sand to prevent regrowth.
Once the surface is dry, consider sealing it. A quality sealant enhances durability and makes future maintenance simpler. Regular upkeep, such as sweeping and occasional washing, can keep your paved area looking fresh year-round.
Gathering Necessary Cleaning Supplies
To tackle the task effectively, assemble the following items: a stiff-bristled broom, a bucket, a garden hose, a suitable detergent, and a scrubbing brush. These tools will serve as your main arsenal.
Stiff-bristled broom: This is your go-to for removing loose dirt and debris. Choose one with durable bristles to handle tough spots. I remember using a broom like this during a particularly muddy spring–made all the difference before the scrubbing began.
Bucket: A strong, reliable bucket is essential for mixing solutions and rinsing. Opt for a larger size to accommodate ample water, which saves time on refills. I always keep one handy; it’s a multitasker.
Garden hose: A standard garden hose will provide the necessary water flow for rinsing. Ensure you have a nozzle that allows for varied water pressure. I’ve found that a nozzle with multiple settings can be particularly useful for controlling the flow while rinsing.
Suitable detergent: Select a cleaner specifically designed for stone or brick surfaces. Read labels carefully to avoid harsh chemicals that could damage the material. I once used a biodegradable option that worked wonders and was environmentally friendly.
Scrubbing brush: Invest in a sturdy scrubbing brush with stiff bristles for those stubborn stains. A long-handled version can save your back and make the job easier. I recall a time when I had to scrub some old stains; the right brush made the task manageable.
Gather these supplies, and you’ll be well-equipped to refresh your outdoor surfaces effectively. Each item plays a critical role in the process, ensuring a thorough approach to restoring the appearance of your pathway or patio.
Preparing the Surface
Begin by removing any large debris, such as leaves and branches. A broom works well for this task, ensuring a clear area to work on. Pay attention to the joints between the stones; any accumulated dirt should be brushed away to prevent it from interfering with your cleaning efforts.
Addressing Weeds and Moss
Before moving on, check for any weeds or moss that may have taken root within the gaps. Hand-pulling or using a hoe can effectively eliminate these nuisances. If you encounter stubborn growth, consider applying a vinegar solution to target it directly. This not only helps in removal but also discourages future growth.
Washing and Soaking
Once the surface is clear, take a garden hose and lightly dampen the area. Avoid soaking it fully, as too much water can hinder the subsequent cleaning steps. A gentle spray will help loosen any embedded dirt and prepare the stones for scrubbing.
With the surface ready, you’re positioned to tackle the cleaning effectively. Each step contributes significantly to achieving a refreshed appearance for your stones.
Removing Weeds and Moss Manually
Begin by wearing durable gloves to protect your hands. Use a hand trowel or a sturdy weeding tool to dig out the roots of weeds. Ensure you remove the entire root system to prevent regrowth. For stubborn moss, a wire brush works wonders. Scrub the affected areas vigorously to lift the moss away from the joints and surfaces.
- Focus on the joints between the slabs; this is where moss and weeds often take hold.
- For larger patches of moss, consider using a hoe to scrape it off efficiently.
- After removing visible growths, inspect for any remaining roots or spores that may lead to recurrence.
Next, fill a bucket with a mixture of water and vinegar in a 2:1 ratio. Apply this solution to the areas where you’ve removed the weeds and moss. This natural remedy helps deter future growth while being safe for the environment.
- Pour the solution directly onto the cleaned areas.
- Allow it to sit for at least 30 minutes before rinsing with clean water.
- Repeat the process weekly during the growing season to maintain control.
Regular manual removal, combined with the vinegar solution, not only keeps your surfaces looking tidy but also prevents the need for more intensive cleaning methods down the line. Consistency is key; make it a part of your routine to check for new growths.
Creating a Cleaning Solution at Home
To tackle stubborn grime on your outdoor surfaces, a homemade solution can be highly effective. Start with these simple ingredients:
- Baking Soda: A natural abrasive that helps to lift dirt.
- White Vinegar: Known for its acidic properties, it breaks down tough stains.
- Dish Soap: A few drops can aid in loosening debris and grease.
- Water: The base for your mixture.
Mix the following proportions for an optimal cleaning solution:
- In a bucket, combine 1 cup of baking soda with 1 cup of white vinegar.
- Add 2-3 drops of dish soap to the mixture.
- Fill the bucket with approximately 4-5 litres of warm water. Stir gently to combine.
This solution is not only effective but also environmentally friendly. Apply it generously over the surface, allowing it to sit for about 15-20 minutes to break down the dirt and stains.
For tougher areas, consider using a stiff brush to scrub the mixture into the surface. Rinse thoroughly with water afterward to ensure no residue remains.
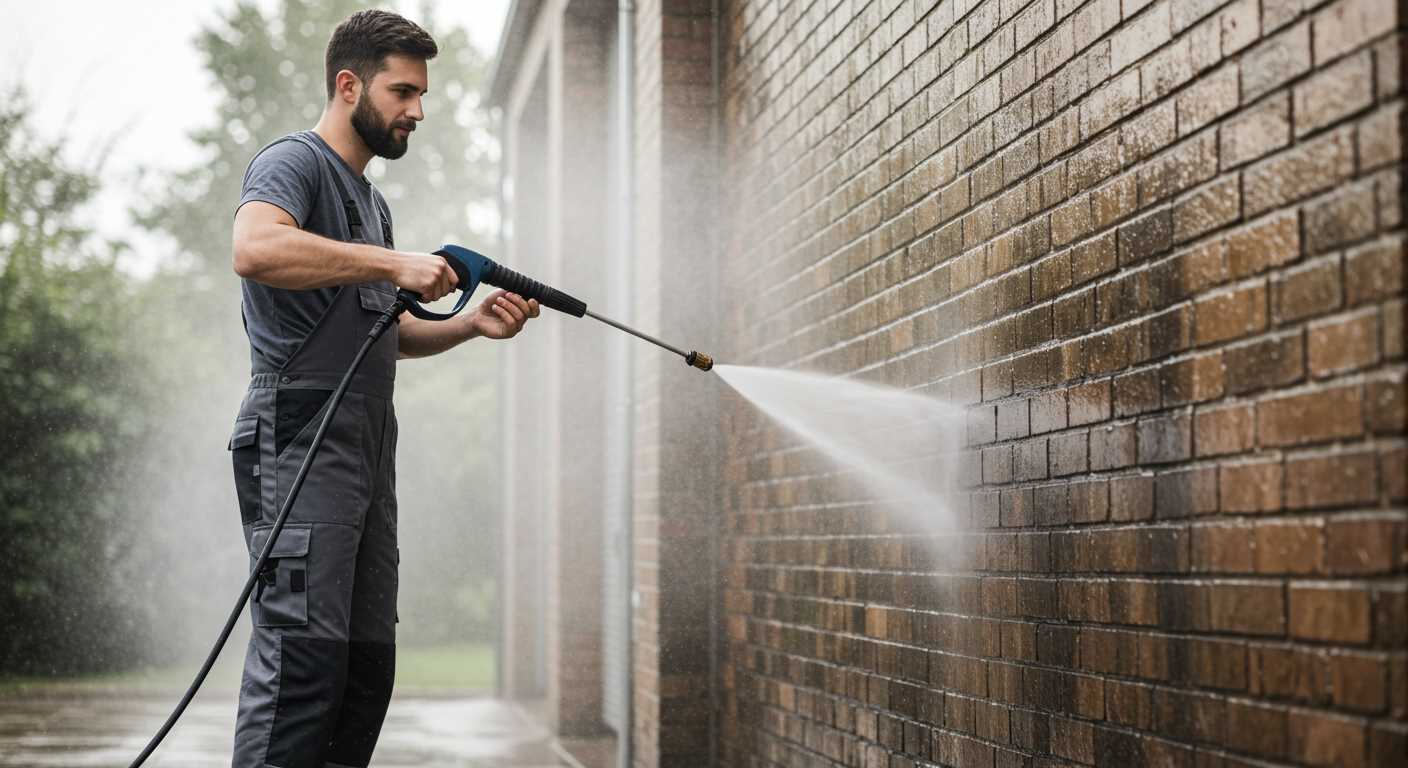
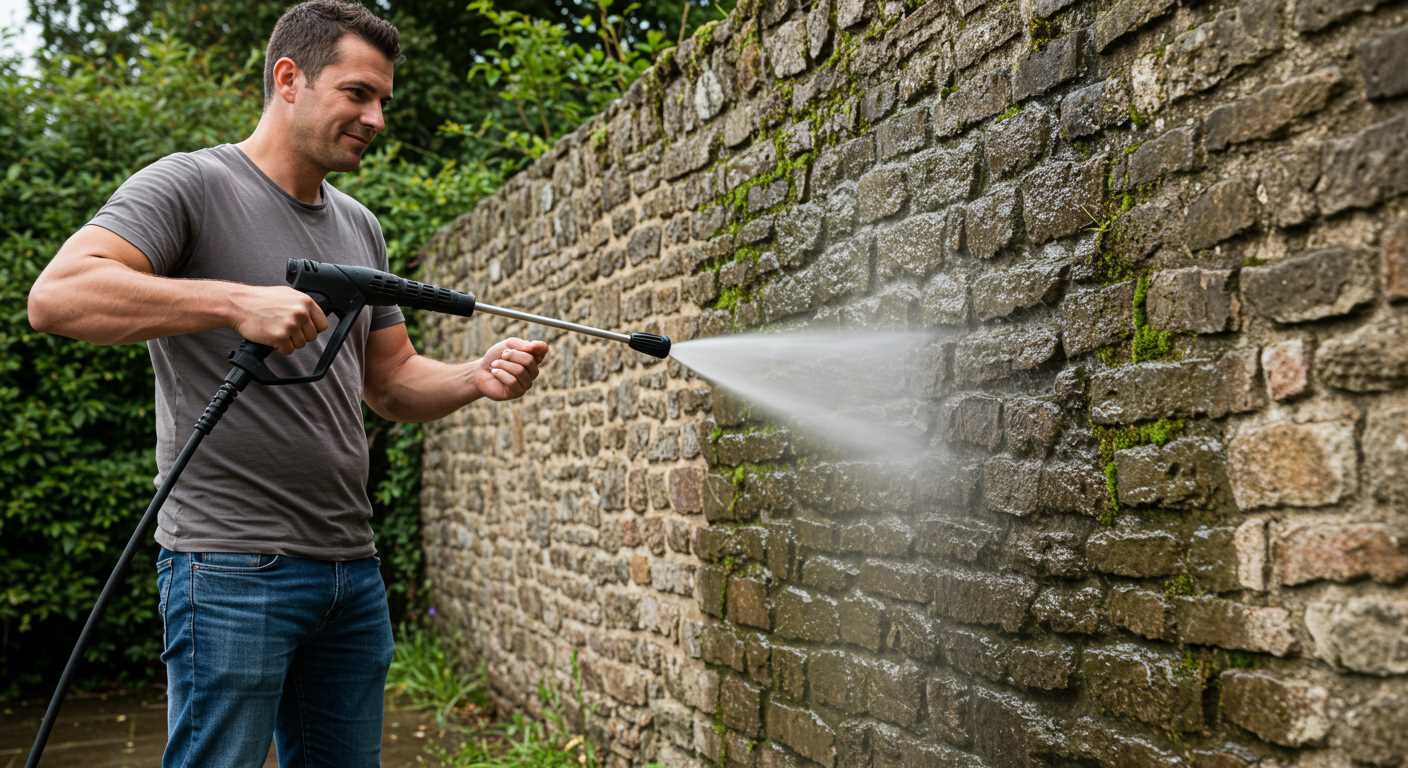
For those who may want to consider a more robust cleaning option in the future, you can explore high-performance models like the 160 bar units, which provide powerful solutions for larger or more persistent jobs.
Applying the Cleaning Solution Evenly
For optimal results, distribute the cleaning mixture across the surface uniformly. Using a watering can or a garden sprayer, pour the solution in a steady motion, ensuring even coverage. Avoid puddles; a thin layer works best to penetrate grime and stains. I recall a time when I was tackling an especially stubborn area. I applied the solution too heavily in spots, which led to inconsistent results. Lesson learned: finesse is key.
Begin at one end of the area and work your way across in sections. This method ensures that you don’t miss any spots and that the solution can work its magic effectively. If you have any stubborn stains or heavily soiled areas, consider applying a little extra solution directly to those spots and giving it some time to work before rinsing.

It’s wise to check the weather before starting. If it’s too windy, your solution might dry too quickly. On the other hand, a light drizzle can assist in keeping the surface damp, enhancing the effectiveness of your cleaning agent.
Here’s a quick reference table to keep in mind while applying the cleaning mixture:
| Tip | Description |
|---|---|
| Even Coverage | Aim for a uniform layer to maximise cleaning potential. |
| Sectioning | Work in small areas to ensure thorough application. |
| Spot Treatments | Apply extra solution directly on stubborn stains. |
| Weather Conditions | Ideal conditions enhance cleaning effectiveness; avoid windy days. |
Once the solution is evenly spread, allow it to sit for the recommended time. This waiting period is essential; it gives the mixture time to break down dirt and grime. I’ve seen some people rush through this step, but patience pays off here.
For those considering alternative methods, if ever in need of a high-powered option, you can check out the best pressure washers for cars for future reference. But for now, let’s focus on this method for a thorough, non-pressurised clean.
Scrubbing Techniques for Stubborn Stains
For tenacious marks, a strategic approach is key. Begin with a stiff-bristled brush, ensuring it has durable bristles to tackle tough grime. A circular motion often yields better results than back-and-forth scrubbing, allowing the fibres to penetrate deeper into the surface.
Choosing the Right Brush
Select a brush tailored for outdoor surfaces; those designed for patios or driveways work well. A long-handled option can save your back while providing sufficient leverage to apply pressure. Here are some recommendations:
- Stiff-bristled deck brush for general scrubbing.
- Wire brush for rust or metal stains.
- Small handheld brush for intricate areas or tight spaces.
Effective Scrubbing Techniques
Once you’ve got your brush, follow these methods:
- Soak the stained area with your chosen cleaning solution for 10-15 minutes. This helps loosen the dirt.
- Using your brush, scrub in small sections. Focus on one area at a time to ensure thorough coverage.
- For stubborn spots, apply more pressure or use a bit of elbow grease. If needed, reapply cleaning solution to keep the area moist.
- Rinse each section with clean water after scrubbing to remove loosened debris.
For oil or grease stains, consider sprinkling baking soda on the affected area before scrubbing. It acts as a mild abrasive and absorbs excess oil, making removal easier.
Regular maintenance can prevent the build-up of tough stains. A routine scrub every few months can save time and effort in the long run. Keeping surfaces clear of debris and spills makes future cleaning less daunting.
Rinsing and Drying the Surface
After applying your homemade solution and scrubbing away the dirt, rinsing is crucial. Grab a hose with a spray nozzle set to a gentle spray setting. Start at one corner and work your way across the area, ensuring even distribution of water. Aim the nozzle close to the surface to dislodge any remaining debris without disrupting the jointing sand.
Technique for Rinsing
As you rinse, keep the hose moving. If you stay in one spot too long, you might saturate the sand joints, leading to erosion. Pour water into the joints after you’ve rinsed to help settle the remaining sand. If you notice stubborn areas still holding onto grime, don’t hesitate to go over them again with your cleaning solution and scrub before rinsing once more.
Drying Recommendations
For drying, let nature take its course on a sunny day. If the weather is overcast, you can expedite the process by using a clean, dry mop or microfiber cloth to soak up excess water. Avoid using any abrasive materials that could scratch the surface. Patience is key; allow the area to dry completely to prevent any slipping hazards once it’s ready for use again.
| Tip | Description |
|---|---|
| Gentle Rinse | Use a hose with a nozzle set to a gentle spray. |
| Move Constantly | Keep the hose moving to prevent erosion of jointing sand. |
| Natural Drying | Let the sun dry the area if possible; use a mop on cloudy days. |
| Check for Slips | Ensure the surface is completely dry before allowing foot traffic. |
Maintaining Clean Block Paving Long-Term
Regular brushing is key. I recommend using a stiff broom weekly to remove debris and prevent the build-up of dirt. This simple action can significantly prolong the pristine appearance of your surface.
Consider sealing the surface after thorough cleaning. I’ve seen how a quality sealant can prevent stains and make future maintenance easier. It creates a protective barrier that repels dirt and moss, making it less likely for them to take hold.
Inspect the joints between the stones. Over time, sand or gravel can wash away, leading to gaps that allow weeds to grow. Top up with fresh jointing sand as needed. This not only helps with stability but also deters unwanted plant growth.
Keep an eye on the weather. After heavy rain, it’s wise to check for pooling water or signs of moss. Addressing these issues promptly can save you from more extensive cleaning later.
Rotate your furniture and planters periodically to avoid uneven discolouration. I learned this the hard way when a patio set left permanent marks on the surface. A little movement goes a long way in maintaining an even look.
Lastly, be proactive about treating stains. If you notice a spill, tackle it immediately with your homemade cleaning solution. The sooner you address it, the less likely it is to become a stubborn mark.

.jpg)


