


Using a robust cleaning device can significantly enhance the maintenance of your vehicle’s stopping components. I remember the first time I tackled this task; I was amazed at how much grime accumulated over time. A powerful unit not only saves you time but also ensures that all residues are effectively removed, restoring optimal performance.
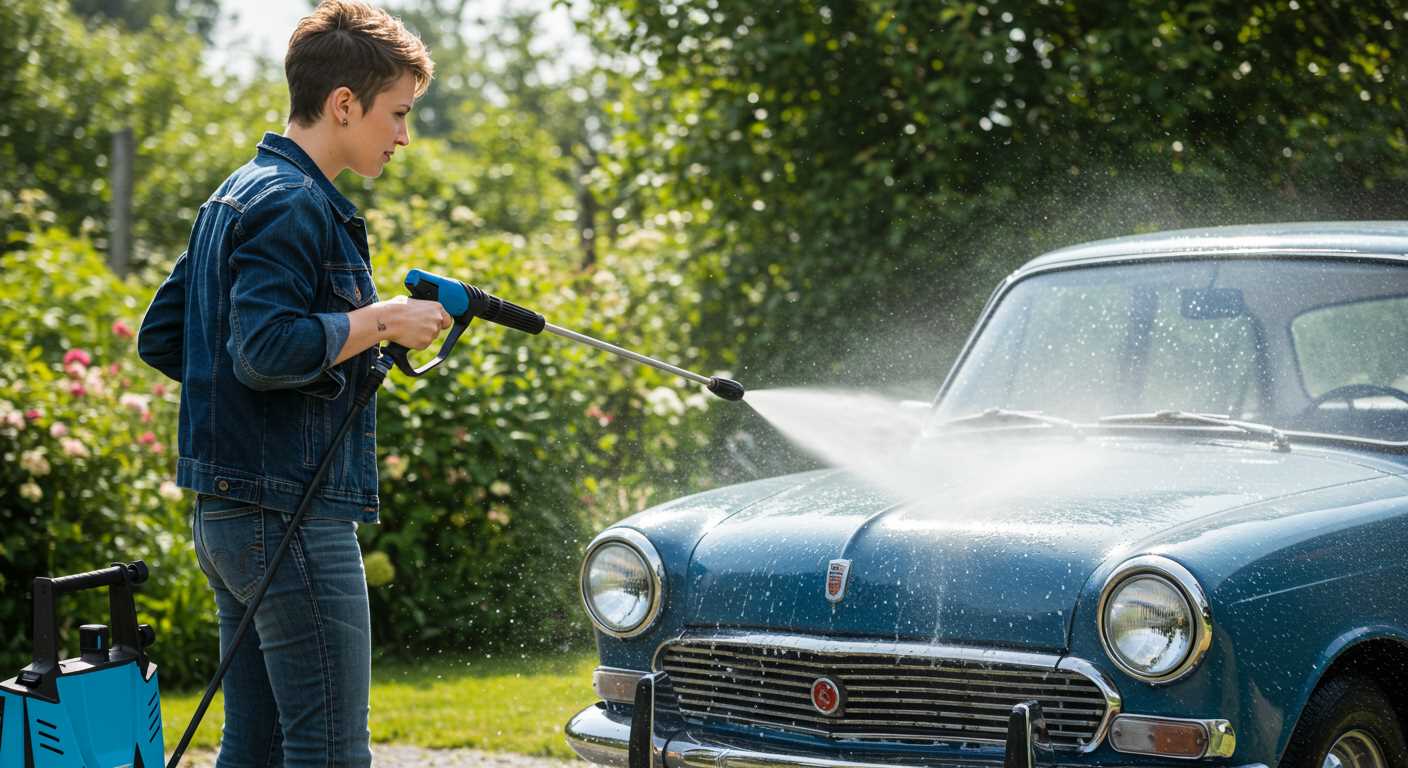
Before starting, ensure you have the right nozzle attachment. A narrow spray pattern will focus the water jet, allowing you to dislodge stubborn dirt and debris. I’ve often found that a 15-degree nozzle works wonders in these situations. Positioning the unit at a safe distance is equally important; around 30cm away from the surface is ideal to prevent any damage while still delivering enough force to clean effectively.
As you proceed, take care to avoid certain areas that could be sensitive to water pressure. Electrical components and rubber seals can be easily compromised. I once made the mistake of getting too close to the sensor, which led to unnecessary repairs. Always keep your distance and angle the spray to avoid these vulnerable spots.
After completing the task, I recommend a visual inspection to confirm that all components are free of obstructions. It’s satisfying to see the transformation and know that you’ve contributed to a safer driving experience. Regular maintenance not only prolongs the lifespan of your vehicle but also enhances its performance on the road.
Cleaning Brakes with a High-Pressure Washer
Begin by ensuring the vehicle is securely raised and supported. This provides easy access to the wheel components without straining. I once learned the hard way that a stable platform is essential to avoid accidents while tackling this task.
Select a nozzle with a narrow spray pattern, typically around 15 degrees. This concentrates the water jet, allowing it to dislodge stubborn grime effectively. I recall a time when I used a wider nozzle and spent ages with minimal results. The focused stream made all the difference.
Start from a distance of about 30 cm. This prevents damage to delicate components while still delivering enough force to push away debris. Gradually move closer as needed, but keep an eye on the surfaces to avoid any unintended impacts. I’ve witnessed how too much pressure can warp or damage parts, so caution is key.
Apply the water jet at different angles. This helps reach hidden areas where dirt tends to accumulate. I often tilt the nozzle to hit those tricky spots behind the calipers. A little creativity goes a long way in achieving thorough results.
For stubborn stains, consider using a dedicated cleaning solution designed for this purpose. Apply it directly to the affected areas before rinsing. I’ve found that letting it sit for a few minutes can enhance its effectiveness, making subsequent rinsing much easier.
After the wash, thoroughly inspect the area for any remaining contaminants. It’s surprising how much can be overlooked in the rush to finish. I always take a moment to double-check before wrapping up. This ensures everything is in top condition and ready for safe operation.
Finally, give the components time to dry completely before reassembling. Moisture can lead to rust and other issues down the line. I’ve made it a habit to leave them exposed to air for a while, ensuring they are perfectly dry to prolong their lifespan.
Choosing the Right High Pressure Washer for Brake Cleaning
Selecting the appropriate equipment can significantly influence the outcome of your task. Based on my experience, I recommend opting for a model with a minimum pressure of 1500 PSI. This level ensures efficient removal of stubborn debris while maintaining safety for the components involved.
Key Features to Consider
- Flow Rate: Look for a unit with a flow rate of at least 1.5 GPM. This provides a balanced approach, ensuring enough water to assist in the cleaning process without overwhelming sensitive parts.
- Nozzle Options: Adjustable nozzles are invaluable. A narrow jet will deliver concentrated power on tough spots, while a wider spray can help rinse away loose dirt.
- Durability: Invest in a model made from robust materials. This ensures longevity, especially when used regularly for demanding tasks.
- Portability: Consider units with wheels or a lightweight design. Being able to manoeuvre easily can save time and effort.
Additional Insights
During my years testing various models, I found that electric units are often quieter and suitable for home use. However, gas-powered options excel in power and are better suited for heavy-duty applications.
Also, keep an eye on maintenance. Regular checks can extend the life of your equipment significantly. You might want to refer to this resource for insights on operation duration to prevent overheating.
In conclusion, choosing wisely based on your specific needs can make a world of difference in achieving optimal results.
Preparing Your Vehicle for Brake Cleaning
Before you begin, ensure the vehicle is parked on a flat, stable surface. Engage the handbrake to prevent any movement. Safety is paramount; wearing gloves and goggles will protect you from debris and chemicals. Disconnect the battery to avoid any electrical issues, especially if your vehicle has electronic brake systems.
Gather Necessary Tools and Materials
You’ll need a few items to make the process smoother. A suitable nozzle for your cleaning device is essential; a fan spray works well to avoid damaging components. Have a sturdy brush on hand for any stubborn dirt and a bucket to catch runoff. If you’re using a degreaser, ensure it’s compatible with your vehicle’s materials.
| Item | Purpose |
|---|---|
| Gloves | Protect hands from chemicals |
| Goggles | Shield eyes from debris |
| Brush | Remove stubborn grime |
| Degreaser | Break down grease and dirt |
| Bucket | Collect runoff |
Inspect the Area and Components
Before engaging any equipment, take a moment to inspect the area around the wheels. Ensure there are no loose parts or obstructions that could interfere. A quick visual check of the brake components can save time and prevent complications later. Look for signs of wear or damage that might require further attention.
Applying the Correct Nozzle and Pressure Settings
For optimal results, selecting the right nozzle and adjusting the settings on your machine is key. A 25-degree or 30-degree nozzle typically works best for delicate components, ensuring a balance between force and safety. Using a narrower spray, like a 15-degree nozzle, can be too aggressive and may cause damage to sensitive areas. I learned this the hard way when I accidentally chipped a wheel rim using a tighter angle on my own vehicle.
Adjusting Pressure Settings
Pressure settings should generally be kept between 1200 to 2000 PSI for automotive components. This range provides sufficient force to remove grime without risking harm. I recall a time when I was in a rush and cranked up the PSI to 3000, thinking it would save time. I ended up ruining some seals, leading to a costly repair. Stick to the recommended range to protect vital parts.
Testing Before Full Application
Before tackling the entire assembly, I always advise testing the spray on a less visible area. This simple step can prevent unwanted surprises. It’s a practice I adopted after a mishap where I mistakenly assumed a nozzle would be gentle enough. The result was an unexpected scuff on a brake caliper that took hours to polish out. Taking a moment for this test ensures confidence in your approach.
Techniques for Cleaning Brake Components Safely
Utilising a high-powered unit requires precision. Positioning is paramount; ensure you maintain a safe distance to avoid damaging sensitive components. An initial distance of at least 12 inches is advisable. Gradually adjust based on the results observed.
Choosing the Right Cleaning Agents
Opt for cleaning solutions specifically designed for automotive applications. Avoid harsh chemicals that can corrode metal or rubber parts. Look for biodegradable options that are safe for the environment and will not damage surrounding surfaces.
Effective Rinsing Techniques
- Begin by rinsing off loose debris to prevent scratching during the main cleaning process.
- Use a sweeping motion rather than a concentrated blast to disperse dirt without risking damage.
- Follow up with a targeted approach on heavily soiled areas, ensuring not to linger too long on any one spot.
After cleaning, allow components to dry completely before reassembly. Moisture can lead to rust and other issues over time. For additional guidance, refer to the best pressure washer surface cleaners for options that suit your needs.
Finally, always wear appropriate safety gear, including goggles and gloves, to protect against debris and chemical exposure. Your safety is paramount throughout the process.
Post-Cleaning Inspection and Maintenance Tips
After using a powerful cleaning device, conduct a thorough examination of all components. Look for any signs of wear or damage, particularly in hoses, seals, and fittings. Ensure there are no remnants of grime or residue left behind that could potentially cause issues later on. Pay close attention to areas that typically accumulate dirt, such as calipers and rotors.
Component Assessment
Check the condition of the brake pads and discs. If they appear unusually worn or have developed cracks, it may indicate a need for replacement. Use a flashlight to inspect the surfaces for any irregularities. This step is crucial; neglecting worn elements can lead to performance problems down the line.
Regular Upkeep
Implement a routine maintenance schedule. Regularly inspect all parts, including the lines and connections, to ensure everything remains in optimal condition. Lubricate moving parts as necessary and replace any worn-out components. Keeping everything in good shape will enhance performance and extend the lifespan of the system.
Common Mistakes to Avoid When Cleaning Brakes
Using excessive force can lead to damage. I recall a time when I accidentally used a too-powerful setting, resulting in the dislodgement of sensitive components. Always adhere to manufacturers’ recommendations for both pressure and distance.
Neglecting to protect surrounding areas is another pitfall. One time, I forgot to cover the suspension components, which led to unwanted grime accumulation. Ensure that areas not meant for cleaning are adequately shielded.
Overlooking Safety Gear
Not wearing appropriate safety gear is a mistake I see often. During one session, I wasn’t wearing goggles and ended up with debris in my eye. Always equip yourself with eye protection, gloves, and sturdy footwear to prevent injuries.
Using Incorrect Cleaning Solutions
Employing the wrong cleaning agents can cause more harm than good. I made this error once by using a standard detergent instead of one formulated for automotive components, leading to corrosion. Stick to specialised products designed for your vehicle’s parts.

.jpg)


