
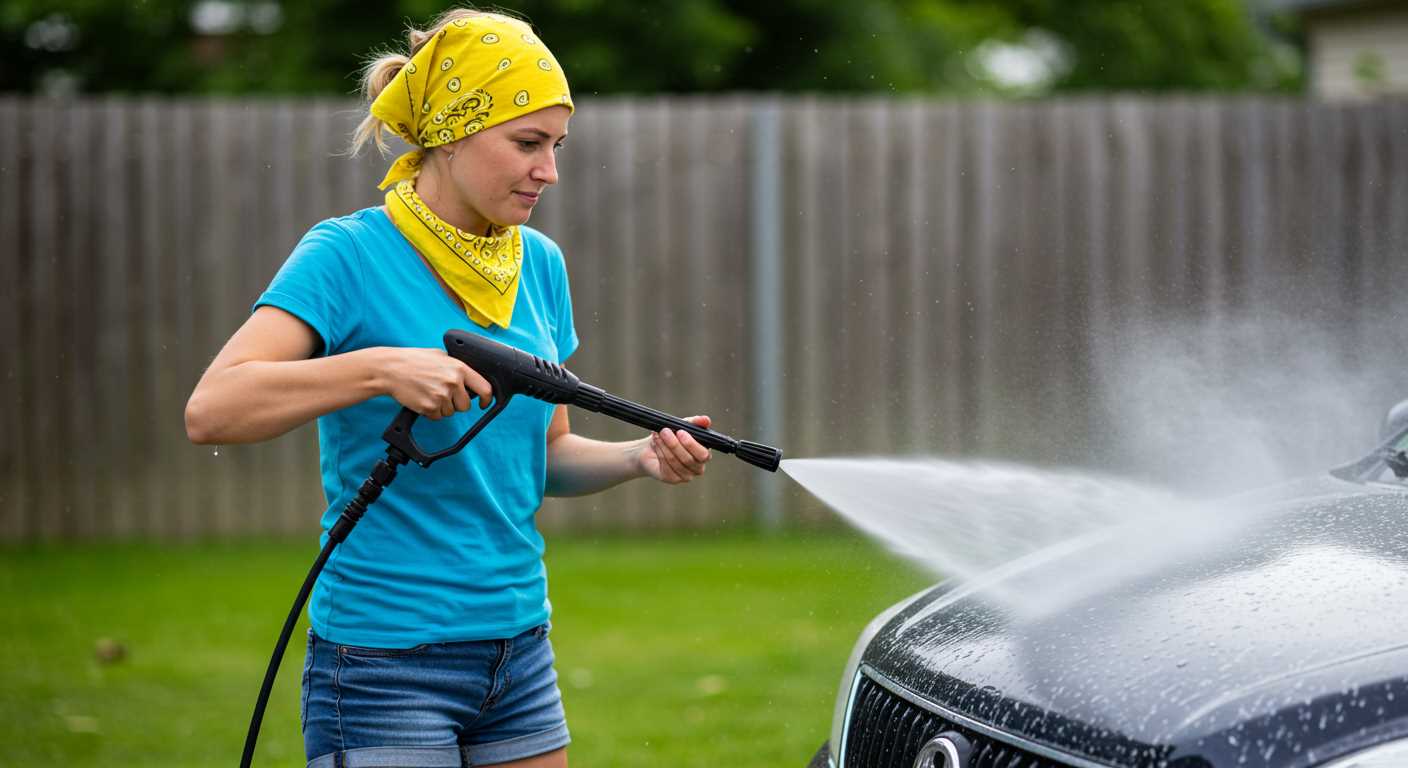


Begin by selecting the right nozzle for your machine; typically, a 25-degree nozzle works wonders for most surfaces. I remember the first time I tackled a stubborn facade; the wrong attachment turned my efforts into a frustrating ordeal. The correct choice not only speeds up the process but ensures that surfaces remain undamaged.
Next, consider the distance from which you spray. Maintaining a distance of about 12 inches helps avoid any potential chipping or gouging. I once got too close during a cleaning session, and the results were less than desirable. Adjust your technique as needed to achieve a thorough yet gentle approach.

Before you begin, it’s wise to prepare the area. Remove furniture, potted plants, and anything that could obstruct your work. I learned this lesson the hard way; a misplaced garden ornament can easily become a casualty of high-velocity water. A clean workspace not only keeps your belongings safe but also allows for unhindered access to all areas.
Finally, use a suitable detergent and follow the manufacturer’s instructions for application. I often mix my own solution, but I’ve found that some commercial products significantly enhance the process. Always test on a small, inconspicuous area first to ensure compatibility with your surfaces.
Steps for Revitalising Your Exterior Walls
Begin by selecting a nozzle that delivers a wide spray pattern. This helps avoid damage to the surface while ensuring a thorough wash. I recall a time when I used too narrow a nozzle and ended up etching some surfaces. Trust me, a wider spray is your friend.
Preparation is Key
Before any washing occurs, clear the area of furniture, plants, and anything else that could get in the way. I once overlooked this step and ended up with soaked cushions and a few unhappy neighbours. Protect windows and doors with plastic sheeting to prevent water intrusion. It’s a small effort that pays off.
Applying Detergent
Use a suitable cleaning solution designed for outdoor surfaces. Dilute it according to the manufacturer’s instructions, then apply it with a low-pressure setting. In my experience, letting the solution sit for about 10-15 minutes allows it to break down dirt effectively. Just don’t let it dry out; keep it moist.
| Task | Time |
|---|---|
| Preparation | 15 minutes |
| Detergent Application | 10-15 minutes |
| Washing | 20-30 minutes |
After letting the cleaning solution set, switch to a higher pressure setting and start washing from the top down. This prevents dirty water from splattering onto already cleaned areas. I learned this the hard way; the bottom sections would often end up messier than before.
Finish by rinsing thoroughly, ensuring no detergent residue remains. I often go over the surface a second time with just water to ensure everything is spotless. Post-cleaning, inspect for any missed spots and touch them up as necessary.
Choosing the Right Pressure Washer for Brick Cleaning
For optimal results, select a unit that delivers a minimum of 2,500 PSI (pounds per square inch). This level of pressure effectively removes dirt, mildew, and algae without damaging the surface. I recall a time when I used a lower PSI model; the results were disappointing, and I had to rework the area. Trust me, investing in the right power is crucial.
Flow Rate Matters
Pay attention to the flow rate, measured in GPM (gallons per minute). A higher GPM means quicker cleaning since more water is used to rinse away debris. I once tackled a large project with a unit offering only 1.5 GPM. It took forever to finish, and I learned that a model with at least 2.0 GPM can save significant time and effort.
Consider the Nozzle Types
The nozzle makes a noticeable difference. A 25-degree nozzle is generally ideal for most surfaces, while a 15-degree model is better for tougher stains. I remember switching nozzles mid-cleaning; the change allowed me to tackle stubborn spots effectively. Always have a selection of nozzles handy to adapt to different areas and conditions.
Preparing the Area Around Your Brick House
Before starting the cleaning process, it’s crucial to clear the vicinity of any obstacles. Move furniture, planters, and decorations at least 10 feet away from the exterior walls. This prevents any damage or unintended stains from the cleaning solution.
Check for loose items on the ground, like hoses or tools, that could become projectiles under high pressure. I once learned this the hard way when a misplaced garden gnome went flying during a session. It’s wise to secure or remove anything that could obstruct your path or create hazards.
Protecting Plants and Landscaping
Cover nearby plants and shrubs with tarps or plastic sheeting. High-pressure water can be harsh on delicate foliage. I’ve seen plants wilt after a thorough wash because they weren’t adequately shielded. If possible, water the plants before starting to help them withstand any overspray.
Checking for Electrical and Water Lines
Inspect the area for any exposed electrical or water lines. If you find any, adjust your cleaning angle to avoid direct pressure on these vulnerable spots. I’ve had instances where I accidentally sprayed a hose connection, leading to an unexpected water fountain. Keeping an eye on these details saves time and prevents annoying surprises.
Lastly, consider using a battery powered high pressure washer for added convenience, especially in areas where access to a power source is limited. This can make the entire process smoother and more efficient.
Selecting the Appropriate Cleaning Solution for Brick
For optimal results, I recommend using a solution specifically formulated for porous surfaces. A mild detergent mixed with water often works wonders, ensuring that the natural texture of your masonry remains intact.
Choosing the Right Product
Look for products labelled as safe for masonry. Avoid harsh chemicals like bleach, as they can damage the integrity of the surface. I recall a job where a client opted for a strong bleach solution, thinking it would give immediate results. Instead, it discoloured the bricks and required extensive restoration.
Application Tips
Mix the cleaner according to the manufacturer’s instructions. Typically, a ratio of 1:10 cleaner to water suffices. Apply the solution using a low-pressure spray to avoid water saturation. Allow it to dwell for 10 to 15 minutes; this step helps lift dirt and grime effectively. Rinse thoroughly to prevent residue buildup, which can lead to staining over time.
Always test any solution on a small, inconspicuous area before full application. This helps ensure compatibility with your specific brick type and prevents any unpleasant surprises. My experience has taught me that a little caution can save a lot of hassle down the road.
Setting Up the Pressure Washer for Optimal Results
Adjust the machine’s pressure settings according to the surface type. For softer materials, keep it low, around 1500-2000 PSI. For tougher grime on harder surfaces, you can increase it to 2500 PSI or more. Always refer to the manufacturer’s guidelines to avoid damage.

Attach the right nozzle; a 25-degree or 40-degree tip works well for most surfaces, providing a fan spray that covers a larger area without being too aggressive. For more stubborn stains, consider a 15-degree nozzle, but use it with caution.
Ensure the water source is sufficient. Connect the washer to a steady supply of clean water. Check for any kinks in the hose that could reduce flow. If the machine has a built-in detergent tank, fill it with the selected cleaning solution. For external tanks, follow the proper mixing ratios outlined on the product label.
Before starting, test the setup on a small, inconspicuous area. This will help gauge the pressure and nozzle effectiveness while preventing damage to the visible parts of the exterior.
- Check all connections for leaks.
- Inspect hoses for wear or damage.
- Confirm that the safety lock is engaged before plugging in the electric model.
- Wear appropriate safety gear: goggles and gloves are recommended.
Once everything is set, switch on the machine and give it a moment to build pressure. You’re now ready to tackle the job effectively, ensuring optimal results through proper setup and care. Always remember, a well-prepared machine performs significantly better than one that’s rushed.
Techniques for Pressure Washing Brick Surfaces
To achieve optimal results, angle the nozzle at 30 to 45 degrees for effective dirt removal. This technique allows for a focused stream that can penetrate the porous texture of the material without causing damage.
- Start from the Top: Always begin at the highest point and work your way down. This prevents dirty water from running down over areas you’ve already cleaned.
- Use a Fan Spray: A fan spray pattern disperses water over a broader area, reducing the risk of surface damage while still providing adequate cleaning power.
- Maintain a Steady Distance: Keep the nozzle approximately 12 to 18 inches away from the surface. Too close can cause chipping, while too far may not provide sufficient cleaning.
- Overlap Passes: When moving the nozzle, overlap each pass by about 6 inches to ensure uniform coverage and to avoid streaks.
- Work in Sections: Divide the surface into manageable sections. This makes it easier to monitor progress and ensures thorough cleaning.
If you encounter stubborn stains, consider using a specific cleaning solution designed for this type of surface. Apply it before commencing with the high-pressure technique to boost the cleaning efficiency.
After washing, rinse the area thoroughly to remove any residual cleaning agent, as leaving it can lead to discolouration or damage over time.
Lastly, ensure your equipment is in optimal condition. A well-maintained unit not only enhances performance but also prolongs the lifespan of the device. For those seeking additional gardening tools, I recommend checking out the best flymo garden vacuum for keeping your outdoor space tidy.
Post-Cleaning Maintenance for Brick Exteriors
After using a high-pressure cleaning tool, it’s essential to maintain the integrity and appearance of the surface. One key step is to inspect the joints and mortar between the units. Look for any signs of wear or damage. Repointing is often necessary to prevent moisture intrusion, which can lead to further degradation.
Applying a sealant specifically designed for porous surfaces can offer protection against stains and weathering. I remember sealing the exterior of my own property after a thorough wash; it significantly reduced the amount of dirt that accumulated over time. Choose a breathable product to ensure moisture can escape, thus preventing trapped water that could weaken the structure.
Regular inspections should become part of your routine. Every six months, check for any new stains or algae growth, particularly in shaded areas. If you spot any issues, address them promptly. I once neglected a small patch of mildew, and it quickly spread, leading to more extensive cleaning later on.
Consider landscaping adjustments to enhance drainage away from the walls. Ensure that soil or mulch does not come into contact with the lower courses of the structure, as this can lead to moisture retention. In my experience, creating a slight slope away from the foundation can make a significant difference over time.
Finally, a simple rinse with water after heavy rain can help keep the surface looking fresh. I often do this during my seasonal clean-up; it’s a quick way to remove any debris and prevent build-up. Following these steps not only enhances aesthetics but also prolongs the life of the external surfaces, making upkeep much easier in the long run.
Common Mistakes to Avoid When Pressure Washing Brick
Avoid using too high a setting on your cleaning device. Many assume that the stronger the force, the better the results. I once saw a neighbour ruin their exterior by blasting the surface at maximum PSI. Instead, stick to moderate pressure to prevent damage.
Don’t forget to test a small area first. I learned this the hard way when I applied a solution without checking its compatibility. It resulted in uneven patches that required significant touch-up work. Always perform a spot test to ensure the cleaner works well with the surface.
Skipping the preparation of the surroundings can lead to unwanted mess. I’ve seen too many people neglect to cover plants or furniture, resulting in ruined landscaping and stained outdoor items. Take the time to shield your environment before beginning the task.
Using the wrong cleaning agent is another frequent blunder. I once used an acidic cleaner that discoloured the surface. Always opt for a solution designed specifically for the materials you’re working with. It saves time and prevents damage.
Overlapping strokes is a common mistake that can lead to streaks. I’ve had to redo sections because I didn’t maintain a consistent distance while moving the nozzle. Keep an even pace and maintain the right distance to achieve a uniform appearance.
Neglecting to maintain the equipment can hinder results. I always check hoses and nozzles before starting. A clogged nozzle can disrupt the flow and lead to subpar cleaning. Regular maintenance ensures optimal performance.
Finally, don’t rush the rinsing process. I learned that a thorough rinse helps remove all residues. Leaving any solution on the surface can lead to build-up, which requires additional work later. Patience pays off in the long run.

.jpg)


