


If you want to refresh the façade of your dwelling without resorting to high-powered devices, a simple blend of water and a mild detergent can do wonders. Start with a bucket and mix one part detergent with five parts water. This solution is gentle yet effective in removing grime and moss from your exterior walls.
Next, grab a stiff-bristled brush. It’s your best ally in this process. Dip it into your soapy mixture and scrub the surface vigorously. Pay special attention to corners and crevices where dirt tends to accumulate. This method not only cleans effectively but also gives you the satisfaction of seeing your efforts translate into visible results.
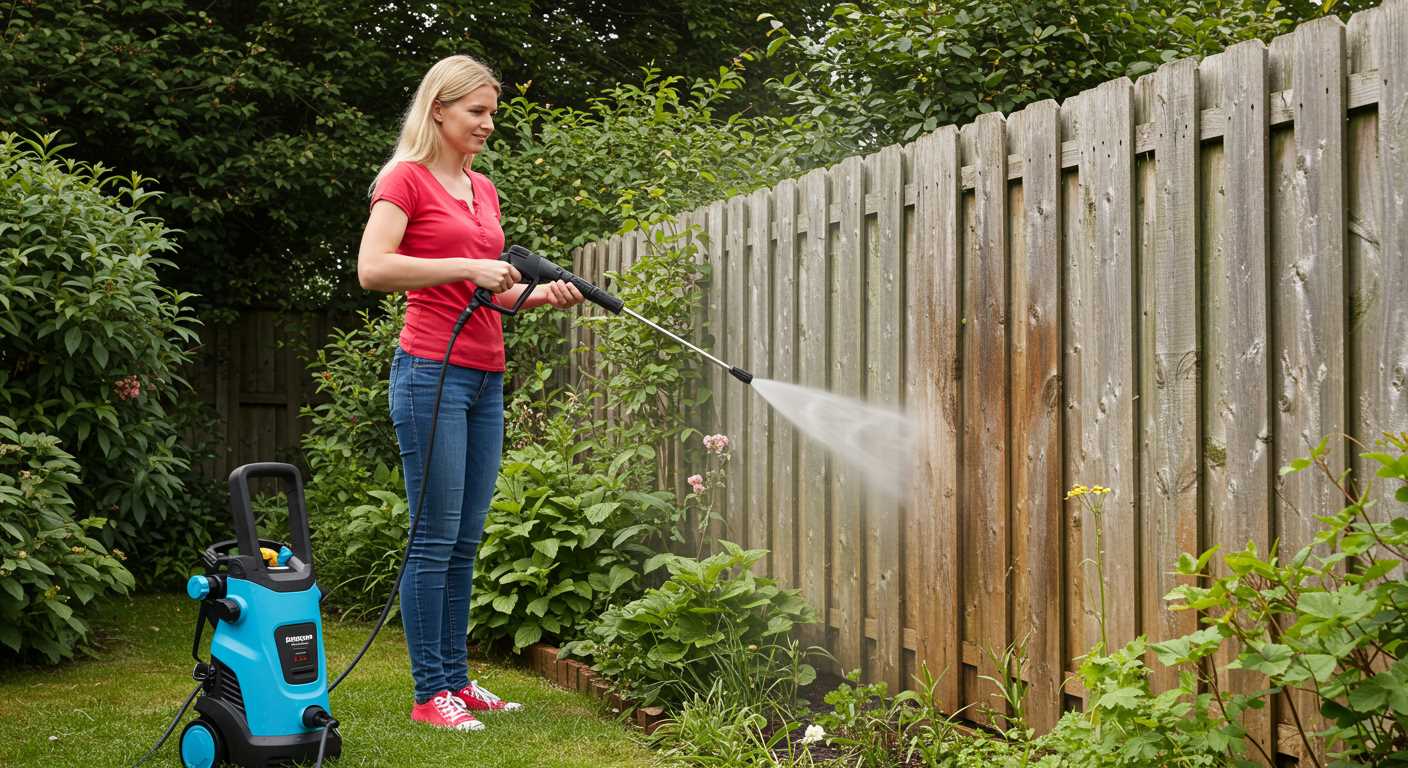
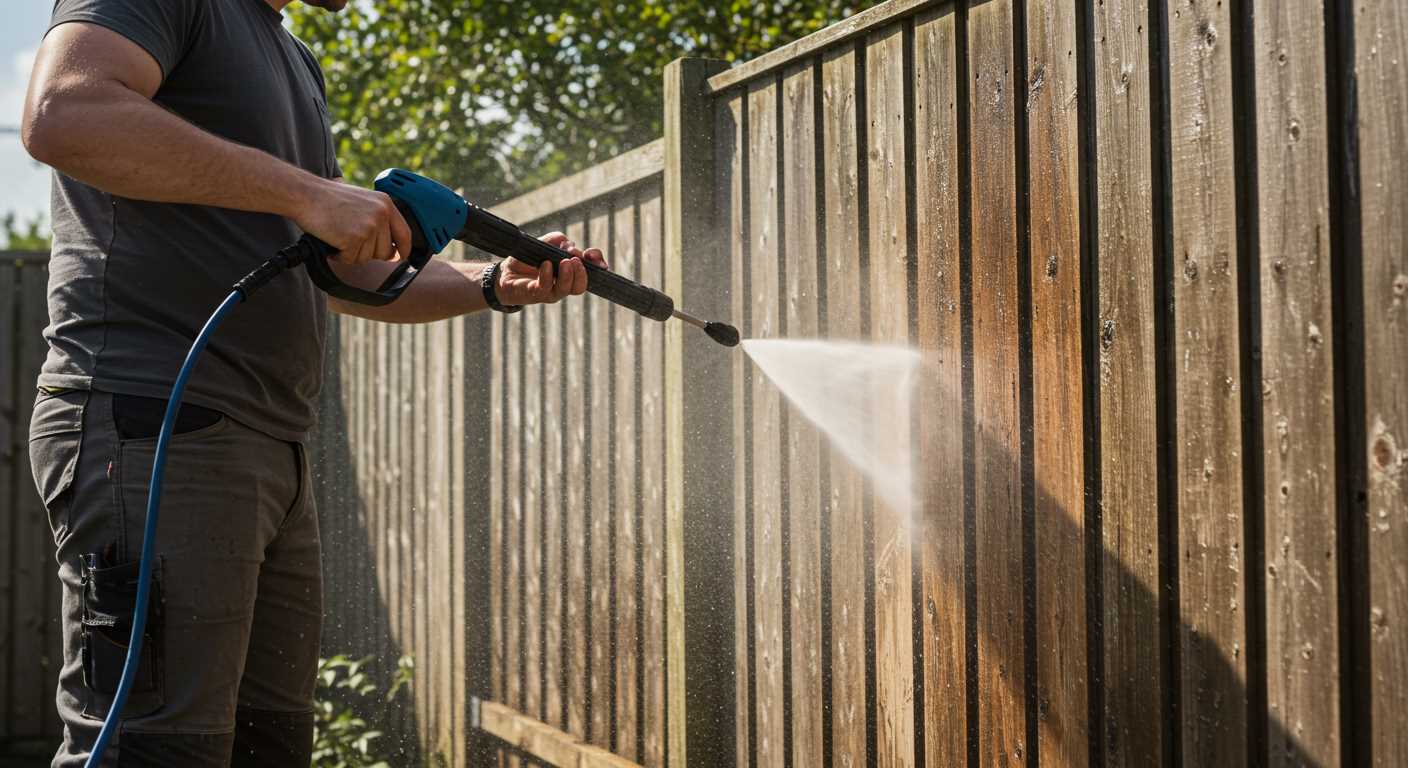
After scrubbing, thoroughly rinse the area with clean water using a garden hose. This step is crucial to wash away any residue from the detergent. If stubborn stains persist, a paste made from baking soda and water can be applied directly to the affected spots, allowing it to sit for a few minutes before scrubbing again. The gentle abrasiveness of baking soda works like a charm on those tough marks.
Lastly, a regular maintenance schedule is key. A light wash every few months can help prevent the build-up of dirt and maintain the aesthetic appeal of your property. By following these straightforward steps, you can keep your exterior looking its best without the need for specialised equipment.
Effective Techniques for Exterior Surface Restoration
A solution that I’ve found particularly useful involves utilising a mixture of water and mild detergent. Combine these in a bucket, and use a stiff-bristled brush to apply the solution directly to the surface. This method allows for thorough penetration into the crevices and texture of the material, making it easier to lift dirt and grime.
For tougher stains, a paste made from baking soda and water can be applied directly to the affected areas. Let it sit for about 15 minutes before scrubbing gently with the brush. The mild abrasiveness of baking soda works wonders on stubborn marks without damaging the surface.
Another trick I’ve employed is using white vinegar diluted with water. This natural cleaner can tackle mould and mildew effectively. Spray the mixture onto the stained areas, allow it to sit for a while, and then scrub with the brush. It’s also eco-friendly, which is an added bonus.
Rinsing is crucial. After scrubbing, ensure you rinse off the residue thoroughly with a garden hose. A spray nozzle attachment can help direct the water to specific areas, ensuring no cleaning solution remains, which could attract more dirt later.
For high-reaching spots, a long-handled brush can be a lifesaver. It allows you to reach difficult areas without straining yourself. I always keep one handy, as it makes the process much more manageable.
Lastly, consider applying a masonry sealer once everything is dry. This helps protect the surface from future stains and makes maintenance easier down the line. It’s a simple step that can save you a lot of effort in the long run.
Assessing the Brick Condition Before Cleaning
Begin by examining the surface for cracks or loose pieces. A gentle tap with a tool can help identify areas that may need repair before any cleaning takes place. If you notice significant damage, it’s wise to consult a professional to avoid worsening the situation.
Look for Stains and Discolouration
Pay attention to any stains, such as efflorescence, mould, or mildew. These can indicate deeper moisture issues that should be addressed prior to any maintenance efforts. For instance, if you spot white, powdery deposits, it suggests that water may be seeping through the masonry, which can lead to structural concerns.
Test the Absorption
Conduct a simple water test by splashing some water onto the surface. If the material absorbs the water quickly, it indicates porosity, meaning it may require a gentler approach during the cleaning process. Conversely, if the water beads up, the surface might have a protective seal, making it easier to manage dirt and grime.
Always ensure that any cleaning solution is compatible with the specific type of material. Using the wrong product can lead to discolouration or deterioration. Consider trying a small patch first to evaluate the reaction before proceeding with a larger area.
Gathering Necessary Cleaning Supplies
Start by gathering the right materials. This step is crucial as it sets the foundation for the entire process. Here’s what you’ll need:
Basic Tools
- Broom or stiff brush: Ideal for removing loose dirt and debris.
- Bucket: For mixing your cleaning solution.
- Sponge or cloth: For applying the cleaning mixture and wiping off grime.
- Scrubbing brush: A longer-handled option for reaching high areas.
Cleaning Solutions
- Dish soap: Gentle yet effective for light staining.
- White vinegar: Natural solution for tougher spots; mix with water for a balanced approach.
- Baking soda: Works wonders on stubborn stains; create a paste with water.
- Commercial brick cleaner: If mildew or heavy staining is present, consider a dedicated product.
Mix your solutions in the bucket according to the severity of the stains and type of material. Always test a small inconspicuous area first to ensure compatibility. Use gloves to protect your hands during the process.
By preparing these supplies, you’ll be equipped to tackle the task effectively and ensure your exterior surfaces regain their appeal.
Preparing the Surface for Cleaning
Start by removing any loose debris, such as leaves, dirt, and spider webs. A broom or a stiff-bristle brush is effective for this task. Pay attention to corners and crevices where grime tends to accumulate. This initial step prevents unwanted particles from scratching the surface during subsequent cleaning.
Inspect for Damage

Examine the structure closely. Look for cracks, chips, or crumbling mortar. Any damaged areas should be addressed before cleaning to avoid exacerbating the problem. If you find significant damage, consider consulting a professional for repairs. Minor issues can often be sealed with a suitable mortar mix, allowing for a smoother cleaning process.
Moisten the Surface
Once debris is cleared and damage assessed, lightly dampen the area with water. This helps to loosen any stubborn dirt and grime, making the cleaning process more efficient. Use a garden sprayer or a hose set to a gentle flow to avoid saturating the masonry. A damp surface also prevents cleaning solutions from drying too quickly, which is crucial for effective stain removal.
By taking these steps, you ensure a solid foundation for the upcoming cleaning efforts, setting the stage for optimal results.
Choosing the Right Cleaning Solution for Bricks
Opt for a mixture of water and mild detergent for general maintenance. This combination effectively removes dirt and grime without harming the surface. I’ve found that dish soap works wonders–use a few drops in a bucket of warm water. Apply with a soft-bristle brush to avoid any abrasiveness.
For Stubborn Stains
When facing tough marks, consider using a vinegar solution. Mix one part vinegar with one part water. This natural option not only tackles mildew but also brightens the surface. I remember a particularly stubborn stain that finally lifted after a good scrub with this mix and a bit of patience.
For Heavy Soiling
For extreme build-up, a commercial brick cleaner may be necessary. Look for products specifically labeled for masonry. Always follow the manufacturer’s instructions closely. In my experience, it’s wise to test the solution in a small, inconspicuous area before full application to ensure compatibility. This simple step saved me from potential headaches more than once.
Applying the Cleaning Solution Safely
Always wear protective gear, including gloves, goggles, and a mask, to shield yourself from any harmful chemicals in the solution. It’s a simple step that can save you from potential irritation or injury.
Mixing and Testing the Solution
- Follow the manufacturer’s instructions for dilution carefully. Using too strong a mixture can damage the surface.
- Before applying the solution to the entire area, test it on a small, inconspicuous section. This ensures compatibility with the material and helps gauge the effectiveness.
Application Techniques
Use a garden sprayer or a soft-bristle brush for application. Avoid metal brushes as they can scratch the surface.
- Apply the solution from the bottom up to prevent streaks.
- Work in small sections to maintain control and avoid drying before rinsing.
- Never apply in direct sunlight; this can cause the solution to dry too quickly, leading to unsightly marks.
After applying the cleaning agent, let it sit for the recommended time to break down grime before rinsing off thoroughly with clean water. A gentle rinse is crucial to remove any residue and ensure the surface remains undamaged.
Scrubbing Techniques for Stubborn Stains
For those persistent marks on your exterior, a stiff-bristled brush is your best ally. Choose one with a long handle to reach high areas comfortably. When scrubbing, use a circular motion to lift the grime effectively. Apply firm pressure, but avoid excessive force that might damage the surface.
If you encounter particularly tough spots, consider using a mixture of baking soda and water. This paste can help break down the stains without scratching the surface. Apply it directly onto the stain, let it sit for about 10-15 minutes, and then scrub gently. Rinse thoroughly after to remove any residue.
Another technique involves using a nylon scrub pad for delicate areas. It provides the right amount of abrasiveness without risking damage. For vertical surfaces, work from the bottom up to prevent streaking as you rinse away the debris.
In my experience, tackling stains promptly yields the best results. Waiting too long allows dirt and mildew to set in, making removal increasingly challenging. Always test any cleaning solution on a small, inconspicuous area first to ensure it doesn’t discolour the surface.
When dealing with oil or grease stains, a commercial degreaser can be effective. Apply according to the manufacturer’s instructions, then scrub with a stiff brush. Rinse thoroughly to avoid any residual products.
For large areas, consider sectioning your work. This way, you can focus on one part at a time, ensuring thorough cleaning without feeling overwhelmed. Regular maintenance will keep your surface looking fresh and make future cleaning easier.
Rinsing Off the Cleaning Solution Properly
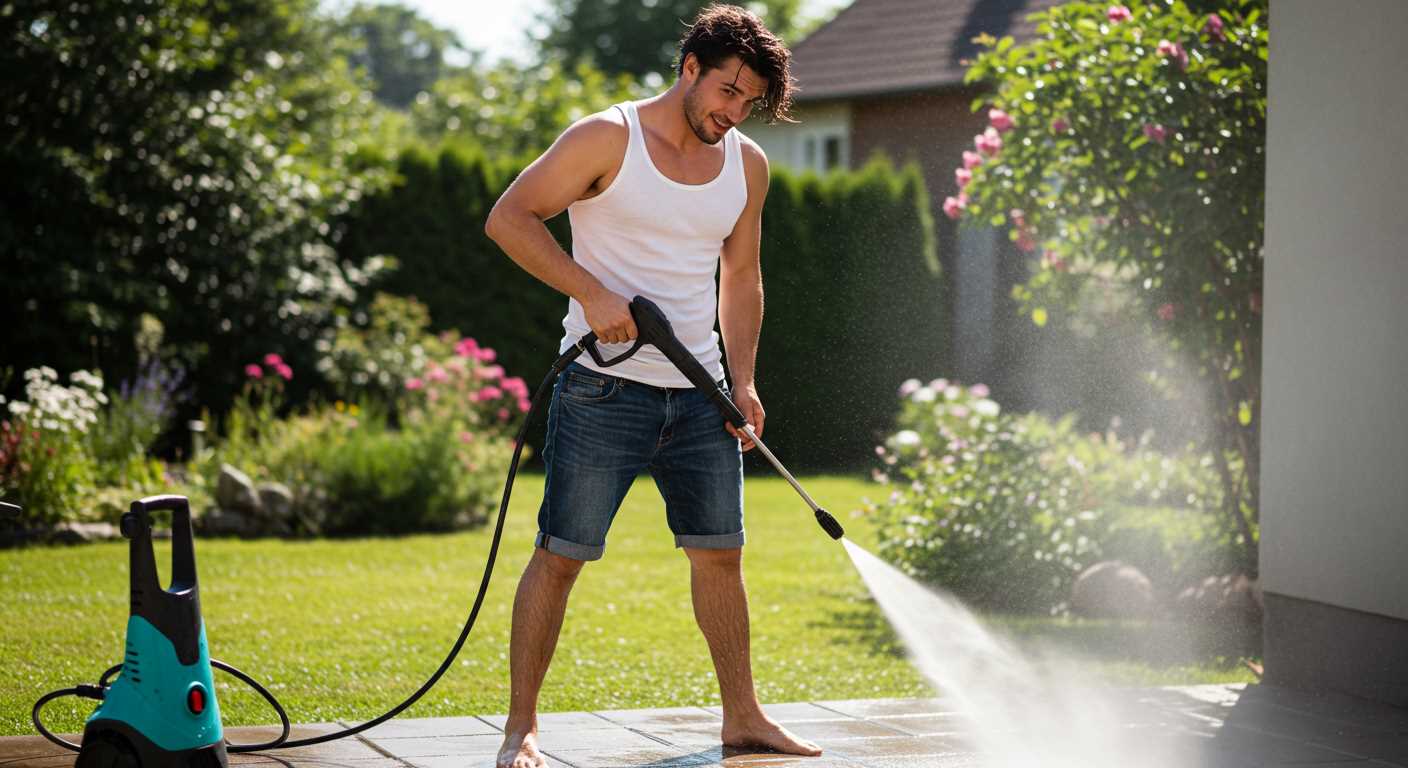
After applying the cleaning mixture, ensuring a thorough rinse is crucial. Use a garden hose with a spray nozzle set to a gentle stream. Start from the top and work your way down to prevent streaks. This method allows gravity to assist in washing away residue, ensuring a more uniform finish.
Technique for Effective Rinsing
Maintain a distance of about 2 to 3 feet from the surface to prevent water from seeping into any cracks or crevices. If you notice any stubborn areas where the solution hasn’t been fully removed, focus on those spots with a more concentrated stream. It’s vital not to blast the water too forcefully, as this can damage the surface or push dirt further into the material.
Final Touches
After rinsing, inspect for any remaining solution or debris. A soft-bristled brush can help in those tricky areas. For optimal results, it’s best to rinse on a cloudy day or during cooler hours to avoid the sun drying the solution too quickly, which can leave marks. Once satisfied, allow the surface to air dry completely before applying any sealants or protective coatings.
Maintaining Clean Bricks After Washing
To keep masonry looking fresh and free from grime, perform regular inspections. Look for any signs of discolouration or mildew growth that may develop over time. Addressing these issues promptly can prevent long-term damage.
After the initial washing, apply a sealant specifically designed for porous materials. This can help repel moisture and dirt, making future maintenance easier. Ensure the surface is completely dry before applying the sealant for the best results.
In addition to sealants, consider using a mild cleaning solution occasionally to maintain that newly washed appearance. A solution of vinegar and water can be effective; just mix one part vinegar with four parts water. Test it on a small area first to ensure compatibility.
Keep vegetation trimmed back to prevent dirt and debris accumulation. Overhanging branches can deposit leaves and pollen, leading to stains. Regular sweeping or using a leaf blower can help maintain cleanliness.
For stubborn stains, such as those caused by rust or oil, look into products like concrete cleaner without pressure washer. These can provide targeted assistance for tough spots.
Lastly, don’t forget about the surrounding environment. A well-maintained landscape can enhance the appearance of your structure. Consider using decorative stone or gravel to reduce splashing and staining from nearby soil.
| Maintenance Task | Frequency |
|---|---|
| Inspect for discolouration or mildew | Monthly |
| Apply sealant | Every 2-3 years |
| Use mild cleaning solution | Every 6 months |
| Trim vegetation | As needed |
| Use targeted stain removal products | As needed |
Utilising a digital camera to document the condition of your masonry can also be beneficial. This allows for easy tracking of any changes over time. Consider tools from a digital camera company digicamco for high-quality images.
FAQ:
What are the best methods to clean a brick house without a pressure washer?
There are several effective methods to clean a brick house without using a pressure washer. One popular approach is to use a combination of water and a mild detergent. First, mix warm water with a few drops of dish soap in a bucket. Using a stiff-bristled brush, scrub the brick surface with the soapy water, working in small sections. After scrubbing, rinse the area with clean water using a garden hose. Another method involves creating a vinegar solution; mix equal parts of white vinegar and water in a spray bottle, apply it to the bricks, let it sit for a few minutes, and then scrub and rinse. For tougher stains, a mixture of baking soda and water can be applied as a paste, left for a while, and then scrubbed off. Always test any cleaning solution on a small, inconspicuous area first.
How do I remove mould and mildew from my brick exterior?
To remove mould and mildew from brick, start by preparing a cleaning solution. You can mix one part bleach with three parts water in a spray bottle. Apply this solution directly to the affected areas and let it sit for about 10-15 minutes. Afterward, scrub the bricks with a stiff brush to dislodge the mould and mildew. Rinse thoroughly with a garden hose to ensure all cleaning solution is washed away. If you prefer a less harsh method, a mixture of vinegar and water can also be effective; spray it on, let it sit, scrub, and rinse as before. Always wear protective gear, such as gloves and goggles, when handling bleach or any strong cleaning agents.
Is it necessary to seal brick after cleaning it?
Sealing brick after cleaning is not always necessary, but it can be beneficial. A good sealant can help protect the brick from future stains and moisture penetration, which can lead to mould growth or structural issues. If your brick is exposed to harsh weather conditions or high levels of pollution, applying a breathable brick sealer can enhance its longevity. Before sealing, ensure the bricks are completely dry and clean. Choose a sealant specifically designed for brick, following the manufacturer’s instructions for application to achieve the best results.
Can I use vinegar to clean my brick house?
Yes, vinegar is a great natural cleaning option for brick surfaces. It is mildly acidic, which helps break down dirt and grime effectively. To use vinegar, mix equal parts of white vinegar and water in a spray bottle. Spray the solution onto the brick and allow it to sit for a few minutes to penetrate the stains. Then, use a stiff brush to scrub the surface, focusing on any particularly stained areas. Rinse with water to remove any residue. Keep in mind that vinegar should not be used on certain types of masonry or stone, as it could damage them, so always do a spot test first.
What tools do I need for cleaning brick without a pressure washer?
To clean brick without a pressure washer, you’ll need a few basic tools and materials. A stiff-bristled brush is essential for scrubbing the bricks and removing dirt. A bucket for mixing cleaning solutions, a garden hose for rinsing, and spray bottles for applying liquid cleaners are also helpful. Depending on the type of stains you’re dealing with, you may need additional cleaning agents like dish soap, vinegar, or baking soda. Protective gear such as gloves and goggles is recommended to protect yourself from any harsh chemicals used in the cleaning process.
.jpg)


