
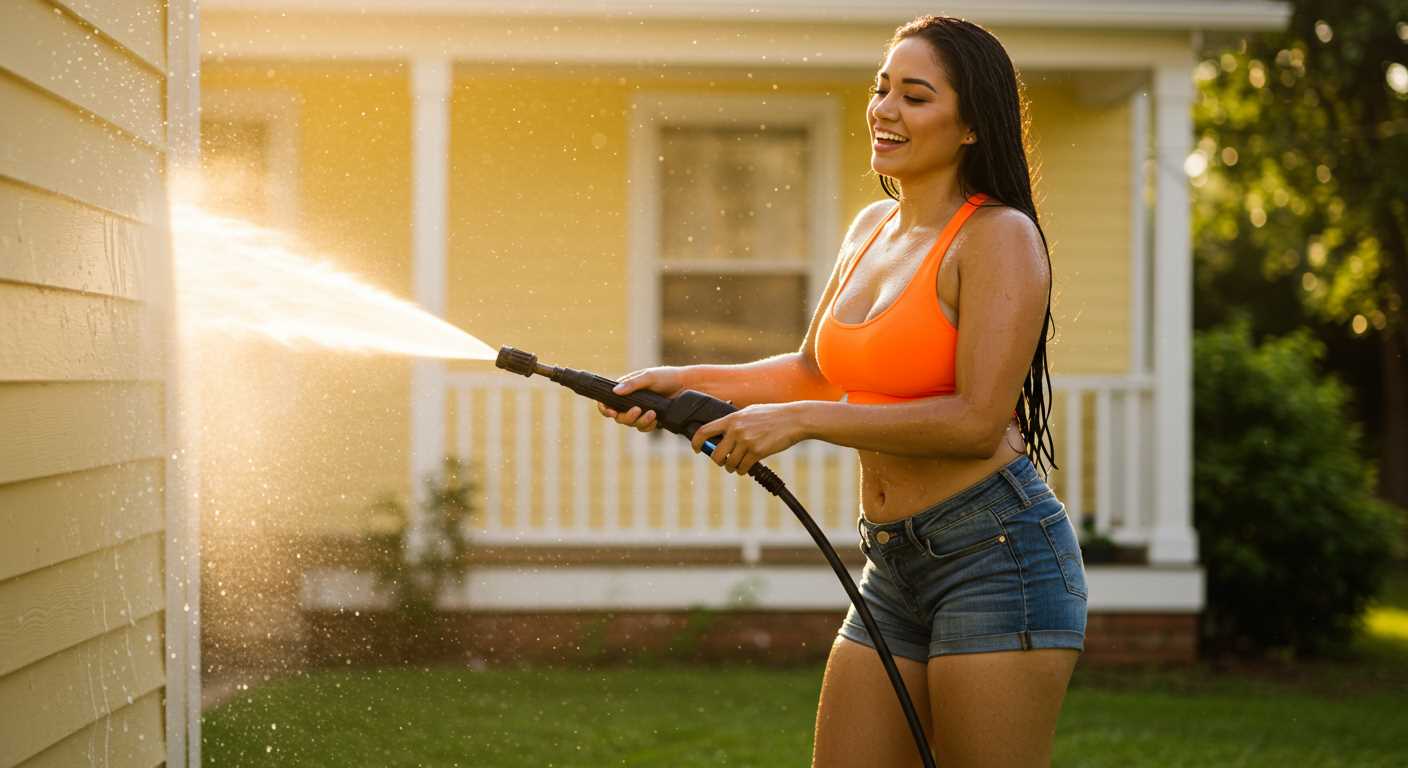


If stubborn stains on your stone surface are causing frustration, consider using a mixture of warm water and white vinegar. This natural solution works wonders; simply combine equal parts and apply it directly to the affected areas with a brush. Allow it to sit for about 15 minutes before scrubbing. You’ll be surprised by how easily the grime lifts away.
Another effective approach involves a baking soda paste. Mix it with a little water to form a thick consistency. Apply this paste to the dirty spots and let it sit for an hour. The alkaline nature of baking soda breaks down dirt and grime, making scrubbing much easier. A stiff-bristled brush is your best friend here, allowing you to really get into the crevices.
For those tougher stains, consider using a solution of hydrogen peroxide and water. This not only helps with discolouration but also has disinfectant properties. Apply it similarly to the vinegar solution, letting it penetrate for a short while before scrubbing. You’ll find that a little patience goes a long way in restoring the appearance of your outdoor area.
Don’t overlook the importance of regular maintenance. Sweeping away debris and rinsing with a hose after heavy rain can prevent build-up. By staying proactive, you’ll save yourself from extensive scrubbing sessions later on. A tidy outdoor space enhances not just your home but your enjoyment of it as well.
Restorative Techniques for Outdoor Surfaces
Begin by gathering the necessary materials: a stiff-bristled broom, a bucket, and a mixture of warm water with mild detergent. Sweep the area thoroughly to remove loose debris. This simple step prepares the surface for a more thorough treatment.
Next, create a paste using baking soda and water. Apply this mixture to stubborn stains and allow it to sit for about 15 minutes. The natural abrasiveness of baking soda lifts grime without damaging the surface. After the time has elapsed, scrub the area with the stiff-bristled brush, working in circular motions to penetrate the dirt.
Utilising Vinegar Solution
For mildew or algae spots, a solution of equal parts white vinegar and water can be effective. Spray this onto the affected areas and allow it to sit for 30 minutes. The acidity of the vinegar helps dissolve organic matter. Follow up with a scrub using the same brush to ensure all residue is removed.
Rinsing and Drying
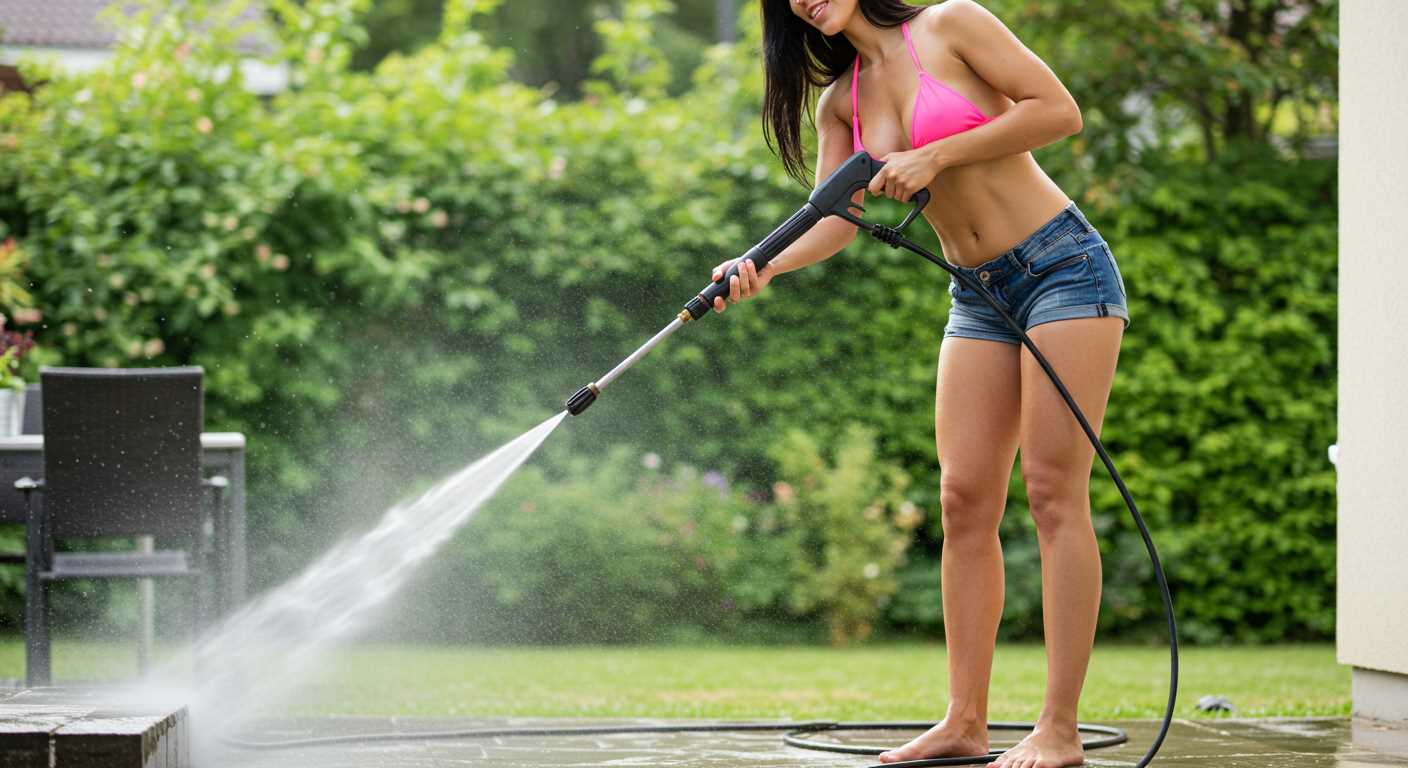
Once you’ve scrubbed the surfaces clean, rinse the area with a garden hose to wash away any remaining cleaning solution and dirt. If possible, a nozzle with a gentle spray can help direct water without causing damage. Allow the surface to air dry completely before using the space again, ensuring no moisture remains to promote further growth of unwanted plants.

Assessing the Condition of Your Outdoor Surface
Begin by examining the overall state of your outdoor surface. Look for signs of wear, such as cracks, loose bricks, or significant discolouration. If you spot any loose pieces, they’ll need addressing to avoid further damage during your cleaning efforts. Pay attention to the joints between the units; if they’re crumbling or missing, it’s crucial to consider repairs before you start any maintenance.
Identifying Stains and Growth
Take note of any stubborn stains from spills or organic growth like moss or algae. Different stains require specific treatments, so identifying them early can save time later. For instance, grease stains may necessitate a degreaser, while organic matter might benefit from a vinegar solution. Look for areas that retain moisture, as these are often hotspots for growth.
Evaluating Surface Structure
Check for unevenness or settling. If some sections have shifted, cleaning might exacerbate these issues. Use a level to assess the surface; if it’s significantly sloped, consider consulting a professional to restore balance. Finally, take a moment to observe the surrounding environment, as overhanging trees or nearby gardens could affect cleanliness and lead to recurring issues.
Gathering Necessary Cleaning Supplies
Begin by collecting a few key items that will facilitate the task at hand. Each tool plays a role in ensuring the surface is refreshed and inviting.
- Broom or Brush: A sturdy broom or a stiff-bristled brush is vital for removing loose debris, dirt, and leaves. Opt for a long-handled version to ease the strain on your back.
- Mop: A wet mop with a microfiber head can effectively tackle stubborn spots once the area is prepared.
- Bucket: A large bucket will be necessary for mixing cleaning solutions or rinsing off your tools.
- Cleaning Solution: Use a mixture of water and mild detergent or vinegar. For tough stains, a solution of baking soda and water can work wonders. Always test in an inconspicuous area first.
- Scrub Brush: A handheld scrub brush will help work the cleaning solution into the surface, particularly in crevices and joints where grime tends to accumulate.
- Garden Hose: A standard hose with a spray nozzle is perfect for rinsing off after scrubbing. Ensure you have good water pressure to assist with the task.
- Protective Gear: Gloves are essential to protect your hands from irritants in cleaning solutions. Consider wearing knee pads for comfort if you’ll be down on the ground for extended periods.
Gather these supplies ahead of time to streamline the process and make the effort more manageable. You’ll find that being prepared can make a significant difference in your results.
Preparing the Area for Cleaning
Clear the space of any furniture, pots, or decorative elements. This allows unrestricted access to every corner and prevents potential damage to items you may overlook.
Protecting Surrounding Areas
Use tarps or plastic sheets to shield nearby plants and surfaces from cleaning solutions. If you’re using any chemicals, ensure they won’t harm your garden or nearby structures.
Checking for Loose Bricks
Inspect the surface for any loose or damaged units. Addressing these issues beforehand will prevent further complications during your maintenance process. Consider re-setting any loose pieces before you start scrubbing.
| Task | Description |
|---|---|
| Remove Furniture | Clear all items for unobstructed access. |
| Protect Surroundings | Use tarps to cover plants and nearby surfaces. |
| Inspect Surface | Check for loose or damaged units and repair them. |
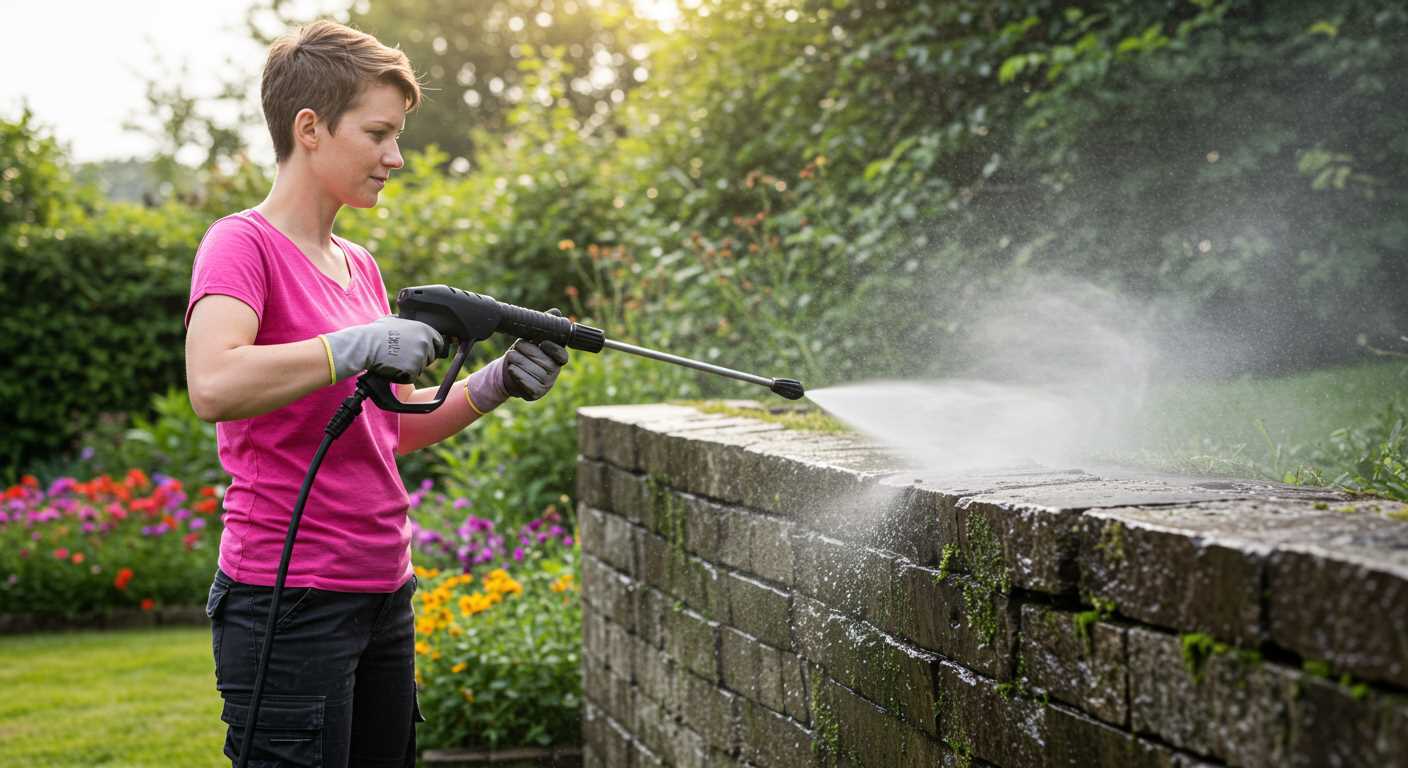
Removing Loose Dirt and Debris
Begin by using a broom with stiff bristles to sweep away loose dirt and debris. This step is crucial to prevent scratching the surface during subsequent cleaning. Ensure you reach into the joints between the stones to dislodge any accumulated particles. A push broom works well for larger areas, while a smaller hand broom can help in tight corners.
Utilising a Leaf Blower
If you have access to a leaf blower, it can significantly expedite this process. Adjust the blower to a low setting to avoid displacing the stones. Focus on areas that tend to collect leaves and dust, making sure to angle the nozzle towards the ground. This method is particularly useful for removing fine debris that a broom might miss.
Manual Collection
After sweeping or blowing, inspect the area for larger debris like twigs and stones. Collect these by hand, ensuring the surface is clear before moving to the next cleaning phase. This attention to detail will facilitate a more thorough cleaning and enhance the overall appearance of the surface.
Choosing the Right Cleaning Solution
Opt for a solution that effectively tackles grime and stains while being safe for your surfaces. I’ve had great success with a mix of vinegar and water, especially for organic stains like moss or algae. Combine one part vinegar with three parts water in a spray bottle for an easy application. If you’re facing stubborn marks, try adding a bit of baking soda to the mixture. This combination acts as a gentle abrasive, helping to lift dirt without damaging the surface.
For oil or grease stains, a bit of dish soap mixed with warm water can work wonders. Apply it generously, let it sit for about 15 minutes, and then scrub with a stiff-bristled brush. It’s a straightforward method I’ve used countless times, and it never disappoints.
If you’re looking for a commercial product, make sure to select one specifically designed for masonry. Always read the label to ensure it’s safe for your particular type of surface. Remember, some harsh chemicals can do more harm than good, leading to discolouration or damage.
For those who want to explore alternatives, a hand pump pressure washer might be a handy investment. It provides more control over water pressure while still being gentle enough for delicate surfaces.
Always test any solution on a small, inconspicuous area first. This step helps you avoid any unexpected reactions. Once you’ve found the right mix, you’re ready to tackle the cleaning process with confidence.
Applying the Cleaning Solution Properly
Ensure the surface is dry before applying any cleaning mixture. A dry surface allows for better absorption and effectiveness of the solution.
Method of Application
- Use a garden sprayer or a large sponge for even distribution. A sprayer allows the liquid to be dispersed more uniformly, while a sponge enables targeted application in stubborn spots.
- Apply the solution in sections, starting from one corner and working your way across. This helps to avoid missing any areas.
- For tough stains, consider applying a thicker layer of the mixture. Let it sit for several minutes to penetrate the grime.
Agitation
- After letting the solution sit, use a stiff-bristled broom or brush to scrub the surface. This step is crucial for breaking down embedded dirt.
- Work in circular motions for the best results, focusing on heavily soiled areas.
- Rinse your brush frequently to avoid spreading dirt back onto the surface.
Regularly check the progress to determine if additional application is needed, especially in particularly stained sections. This method ensures a thorough clean and revitalises the area effectively.
Finishing Touches and Maintenance Tips
After completing the scrubbing and rinsing, your surface will benefit from a few final touches. Apply a sealant specifically designed for your type of surface. This will protect against stains and prevent future grime buildup. Choose a day with low humidity for the best adhesion.

Regular upkeep is key. Sweep away debris weekly and spot-treat stains as they occur. A mixture of vinegar and water can work wonders for stubborn spots, but always test in a discreet area first to ensure compatibility with your surface.
Consider using a pH-neutral cleaner for routine maintenance, as it won’t harm any sealant applied. For those persistent stains, a baking soda paste can be effective; just mix baking soda with water until it reaches a paste-like consistency and apply it to the stain. Allow it to sit for a short while before rinsing.
In addition to cleaning, keep an eye on the joints between your stones. Fill any gaps with sand or polymeric jointing material to avoid weeds and further deterioration. For pet owners, if you’re considering fencing solutions, can i use stranded wire for dog fence is worth exploring, as it can help keep your pets safe while maintaining your outdoor space.
Establishing a schedule for maintenance tasks, such as deep cleaning and sealing, will help prolong the life of your surface and keep it looking pristine for years to come.
.jpg)


