


For those looking to refresh their outdoor surfaces, a simple solution lies in the use of a mixture of vinegar and water. This natural approach not only removes dirt but also eliminates grime without the need for bulky machinery. Combine equal parts of white vinegar and warm water in a spray bottle for a practical application method.
After applying the solution, let it sit for about 15 minutes. This allows the acidity of the vinegar to break down stubborn stains effectively. Once the time has passed, use a stiff-bristled brush to scrub the area. This technique is particularly advantageous as it provides a good workout while ensuring thorough cleaning.
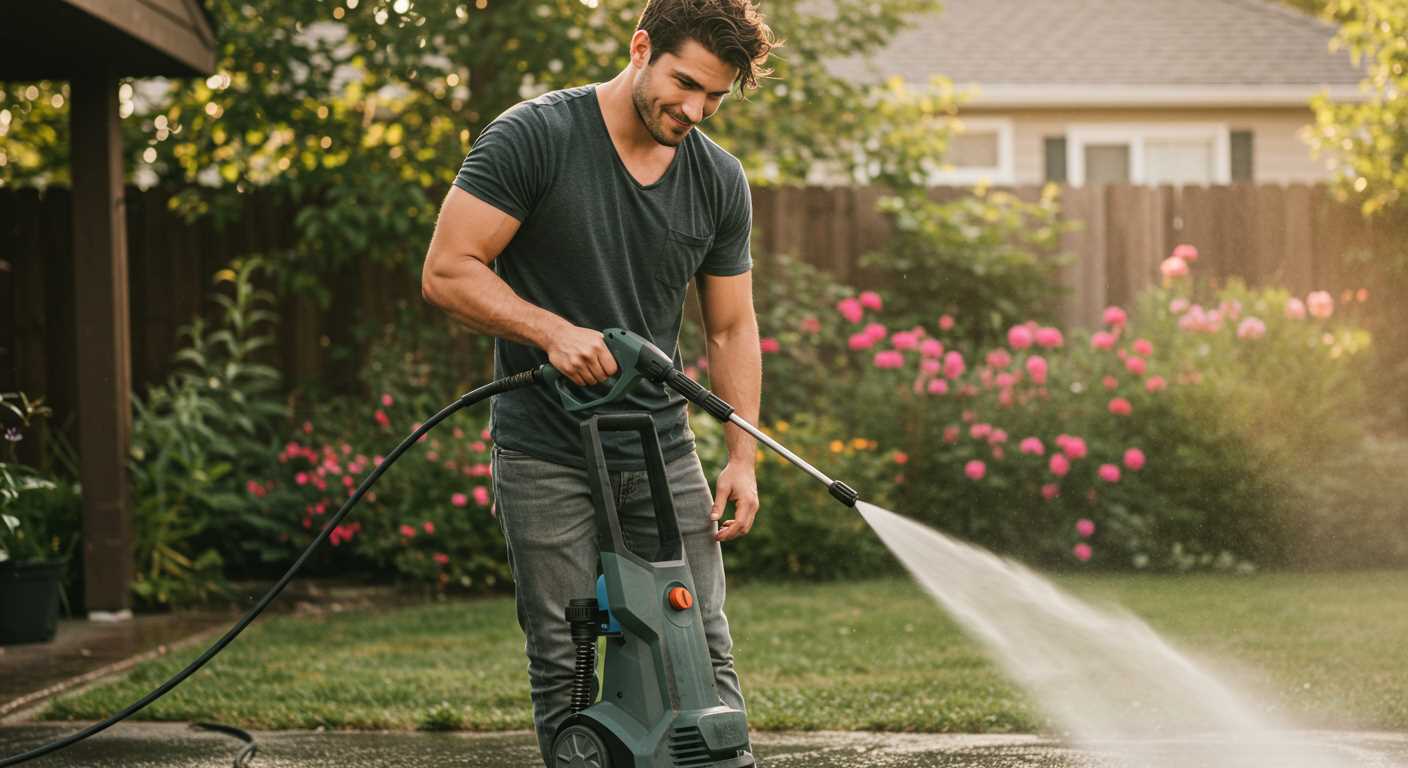
After scrubbing, rinse the area with a garden hose. Using a nozzle with a gentle spray can help avoid displacement of the surface, preserving the integrity of the structure. Furthermore, consider applying a sealant once the surface is dry to protect against future stains and make maintenance easier down the line.
In my years of experience, I’ve observed that regular upkeep with simple solutions can extend the life of your outdoor surfaces significantly. A little effort goes a long way, and you don’t always need heavy equipment to achieve impressive results.
Effective Techniques for Maintaining Your Outdoor Surfaces
Begin by gathering a few basic supplies: a broom, a bucket, warm water, and a suitable cleaning solution. For a homemade option, mix vinegar and baking soda. This combination creates a fizz that can lift dirt and grime effectively. If you prefer a store-bought cleaner, choose one that is safe for the material.
Once you have your tools ready, thoroughly sweep the area to remove loose debris. Pay attention to the joints between the units, where dirt tends to accumulate. After sweeping, soak the surface with warm water. This step helps to soften any adhering stains before applying your cleaning mixture.
Scrubbing Technique
Take a stiff-bristled brush and dip it into your cleaning solution. Work the brush in small sections, applying firm pressure to dislodge any stubborn spots. For larger areas, a deck brush can cover more ground efficiently. Rinse each section with clean water after scrubbing to prevent the solution from drying on the surface.
Stain Removal Tips
For tougher stains, consider using a paste made from baking soda and water. Apply it directly to the stained area and let it sit for about 30 minutes before scrubbing. If you encounter oil or grease marks, a few drops of dish soap can be effective. Apply directly to the stain, let it penetrate, and follow up with scrubbing and rinsing.
Gather Necessary Cleaning Supplies
For an effective approach to refreshing your stone surfaces, gather a few key items before you begin. Here’s a straightforward list of what you’ll need:
- Broom: A sturdy broom will help you sweep away loose dirt and debris.
- Stiff-bristled brush: This is crucial for scrubbing away stubborn stains without damaging the surface.
- Mop: A mop can assist in applying cleaning solutions evenly across larger areas.
- Bucket: Use a bucket to mix your cleaning solution and hold water for rinsing.
- Garden hose: A standard hose is ideal for rinsing off any cleaning solution after scrubbing.
- Cleaning solution: Choose a mix of warm water and a mild detergent or a specialised cleaner designed for stone. Avoid anything too harsh.
- White vinegar or baking soda: These natural options can be effective for dealing with tough stains.
- Protective gloves: Keep your hands safe while working with cleaning agents.
- Old towels or rags: Handy for drying surfaces and wiping up excess moisture.
Optional Tools
While not strictly necessary, a few additional tools can enhance your cleaning experience:
- Scraper: Useful for removing any stubborn debris or moss that may have accumulated.
- Spray bottle: Perfect for applying cleaning solutions in targeted areas.
- Sealant: After cleaning, consider applying a sealant to protect your surfaces from future stains.
Once you have everything ready, you’ll be well-equipped to tackle the task ahead with confidence.
Remove Loose Debris and Dirt
Begin by utilising a stiff-bristled broom or a large push broom to sweep away any loose particles, such as leaves, sand, and dirt. Focus on corners and edges where debris tends to accumulate. A systematic approach ensures you cover every inch, preventing any residue from becoming embedded in the surface.
After sweeping, use a dustpan to collect the debris. This prevents scattering and allows for easy disposal. If you encounter stubborn bits of dirt or small stones, a handheld brush can be beneficial. Pay attention to areas where weeds might grow, as these can also trap dirt.
For enhanced results, consider using a leaf blower to clear the area more thoroughly. This tool can efficiently remove dust and small debris from between the joints. It’s a quick way to ensure no loose material remains that could hinder the next cleaning steps.
Once the larger debris is removed, inspect the surface closely. If you notice any stains or marks, note their locations for targeted treatment later. This preparation sets a solid foundation for the subsequent cleaning methods, allowing for a more thorough and effective process.
Prepare a Cleaning Solution
For an effective mixture, combine one part white vinegar with one part water. This natural formula tackles stains and grime efficiently. For tougher spots, consider adding a small amount of dish soap to the mixture. This not only helps in breaking down grease but also enhances the solution’s cleaning power.
Alternative Solutions
If you prefer a commercial option, select a non-toxic cleaner specifically designed for outdoor surfaces. Always follow the manufacturer’s instructions for dilution ratios. Remember, a solution too strong can damage the surface, so err on the side of caution.
Application Tips
Once your mixture is ready, use a garden sprayer or a bucket to apply it evenly across the surface. Allow the solution to sit for 10 to 15 minutes to penetrate the dirt. This dwell time is crucial for optimal results. Afterward, scrub the area with a stiff-bristled brush to lift stubborn stains before rinsing with plenty of water.
Test the Solution on a Small Area
Before applying any cleaning mixture across a larger surface, choose a small, inconspicuous section of the area to evaluate its effectiveness. This initial application helps ensure the solution won’t cause discolouration or damage to the surface. I learned this lesson the hard way during a cleaning project at a friend’s patio. I didn’t test the solution first and ended up with uneven colour patches that took ages to rectify.
Steps for Testing
Apply a small amount of your prepared mixture using a sponge or cloth. Allow it to sit for about 10-15 minutes, then scrub gently with a soft-bristled brush. Rinse the area thoroughly with water and observe the results. Look for any adverse reactions such as fading or surface degradation. If everything looks good, proceed confidently with the rest of the area. If you notice any issues, consider adjusting the concentration of your solution or trying a different approach altogether.
Benefits of Testing
This method not only prevents potential damage but also helps you gauge the solution’s effectiveness. I often mix a solution with vinegar and baking soda for tough stains. Testing it first allows me to adjust the mixture to achieve optimal results. If you’re interested in learning about alternatives, you might want to check out this pressure washer rotary nozzle for an efficient clean, should you choose to explore that route in the future.
Apply the Cleaning Solution Evenly
For optimal results, distribute your cleaning mixture uniformly across the surface. Use a garden sprayer or a clean mop to ensure an even application. Avoid heavy pooling in any area, as this can lead to streaking or uneven results once the solution dries.
When applying the mixture, start from one corner and work your way systematically to the opposite end. This method not only helps in covering the entire area but also prevents missing spots that might require extra attention later. If you’re dealing with tough stains, consider applying the solution in a circular motion to allow it to penetrate better.
After application, let the solution sit for the recommended time outlined on the product label. This dwell time is crucial for breaking down grime and stains effectively. During this period, keep the area damp by lightly misting it with water if necessary, especially in hot weather where evaporation can occur quickly.
For those seeking additional convenience, a best air compressor for car wash can be useful to blow away any excess solution or debris once the treatment has been completed.
Scrub Stains and Tough Marks
For persistent stains and marks, a gentle yet thorough approach is required. Here’s what I recommend based on years of experience in tackling tough cleaning tasks.
- Select the Right Brush: Use a stiff-bristled brush for tougher stains. A brush with synthetic bristles will hold up better against harsh substances.
- Apply More Solution: If the initial application of your cleaning mixture didn’t do the trick, generously apply more. Allow it to sit for several minutes to penetrate the stain.
- Scrubbing Technique: Use a circular motion while scrubbing. This method not only lifts the stain but also prevents damage to the surface. Be persistent but gentle.
- Focus on Problem Areas: Pay extra attention to spots with oil, grease, or mildew. These often require additional scrubbing and might benefit from a second application of your solution.
- Rinse Thoroughly: After scrubbing, ensure you rinse away all residues of the cleaning mixture. Leftover cleaning agents can attract more dirt and create a cycle of grime.
- Assess and Repeat: After rinsing, check the results. For stubborn spots that remain, repeat the process as necessary. Sometimes, a little patience is key.
In my experience, tackling stains effectively requires a systematic approach. Each surface is unique, and what works for one may not work for another. Be prepared to adapt your strategy based on the results you see. Remember, consistency is vital for achieving a clean finish.
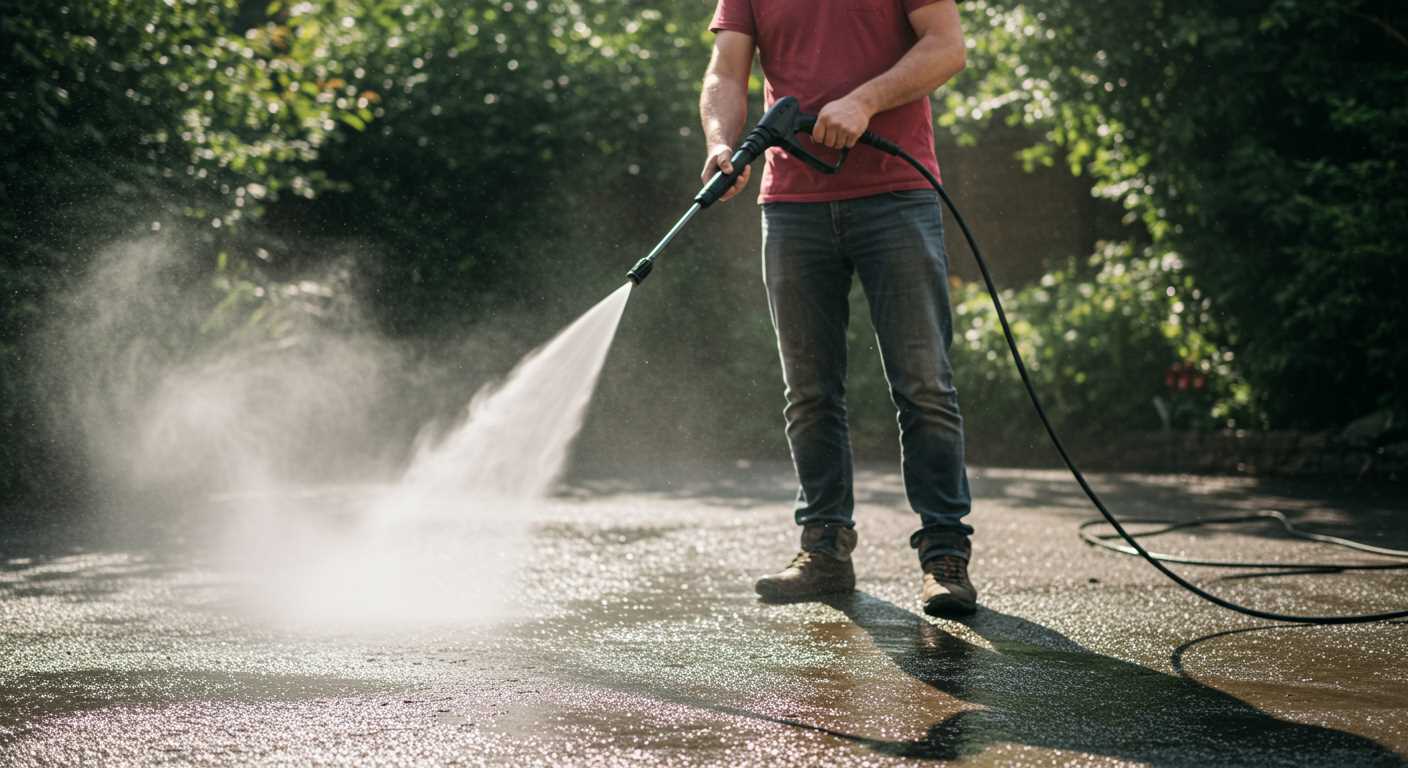
Rinse the Surface Thoroughly
After applying your cleaning mixture, rinsing the surface properly is key. I recommend using a garden hose with a spray nozzle to ensure an even flow of water. Start at one corner and work your way across, ensuring no residue is left behind. This prevents any cleaning agent from drying on the surface and causing stains.
Technique for Effective Rinsing
Hold the nozzle at a slight angle to avoid directing water straight down, which can push dirt further into the joints. Instead, aim to wash away the solution and debris in a sweeping motion. If you notice any missed spots, it’s worth going back with a sponge or cloth to give those areas a final wipe before the rinse.
Checking for Residue
After rinsing, inspect the area closely. If you spot any remaining grime, it’s best to repeat the cleaning solution application followed by another rinse. This step is crucial for achieving a thoroughly refreshed look, ensuring that your hard surfaces are not only clean but also prepared for further maintenance.
Dry the Surface and Assess Results
After applying your cleaning solution and scrubbing away the grime, the next step is to let the surface dry thoroughly. This is crucial for evaluating the efficacy of your efforts. Ensure that there’s no moisture remaining before proceeding to the assessment phase.
Ensure Complete Drying
Depending on the weather conditions, drying time can vary significantly. On a sunny day, it may take only a couple of hours, while overcast or humid conditions could extend this process. If possible, give the area at least four to six hours to air out. If you notice any damp patches, it’s wise to wait a little longer.
Evaluate the Outcome
Once dry, conduct a thorough inspection. Look for any remaining stains or discolouration that might need further attention. If certain areas appear less than satisfactory, a second round of scrubbing with the cleaning solution may be necessary. Pay close attention to joints and crevices where dirt tends to accumulate.
| Drying Condition | Expected Drying Time |
|---|---|
| Sunny | 2-3 hours |
| Partially Cloudy | 3-4 hours |
| Overcast/Humid | 4-6 hours |
In my experience, a thorough inspection not only helps in identifying areas that need re-treatment but also gives you a sense of satisfaction from seeing the transformation. If you find that the surface is looking good but not perfect, consider spot-treating those stubborn areas instead of a full redo.
Maintain Clean Brick Pavers Regularly
Establish a routine for maintaining your outdoor surfaces to prevent the buildup of grime and stains. A simple weekly sweep with a broom can remove loose debris and keep the area looking tidy. Incorporate this step into your gardening or outdoor maintenance schedule.
Seasonal Deep Cleaning
Every few months, perform a more thorough clean. Mix a solution of warm water and mild detergent, applying it generously to the surface. Using a stiff-bristled brush, work the solution into the joints and crevices to dislodge entrenched dirt. This practice not only enhances appearance but also prolongs the lifespan of your surfaces.
Monitor for Weeds and Moss
Check regularly for any growth of weeds or moss. Early removal can prevent more extensive damage. A simple vinegar solution can effectively deter these nuisances without harming surrounding plants. Spray it on the affected areas and scrub gently to clear the unwanted green growth.
.jpg)


