


Begin your transformation by selecting the right nozzle for your high-powered cleaning device. A 25-degree nozzle is often ideal for tackling stubborn grime without damaging the surface. I recall a time when I opted for a more aggressive nozzle, thinking it would yield better results. Instead, I ended up etching the concrete, leaving me with more work than anticipated. Patience is key; a gentle approach can lead to impressive outcomes.
Before you start, ensure the area is free of furniture and debris. I once made the mistake of leaving a few potted plants, only to watch them get drenched in dirty water during the process. It’s a small but vital step that saves you from unnecessary clean-up later. Once the space is prepared, a thorough rinse with water helps to loosen dirt and prepare the surface for deeper cleaning.
Mixing a suitable cleaning solution can elevate results significantly. In my experience, a blend of water and a mild detergent is often sufficient. Avoid harsh chemicals that might harm the environment or degrade the concrete. I’ve used a simple vinegar solution on occasion, and it worked wonders on stains without leaving any harmful residues.

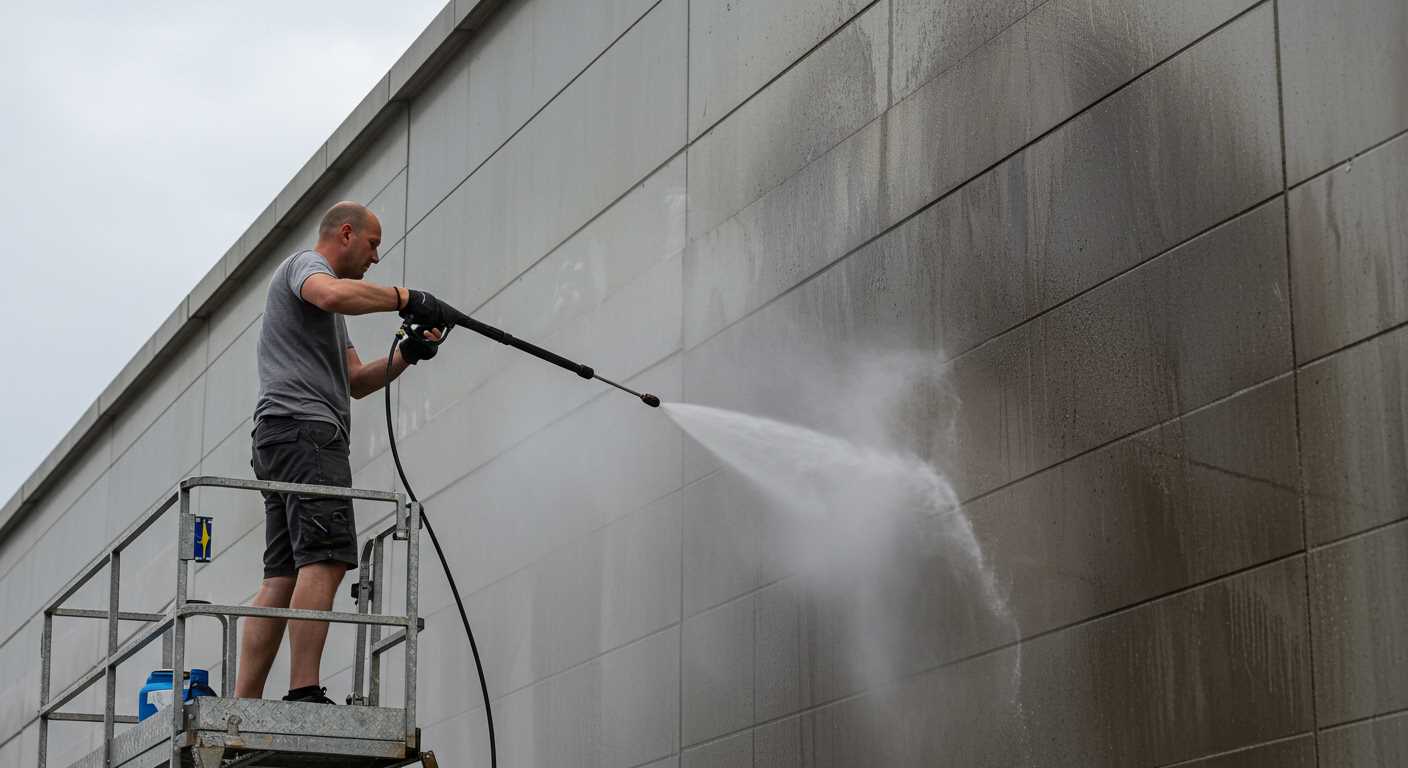
As you begin applying the high-pressure stream, maintain a consistent distance of about 12-18 inches from the surface. This distance ensures effective cleaning while preventing damage. I remember a particularly stubborn patch, and I learned the hard way that getting too close can lead to pitting. Employ a sweeping motion, working in sections to ensure even coverage and prevent streaking.
Finally, rinse the area thoroughly after cleaning. Residual soap can create a slippery surface and attract dirt more quickly. I’ve stood back to admire my work many times, only to find that I missed a few spots. A final inspection ensures that every inch looks pristine, ready for use again. After all, a well-cared-for surface not only enhances your outdoor space but also prolongs the life of the concrete.
Cleaning Techniques for Concrete Surfaces
Before starting, ensure you have a suitable machine. I recommend a unit with at least 3000 PSI for optimal results. Attach a 15-degree nozzle for tougher stains, but switch to a wider angle if you notice any surface damage.
Begin by removing any loose debris. A broom or a leaf blower works wonders for this. Once cleared, soak the area with water to prevent the dirt from becoming airborne. This helps in achieving a more thorough wash.
Mixing the Cleaning Solution
Using a concentrated cleaner specifically designed for outdoor surfaces can significantly enhance your efforts. I’ve had great results with biodegradable options that are safe for plants and pets. Mix according to the manufacturer’s instructions, often a 1:4 ratio of cleaner to water, and apply it generously to the surface.
Washing Technique
Begin from one corner and work your way across. Maintain a consistent distance of about 12 to 18 inches between the nozzle and the surface. This ensures you effectively lift grime without causing damage. Use a sweeping motion, overlapping each pass slightly to avoid streaks.
For stubborn stains, it might be necessary to let the cleaning solution sit for a few minutes before rinsing. Afterward, rinse thoroughly with plain water, starting from the same corner you began washing. This approach prevents any residual cleaner from leaving marks.
| Step | Action | Notes |
|---|---|---|
| 1 | Remove debris | Broom or leaf blower |
| 2 | Soak area | Prevent dirt from flying |
| 3 | Mix cleaner | Follow product instructions |
| 4 | Apply cleaner | Generously cover the surface |
| 5 | Wash | 12-18 inches away, sweeping motion |
| 6 | Rinse | Start from the same corner |
In my experience, patience pays off. If you encounter particularly stubborn stains, repeat the process or consider a stronger cleaner. Always test any new product on a small, inconspicuous area first to ensure compatibility with your surface.
Choosing the Right Pressure Washer for Your Cement Surface
The ideal machine for tackling stubborn residue on your hard surfaces is one that delivers at least 3000 PSI. This level of pressure effectively dislodges dirt and grime without damaging the underlying material. I recall a time when I underestimated the power of my old unit, which only produced 1500 PSI. After hours of effort, I realised that investing in a stronger model would have saved me significant time and frustration.
Key Features to Consider
Look for a unit that offers adjustable pressure settings. This feature allows you to tailor the force according to the specific challenge at hand, whether it be light stains or more entrenched debris. Additionally, a model with a detergent tank can streamline the process. I often use a cleaning solution specially formulated for hard surfaces; the combination of pressure and detergent yields remarkable results. The ease of switching between modes is something I appreciate greatly in my current setup.
Portability and Convenience
Weight and manoeuvrability matter. A lightweight machine makes it easier to move around, especially if you have a large area to address. I once struggled with a bulky model that made the task cumbersome and exhausting. Look for wheels designed for stability, and consider the length of the hose; a longer hose means less repositioning and greater reach. These small details can make a significant difference in your experience.
Preparing Your Outdoor Surface for Pressure Washing
Remove any furniture, planters, and decorations from the area. These items can obstruct the cleaning process and may get damaged by the force of the spray. After clearing the space, inspect the surface for any cracks or significant damage. Addressing these issues before you begin ensures that you’re not inadvertently worsening them during the washing process.
Next, sweep the surface thoroughly to eliminate loose debris, dirt, and leaves. This step prevents debris from being blasted into the air or onto nearby surfaces. After sweeping, consider rinsing the area with a garden hose to loosen stubborn grime. Allow it to dry briefly before proceeding.
Check for any oil stains or stubborn spots. Applying a suitable cleaner to these areas ahead of time can enhance the overall results. Let the cleaner sit for the recommended duration as per the product instructions. This pre-treatment will make the subsequent washing far more effective.
Finally, ensure your water source is ready. Connect your water supply and check for any leaks. Having everything in place allows for a smooth operation when you start the washing process. A little preparation goes a long way in achieving a pristine surface.
Selecting the Appropriate Cleaning Solution
For optimal results, choose a cleaning agent tailored to the specific stains and grime on your surface. In my experience, a simple mixture of warm water and a mild detergent often suffices for general dirt. However, for tougher stains such as oil or grease, a degreaser is essential. These products break down stubborn residues, making them easier to remove.
Types of Solutions
When selecting a solution, consider biodegradable options. Not only are they safe for the environment, but they also effectively lift dirt without causing damage to surrounding plants or surfaces. I recall using a plant-friendly cleaner during a project, and the results were impressive–my clients appreciated both the clean surface and the eco-friendly approach.
Application Tips
Mix the cleaning solution according to the manufacturer’s instructions for best results. After applying the mixture, let it sit for 10 to 15 minutes to penetrate the grime. This waiting period is crucial; it allows the solution to do its job effectively. Rinse thoroughly before proceeding with any high-powered equipment, ensuring no residues remain that could cause clogs or damage.

Remember, each project is unique. Adjust your choice based on the specific conditions and requirements of the area you’re tackling. My advice? Test a small section first to ensure compatibility and effectiveness before proceeding with the entire area.
Techniques for Pressure Washing Cement Safely
Start by adjusting the nozzle to a wide spray pattern. A wider angle reduces the risk of damaging the surface while providing adequate coverage. For most tasks, a 25 to 40-degree nozzle works best.
Distance Matters
Maintain a safe distance of around 12 to 18 inches from the surface. This helps prevent etching while ensuring an effective clean. If you notice stubborn stains, you can get closer, but be cautious.
Employing a Consistent Technique
- Begin at one corner and work your way across. This systematic approach helps avoid missing spots.
- Use overlapping strokes to ensure even cleaning.
- Move the wand in a steady, sweeping motion rather than a back-and-forth pattern.
In my experience, keeping the wand in motion prevents streaks and avoids any potential damage. If you encounter tough grime, pause briefly on the area, allowing the solution to penetrate before rinsing.

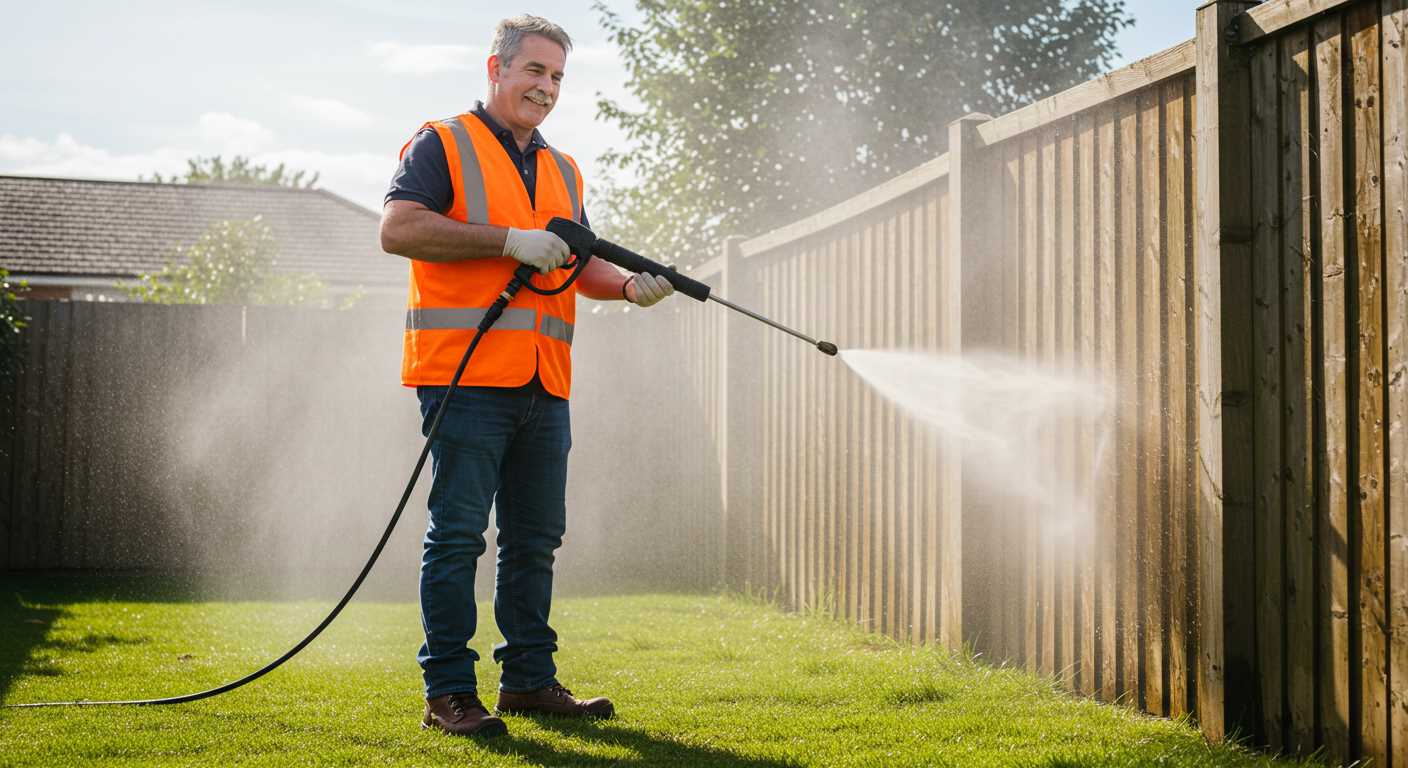
Always wear protective gear–gloves, goggles, and sturdy footwear. The high-pressure spray can cause injury, and debris may fly unexpectedly.
Lastly, after finishing, inspect the area for any missed spots. A second pass may be necessary for particularly dirty patches. Trust me; it’s worth the effort for a spotless finish.
Post-Cleaning Care for Your Cement Patio
After a thorough wash, it’s crucial to maintain the surface to ensure longevity and aesthetics. Start by allowing the area to completely dry. This prevents moisture from seeping into any cracks, which can lead to further damage over time.
Consider applying a sealant specifically designed for concrete surfaces. A quality sealant not only protects against staining and weathering but also enhances the appearance. Make sure to choose a product suitable for outdoor use and follow the manufacturer’s instructions for application.
Regular maintenance is key. Sweep the area weekly to remove debris and prevent mould growth. If you notice any stains, tackle them immediately with appropriate cleaners before they set in. Be cautious about using acidic solutions, as they can damage the surface.
For those looking to invest in future cleaning efforts, exploring options like a pressure washer for jet washing flags can be beneficial. These machines are designed for heavy-duty tasks and can make maintenance much easier.
Finally, consider taking photos of your newly refreshed area. You can use a digital camera as an input device to document changes over time, helping you identify when further care is needed.
.jpg)


