
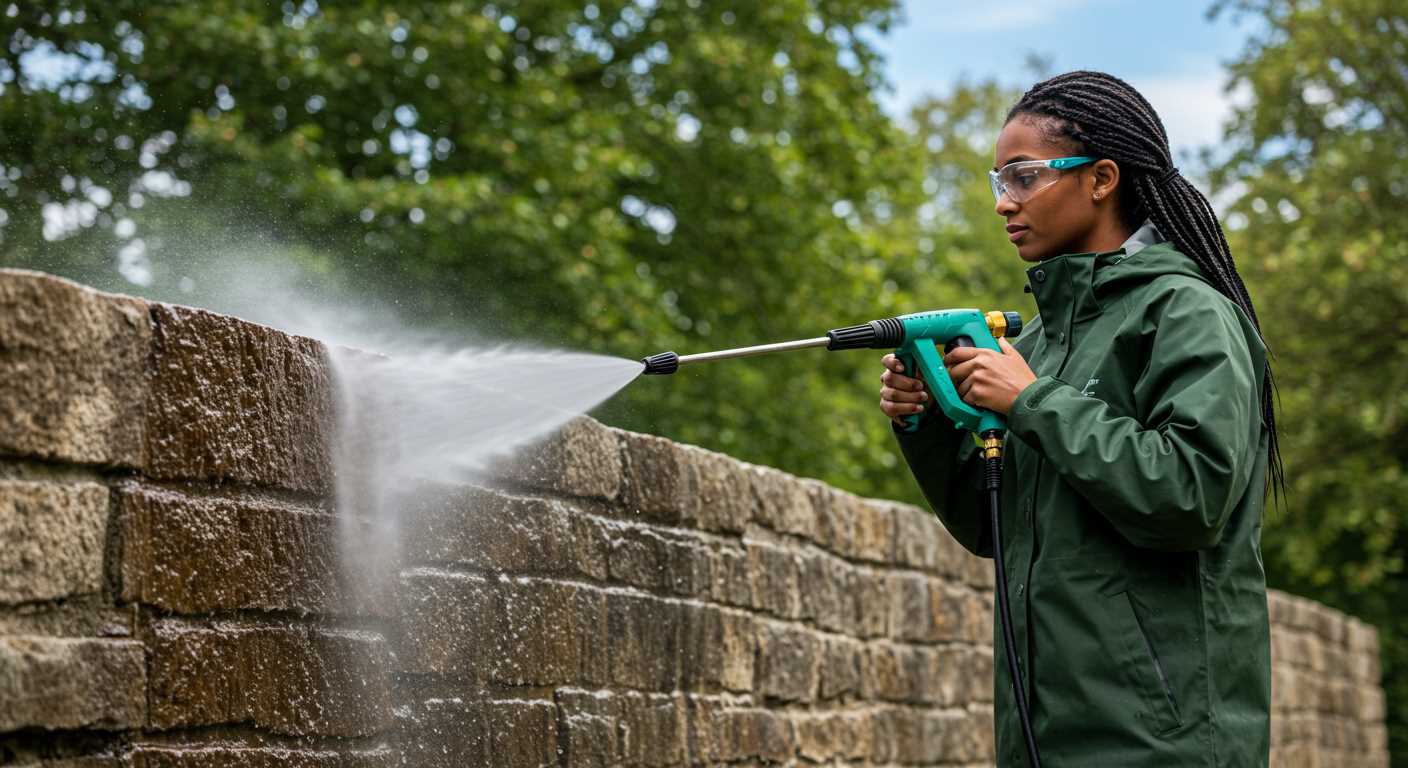


Begin with a simple visual inspection. Look for any visible debris or build-up that could hinder water flow. A quick glance can save you time and frustration later. I recall one instance when my own device had a minor blockage that I spotted before it turned into a major headache.
Next, gather your materials. You’ll need a soft brush, a thin wire or pin, and a bowl of warm soapy water. The combination of these tools has served me well over the years. I once tackled a stubborn issue with a colleague using just these items, and we were able to restore the unit to its former glory in under an hour.
Carefully detach the sprayer tip, ensuring you follow the manufacturer’s guidelines. This step is crucial. I’ve seen many people skip this and cause damage. Once removed, soak it in the soapy solution for a few minutes. This helps loosen any stubborn grime. After soaking, use the soft brush to gently scrub, paying close attention to the orifice. I remember being surprised at how much dirt accumulated in such a small space during one of my routine maintenance checks.
For any remaining stubborn particles, a thin wire or pin can be your best friend. Gently insert it into the opening, ensuring you don’t enlarge the hole. A delicate touch here can make all the difference. I learned this lesson the hard way when I was a novice; the hole became too large, rendering the attachment unusable.
Finally, rinse the attachment thoroughly under running water to remove any remaining soap and debris. Reattach it and test your equipment. There’s nothing quite like the satisfaction of seeing a once-dull spray return to its powerful, effective form. Trust me, the effort is well worth it.
Efficient Techniques for Unblocking Your Cleaning Tool’s Outlet
First off, I recommend using a fine wire or needle to probe the outlet of your cleaning device. This method has saved me countless hours on various models. Gently insert the wire into the opening while being careful not to damage any internal components. Often, debris is lodged deep within, and this will help dislodge it.
Next, prepare a vinegar solution–mix equal parts of white vinegar and water. Submerge the end of the attachment in this solution for at least 30 minutes. The acidity of the vinegar works wonders on mineral deposits and grime that might be causing the blockage.

Once soaked, use compressed air to blow out any remaining debris. This step is particularly effective after the vinegar treatment, as it clears out loosened particles without causing any harm.
If you find yourself frequently facing this issue, consider upgrading to a high-quality attachment. Investing in the best car wash nozzle for pressure washer can significantly reduce the likelihood of obstruction in the future.
Lastly, after each use, give the outlet a quick wipe with a cloth to prevent the build-up of grime. It’s a simple habit that can save you from more extensive maintenance down the line.
| Method | Description |
|---|---|
| Wire or Needle | Use to dislodge debris from inside the outlet. |
| Vinegar Solution | Soak the end in vinegar to dissolve mineral deposits. |
| Compressed Air | Blow out loosened debris after soaking. |
| Routine Maintenance | Wipe the outlet after each use to prevent build-up. |
Identify the Type of Clog in Your Nozzle
First, inspect the end of the attachment for visible debris. Small bits of dirt, paint, or other materials might be lodged at the tip, affecting the water flow. If you see anything, try to remove it gently with a toothpick or a similar tool.
Next, observe the spray pattern during operation. If the stream is uneven or not as powerful as usual, the blockage may be internal. A partially obstructed passage often leads to a fan-shaped spray instead of a tight, focused jet.
For more stubborn obstructions, conduct a water flow test. Disconnect the accessory, and run the machine briefly to see if water flows freely from the hose. If it does, the issue likely resides within the attachment itself. If not, the source might be further upstream.
Pay attention to the pressure. If the unit struggles to maintain the expected force, issues could stem from the attachment. A clogged filter or hose can also impact performance, leading to misdiagnosis. Always check these components first.
Finally, consider the type of liquid used. If you’ve employed a detergent or chemical, residue may build up. This can create a sticky obstruction inside the device. Cleaning agents with high viscosity can exacerbate the issue, making identification and resolution more challenging.
By pinpointing these specific indicators, you can effectively address the blockage in your cleaning accessory and restore its functionality.
Gather Necessary Cleaning Supplies
Start with a few basic items that will help you tackle the blockage effectively:
- Safety Gear: Always wear gloves and safety goggles. Protecting yourself is paramount when handling any cleaning agents or tools.
- Needle or Wire: A thin needle or a piece of metal wire can be invaluable for dislodging material stuck in the orifice.
- Soft Brush: Use a soft-bristled brush to gently remove any debris from the exterior. This prevents scratching while ensuring a thorough clean.
- Bucket of Warm Water: Warm water helps to dissolve residues and makes the cleaning process smoother.
- Cleaning Solution: A gentle detergent or vinegar can assist in breaking down stubborn grime.
- Compressed Air (optional): If available, this can be used to blow out any remaining debris after manual cleaning.
Once you have assembled these supplies, you’re well on your way to restoring functionality to your equipment. If you’re looking for a compact option, consider a small pressure washer for cars, which can be handy for quick clean-ups.
Disassemble the Nozzle Properly
Begin by ensuring the unit is completely shut off and disconnected from the power source. This step prevents any accidental activation while you work. You’ll need a few tools to assist in the disassembly: a screwdriver, a pair of pliers, and possibly a small brush for later stages.
Removing the Nozzle
Start by gently twisting or pulling the nozzle from the lance. If it feels stuck, apply a little bit of penetrating oil and let it sit for a few minutes. This usually helps to loosen any debris that might be causing resistance. Once removed, inspect the connection points for any signs of wear or damage.
Disassembling the Internal Components
Once you have the nozzle detached, look for screws or clips that hold the internal parts together. Carefully remove these components, taking note of the order in which they come apart. It’s helpful to lay them out in the same sequence for easy reassembly. If you encounter any resistance, don’t force it; double-check for any hidden fasteners you might have missed.
| Component | Action |
|---|---|
| Nozzle Tip | Unscrew or pull off gently |
| O-Rings | Carefully remove and inspect for wear |
| Internal Filters | Remove and clean or replace as necessary |
Maintaining a systematic approach will save time and frustration during reassembly. Keep track of small parts; using a magnetic tray can be a lifesaver. Once disassembled, you can proceed with the necessary maintenance to restore functionality.
Use Water to Flush Out Debris
Attach a garden hose directly to the inlet of your cleaning device. Ensure that the device is off before doing this. Turn on the water supply fully to create a steady flow. This method effectively dislodges particles stuck inside the component.
Direct Water Flow
After connecting the hose, allow the water to flow for a few minutes. Observe if any debris starts to exit through the outlet. If you notice a change in the water’s clarity, it indicates that the blockage is loosening. Adjust the angle of the hose slightly to enhance the water pressure directed into the inlet.
Repeat If Necessary
If the first attempt doesn’t yield results, disconnect the hose and attach it again. Sometimes, a second or third flushing is needed to fully clear the path. Each time, monitor for any improvement in the water flow. This straightforward method has proven effective in my experience, especially when dealing with stubborn blockages.
Apply a Cleaning Solution for Stubborn Blockages
For those persistent obstructions that refuse to budge, a targeted cleaning solution can work wonders. Opt for a mixture that is safe for your equipment and effective against grime buildup.
Recommended Solutions
- Vinegar and Water: Combine equal parts white vinegar and water. This acidic solution helps dissolve mineral deposits and other build-up.
- Dish Soap: A few drops of a mild dish soap in warm water can aid in loosening debris without damaging your tool.
- Commercial Cleaner: Look for a product specifically formulated for high-pressure equipment. Ensure it is compatible with the materials of your unit.
Application Steps
- Fill a container with your chosen solution.
- Submerge the disassembled components in the solution, allowing them to soak for 15-30 minutes.
- After soaking, use a soft brush or cloth to gently scrub any remaining residue.
- Rinse thoroughly with clean water to eliminate any cleaning agent traces.
Once you’ve applied the cleaning mixture, you’ll notice a significant difference in the performance of your equipment. Make it a habit to inspect and maintain regularly to prevent future issues.
Inspect and Clean the Nozzle Orifice
Begin by examining the orifice of your sprayer closely. A magnifying glass can be incredibly helpful to spot any minuscule debris obstructing water flow. During my years testing various models, I often found that a simple visual inspection revealed more than expected. Tiny bits of dirt or paint chips can easily block the water passage, causing uneven spray patterns.
Tools for Inspection
Having the right tools on hand makes this task smoother. Use a small wire brush or a needle to dislodge any stubborn particles. During one of my field tests, I discovered that a sewing needle was perfect for getting into those tight spots without damaging the orifice. Always be gentle; you want to maintain the integrity of the surface while ensuring it’s free from obstruction.
Final Cleaning Steps
After clearing out visible debris, rinse the orifice with clean water to wash away any loosened particles. I remember a time when I overlooked this step, thinking the job was done. A quick flush made all the difference, restoring the tool’s performance. Always follow up your inspection with a thorough rinse–this guarantees that the nozzle operates at peak efficiency.
Reassemble the Nozzle and Test for Functionality
After ensuring everything is thoroughly cleaned and inspected, reassembly is straightforward. Align the components precisely as you disassembled them, starting with the body of the sprayer. Ensure any O-rings or seals are correctly positioned; these are critical for preventing leaks during operation.
Once the parts are fitted together, securely tighten any screws or clamps without overdoing it, as this can damage the threads or the material. If your model has a rotating head or adjustable settings, check that these move freely and are not obstructed.
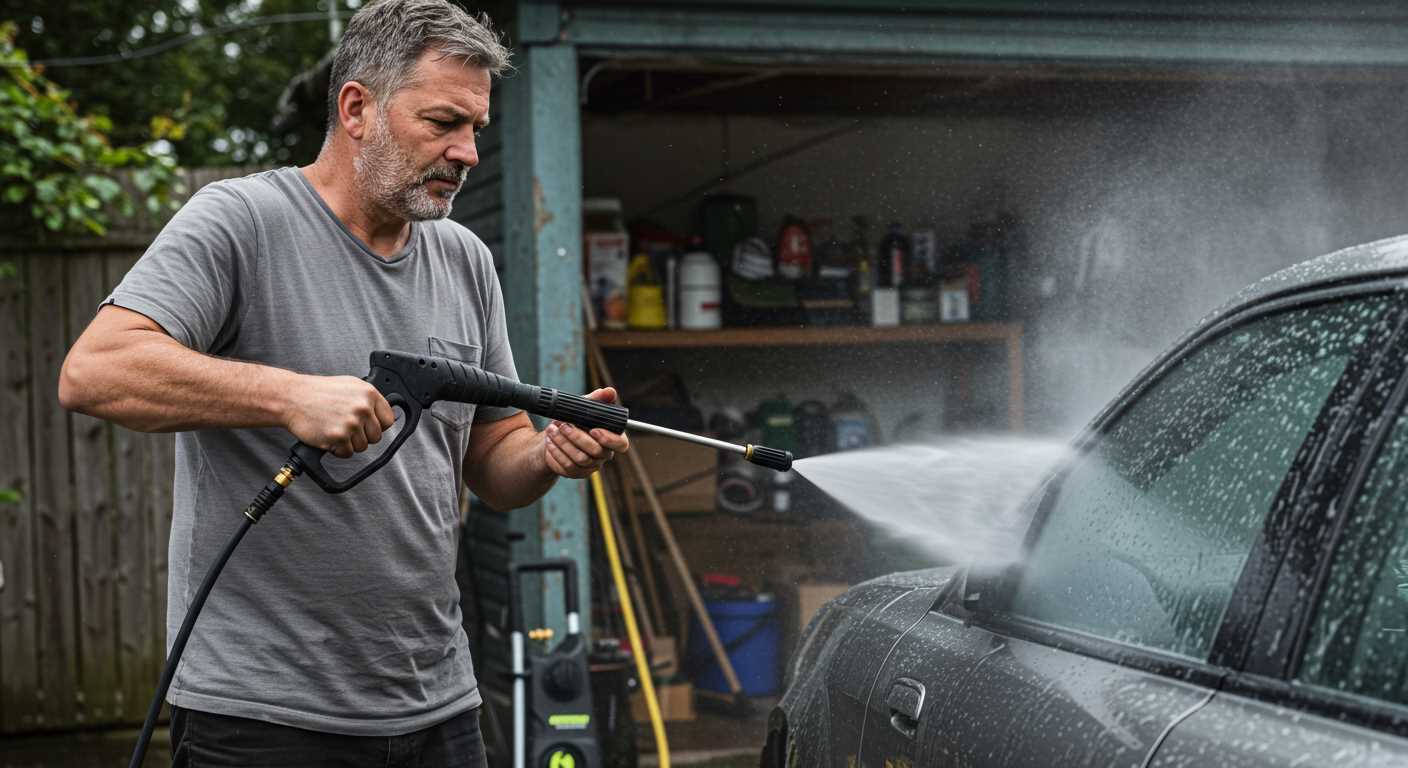
After reassembly, it’s time to perform a functionality test. Attach the sprayer to the water source and turn it on, keeping a safe distance from any surfaces. Start with low pressure to observe for any leaks or irregularities. If everything looks good, gradually increase the pressure and check the spray pattern. A consistent and even spray indicates that the internal pathways are clear and functioning properly.
Should you notice any issues, it’s advisable to disassemble the unit again, as even a small piece of debris can lead to poor performance. Regular testing after maintenance ensures that your equipment remains in top condition for future tasks.
Prevent Future Clogs with Proper Maintenance
Regular maintenance is key to avoiding blockages in your equipment. From my experience, I’ve found that a few simple practices can extend the life of your tools and keep them functioning smoothly.
- Flush After Use: Always run clean water through the system after each use. This clears out any debris and prevents buildup.
- Inspect Hoses and Connections: Periodically check for leaks or kinks. A damaged hose can introduce dirt into the system.
- Use Quality Detergents: Stick to recommended cleaning agents. Harsh chemicals can leave residue that leads to future issues.
- Store Properly: Keep your unit in a dry place, away from direct sunlight. Extreme temperatures can cause materials to degrade.
- Monitor Water Source: Ensure your water supply is clean. If you’re using a tank, consider installing a filter to catch particulates.
In my years of working with various models, I’ve noticed that those who follow these tips often experience fewer interruptions and enjoy a more reliable performance. A little care goes a long way.
Additionally, I recommend keeping a maintenance log. Documenting your maintenance activities helps you track what has been done and what might be due next, ensuring nothing gets overlooked.
Finally, don’t skip on regular professional check-ups, especially if you’re using your equipment frequently. A trained technician can spot potential issues before they escalate.
FAQ:
What are the common signs that my pressure washer nozzle is clogged?
Common signs of a clogged pressure washer nozzle include a significant decrease in water pressure, uneven spray patterns, or a complete halt in water flow. If you notice that the water is not coming out as forcefully as it should or if the spray appears weak and inconsistent, it’s likely that the nozzle is blocked and requires cleaning.
How can I safely clean a clogged pressure washer nozzle?
To clean a clogged pressure washer nozzle, first, ensure that the machine is turned off and unplugged for safety. Remove the nozzle from the wand by twisting it counterclockwise. Use a small, thin object like a pin or a needle to gently clear any debris from the nozzle opening. After clearing the blockage, rinse the nozzle with water to remove any remaining particles. Reattach the nozzle and test the pressure washer to see if the issue is resolved.
What household items can I use to clean my pressure washer nozzle?
Household items that can be effective for cleaning a pressure washer nozzle include vinegar, baking soda, and a toothbrush. Soaking the nozzle in vinegar can help dissolve mineral deposits, while a paste made from baking soda and water can assist in loosening stubborn grime. A toothbrush can be used to scrub the nozzle gently, ensuring that any dirt or debris is removed thoroughly.
How often should I clean the nozzle of my pressure washer?
The frequency of cleaning your pressure washer nozzle depends on how often you use it and the types of jobs you tackle. If you frequently use your pressure washer for heavy-duty tasks or in dusty environments, it’s advisable to check and clean the nozzle after every few uses. For lighter use, inspecting and cleaning the nozzle at least once a season should suffice. Regular maintenance can help prevent clogs and ensure optimal performance.
.jpg)


