
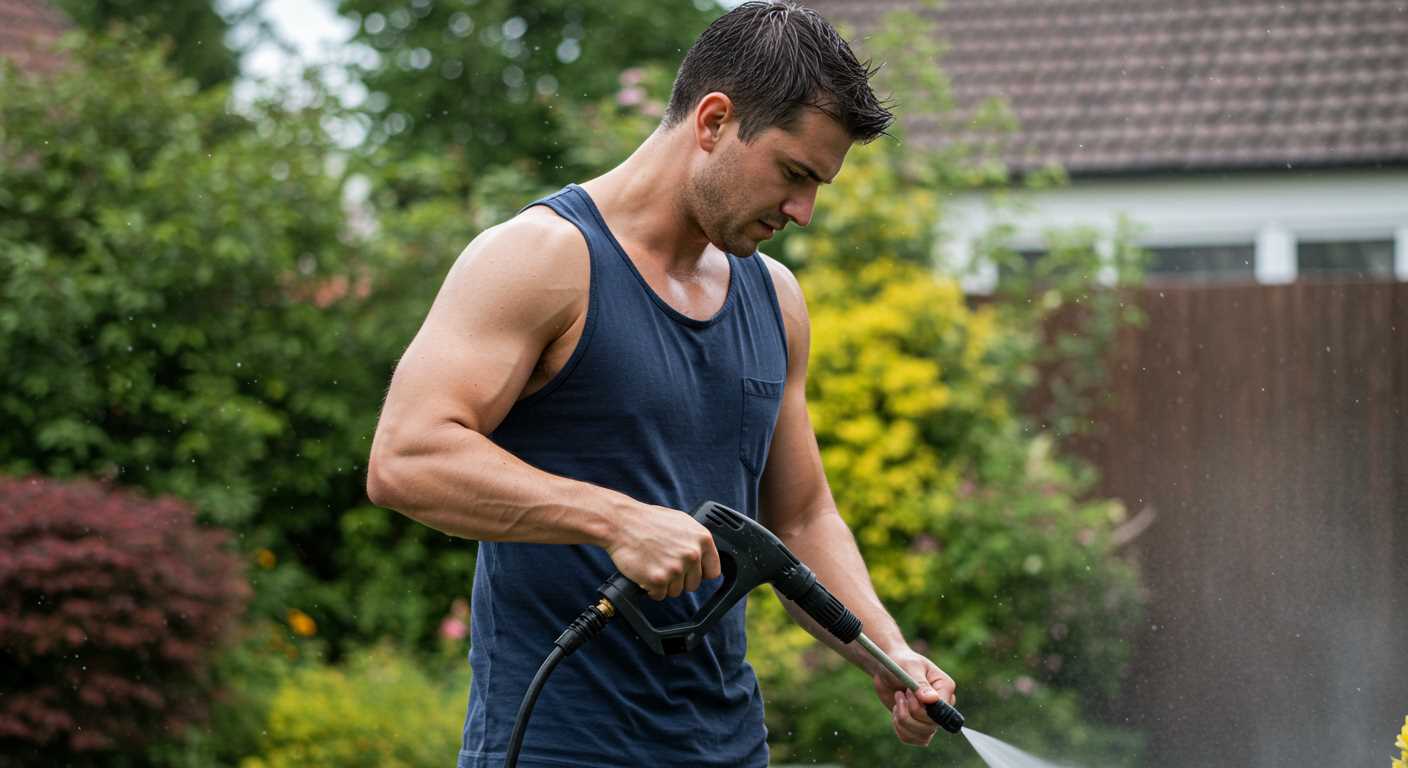


First things first: the right attachment makes all the difference. I remember the first time I tackled a stubbornly stained driveway; I had the wrong nozzle and ended up spraying water everywhere but where I needed it. A 25-degree nozzle is your best bet for most surfaces, providing a balanced spray that efficiently lifts dirt without causing damage.
Preparation is key. Before you even plug in that machine, sweep away loose debris and give the area a thorough inspection. I once overlooked a few pebbles, and they ended up becoming projectiles, chipping my newly painted fence. It’s a simple step, but taking the time to clear the area ensures a safe and effective cleaning session.
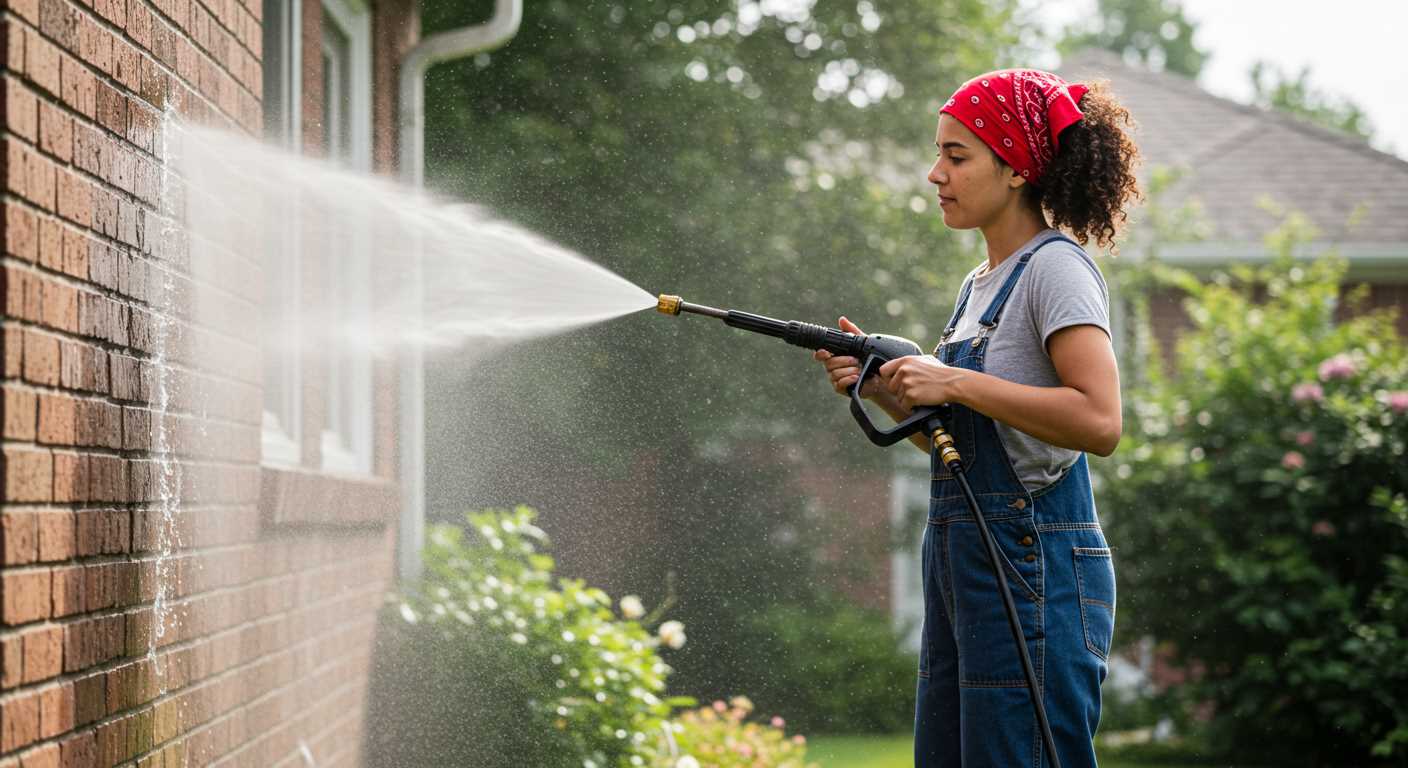
Start from the highest point and work your way down. I learned this the hard way after trying to clean a sloped patio from the bottom up, resulting in muddy streaks everywhere. By starting at the top, you allow dirty water to flow downwards, making the entire process smoother and less messy.
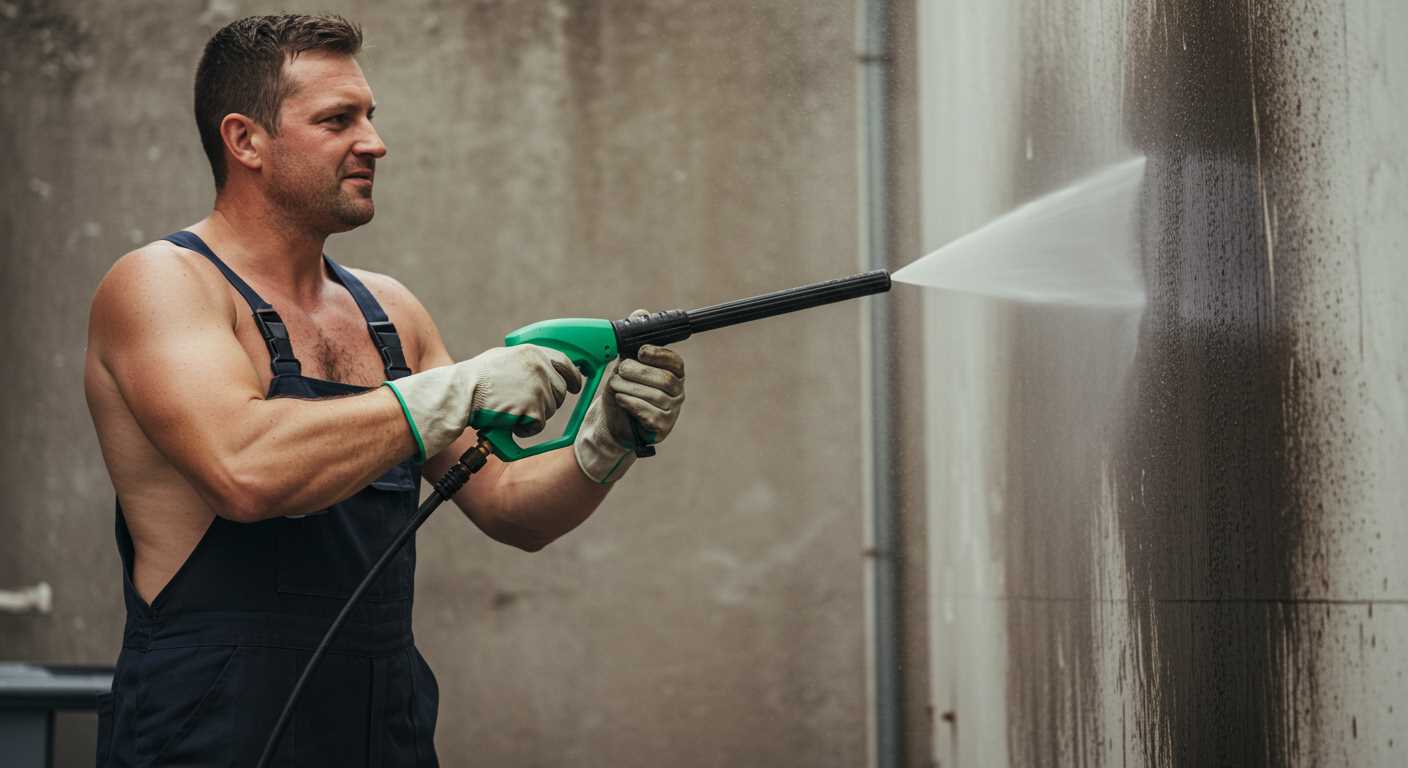
Watch your distance. Holding the nozzle too close can etch the surface, while too far away makes it less effective. I typically keep it around 12 to 18 inches from the surface. This distance gives a powerful yet gentle touch that removes grime without causing harm.
Lastly, don’t forget to rinse thoroughly. I’ve seen too many people finish and walk away, only to discover residue left behind. A final rinse not only enhances appearance but also prevents slip hazards. A clean surface is a safe surface, and that’s something we can all appreciate.
Techniques for Achieving Optimal Results
Begin by selecting a suitable nozzle for your task. A 25-degree nozzle is typically ideal for most surfaces, providing a good balance between power and coverage. If the grime is particularly stubborn, consider switching to a 15-degree nozzle for increased pressure. Just be cautious, as this can damage softer materials.
Preparation Steps
Before you start, ensure the area is free of obstacles. Clear away furniture and any items that could obstruct your path. For larger spaces, it might be wise to section off the area, tackling one part at a time to ensure thoroughness. Additionally, a light sweep or dry mop can help remove loose debris, making the process smoother.

Application Tips
Maintain a consistent distance of approximately 12 to 18 inches from the surface while operating your machine. This distance helps to avoid damage while ensuring even coverage. Move in a steady, overlapping motion to eliminate streaks. If you encounter particularly tough stains, pause briefly to let the water work its magic before moving on.
After completing the wash, allow the surface time to dry. This step is crucial, as it helps to prevent slip hazards and allows you to assess the results. If any residues remain, a second pass may be necessary. Always finish with a thorough inspection to ensure a spotless finish.
Choosing the Right Pressure Washer for Concrete Cleaning
For effective outdoor surface restoration, selecting the appropriate high-pressure device is paramount. Over my years in the cleaning equipment industry, I’ve encountered various models, and a few key specifications consistently stand out.
First and foremost, opt for a unit with a minimum of 3000 PSI (pounds per square inch). This power level is necessary to dislodge stubborn dirt, grease, and grime embedded in the surface. I once tried a lower-pressure model on a driveway; the results were disappointing and time-consuming.
Next, consider the GPM (gallons per minute). A higher GPM translates to more water flow, which aids in rinsing away debris efficiently. Combining a robust PSI with a significant GPM provides a potent cleaning force that makes a noticeable difference. I recall using a machine with 3 GPM; it significantly reduced my cleaning time.
Don’t overlook the nozzle options. A rotating nozzle or turbo nozzle can enhance your cleaning capabilities. These nozzles increase the impact area and speed up the cleaning process. I often switch between nozzles depending on the surface condition. For heavy stains, the rotary attachment works wonders by concentrating the flow in a smaller area.
Electric versus gas-powered models is another important choice. Electric units are quieter and easier to handle, making them suitable for residential tasks. However, gas-powered machines offer more power and mobility for extensive projects. In my experience, gas machines excelled in larger spaces, while electric ones were perfect for tight spots.
Finally, reliability and ease of use are critical. Choose a model from a reputable brand with solid customer reviews. I’ve learned the hard way that cutting corners on quality often leads to frustration and more maintenance issues down the line.
| Feature | Recommendation |
|---|---|
| PSI | 3000 or higher |
| GPM | 3 or more |
| Nozzle Type | Rotating or turbo |
| Power Type | Electric for small areas; gas for larger ones |
| Brand Reputation | Choose established brands with positive feedback |
By focusing on these specific aspects, you’ll set yourself up for success in your outdoor cleaning tasks. A well-chosen device can transform your approach to maintaining those tough surfaces.
Preparing the Area: Safety and Protection Measures
Ensure personal safety by wearing appropriate gear. I always don my safety goggles, gloves, and sturdy boots. This prevents injuries from debris or high-pressure water. Ear protection is also wise, as the noise can be quite loud.
Protecting Surroundings
Before starting, clear the area. Remove furniture, plants, or any other items that could be damaged. If you forget to do this, I’ve seen too many people regret it when their favourite garden ornament ends up in pieces.
- Cover delicate items with tarps or plastic sheeting.
- Seal off nearby windows and doors to prevent water intrusion.
- If working outdoors, consider wind direction to avoid spraying water onto walls or nearby structures.
Preparing the Surface
Inspect the surface for cracks or loose debris. If you spot any, I recommend repairing these beforehand. Loose gravel or small stones can become dangerous projectiles under high pressure. It’s better to spend a little time fixing these issues than dealing with injuries later.
- Use a broom to sweep away dirt and loose particles.
- For stubborn stains, a pre-treatment with a suitable solution can be beneficial.
Lastly, keep a first-aid kit nearby just in case. It’s a precaution I’ve learned to appreciate over the years. You can never be too careful.
Removing Loose Debris Before Pressure Washing
Begin by thoroughly inspecting the surface. Remove any large items such as furniture, toys, or garden equipment that may obstruct your work. This step is critical to ensure an unobstructed path for the high-powered stream.
Next, clear away loose dirt, leaves, or dust using a sturdy broom or a leaf blower. I’ve found that a gas-powered leaf blower can save significant time compared to manual sweeping. On one occasion, I tackled a driveway covered in autumn leaves, and the blower made quick work of it.
Dealing with Stubborn Materials
If you encounter gravel, sand, or pebbles, use a shovel or a rake to gather them. Ignoring these can lead to complications during the washing process, as they may create unwanted debris that can scratch or damage the surface. I recall a time when I neglected to clear a few stones, resulting in a frustrating clean-up that could have been avoided.
Final Checks
After clearing, give the area a final inspection. Ensure that there are no remaining obstacles or loose materials. A clean workspace not only enhances efficiency but also helps prevent accidents. I always remind myself that a few extra minutes spent on preparation can save hours later on.
Applying Cleaning Solutions: Which Chemicals to Use
For stubborn stains and grime, a suitable cleaning solution can significantly enhance the outcome. I recommend using a mixture of biodegradable degreasers and mild acids to tackle tough marks effectively.
- Biodegradable Degreasers: These are excellent for oil and grease stains. Products containing citrus extracts tend to be very effective. Always follow the manufacturer’s instructions for dilution ratios.
- Mild Acids: Solutions like vinegar or commercial concrete cleaners with phosphoric acid can help break down mineral deposits and efflorescence. Ensure you dilute these acids properly to avoid damage.
When applying these chemicals, use a sprayer for even distribution. Allow the solution to sit for 10 to 15 minutes before rinsing with high-pressure equipment. This dwell time lets the chemicals penetrate and lift the dirt more efficiently.
Always wear protective gear, including gloves and goggles, to safeguard against splashes. If you’re dealing with particularly tough stains, such as rust or mildew, consider using dedicated rust removers or mould inhibitors. Just remember to test any chemical in a small area first to ensure compatibility.
For those looking for versatile options, some cleaning solutions can also be effective for different surfaces, such as pressure washers for cleaning decking. Experimenting with these can save time and resources in your cleaning regimen.
After applying the cleaning solution, ensure thorough rinsing to avoid residue buildup. If you’re also maintaining aquariums, you might find yourself needing to know how to manage various stones and materials; check out this link for tips on how to clean an aquarium air stone.
Adjusting Pressure Settings for Optimal Cleaning
Start by selecting the appropriate pressure setting based on the type of grime you’re tackling. For light stains, a range of 1500 to 2000 PSI is usually sufficient. I recall a time when I underestimated the power needed for some stubborn oil stains; I had to increase the pressure after my first attempt yielded minimal results.
For medium dirt, such as mildew or moss, adjust your device to around 2500 PSI. I’ve found that this level strikes a balance between efficiency and safety for the surface. Higher pressures can risk damaging the material if you’re not careful.
For heavy-duty tasks, such as removing paint or deeply embedded stains, you might consider cranking it up to 3000 PSI or more. I once tackled a large outdoor area where previous owners had painted over the original surface; it took that higher pressure to get it back to its original condition. But be cautious! Always test a small, inconspicuous area first to ensure you don’t cause any unwanted damage.
Adjusting the nozzle can also significantly impact your results. A narrower spray pattern concentrates the force and is ideal for tough spots, while a wider spray is better for rinsing large areas. I learned the hard way that using too narrow a nozzle on a delicate surface can lead to unintended consequences, like etching.
Lastly, consider the distance from the surface. Keeping the nozzle about 12 to 18 inches away allows for effective cleaning without causing harm. I’ve had instances where I got too close, resulting in unnecessary wear and tear. Finding the right distance combined with the right pressure setting makes all the difference.
Techniques for Pressure Washing Concrete Surfaces
Start by selecting the right nozzle. A 25-degree nozzle is a versatile choice for most surfaces, providing a good balance between power and spread. For stubborn stains, consider switching to a 15-degree nozzle for a more concentrated beam, but keep in mind it may require a bit more distance to avoid etching the surface.
Maintain a consistent distance of about 12 to 18 inches from the surface. Too close, and you risk damage; too far, and you may not achieve the desired results. Work in sections, overlapping each pass slightly to ensure even coverage. This technique prevents streaks and missed spots, creating a uniform appearance.
Using a Sweeping Motion
Employ a sweeping motion while moving the wand side to side. This method not only enhances the cleaning effect but also reduces the chance of leaving behind water streaks. For heavily soiled areas, slow down your pace and allow the cleaning solution to penetrate. After applying the cleaning agent, let it sit for a few minutes to break down grime effectively.
Rinsing Techniques
When rinsing, switch back to the wider nozzle. Start from the highest point of the area you’re working on and move downwards. This technique helps to rinse away dirt and cleaning agents without leaving residues. Pay extra attention to corners and edges, as dirt tends to accumulate in these areas. A final pass with clean water ensures that all chemicals are thoroughly washed away, preventing any potential damage to the surface.

Post-Cleaning Maintenance for Longevity of the Surface
After completing the washing process, it’s crucial to protect the integrity of the surface. Start by allowing it to dry thoroughly; moisture can lead to stains or growth of mould. In my experience, I’ve found that leaving the area exposed to sunlight aids in faster drying, but ensure strong sunlight isn’t causing any damage.
Consider applying a sealant specifically formulated for your type of surface. A good sealant forms a protective barrier against stains and reduces wear from foot traffic. I remember one job where, after sealing the area, the owner was amazed at how much easier it was to maintain. The right product can extend the life of the surface significantly.
Regular maintenance should include sweeping or vacuuming to remove dirt and debris. I always recommend doing this weekly to prevent buildup, which can dull the appearance over time. For deeper cleaning, you might opt for a gentle scrub with a pH-neutral cleaner every few months, followed by a rinse to keep the surface looking fresh.
Inspect for cracks or chips periodically. Addressing these issues early can prevent larger problems down the line. I’ve seen surfaces deteriorate rapidly simply due to neglect. A small repair job now can save you from costly repairs later.
Finally, consider the environment around the area. Ensure proper drainage to prevent water pooling, which can lead to stains or erosion. I recall a project where drainage was overlooked, and it resulted in significant damage over time. Keeping the area clear of debris and ensuring good drainage will keep your space looking its best for years to come.
FAQ:
What equipment do I need to clean a concrete floor with a pressure washer?
To clean a concrete floor using a pressure washer, you will need the pressure washer itself, which should ideally have a minimum of 2000 PSI for effective cleaning. Additionally, you may want to use a surface cleaner attachment for better coverage and to avoid streaks. Other useful items include safety goggles, gloves, a broom or vacuum for pre-cleaning debris, and possibly a concrete cleaning solution for tougher stains.
How do I prepare the concrete floor before using a pressure washer?
Before using a pressure washer on your concrete floor, it is important to prepare the surface. Start by sweeping or vacuuming the area to remove loose dirt and debris. If there are any large stains or grease spots, consider pre-treating these areas with a suitable concrete cleaner or degreaser. Allow the cleaner to sit for a few minutes to break down the dirt. Ensure that any nearby items or furniture are moved out of the way to avoid damage and make your cleaning process more efficient.

What technique should I use while pressure washing the concrete floor?
When pressure washing the concrete floor, it is best to work in sections. Hold the nozzle at a 45-degree angle and keep it about 12 inches away from the surface to avoid damaging the concrete. Start at one end of the area and move in a consistent, overlapping pattern to ensure even cleaning. For stubborn stains, you may want to slow down your movement or go over the area multiple times. Always rinse the surface thoroughly after cleaning to remove any remaining detergent or debris.
Can I use hot water in my pressure washer for cleaning concrete?
Yes, using hot water in your pressure washer can enhance the cleaning process, especially for oil or grease stains on concrete. Hot water helps to break down the grime more effectively than cold water. However, ensure that your pressure washer is designed to handle hot water, as not all models support this feature. Always check the manufacturer’s instructions before proceeding.
What safety precautions should I take while pressure washing a concrete floor?
When pressure washing a concrete floor, safety is paramount. Always wear protective gear, including goggles to shield your eyes and gloves to protect your hands. Make sure to wear non-slip footwear to prevent slipping on wet surfaces. Be cautious of the pressure washer’s high-pressure spray, as it can cause injury if directed at the skin or face. Additionally, ensure that the area is free from electrical hazards and that no one is in the vicinity of the spray zone while you are working.
What equipment do I need to clean a concrete floor with a pressure washer?
To clean a concrete floor using a pressure washer, you’ll need a pressure washer itself, which can be either electric or gas-powered. Additionally, having a surface cleaner attachment is beneficial, as it helps cover larger areas more evenly and reduces the risk of streaks. You’ll also want a good quality detergent specifically designed for concrete cleaning, a suitable extension cord if you’re using an electric model, and safety gear such as goggles and gloves to protect yourself from debris and chemicals.

How do I prepare my concrete floor before using a pressure washer?
Preparation is key to achieving the best results when cleaning a concrete floor with a pressure washer. First, remove any furniture, rugs, or obstacles from the area to be cleaned. Sweep or vacuum the floor to eliminate loose dirt, dust, and debris. If there are any stains, like oil or grease, pre-treat these spots with a concrete cleaner, allowing it to sit for the recommended time. Lastly, ensure that any electrical outlets or sensitive areas are covered or protected from water to avoid damage during the cleaning process.
.jpg)


