
.jpg)


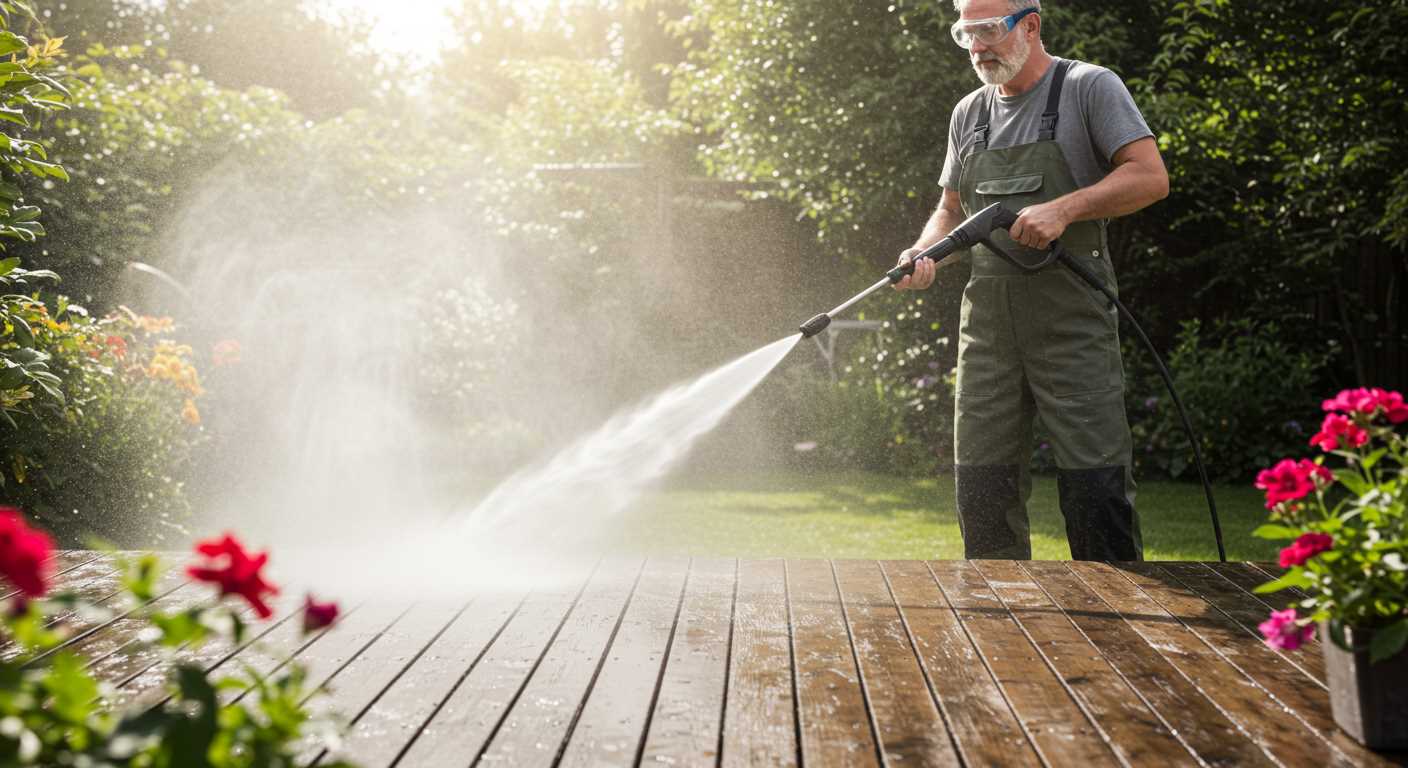
.jpg "How to clean concrete sidewalk without pressure washer")
Start with a mixture of warm water and dish soap. This simple combination can lift surface grime effectively. Apply it generously to the area using a stiff-bristled broom, ensuring to work it into any stains or marks. Allow it to sit for a few minutes, letting the solution penetrate the dirt.
Next, tackle tougher stains with a paste made of baking soda and water. This natural abrasive is perfect for stubborn spots. Spread the mixture over the affected areas and gently scrub with a brush. The reaction will help to break down the particles embedded in the surface, revealing a fresher layer beneath.

For those pesky moss or algae patches, a solution of vinegar and water can do wonders. Spray this onto the affected areas and let it sit. The acidity in vinegar works to eradicate unwanted growth, leaving your pathways looking clean and inviting. Rinse thoroughly after treatment to ensure no residue remains.
Lastly, a thorough rinse with a garden hose can remove any remaining debris and cleaning agents. This step is crucial for achieving that polished look. If you encounter any persistent stains, repeating the process may be necessary, but patience will pay off in the end.
Efficient Methods for Revitalising Your Pathway
Begin with a solution of warm water and dish soap. Mix approximately half a cup of soap in a bucket filled with water. Use a stiff-bristle broom to scrub the surface, applying pressure to lift stubborn grime.
For more challenging stains, consider creating a paste using baking soda and water. Apply this mixture directly onto the affected areas and let it sit for about 15-20 minutes before scrubbing with the broom. Rinse thoroughly with clean water to reveal a brighter surface.
If mildew or algae is present, a mixture of vinegar and water can be effective. Combine a cup of vinegar with a gallon of water, spray it onto the area, and leave it for about 30 minutes. Scrub and rinse afterwards to ensure all residues are washed away.
For oil stains, utilise cat litter or sawdust. Sprinkle it generously over the stain, allowing it to absorb the oil for several hours or overnight. Sweep away the litter and you should see a significant improvement.
Another option is to use a commercial cleaner specifically designed for pathways. Follow the instructions on the label for the best results, ensuring you wear gloves and follow safety precautions.
After treatment, always rinse the area thoroughly to remove any cleaning agents. This not only ensures a clean finish but also helps to protect the surface from potential damage caused by residue.
Regular maintenance can prevent the build-up of dirt. A monthly sweep and occasional wash with soapy water will keep your pathway looking fresh and inviting.
Choosing the Right Cleaning Solution for Concrete
Opt for a solution with a mix of baking soda and vinegar for a natural approach. This combination effectively breaks down grime and stains. Start by mixing one cup of baking soda with two cups of vinegar in a bucket. Apply the mixture generously over the affected areas and let it sit for about 30 minutes. The reaction between the two ingredients will help lift dirt from the surface.
If you prefer a stronger alternative, consider a commercial cleaner designed for stone or masonry. Look for products containing sodium hypochlorite or hydrogen peroxide, as these are potent against stubborn stains. Follow the manufacturer’s instructions for dilution and application to avoid damaging the surface.
For oil stains, an absorbent material like cat litter or cornstarch can work wonders. Sprinkle it over the stain, allow it to sit for a few hours, and then sweep it away. After this, apply soapy water or a degreaser to fully eradicate the residue.
Always conduct a patch test in a discreet area before applying any cleaner to ensure compatibility with the surface. Choosing the right solution can significantly influence the results, so consider your specific needs and the severity of the stains involved.
If you’re considering investing in a cleaner for larger projects, check out this guide on the pressure washer for your money. It could save you time and effort in the long run while keeping your surfaces looking pristine.
Preparing the Area Before Cleaning
Begin by clearing the entire surface of any debris, leaves, or dirt. A clean workspace ensures that the cleaning solution reaches the surface effectively. Here’s how to prepare:
- Remove furniture, planters, and any portable items that might obstruct your cleaning path.
- Use a broom or a stiff-bristled brush to sweep away loose dirt and debris. Pay special attention to cracks and crevices.
- If there are any large stains or spills, scrape them off with a putty knife or a similar tool. This will prevent them from spreading during the cleaning process.
Next, check for any damage on the surface. Look for cracks or uneven areas that may require special attention. If you spot any significant issues, consider repairing them before starting. This ensures a uniform appearance once completed.
After clearing the area, wet the surface lightly with water. This helps to loosen any stubborn grime and prepares the surface for the cleaning solution. However, avoid soaking it excessively, as too much water can dilute your cleaning agents.
Finally, protect surrounding plants and grass by covering them with plastic sheeting or old towels. This prevents any adverse reactions from the cleaning solution, ensuring that your garden remains intact during the process.
Removing Stains from Concrete Walkways
For oil stains, absorb excess with cat litter or sawdust, then apply a degreaser. Let it sit for about 15 minutes before scrubbing with a stiff brush and rinsing thoroughly. A mixture of dish soap and warm water can also work wonders for light stains.
Rust marks require a different approach. Use a commercial rust remover or create a paste from baking soda and water. Apply it directly on the affected area and scrub with a brush. After a few minutes, rinse off and repeat if necessary.
For organic stains like leaves or food, a solution of vinegar and water is effective. Mix equal parts and spray on the area. Let it sit for a few minutes before scrubbing with a broom, then rinse off with clean water.
For general discolouration, a mixture of water and oxygen bleach can be useful. Apply it generously, allow it to penetrate for 10-15 minutes, and agitate with a brush. Rinse well after treatment.
Remember, always do a patch test with any cleaning solution to check for adverse reactions. Regular maintenance will help prevent stubborn marks from forming in the first place.
Using a Broom and Water for Basic Cleaning
For regular maintenance, grab a sturdy broom and a bucket of water. This method is simple yet surprisingly effective for keeping surfaces looking tidy.
Steps to Follow
- Begin by sweeping away loose debris like leaves, dirt, and dust. This prevents mud from forming when you add water.
- Mix warm water in a bucket. If you wish, add a mild detergent to enhance the cleaning power.
- Dip the broom into the soapy water, letting it soak for a moment.
- Scrub the surface using the broom, applying a bit of pressure to lift grime and stains. Work in sections for better results.
- Rinse the area with clean water, either by pouring it directly or using a hose if available.
Tips for Optimal Results
- Choose a day with mild weather. Avoid cleaning on windy or rainy days to ensure effective drying.
- For stubborn spots, let the soapy water sit for a few minutes before scrubbing again.
- After rinsing, allow the area to dry completely. This prevents any new dirt from sticking to damp surfaces.
This straightforward approach can help maintain a fresh appearance and prolong the life of your pathways. Regular upkeep can make a significant difference in the overall look of your outdoor spaces.
Scrubbing Techniques for Tough Stains
For stubborn marks, a stiff-bristle brush paired with a suitable cleaning solution can work wonders. I recall tackling a particularly grimy surface; using a brush with firm bristles allowed me to apply significant pressure while maintaining control, ensuring the solution penetrated the stain effectively.
Start by applying the cleaning mixture generously over the affected area, allowing it to sit for about 10-15 minutes. This dwell time helps to break down embedded grime. Then, use the brush in a circular motion, applying extra effort on more resistant spots. I’ve found that working in sections keeps the process manageable and gives you a sense of progress.
For oil-based stains, a mixture of dish soap and warm water is quite effective. After scrubbing, rinse thoroughly with clean water to remove any residue. I once spent hours scrubbing a particularly oily patch, only to realise that a little patience with the soap solution made all the difference.
If mildew is a concern, a solution of one part vinegar to three parts water can be effective. Apply it directly to the affected area, scrub, and let it sit before rinsing. I’ve seen this method work wonders, especially in shaded areas where mildew tends to thrive.
For larger areas or more entrenched stains, consider using a floor scrubber or buffer, if available. These tools can save time and effort. I once borrowed a scrubber from a friend and was amazed at how much quicker the task became. Just make sure to follow up with a good rinse to clear away any debris.
Lastly, always finish with a thorough rinse to help lift away any loosened particles and cleaning solution residues. This final step ensures that the surface is left looking fresh and ready for use. From my experience, neglecting this part can leave a dull appearance, which defeats the purpose of all that hard work.
Applying Vinegar or Baking Soda for Natural Cleaning
For tackling stubborn grime, vinegar and baking soda are my go-to solutions. Both are safe, non-toxic, and effective in breaking down stains. I’ve often mixed these two ingredients to create a powerful cleaning paste that works wonders.
Using Vinegar
Vinegar’s acidity makes it perfect for dissolving mineral deposits and grime. Simply pour white vinegar directly onto the affected area. For optimal results, let it sit for 10 to 15 minutes before scrubbing. I’ve noticed that using a brush with stiff bristles enhances the cleaning process, especially for those pesky spots that seem to cling on.
Utilising Baking Soda
Baking soda acts as a mild abrasive, ideal for lifting stains without scratching the surface. Sprinkle a generous amount over the area, then spray some water to dampen it. This combination creates a fizzing reaction that helps to break down dirt. After about 30 minutes, scrub with a brush, and rinse thoroughly. Repeating this process can yield impressive results, especially on older stains.
| Ingredient | Best For</th | Application Method |
|---|---|---|
| Vinegar | Mineral deposits, grease | Pour, let sit, scrub |
| Baking Soda | Stubborn stains, general grime | Sprinkle, dampen, scrub |
Combining these methods has always led to satisfying outcomes. The natural approach not only saves money but also reduces the use of harsh chemicals. It’s a straightforward way to maintain a clean and welcoming entrance to your home.
Dealing with Moss and Algae on Concrete

To tackle moss and algae, a solution of vinegar and water is quite effective. Mix one part vinegar with one part water in a spray bottle, and apply it directly to the affected areas. Let it sit for about 15-20 minutes before scrubbing with a stiff-bristled brush. This not only helps to eliminate the growth but also prevents it from returning quickly.
Using Baking Soda for a Natural Approach
Baking soda is another excellent option. Sprinkle it generously over the mossy or slimy spots, then add water to create a paste. Allow it to sit for a while, then scrub with a stiff brush. The abrasive nature of baking soda aids in lifting the unwanted growth while being gentle on the surface.
Regular Maintenance Tips
Preventing moss and algae is easier than removal. Regular sweeping and ensuring proper drainage can significantly reduce moisture accumulation, which is a breeding ground for these organisms. Consider planting ground cover plants that compete with moss for space and light, helping maintain a cleaner surface naturally.
Rinsing and Drying the Sidewalk Properly
After tackling the grime and stains on your outdoor walkway, the next step is rinsing it thoroughly. Use a garden hose with a spray nozzle set to a medium flow. Start from one end, working your way to the other, ensuring that all cleaning solutions and debris are washed away. If you notice any remaining residue, go over those areas again to ensure a spotless finish.
For optimal results, consider using warm water as it helps dissolve any remaining soap or cleaning agent more effectively. If a hose isn’t available, filling a bucket with water and using a sponge or mop can also work, though it may be more labor-intensive.
Once rinsing is complete, allow the walkway to air dry for at least a couple of hours. Avoid walking on the surface while it’s still wet to prevent any dirt or grime from sticking back onto the now-cleaned area. If you want to speed up the drying process, a squeegee can be used to remove excess water. This technique also minimizes the risk of slip hazards.
For added shine, after the surface has dried, you might want to apply a suitable sealant. This can help protect against future stains and wear. If you’re interested in cleaning solutions for other surfaces, you might find the best car wash soap for pressure washers useful for your next project.
Maintaining Cleanliness After the Initial Clean
To keep your walkway looking its best, regular upkeep is key. A simple routine can significantly reduce the need for deep cleaning sessions later on. Start by sweeping away debris and dirt each week. Keeping a broom handy near the entrance makes this task easier and more routine.
Preventing Stains and Build-Up
Address spills immediately to prevent staining. For example, if a beverage or food item falls, wipe it up straight away. If you’re dealing with organic materials like leaves or grass clippings, clear them promptly to avoid moss or algae formation. A light rinse with a hose can help wash away residue and deter build-up.
Seasonal Maintenance Tips
During autumn, watch for fallen leaves. They can trap moisture and lead to unwanted growth. Regular raking and occasional hosing down can help. In winter, be mindful of salt used for ice melting; it can leave marks. Rinse the area after the snow melts to prevent residue accumulation. In spring, consider a thorough inspection for any new stains or issues and take action quickly.
.jpg)


