


If you’re looking for a way to restore your outdoor surfaces, a combination of vinegar, baking soda, and a stiff-bristled brush can work wonders. Mix equal parts of vinegar and water, then sprinkle baking soda over the area you’re targeting. The fizzing reaction will help lift dirt and grime, making scrubbing much easier.
From my own experience, I remember tackling a particularly stubborn pathway covered in years of neglect. Armed with my homemade solution and a robust brush, I went to work. After applying the mixture and letting it sit for about 15 minutes, I noticed the stains had significantly loosened. A bit of elbow grease and rinsing with a garden hose made a noticeable difference. It was gratifying to see the transformation unfold.
For deeper stains, a paste made from baking soda and water can be applied directly to the affected areas. Allow it to sit for a few hours before scrubbing. This method is especially effective for oil or rust marks that seem resistant to traditional cleaners. I’ve had great success with this approach, especially on surfaces that had seen better days.

Another tip is to utilise a broom or a leaf blower to clear away loose debris before you begin. This step not only makes the process smoother but also helps in spotting areas that may need more attention. I learned early on that preparation is key to achieving the best results.
Lastly, regular maintenance can prevent the build-up of grime and stains. A monthly quick scrub with soapy water can keep your surfaces looking fresh and inviting. It’s a simple habit that pays off in the long run.
Gathering the necessary cleaning supplies
Start with a sturdy broom or a stiff-bristled brush to remove loose dirt and debris. This is the foundation of any thorough cleansing effort. A good-quality broom can make all the difference, especially when dealing with stubborn particles.
Next, consider a bucket for mixing your cleaning solutions. It’s essential to have a reliable container to facilitate the process. Opt for one with a handle for easy transport.
For the cleaning solution, you can use a mix of water and mild detergent or a specialised cleaner suitable for the surface type. Make sure to read the label to ensure compatibility with your material. Vinegar and baking soda are also effective eco-friendly alternatives, particularly for organic stains.
Don’t forget a scrub brush or a mop. A long-handled scrub brush is ideal for larger areas, allowing you to apply pressure without straining your back. A mop works well for smaller spots and can help gather any remaining dirt.
Protective gear is just as important. Wear gloves to shield your hands from harsh chemicals, and consider goggles to protect your eyes from splashes. If you’re dealing with heavy-duty stains or mould, a mask can help prevent inhalation of harmful particles.
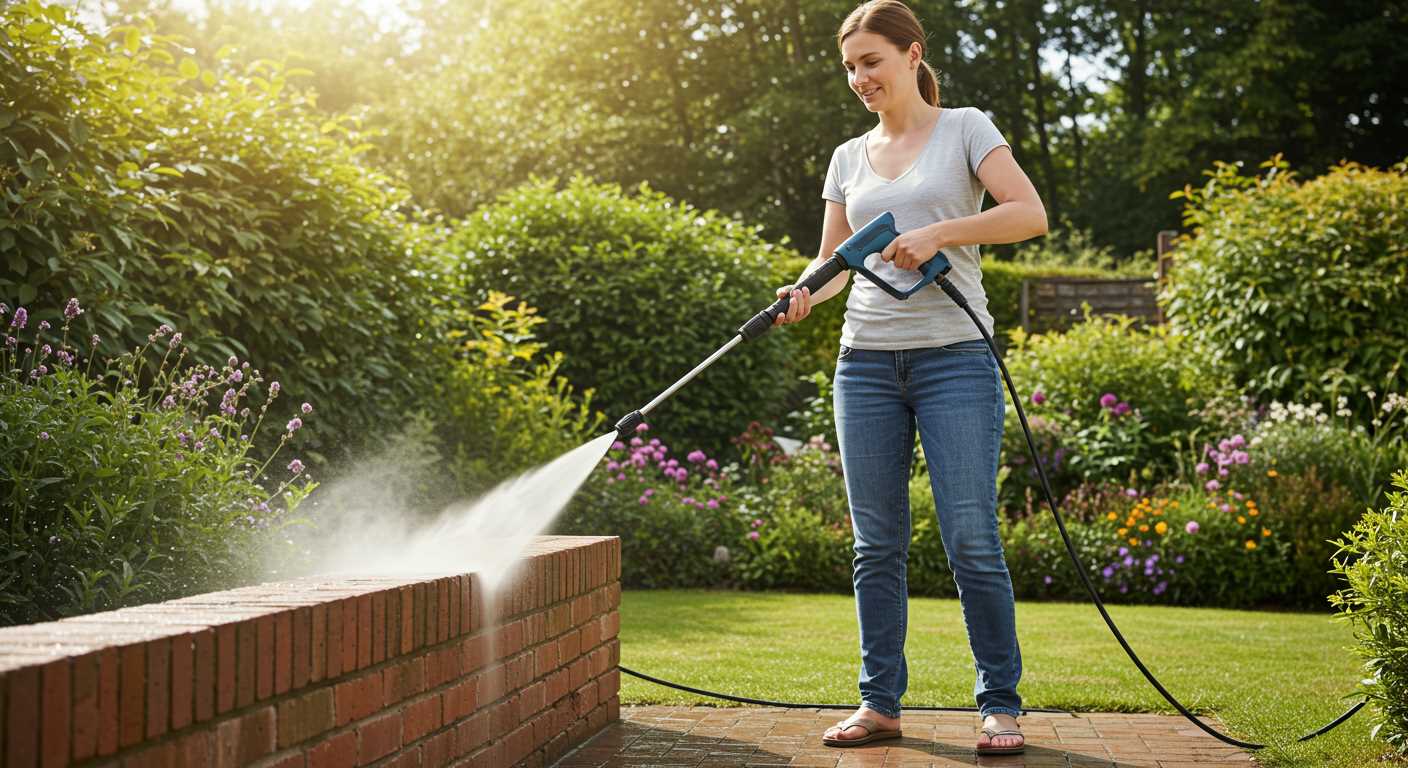
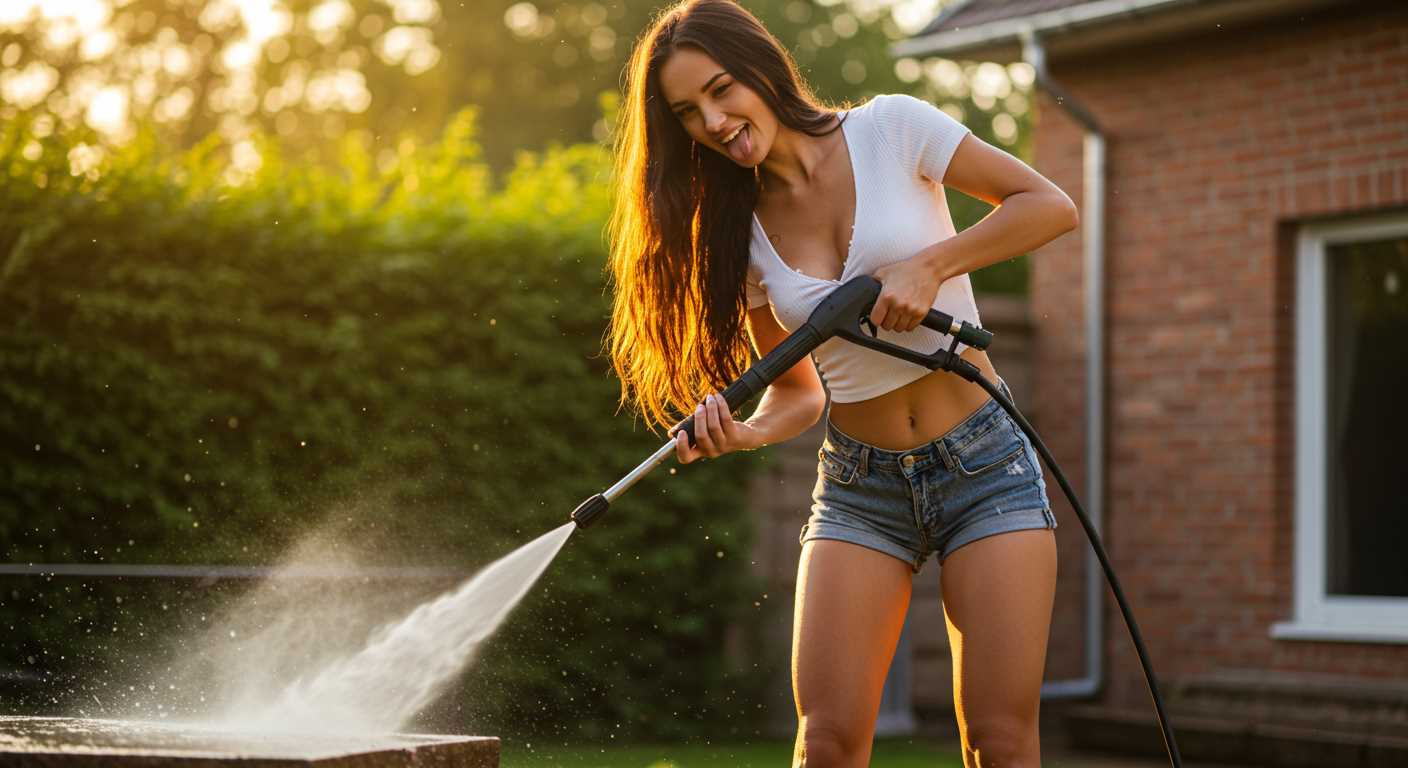
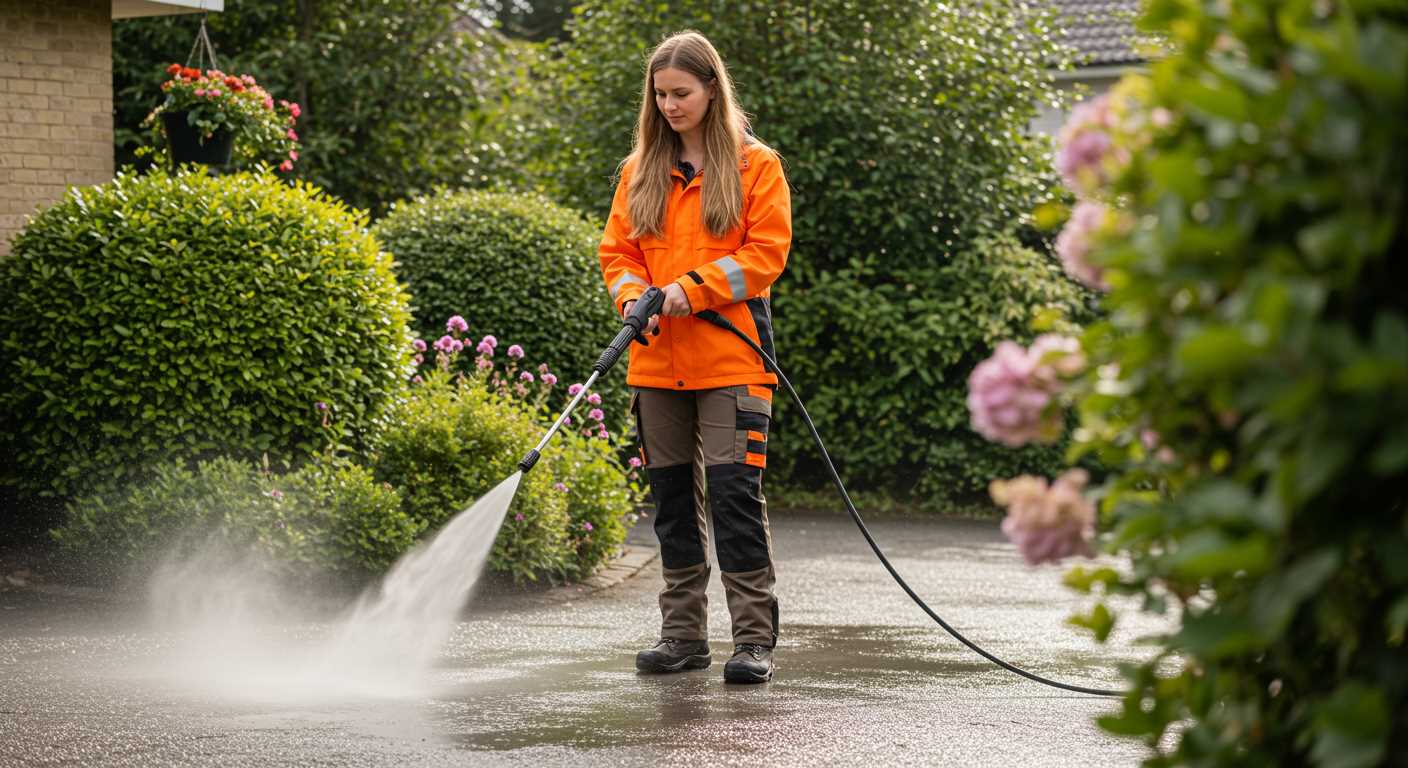
Lastly, a garden hose will be useful for rinsing. If you don’t have a high-pressure option, a standard hose will suffice. You can also use a spray nozzle attachment for better control over water flow.
| Supplies | Purpose |
|---|---|
| Sturdy broom | Remove loose debris |
| Bucket | Mix cleaning solutions |
| Cleaning solution | Break down stains |
| Scrub brush or mop | Apply cleaning solution |
| Protective gear | Ensure safety |
| Garden hose | Rinse off debris and solutions |
Once you have all these items, you’ll be well-prepared to tackle any surface challenge. For those considering alternative methods, check out the best pressure washer surface cleaners for future reference.
Preparing the Surface for Cleaning
First, ensure that the area is free from debris. Sweep away leaves, dirt, and any loose materials using a stiff-bristled broom. This step helps prevent scratches during scrubbing and allows for more effective treatment of stains.
Next, check for any large stains or spills. For significant marks, consider using a putty knife or a similar tool to scrape away any hardened substances. This will make the subsequent cleaning process more manageable and thorough.
Assessing Damage
Examine the surface closely for cracks or chips. If you notice any damage, it’s wise to address these areas before proceeding. Fill in cracks with a concrete patching compound and allow it to cure as per the manufacturer’s instructions. This not only enhances the appearance but also protects against further deterioration.
Pre-soaking the Area
Before applying any cleaning solution, pre-soak the surface with water. Use a garden sprayer or a bucket to lightly dampen the area. This helps to loosen dirt and grime, making it easier for the cleaning agents to penetrate and work effectively.
Choosing the right cleaning solution for your needs
For optimal results, select a solution tailored to your specific requirements. For instance, if you’re tackling stubborn stains like oil or grease, consider a degreaser that can penetrate and break down the residue effectively. A product containing sodium hydroxide or other alkaline substances can be particularly useful in these scenarios.
For general dirt and grime, a simple mixture of warm water and dish soap can suffice. This combination is gentle yet effective, making it a safe choice for most surfaces. If you prefer a natural approach, vinegar diluted with water can also be effective in lifting light stains.
When dealing with mildew or mould, opt for a solution with bleach or a commercial mildew remover. Always follow the manufacturer’s guidelines for dilution and application to ensure safety and effectiveness.
For those who prefer eco-friendly options, there are biodegradable cleaners available that can tackle various types of stains without harming the environment. Always check the label for suitability on your surface type.
Keep in mind that some commercial cleaners are designed specifically for use with power equipment. If you ever consider upgrading your tools, you might want to explore options like vinyl siding cleaner to use with pressure washer, which can provide insights into compatibility with your current cleaning regimen.
Ultimately, the right solution can save you time and effort, making the cleaning process smoother and more efficient.
Applying the cleaning solution to the concrete
Once you’ve selected an appropriate cleaning agent, pour it into a spray bottle or a garden sprayer for easier application. Start from one corner and work your way towards the exit, ensuring that you apply the solution evenly across the surface. This method helps avoid stepping on treated areas, which can lead to smudging or spreading dirt back onto the surface.
For stubborn stains, consider using a stiff-bristled brush. Apply the solution generously to the affected areas and let it sit for 10 to 15 minutes. This dwell time allows the cleaner to penetrate and break down grime effectively. After waiting, scrub the stained spots with the brush, applying moderate pressure to lift the debris without damaging the surface.
If you’re dealing with oil or grease stains, a dedicated degreaser can be particularly effective. Spray it directly onto the stains and allow it to sit a bit longer, around 20 minutes, before scrubbing. This extra time enhances the degreaser’s ability to cut through the oily residue.
For larger areas, consider using a mop or a large sponge to apply the solution. This technique is particularly useful for ensuring consistent coverage on extensive surfaces. Always keep an eye on the treated areas, and reapply cleaner if you notice any spots that need extra attention.
After scrubbing, rinse the surface thoroughly with a bucket of clean water. If possible, use a broom to help push the dirty water towards a drain or a designated area. This simple rinse-off step is critical for removing any leftover cleaning solution, ensuring that the surface is not only clean but also safe for foot traffic.
Scrubbing Techniques for Different Types of Stains

For tough marks like oil, a stiff-bristle brush paired with a degreasing agent yields the best results. Apply the solution to the stained area, allowing it to sit for about 15 minutes, then scrub vigorously using the brush. Rinse with water afterward to remove residue.

Rust Marks
- Use a mixture of baking soda and water to form a paste.
- Apply the paste directly onto the rust stain, letting it sit for 30 minutes.
- Scrub with a wire brush or scouring pad, then rinse thoroughly.
Food and Drink Spills
- For food stains, sprinkle salt on the area to absorb moisture, followed by a mixture of warm water and dish soap.
- Scrub gently with a soft brush, then rinse with clean water.
- For beverage stains, especially those from red wine or coffee, a solution of vinegar and water can be effective. Apply, scrub, and rinse.
For paint drips, scrape off excess with a putty knife, then apply a solvent like mineral spirits. After a few minutes, scrub the area with a stiff brush and rinse to clear any remaining paint particles.
For organic stains like leaves or grass, a diluted bleach solution can work wonders. Apply it, let it sit briefly, and scrub before rinsing. Always test a small, inconspicuous area first to ensure the surface isn’t damaged.
Rinsing and finishing touches for a clean surface
After applying your chosen solution and scrubbing away the grime, the next step is rinsing the area thoroughly. Use a garden hose with a spray nozzle set to a medium flow. Start from one corner and work your way across the area, ensuring that all cleaning agents and loosened dirt are washed away. Aim to keep the nozzle about 12 inches from the surface to avoid any damage while still providing sufficient water pressure.
If you have access to a squeegee, use it to help remove excess water. This tool can be particularly useful in flat areas, allowing you to push water towards a drain or out of the way. In my experience, using a squeegee not only speeds up the drying process but also prevents water spots from forming.

Once rinsed, inspect the surface for any remaining stains. If you notice any, you might want to apply a targeted spot treatment before the area dries completely. A scrub brush or cloth can be used for this final touch-up, ensuring that everything looks pristine.
For that professional finish, consider applying a concrete sealer once the surface is fully dry. This not only enhances the appearance but also protects against future stains and weathering. I learned early on that a good sealer can make maintenance much easier in the long run, saving time and effort in future cleaning sessions.
Finally, allow adequate drying time before placing any furniture or items back on the surface. This will ensure you don’t trap moisture and will help maintain the clean look for longer. Trust me, patience in this last step pays off significantly!
.jpg)


