
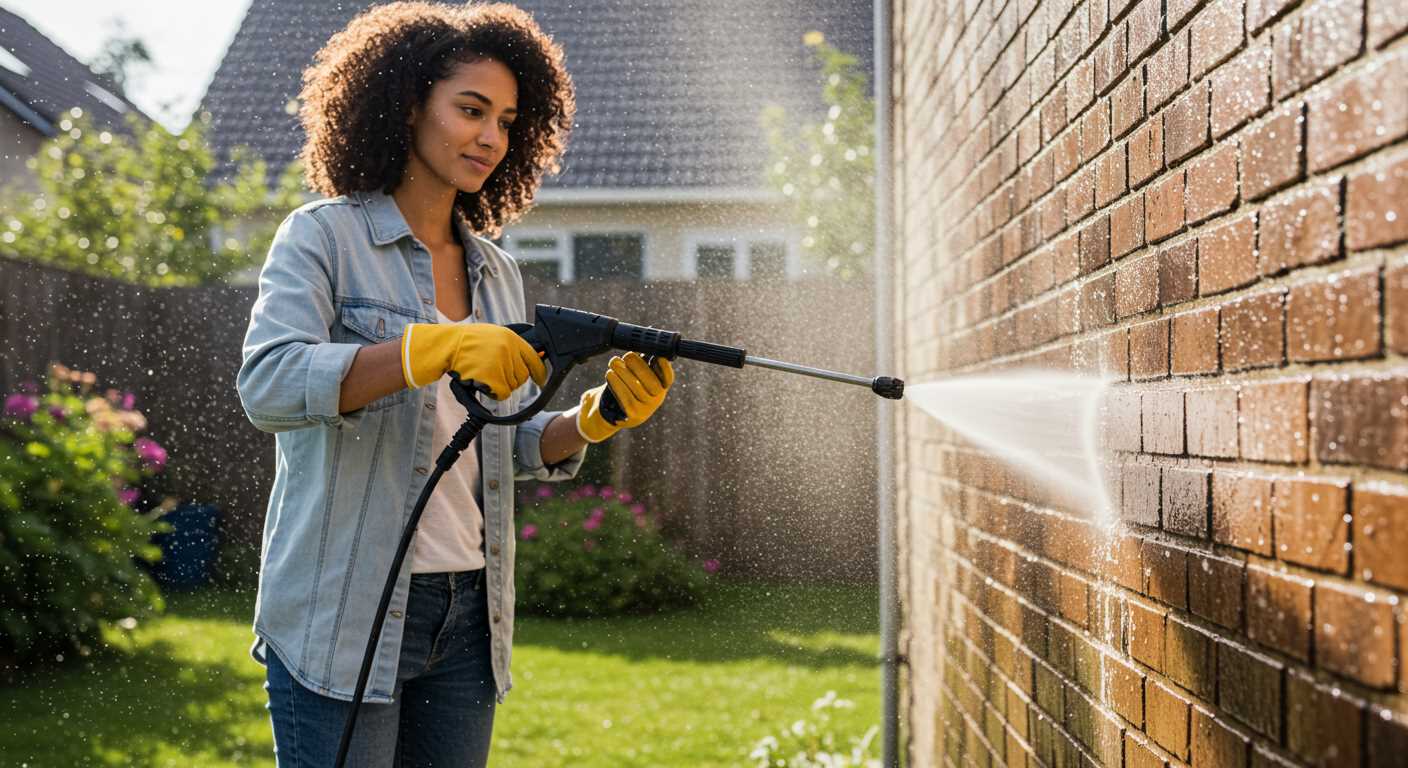


Begin by ensuring you have the right gear: a quality high-pressure machine, a sturdy ladder, and safety goggles. While many might overlook their rainwater channels, I’ve found that regular maintenance can prevent significant issues down the line. Trust me, having done this countless times, the satisfaction of seeing debris vanish under the force of water is unmatched.
Position the ladder securely against the house, ensuring it’s stable. Always prioritize safety; it’s easy to overlook this step when you’re eager to tackle the task. Once you’re at a comfortable height, connect the nozzle attachment to your device. I prefer a wide-angle spray for broad coverage, as it helps dislodge stubborn dirt and leaves without causing damage.
As you begin the process, angle the spray towards the downspouts. This technique allows the water to push the debris towards the exit, making the clean-up more efficient. I’ve often seen people start from the bottom, which can lead to more mess. Remember, aiming upwards helps to clear everything effectively.
After finishing, take a moment to inspect the channels for any remaining blockages. A quick rinse ensures that no residue is left behind. Over the years, I’ve learned that a little diligence goes a long way, ensuring that your water drainage system remains functional and trouble-free.
Effective Techniques for Clearing Rainwater Channels
Begin the process by gathering essential tools: a high-pressure cleaning device, a sturdy ladder, safety goggles, and gloves. Ensure the device is equipped with a nozzle that delivers a concentrated stream of water. I remember the first time I tackled this task; I underestimated the power of the spray. Standing on a ladder, I aimed at the debris and was astonished at how easily the stubborn leaves and muck dislodged. A focused stream makes all the difference.

Positioning and Safety First
Always secure your ladder on stable ground. I learned this the hard way; once, I had a slip that nearly sent me tumbling. Use a ladder stabiliser if possible. While on the ladder, maintain a firm grip and keep your body centred. This ensures safety while you work. It’s tempting to stretch too far; don’t do it. If you can’t reach a section, come down and reposition the ladder.
Technique for Optimal Results
When you’re ready to start, angle the nozzle at approximately 45 degrees. This helps direct the water flow into the channel rather than back at you. Begin from the far end of the channel and work towards the downspout. I found that moving in a steady, sweeping motion prevents the debris from re-settling. For particularly stubborn clogs, don’t hesitate to adjust the pressure setting; sometimes a higher setting is required to clear persistent blockages.
Choosing the Right Pressure Washer for Gutter Cleaning
For effective maintenance of your eaves, selecting a model with a minimum of 2,000 PSI is advisable. This pressure ensures that debris, leaves, and stubborn grime are efficiently removed without damaging the surfaces. In my experience, using a machine that offers adjustable pressure settings can be beneficial, allowing for a tailored approach depending on the level of dirt accumulation.
Types of Units
Electric machines are often lighter and quieter, making them a good choice for residential tasks. However, if you’re dealing with extensive blockages or more challenging materials, a gas-powered variant provides greater power and mobility. I recall using a gas model for my own home; it tackled years of built-up muck effortlessly.
Nozzle Selection
The choice of nozzle can significantly impact your results. A wide-angle nozzle is typically suitable for general cleaning, while a narrow one concentrates the flow, perfect for stubborn spots. I once used a 15-degree nozzle to clear out a particularly difficult section, and it worked wonders. Always remember to maintain a safe distance to avoid damaging any surfaces.
Safety Precautions Before Starting Gutter Cleaning
Always wear safety goggles to protect your eyes from debris. A sturdy pair of gloves is also a must to shield your hands against sharp edges or contaminants. I recall one incident where I didn’t wear gloves and ended up with cuts that took weeks to heal.
Ensure you have a stable ladder. I prefer using a ladder stabiliser to prevent it from slipping. If you can, have someone hold the base of the ladder while you work. This simple act of teamwork can prevent accidents.
Check the weather before starting. Rain can make surfaces slippery, increasing the risk of falls. On a windy day, avoid using ladders altogether. I once faced a gust that nearly sent me tumbling off a ladder.
Disconnect any electrical equipment nearby to avoid shock hazards. If you’re using electric equipment, like the electric pressure washers canada, ensure that all cords are in good condition and not frayed.
Be mindful of your surroundings. Look for power lines above and make sure you’re not working in an area where you could accidentally come into contact with them. I once had a close call, and it made me much more vigilant.
Having a first-aid kit nearby is wise. Accidents can happen, and being prepared can make a difference. I learned this the hard way when I needed a band-aid and had to rush to find one.
Finally, assess your physical ability. If you’re feeling unwell or fatigued, it’s best to postpone the task. Trust me, it’s not worth risking injury for the sake of a clean exterior.
Step-by-Step Guide to Preparing Your Gutters
Begin by inspecting the area surrounding the eaves and downspouts. Remove any visible debris such as leaves, twigs, and dirt to ensure unobstructed water flow during the process.
- Gather necessary tools: a sturdy ladder, gloves, a bucket, and a trowel. These items will assist in clearing larger debris before the main task.
- Set the ladder securely against the house, ensuring it is on stable ground. It’s wise to have someone hold the base for added safety.
- Use the trowel to scoop out any solid matter that has accumulated in the channels. Collect this debris in the bucket to keep the area tidy.
- Check the downspouts for clogs. If necessary, use a plumber’s snake or a hose to dislodge any blockages. Water flow is critical for the next steps.
- Examine the seams and joints for any signs of damage or leaks. Addressing these issues beforehand prevents complications later.
While preparing, ensure your equipment is in good working condition. A well-maintained device will enhance performance and longevity. If you’re curious about camera quality, you might find it interesting to read about whether are digital cameras better than dslr.
Lastly, ensure the area beneath is protected; laying down a tarp can catch any fallen debris, making cleanup easier. Taking these preparatory steps makes the entire process smoother and more effective.
Techniques for Using a Pressure Washer on Gutters
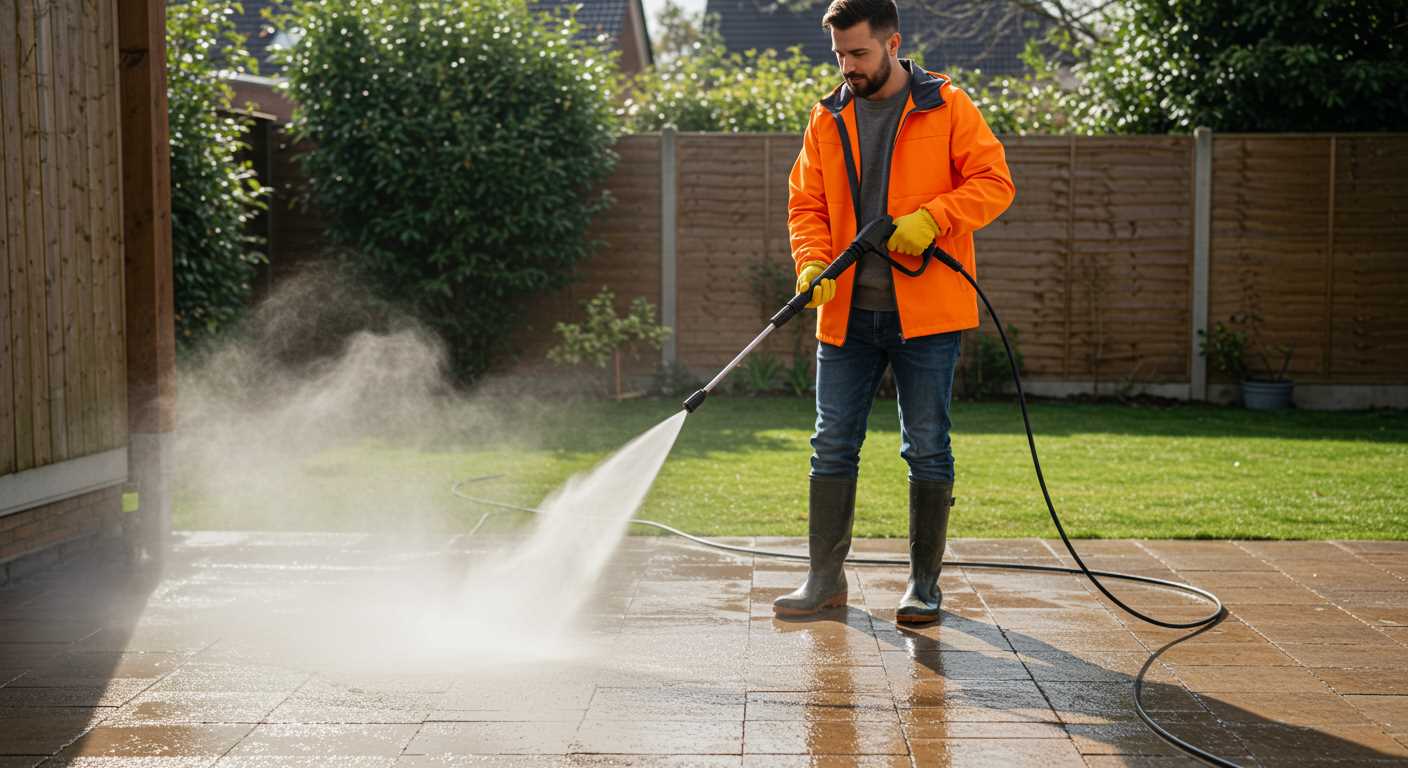
Start by positioning yourself safely on a sturdy ladder, ensuring it’s stable and secure before you begin. I’ve learned the hard way that a solid base is non-negotiable. When aiming the nozzle, maintain a distance of around 3 to 4 feet from the surface to avoid potential damage. Adjust the spray pattern to a wide fan to disperse the force evenly. This approach prevents concentrated pressure that could harm the material.
Utilise the right nozzle for the task. A 25-degree or 40-degree nozzle works best for rooftops and eaves, allowing for effective removal of debris without excessive force. I once made the mistake of using too narrow a nozzle, which led to paint damage. It’s a lesson I won’t forget.
Work in sections. Start from the highest point and move downwards. This method takes advantage of gravity, allowing debris to flow down and preventing clogs. As you progress, ensure you regularly check the collected debris to avoid overflow.
If you encounter stubborn grime, consider applying a cleaning solution designed for exterior surfaces before using the washer. Let it sit for a few minutes to break down the dirt effectively. I’ve found that a little patience pays off, as rushing can lead to missed spots.
Maintain a consistent motion while washing, avoiding lingering in one spot for too long. I’ve seen the difference this makes; it ensures an even clean and reduces the risk of causing damage. After completion, inspect your work from different angles to confirm effectiveness.
| Technique | Description |
|---|---|
| Ladder Safety | Ensure ladder stability and secure positioning before starting. |
| Nozzle Selection | Use 25-degree or 40-degree nozzles for safe and effective washing. |
| Sectional Approach | Work from top to bottom, allowing debris to flow downwards. |
| Cleaning Solution | Apply a pre-treatment to stubborn areas for better results. |
| Consistent Motion | Avoid staying in one spot to prevent damage and ensure an even clean. |
Common Mistakes to Avoid When Cleaning Gutters
Overlooking the right angle during operation can lead to ineffective results. I recall a time when I positioned the nozzle too closely, causing water to splash back instead of pushing debris out. Always maintain a safe distance to ensure optimal force and direction of the spray.

Ignoring the Weather Conditions
Working in rainy or windy conditions can turn a routine task into a frustrating experience. I once attempted this during a light drizzle, and the slippery surfaces made it difficult to maintain balance. Wait for a clear day to ensure stability and safety while tackling your project.
Neglecting Maintenance of Equipment
A lack of equipment upkeep can significantly impact performance. I learned this the hard way when I used a machine that hadn’t been serviced in months. Clogged filters and worn hoses reduced pressure, making the task more labourious. Regular checks and maintenance keep your tools in top shape, ensuring smooth operation.
Maintaining Your Gutters After Pressure Washing
After thoroughly refreshing your drainage system, it’s crucial to adopt a routine to keep them functioning optimally. Here are some strategies to consider:

Regular Inspections

- Perform visual inspections at least twice a year, ideally in spring and autumn. Look for debris accumulation, signs of sagging, or any damage.
- Check joints and seams for leaks. Seal any problematic areas promptly to prevent water damage to your property.
- Ensure downspouts are clear and direct water away from the foundation of your home.
Seasonal Maintenance Tips
- After heavy rains, inspect for blockages or backups. If you notice water pooling, it might be time for another clean.
- Trim back overhanging branches to reduce leaf litter. This can significantly lessen the frequency of necessary maintenance.
- Consider installing leaf guards to minimize debris accumulation, making future upkeep easier.
Using a garden hose after pressure washing can help flush out any remaining dirt or small particles. Aim the hose towards the downspouts to ensure water flows freely.
In my experience, keeping a log of maintenance dates and findings can help track patterns. If you notice recurring issues, you may need to reassess your drainage strategy.
Finally, if you find any structural concerns or persistent clogs, seeking professional assistance can save you from larger problems down the line. Regular care and attention can extend the life of your system, ensuring it remains effective in diverting water away from your property.

.jpg)


