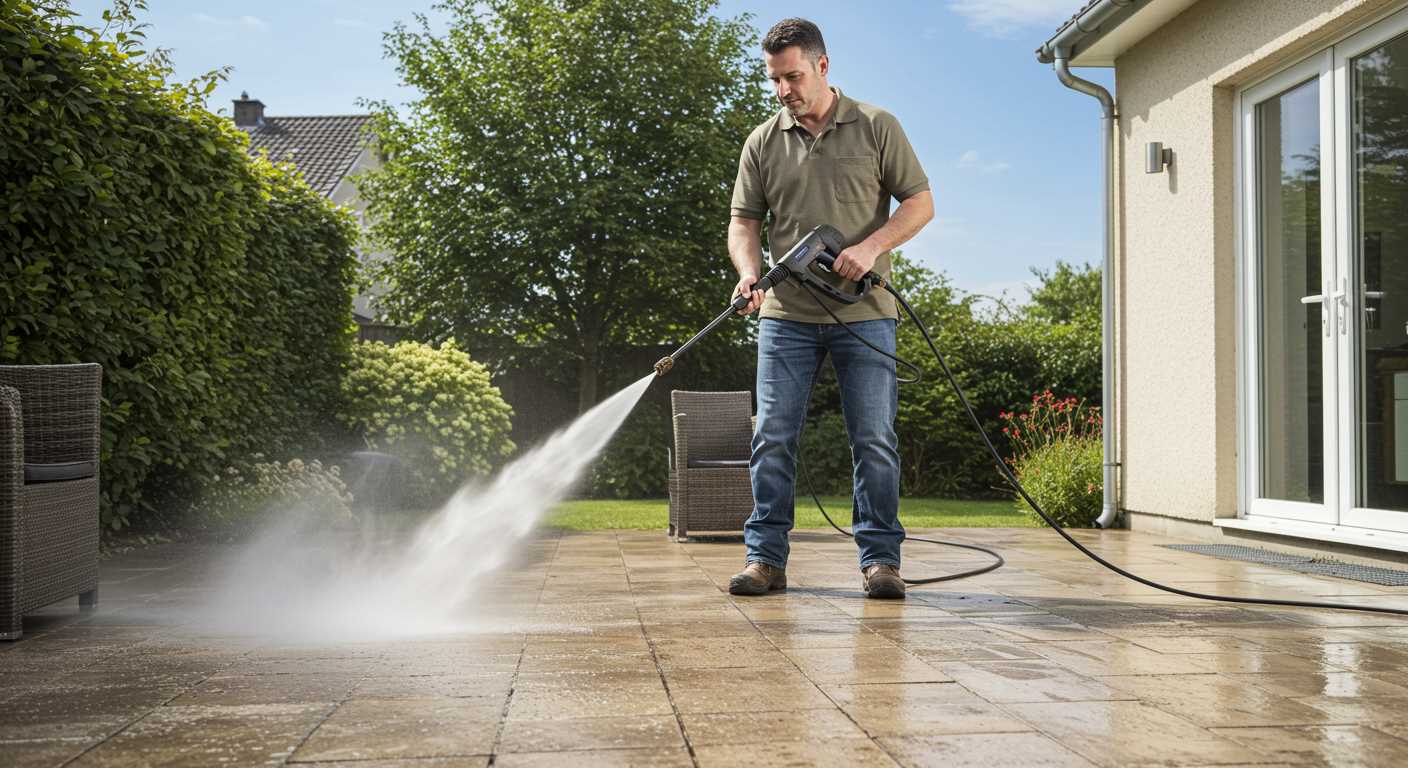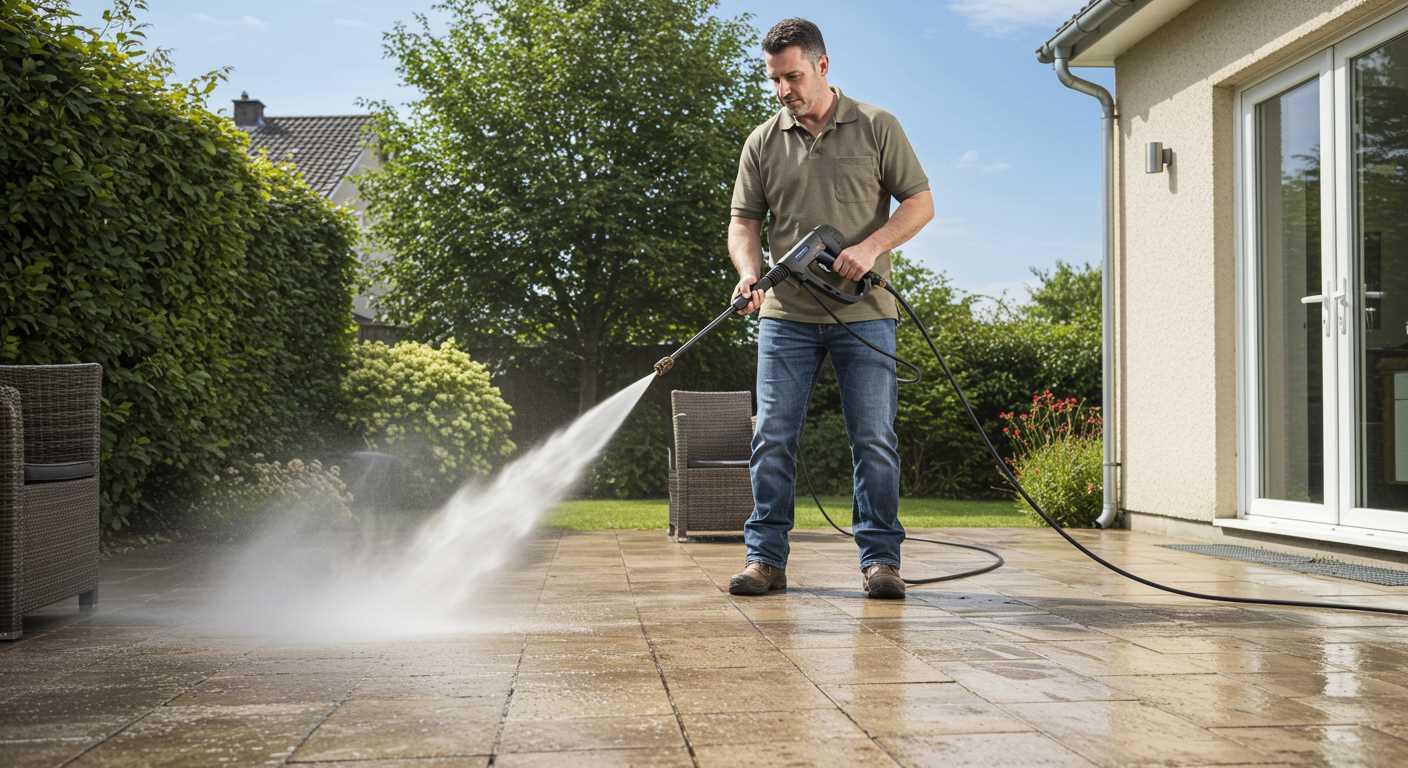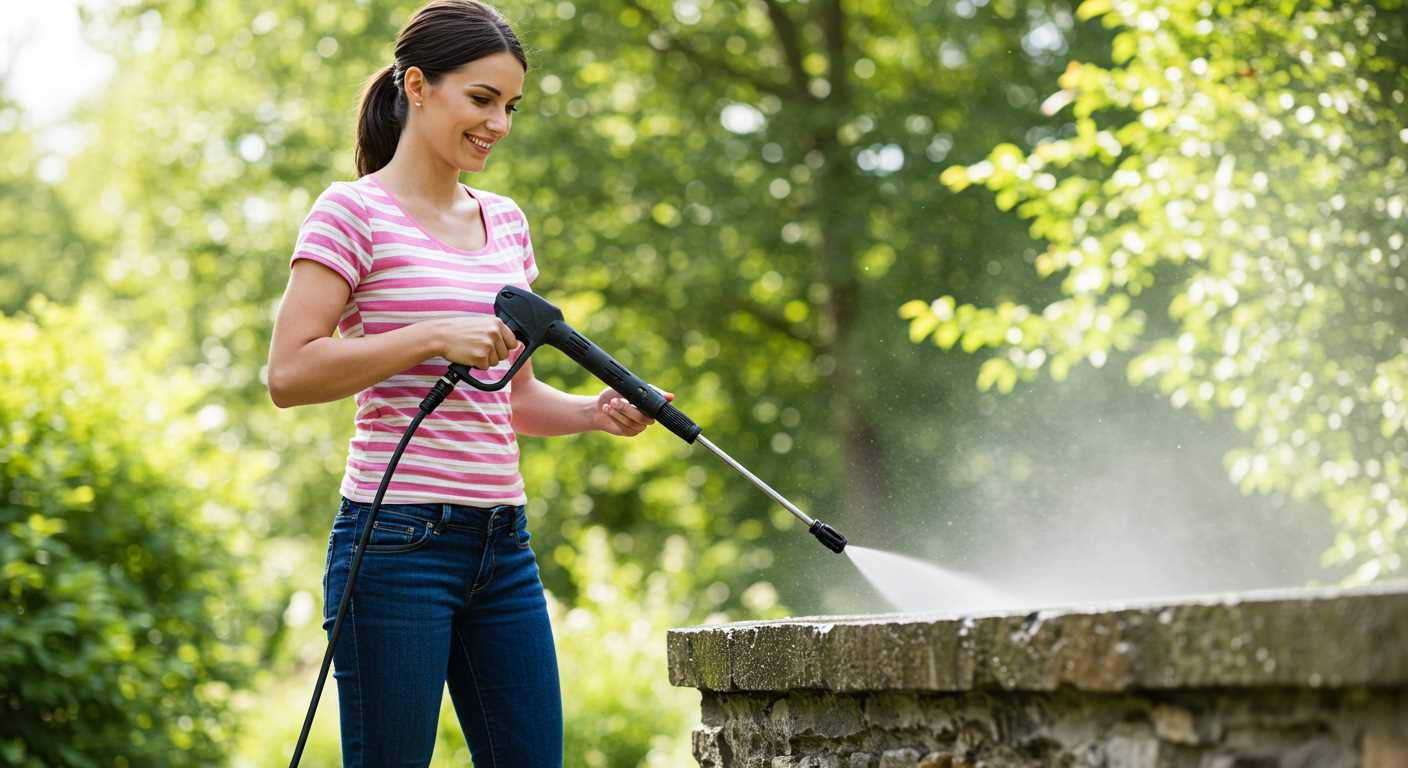


For a spotless finish, I recommend mixing warm water with a few drops of dish soap and using a sturdy scrub brush. This simple solution can work wonders on grime and stains clinging to walls or siding. I’ve applied this method countless times, and it consistently yields excellent results without the need for high-pressure machinery.
Begin by wetting the surface with a garden hose to loosen debris. This extra step can save you time and effort during scrubbing. After soaking, dip your brush into the soapy mixture and tackle one section at a time. I’ve found that a circular motion helps lift stubborn marks, particularly around windows and doors where dirt tends to accumulate.
For tougher spots, consider creating a paste from baking soda and water. Apply it directly onto the stain and let it sit for about 15 minutes before scrubbing. This technique has worked wonders for me on mildew and moss, especially in shaded areas. Rinse thoroughly with clean water to reveal a refreshed appearance.
Using a ladder can be beneficial for reaching higher areas. Always ensure it’s stable and positioned securely. Safety is paramount, and I’ve learned that a cautious approach can prevent accidents. With a bit of elbow grease and patience, your property can look as good as new, and you’ll avoid the hassle of renting or purchasing expensive equipment.
Cleaning Techniques for Your Property’s Surface
For maintaining the appearance of your property, a simple mixture of warm water and vinegar can work wonders. Combine one part vinegar with three parts water in a bucket. Use a sponge or soft cloth to apply this solution to the surface, allowing it to sit for around 15 minutes. This helps to break down grime and stains effectively.
Scrubbing with Baking Soda
Baking soda is another fantastic option. It acts as a gentle abrasive that can lift dirt without scratching the surface. Mix baking soda with water to create a paste, then apply it to stubborn spots. After letting it sit for a few minutes, scrub with a soft-bristled brush before rinsing off with clean water. I often recommend this method for areas like patios and decks, where built-up stains can be particularly stubborn.
Natural Solutions for Stubborn Stains
If you encounter tougher stains, consider using a solution of warm water mixed with dish soap. This combination is particularly effective for oil stains. Apply the mixture directly to the affected area, let it sit briefly, and then scrub with a brush. Rinse thoroughly to avoid a slippery surface. This method has saved me countless hours, especially during seasonal clean-ups.
Choosing the Right Cleaning Solutions for Different Surfaces
For effective maintenance of various surfaces, selecting the appropriate cleaning agents is key. For painted wood, a gentle soap solution mixed with water works wonders. I recall a time when I used a mild dish soap and warm water mixture on my garden shed; it removed grime without damaging the paint.
For brickwork, a mix of vinegar and water can break down stubborn stains. I experimented with this combination on my patio, and it restored the original colour of the bricks beautifully. Just remember to rinse thoroughly after application to avoid any lingering acidity.
Concrete surfaces often require a more robust approach. Using baking soda mixed with water creates a paste that can tackle tough stains. I once had to deal with oil stains on my driveway. After applying this paste and scrubbing with a stiff brush, the results were impressive.
For vinyl siding, a blend of white vinegar and water is effective. This mixture not only cleans but also helps to prevent future mildew growth. I’ve used it successfully on my own siding, and it left a fresh shine.
Glass surfaces can be treated with a simple solution of water and dish soap. However, for a streak-free finish, I prefer using a mixture of equal parts vinegar and water. I remember a particularly sunny afternoon when I tackled my windows with this solution; the clarity was astonishing.
Lastly, for delicate surfaces like natural stone, it’s best to use a pH-neutral cleaner. I learned the hard way that acidic cleaners can etch stone, so I always opt for products specifically designed for stone care. A friend once used an unsuitable cleaner on her granite countertops, and it took significant effort to restore them.
Choosing the right cleaning solution based on surface type not only ensures a thorough job but also prolongs the life of the materials. Tailor your approach, and the results will speak for themselves.
Tools You Need for Manual Cleaning of Exteriors
Gather these items for an effective manual approach:
- Buckets: Use at least two buckets–one for the soapy mixture and another for rinse water. This prevents dirt from reapplying to surfaces.
- Sponges and Soft Brushes: Opt for non-abrasive sponges and various soft-bristle brushes. They are gentle on surfaces yet effective in removing grime.
- Scrub Brushes: For tougher areas, a sturdy scrub brush with stiff bristles can tackle stubborn stains, especially on textured surfaces.
- Garden Hose: A standard garden hose with a spray nozzle allows for controlled rinsing and can reach various heights.
- Microfiber Cloths: These are excellent for drying and polishing after washing, ensuring a streak-free finish.
- Extension Poles: Attach brushes or sponges to extension poles to reach high spots safely, avoiding ladders.
- Protective Gear: Gloves and goggles are important to shield your skin and eyes from cleaning solutions and debris.
In my experience, having the right tools can make a significant difference. For example, using a soft brush on windows prevents scratches that a harder bristle might cause. I remember a time when I neglected to wear gloves and ended up with irritated skin from the cleaning solution. Lesson learned!
Keep everything organised in a caddy to make transitions between tasks smoother. A well-prepared setup saves time and effort, allowing you to focus on the task at hand.
Step-by-Step Guide to Removing Dirt and Grime
Begin by preparing your area. Remove any furniture, plants, or decorations that could obstruct your efforts. This ensures you have a clear workspace and prevents damage to your belongings.
Next, gather your cleaning solution. For most surfaces, a mixture of warm water and a mild detergent works wonders. If you encounter stubborn stains, consider adding a small amount of vinegar or baking soda for extra potency.
Fill a bucket with your cleaning solution, and grab a sturdy scrub brush or sponge. Start at the top of the surface you’re tackling, working your way down. This prevents dirty water from dripping onto already cleaned areas.
Use long, even strokes to scrub away the grime. For textured surfaces, like brick or stucco, a stiff-bristled brush is ideal. Don’t forget to pay attention to corners and edges where dirt tends to accumulate.
After scrubbing, rinse the area thoroughly with clean water. A garden hose with a spray nozzle can be effective, but be mindful of the water pressure to avoid damage. If you don’t have a hose, a bucket of clean water can suffice; just dip your sponge and wipe down the surface again.
For tougher stains, repeat the scrubbing process with the cleaning solution. In some cases, you might need to apply a commercial cleaner specifically designed for the material you’re working with. Always check the label for application instructions.
Once satisfied with the results, allow the surface to dry completely. This prevents streaks and helps to identify any remaining spots that need attention. If you spot any lingering dirt, repeat the scrubbing process as needed.
Finally, replace any items you removed at the beginning and admire your refreshed surroundings. If you’re also considering meal prep, check out this guide on how long to put chicken in pressure cooker for a quick dinner after your hard work!
| Step | Action |
|---|---|
| 1 | Clear the area of furniture and plants. |
| 2 | Create a cleaning solution with warm water and mild detergent. |
| 3 | Scrub the surface from top to bottom. |
| 4 | Rinse thoroughly with clean water. |
| 5 | Repeat as necessary for stubborn stains. |
| 6 | Allow to dry completely before replacing items. |
How to Safely Clean Windows Without Streaks
Using a simple solution of water and vinegar is a tried-and-true method that works wonders on glass surfaces. Mix equal parts of distilled water and white vinegar in a spray bottle. This combination tackles grime effectively and leaves a streak-free finish. Always use a microfibre cloth for wiping, as it absorbs moisture and doesn’t leave behind lint.
Technique for Streak-Free Results
Start from the top of the window and work your way down. This prevents dirty water from dripping onto areas you’ve already cleaned. Spray the solution directly onto the glass and use the microfibre cloth in a circular motion. For larger panes, consider using a squeegee. After each stroke, wipe the blade with a clean cloth to avoid reapplying dirt.
Dealing with Tough Spots
For stubborn spots, such as bird droppings or tree sap, let the vinegar solution sit for a few minutes before scrubbing gently with a soft sponge. Avoid abrasive materials that could scratch the surface. Always finish with a clean, dry cloth to ensure no moisture remains, which could lead to streaks.
Dealing with Mold and Mildew on Exterior Walls
For stubborn growth on your building’s surface, a mixture of vinegar and water is highly effective. Combine one part white vinegar with one part water in a spray bottle. Apply this solution directly onto the affected areas and allow it to sit for about 30 minutes. This will help to break down the spores, making them easier to scrub away.
Scrubbing Techniques
Use a stiff-bristled brush with an extended handle to reach high spots. A circular motion works best, ensuring thorough coverage. Always wear gloves and a mask to protect yourself from spores and harsh cleaning agents. After scrubbing, rinse the area with clean water to remove any residue.
Preventive Measures
To deter future growth, consider applying a mildew-resistant paint or sealant. Regular inspections and prompt action on any moisture problems will help keep your walls clear. Ensure proper drainage and ventilation around your property, as stagnant water is a breeding ground for mould and mildew.
Maintaining Your Gutters and Downspouts by Hand
Regularly checking and clearing your gutters and downspouts is key to preventing water damage. Here’s how to handle it effectively:
- Gather your tools: You’ll need a sturdy ladder, gloves, a trowel or scoop, a bucket, and possibly a garden hose.
- Inspect the area: Before climbing, look for debris such as leaves, twigs, and dirt. This will help you prepare for what you’ll encounter.
- Climb safely: Ensure your ladder is on stable ground. A friend can hold the base for added security.
- Remove debris: Use your hands or a trowel to scoop out the muck from the gutters. Place the debris in the bucket to keep the area tidy.
- Flush the system: After clearing, use a hose to run water through the gutters and downspouts. This will help identify any blockages.
- Check for leaks: While flushing, observe for leaks in the gutters or joints. Any leaks should be addressed to prevent water from dripping down your walls.
- Clear downspouts: If water doesn’t flow freely, insert a hose to dislodge any clogs. A plumber’s snake can be handy for stubborn blockages.
- Final inspection: Once everything is clear, check again for any damage to the gutters themselves, looking for rust, bends, or sagging.
Engaging in this routine maintenance not only enhances the appearance of your home but also extends the lifespan of your drainage system. It’s a straightforward task that pays dividends in the long run.
Tips for Cleaning Outdoor Furniture and Fixtures
Start with a soft-bristle brush or a microfiber cloth to remove loose dirt and debris from your outdoor furniture. For wooden pieces, a gentle scrub with soapy water made from a mild detergent will do wonders. Avoid harsh chemicals that can strip the finish.
For metal and plastic furniture, you can use a solution of vinegar and water. Mix equal parts and apply it using a sponge, then rinse thoroughly. This method not only cleans but also helps to prevent future stains.
Don’t forget about cushions and fabric items. A mixture of warm water and a few drops of dish soap will effectively tackle stains. Use a soft brush to scrub the fabric and then let it air dry completely before placing it back.
When it comes to fixtures like lanterns or outdoor lighting, ensure you remove bulbs before cleaning. Wipe down surfaces with a damp cloth and a mild cleaner. For stubborn spots, a mixture of baking soda and water can be applied gently, followed by rinsing.
Regular maintenance is key. Schedule a monthly check to wipe down surfaces and inspect for rust or damage. This proactive approach saves you time and effort in the long run.
If you’re considering a more thorough cleaning in the future, explore electric pressure washer brands for efficiency, but know that manual methods can yield excellent results with patience and the right technique.


.jpg)


