


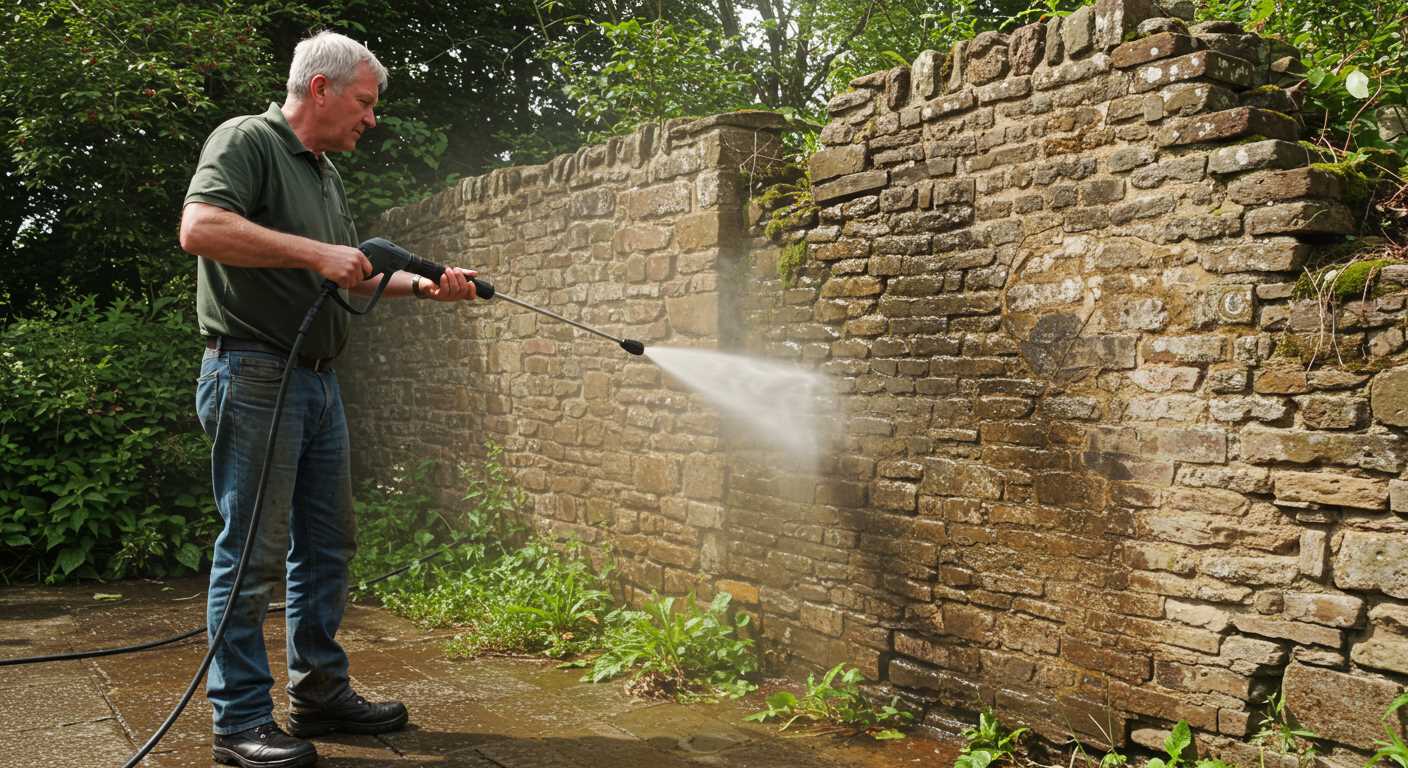
Begin your journey to pristine glass by selecting the right nozzle; I recommend a 25-degree fan tip for optimal coverage. This particular attachment strikes a balance, providing sufficient power while reducing the risk of damage to delicate surfaces. During my years in the field, I’ve found that rushing into high-pressure settings can lead to unsightly streaks or, worse, chipped frames.
Before starting, gather necessary supplies: a sturdy ladder, a bucket, and a gentle soap solution. When I first tackled this task, I underestimated the importance of a soapy pre-treatment. It lifts grime and leaves behind a much cleaner surface, making the rinsing process smoother. Mix the solution according to the manufacturer’s recommendations, and don’t skimp on this step.
Once your gear is ready, ensure you’re working on a cloudy day or during cooler hours. Direct sunlight can cause soap to dry prematurely, leading to streaks. I’ve learned this the hard way, standing on a ladder, only to be disappointed by the results. Take your time, and start from the top, allowing gravity to assist you as you rinse downwards.
Maintain a steady motion as you operate the device, keeping it at a consistent distance from the glass. I’ve found that waving the nozzle back and forth rather than concentrating on one spot yields better outcomes. A gentle glide creates a uniform finish and avoids water spots. Once finished, take a moment to appreciate the clarity achieved; it’s a rewarding sight that showcases your hard work.
Achieving Sparkling Surfaces
Begin with a thorough rinse using a low-pressure setting to remove loose dirt and debris. This step is critical to prevent scratching the glass during the cleaning process. I recall a time when I skipped this, and the fine particles caused more harm than good, leaving unsightly scratches behind.
Next, mix a suitable cleaning solution. I often use a blend of water and a few drops of dish soap. Make sure it’s well combined. Too much soap can leave a residue, and nobody wants that. One time, I overdid it and spent more time rinsing than cleaning!
Optimal Technique
Use a fan spray nozzle, which covers more area and reduces the risk of damage. Maintain a distance of about 2-3 feet from the glass. I’ve found that moving the wand in a steady, sweeping motion ensures an even application without oversaturation. If you see stubborn spots, don’t hesitate to pause and give those areas extra attention.
Final Touches
After the initial wash, switch to a pure water rinse to ensure no soap remains. I recommend using a squeegee to remove excess water, as this prevents streaks. In my experience, taking the time to do this final step pays off with a crystal-clear finish. Always remember to check for any missed spots once you’ve finished. A second pass can make all the difference in achieving that pristine look.
Choosing the Right Pressure Washer for Window Cleaning
For optimal results in maintaining your glass surfaces, selecting the appropriate cleaning device is key. I recommend units that deliver between 1300 to 2000 PSI. This range provides sufficient force to remove dirt without risking damage to the glass. Higher pressures can cause cracks or chips, especially in older or weaker panes.
Electric models are generally lighter and quieter, making them suitable for residential use. They require less maintenance and are often easier to manoeuvre. However, they may struggle with more stubborn grime. For tougher jobs, a gas variant can offer greater power and portability, allowing you to cover larger areas without needing a power outlet. For an in-depth comparison, check out this article on electric vs gas pressure washer which is right for you.
Furthermore, consider the nozzle options. A 25-degree or 40-degree nozzle is ideal for glass surfaces, as it disperses the water in a way that cleans effectively while minimising the risk of etching or streaking. Always test on a small section first to ensure compatibility with your specific setup.
Finally, look for additional features such as adjustable pressure settings or detergent tanks. These can enhance your experience significantly, allowing for tailored cleaning solutions depending on the level of dirt you encounter.
Preparing Your Windows Before Pressure Washing
Ensure you remove any loose debris or dirt from the surface. A soft-bristle broom or a microfiber cloth works best for this task. Pay attention to corners and edges where grime tends to accumulate.
Next, inspect the frames and sills for any cracks or damage. If you find any issues, consider repairing them prior to proceeding with the cleaning process. This step can prevent further damage and enhance the overall effectiveness of the wash.
It’s wise to cover nearby plants and furniture. Use tarps or plastic sheeting to protect them from water and cleaning solutions. This precaution helps prevent potential harm to your garden and belongings.
Check your equipment to ensure it’s in optimal condition. Verify that the nozzle is appropriate for the task. A wide fan spray is recommended to avoid damage to the glass. Test the pressure settings on a small, inconspicuous area to gauge the impact before tackling larger surfaces.
Lastly, plan your cleaning strategy. Start from the top and work your way down, allowing water to run off without pooling. This method helps achieve a streak-free finish and reduces the chances of dirt re-adhering to the already cleaned areas.
| Preparation Step | Description |
|---|---|
| Remove Debris | Use a broom or cloth to clear dirt and grime. |
| Inspect Frames | Check for cracks and repair if needed. |
| Protect Surroundings | Cover plants and furniture with tarps. |
| Check Equipment | Ensure the nozzle and pressure settings are suitable. |
| Plan Strategy | Start from the top and work downwards. |
Selecting the Appropriate Nozzle and Pressure Settings
For optimal results, start by choosing the right nozzle. A 25-degree green nozzle is typically suitable for most surfaces, offering a balance between pressure and coverage. For delicate areas, like glass, consider a 40-degree white nozzle. This attachment disperses water into a wider spray, reducing the risk of damage while still removing grime.
Understanding Pressure Settings
Adjusting the pressure is just as important as selecting the nozzle. I’ve seen too many people set their machines to maximum pressure, thinking it’s the best approach. Trust me, that’s a recipe for disaster. Most windows require a setting around 1200 to 1500 PSI. This range effectively removes dirt without compromising the integrity of the glass or seals. Always start with a lower setting and gradually increase as necessary.
Testing Before Full Application
Before committing to a full clean, I recommend testing a small, inconspicuous area. This practice allows you to gauge both the nozzle and pressure settings on your specific glass type. I’ve had instances where a seemingly robust window reacted poorly to high pressure, resulting in cracks. Adjusting accordingly can save considerable time and expense.
Applying Cleaning Solutions Safely on Windows
Always ensure to test any cleaning solution on a small, inconspicuous area before applying it widely. This prevents potential damage or discolouration to your glass. I recall a time when I used a new product without this precaution, and it left a streaky residue on the surface that took hours to rectify.
Mix your chosen cleaning agent according to the manufacturer’s instructions. Over-concentration can lead to residue that’s tough to rinse off. In my experience, a dilution that’s too potent can also degrade the rubber seals around glass, leading to leaks.
When applying solutions, consider using a spray bottle or a dedicated applicator. This method allows for even distribution and prevents excess product from running down the glass. I’ve seen many people slather cleaners on, only to deal with drips and run-off that create more work later. A controlled application is key.
Protect surrounding surfaces with plastic sheeting or tarps. This is especially important for painted surfaces or wood frames, as certain cleaners can cause damage. I once neglected this step and ended up with a discoloured window frame that required repainting.
Always work from the bottom up. This ensures that any drips from higher areas don’t soil the sections you’ve already treated. I’ve made the mistake of starting from the top, and it always resulted in a frustrating cycle of cleaning and re-cleaning.
| Tip | Description |
|---|---|
| Test First | Apply solution on a small area to check for damage. |
| Proper Dilution | Follow instructions to avoid residue and damage. |
| Controlled Application | Use a spray bottle for even distribution. |
| Protect Surroundings | Cover frames and surfaces to prevent damage. |
| Bottom Up Technique | Start cleaning from the bottom to avoid drips. |
After applying your chosen solution, allow it to sit for the recommended time. This dwell time maximises the product’s effectiveness. I once rushed this step and ended up reapplying the cleaner, wasting both time and product.
Finally, always rinse thoroughly. Use a low-pressure setting to avoid damaging the glass, ensuring all residue is removed. A thorough rinse not only leaves a clear surface but also prolongs the lifespan of any frames or seals. I’ve learned that a good rinse is just as important as the application itself.
Techniques for Pressure Washing Windows Without Damage
Always assess the type of glass and its condition before starting any work. Cracked or chipped panes require extra caution. Here’s how to handle the task effectively:
- Test a Small Area: Before applying full pressure, test a small, inconspicuous section. This helps ensure that your method won’t harm the surface.
- Maintain Distance: Keep the nozzle at least 3-4 feet away from the glass. This prevents concentrated pressure that could break or shatter the pane.
- Use a Wide Spray Pattern: Opt for a fan spray instead of a direct stream. A wider pattern disperses the force, reducing the risk of damage.
- Move Steadily: Maintain a consistent motion while washing. Avoid lingering over one spot, which can lead to unwanted pressure build-up.
- Angle the Nozzle: Position the nozzle at a slight angle rather than straight on. This technique helps deflect water away from seals and frames.
In my experience, applying a mild cleaning solution enhances results without compromising safety. Mix the solution according to the manufacturer’s instructions, and always rinse thoroughly afterwards. Remember, proper technique matters as much as the equipment.
For those looking to diversify their skills, check out this guide on canning deer meat without a pressure cooker. It’s not directly related but offers insights into safe practices in different domains.
Best Practices for Drying Windows After Cleaning

Use a squeegee for quick and streak-free results. Start at the top corner and pull down in a straight line, ensuring you wipe the blade after each pass to avoid drips. This technique prevents water from pooling and leaves behind a clear surface.
If you prefer a cloth, opt for microfiber. It’s highly absorbent and reduces the risk of lint. After applying the drying cloth, ensure you follow up with another dry, clean cloth to eliminate any remaining moisture. This two-step process guarantees a flawless finish.
Utilise a telescopic pole if your windows are high up. This tool allows you to reach difficult spots without the need for ladders, making the drying process safer and more efficient.
For large areas, consider using a water-fed pole system. The soft bristles and pure water eliminate any residue without needing a cloth or squeegee, leaving surfaces gleaming and dry.
Pay attention to weather conditions. Avoid drying during hot, sunny days as this can cause water to evaporate too quickly, leading to streaks. Early mornings or later afternoons are ideal for this task.
Finally, inspect your work from different angles. Sometimes, what looks perfect up close may show imperfections from afar. A quick touch-up can make all the difference.
Regular Maintenance Tips to Keep Windows Clean Longer
To extend the time between deep cleans, consider these straightforward strategies:
- Routine Dusting: Use a microfiber cloth or a soft brush to remove dust and cobwebs from the frames and sills. A quick wipe every couple of weeks can prevent grime buildup.
- Sealant and Caulking: Inspect and replace any worn sealant or caulking around the edges. This prevents moisture intrusion and reduces stains caused by water leaks.
- Use Protective Treatments: After washing, apply a water-repellent treatment. This creates a barrier that repels dirt and grime, making future upkeep easier.
- Limit Plant Growth: Keep shrubs and trees trimmed back from your glass surfaces. Overhanging branches can drop debris that leads to faster soiling.
- Schedule Regular Inspections: Every season, check for any signs of damage or wear. Early detection of issues can save time and effort later on.
- Weather Considerations: Choose to clean during mild weather. Extreme temperatures can lead to streaks or rapid drying, which makes it harder to maintain clarity.
During my time in the industry, I found that small, consistent actions yield the best results. A client of mine maintained their glass surfaces by simply dusting regularly and applying treatments. It kept their windows looking pristine for much longer than expected.
Engaging in these maintenance tips not only enhances the appearance but also prolongs the lifespan of your installations. A little effort goes a long way in preserving that crystal-clear view.



.jpg)


