
.jpg)


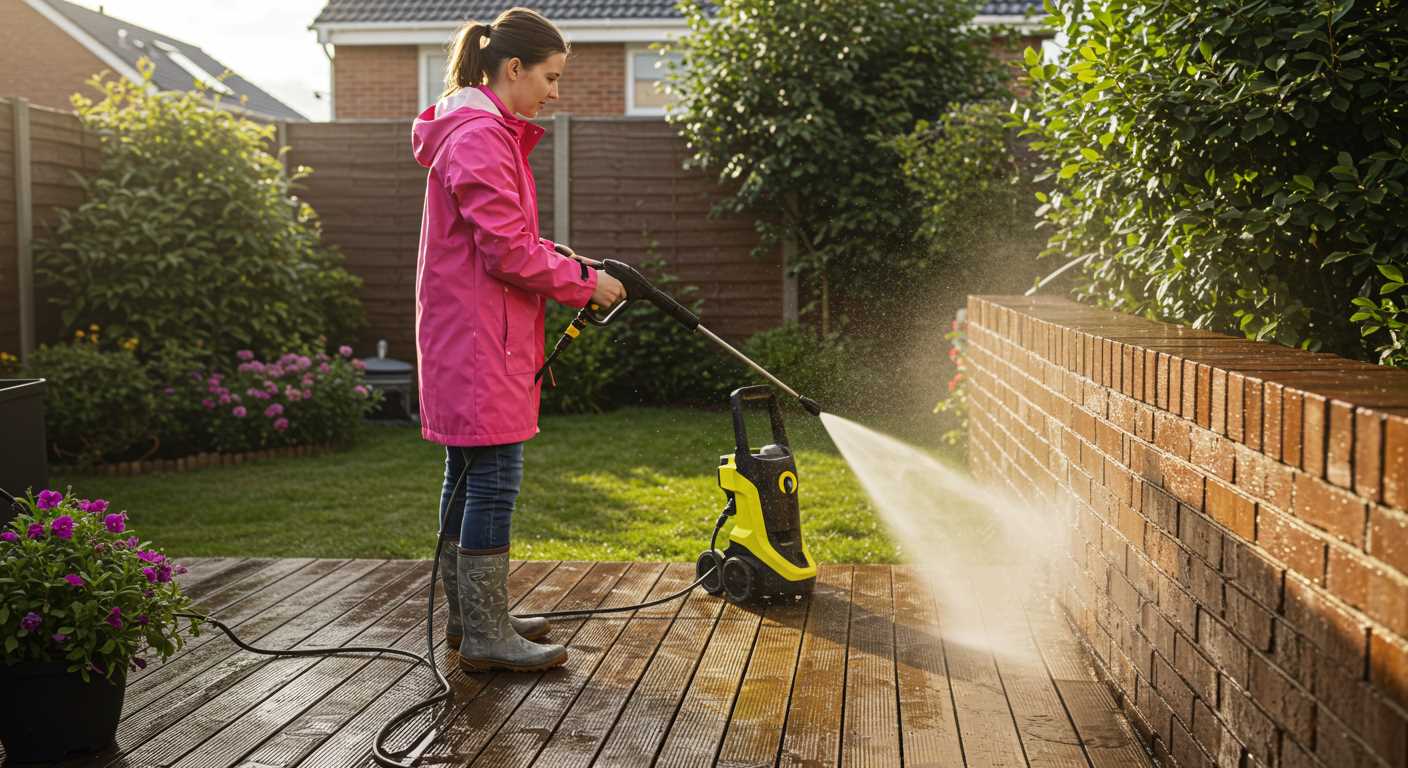
.jpg "How to clean patio pavers with pressure washer")
If you’re looking to refresh your outdoor surfaces, using a high-pressure device is a surefire way to tackle dirt and grime effectively. My experience in the cleaning equipment industry has shown me that many underestimate the power of this tool. When I first started, I was amazed at how just a few minutes of focused pressure could transform a dull, stained surface into something that looks brand new.
Before you dive into the task, it’s vital to prepare your area. Remove any furniture or items that may obstruct your path. I once made the mistake of not moving a potted plant, which ended up getting drenched in the process. Once the area is clear, ensure your machine has the right nozzle attached; a 25-degree nozzle works wonders for most surfaces, striking a balance between power and control.

Begin by saturating the surface with water, as this helps loosen stubborn debris. I often find that tackling one section at a time allows for more thorough cleaning. As you work, maintain a consistent distance of about 30 cm from the surface to avoid any damage. I remember a friend of mine got a bit too close and ended up chipping their stones, which was a costly mistake. Patience is key; let the water do the work.
After you’ve finished, consider applying a sealant. This not only enhances the appearance but also provides protection against future stains. I’ve seen surfaces last much longer when treated this way. So, roll up your sleeves, grab that high-pressure device, and watch your outdoor space transform right before your eyes!
Effective Techniques for Revitalising Outdoor Surfaces
Using a high-powered cleaning tool can transform grimy outdoor surfaces into pristine areas. Here are some practical steps drawn from my extensive experience in the field.
- Select the Right Equipment: Choose a model that matches the job. Look for a unit with adjustable pressure settings; around 2000 to 3000 PSI is typically ideal for tough grime.
- Gather Necessary Supplies: In addition to your machine, have the following on hand:
- Safety goggles
- Protective footwear
- Degreaser or cleaning solution
- Brush for pre-treatment
- Extension cord if needed
- Prepare the Area: Clear away furniture, pots, and debris. Sweep any loose dirt or leaves to avoid clogging the nozzle during the process.
- Pre-Treat Stains: Apply a degreaser or suitable cleaning agent to particularly stubborn spots. Allow it to sit for a few minutes to penetrate the grime.
- Use the Right Nozzle: For most surfaces, a 25-degree nozzle works well. Adjust the angle to avoid damaging the surface while ensuring effective cleaning.
- Technique Matters: Start from one end and work systematically. Use a sweeping motion, keeping the nozzle about 30 cm from the surface. This maintains even pressure and avoids streaks.
- Rinse Thoroughly: After cleaning, rinse off any remaining detergent and debris with a wider spray pattern to ensure no residue is left behind.
- Post-Cleaning Care: Allow the area to dry completely. Consider applying a sealant to protect against future stains and wear.
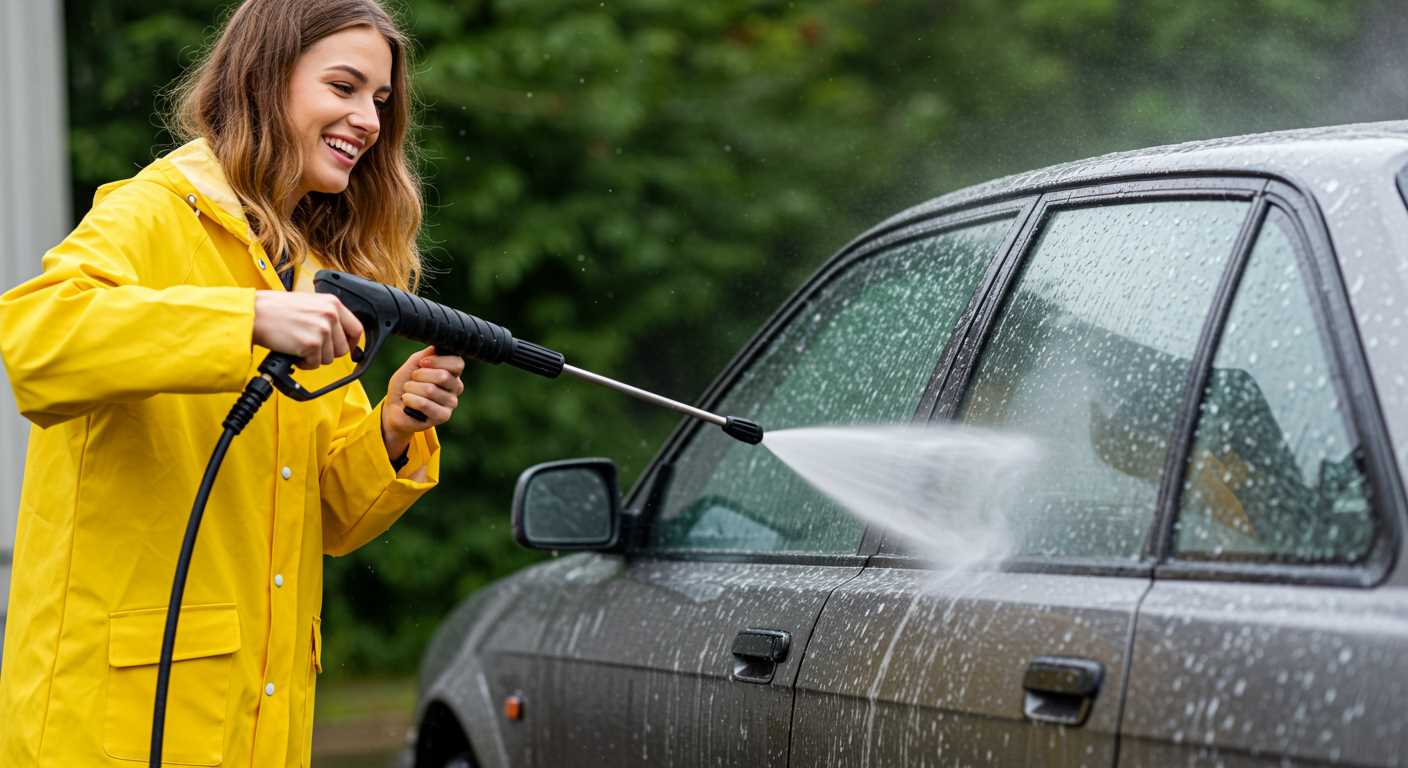
In my experience, consistency is key. Regular maintenance will save time and effort in the long run. For those looking to tackle other cleaning tasks, such as vehicles or outdoor furniture, consider checking out a pressure washer for snow fosming car forim. It can be a valuable addition to your cleaning arsenal!
Choosing the Right Pressure Washer for Patio Cleaning

For optimal results, I recommend selecting a unit with a minimum of 2000 PSI. This pressure is sufficient for breaking down stubborn dirt and grime without damaging surfaces. Many people overlook the GPM (gallons per minute) rating; a higher GPM will enhance the cleaning experience by allowing more water to flow, which helps rinse away debris more effectively. Aim for a GPM of at least 1.5 to ensure thorough rinsing.
Electric vs. Gas Models
Electric machines are quieter and lighter, making them suitable for residential use. However, I’ve found that gas-powered options deliver greater power and mobility, which can be invaluable for larger areas. When I first used a gas model, the difference in cleaning speed was remarkable. If you have extensive outdoor spaces, investing in a gas unit can save time and effort.
Accessories and Nozzles
The right nozzles can dramatically influence the outcome. A 25-degree nozzle is versatile, providing a good balance between power and spread. For stubborn stains, consider a turbo nozzle; it creates a rotating spray pattern, delivering intense cleaning action. I remember tackling a particularly grimy area with a turbo nozzle–it cut through the muck like a hot knife through butter. Always ensure you have the right attachments for specific tasks to maximise efficiency.
Preparing Your Outdoor Space for High-Pressure Cleaning
Begin by removing all furniture and decor items. This includes tables, chairs, planters, and any decorative pieces. Not only does this clear the area for your equipment, but it also prevents damage to your belongings. I recall a time when I forgot to move a couple of ceramic pots; the force of the water took one right off the ground!
Next, tackle any loose debris. Sweep away leaves, dirt, or small stones to prevent them from becoming projectiles during the washing process. A quick once-over with a broom can save you from unnecessary cleanup later. I’ve seen how a well-prepared surface can make all the difference in the outcome.
Inspect for any cracks or damage. If you notice any weak spots, consider patching them up before starting. Once, I started washing without checking, and the pressure exacerbated existing fissures, leading to more extensive repairs. It’s best to address these issues beforehand.
Ensure that nearby plants are adequately protected. Cover them with tarps or move them out of the way. I’ve learned the hard way that some plants can be quite sensitive to the force of water. A little preparation goes a long way in safeguarding your greenery.
Finally, check your water source and the hose connection. Make sure everything is functioning correctly. I’ve experienced frustrating moments when I was all set to begin, only to find a leak in the hose. A quick inspection can save you time and effort.
For a different kind of project, you might find interest in how to can fish with a pressure cooker, where proper preparation is equally crucial for success.
Selecting the Appropriate Nozzle for Paver Cleaning
Choose the right nozzle before starting any cleaning task. A 25-degree or 40-degree nozzle is typically ideal for softer surfaces, while a zero-degree nozzle delivers concentrated power for tougher stains. I recall a time when I used a zero-degree nozzle on a delicate surface, and it left noticeable damage. Always assess the material of the surface being cleaned.
Nozzle Types and Their Uses
Different nozzles serve various purposes. Here’s a breakdown:
| Nozzle Type | Angle | Best For |
|---|---|---|
| Red | 0° | Heavy-duty cleaning, tough stains |
| Yellow | 15° | Removing paint, stubborn dirt |
| Green | 25° | General cleaning, medium stains |
| White | 40° | Light cleaning, rinsing |
Adjusting Pressure and Technique
Maintaining a safe distance is crucial. With a 25-degree nozzle, keep it about 12-18 inches from the surface. For a zero-degree tip, that distance increases to avoid damage. I’ve learnt that sweeping motions help prevent streaks and uneven cleaning. Always test a small area first to ensure the ideal settings are in place. This approach saves time and prevents unwanted repairs down the line.
Applying Cleaning Solution to Stubborn Stains
For those persistent marks on your outdoor surface, using a specially formulated cleaning solution can make a significant difference. I’ve encountered everything from oil spills to mildew, and the right product has always been a game changer in my experience.
Choosing the Right Solution
Select a cleaner that targets the specific type of stain you’re addressing. For grease, an alkaline detergent works wonders. For organic stains like mould or algae, a solution containing bleach or oxygen bleach is effective. I remember tackling a particularly stubborn oil stain; using an enzyme-based cleaner broke it down faster than I anticipated.
Application Techniques
Apply the solution generously using a garden sprayer or a brush with stiff bristles. Let it sit for about 15-20 minutes, ensuring it penetrates the stain. I’ve found that agitating the solution with a brush before rinsing can enhance its effectiveness. After waiting, rinse thoroughly before bringing out the high-powered equipment. This step ensures that the solution does its job, and you’ll notice a remarkable improvement in the appearance of your surfaces.
For those tough spots, don’t hesitate to repeat the process. Sometimes, multiple applications are necessary for complete removal. Keep a close watch on how the surface reacts; some materials can be sensitive to harsh chemicals. Always test in an inconspicuous area first. My experience has taught me that a little patience and the right approach can yield stunning results.
Technique for Pressure Washing Patio Pavers
Begin at one corner and work methodically across the area. This ensures even cleaning and prevents missing spots. I often use a systematic back-and-forth motion, overlapping each pass by about 30%. This technique guarantees that no area is neglected.
Adjust the angle of the nozzle to about 45 degrees to avoid blasting dirt into the gaps between the stones. Keeping the nozzle at a consistent distance–around 30 cm–helps to maintain effective cleaning power without damaging the surface.
For stubborn grime, I’ve found that a slower pace is beneficial. Instead of rushing through, I linger over particularly dirty patches for a few extra seconds, allowing the high-pressure stream to penetrate deeper.
- Start from the top of any incline, if applicable, to allow water and debris to flow downwards.
- Periodically check the surface to ensure it’s not being harmed; adjust pressure if necessary.
- Utilise a sweeping motion to catch any debris that’s dislodged during the process.
Once finished, I recommend rinsing the area with clean water to remove any remaining detergent or debris. This last step leaves the surface looking pristine and prepares it for sealing if desired.
Afterwards, inspect for any areas that may need a second pass. If you notice uneven cleanliness, don’t hesitate to repeat the process in those sections.
Post-Cleaning Care for Your Pavers
After tackling the grime on your outdoor surfaces, it’s important to follow up with some care to ensure longevity and maintain the refreshed appearance. First, allow the area to dry completely. This prevents moisture from being trapped, which can lead to mould and mildew growth. Depending on the weather, this might take a few hours to a full day.
Reapply Jointing Sand
Once dry, check the joints between the stones. Over time, high-velocity water can wash away jointing sand. If you notice any gaps, it’s wise to reapply. Sweep sand into the joints, ensuring it’s packed tightly. This not only keeps the stones in place but also helps mitigate weed growth.

Seal for Protection
Consider applying a sealer to extend the life of your stones further. A good-quality sealant can provide a barrier against stains and make future maintenance easier. Follow the manufacturer’s instructions for application, and ensure the surface is clean and dry before proceeding. A seal will enhance the colour and texture, giving your outdoor area a polished look.
Safety Precautions While Using a Pressure Washer
Always wear protective eyewear to shield your eyes from debris and water spray. I remember the first time I didn’t use goggles; a small stone hit me right in the eye. It wasn’t pleasant, to say the least. Gloves are also a must; they protect your hands from chemicals and the high-pressure spray.
Footwear matters too. Opt for sturdy, non-slip boots, especially if you’re working on wet surfaces. I’ve had a few close calls slipping on wet tiles, which could have been easily avoided. Ensure you’re dressed appropriately to avoid injuries.
Check the surroundings before starting. Remove any obstacles, such as furniture or plants, that might get damaged. It’s also wise to assess the area for electrical outlets or wiring. I once had a client who nearly set off a short circuit because they hadn’t checked for cables hidden beneath the foliage.
Maintain a safe distance. Keep the nozzle at least two feet away from the surface to avoid damage. When I first started, I got too close and left marks on the surface. It’s crucial to understand the power you’re working with.
Be mindful of the spray direction. Always aim away from yourself and others. I’ve seen people get caught in the line of fire, and it’s not a pretty sight. Also, never point the wand at anyone, even if you think the machine is off. Accidents happen quickly.
Lastly, if you’re using cleaning solutions, ensure proper ventilation. I’ve encountered situations where fumes from chemicals created a hazardous environment. Always mix cleaners outdoors or in well-ventilated spaces to avoid inhaling harmful vapours.
.jpg)


