


A bucket filled with warm water and a few drops of dish soap can work wonders on your outdoor surfaces. Grab a stiff broom or a scrub brush to tackle the grime. Start at one corner and work your way across, applying the soapy solution generously. The combination of the brush and the soapy water will lift dirt and debris, making the entire area look refreshed.
For those stubborn stains, a mixture of baking soda and vinegar can be a game-changer. Sprinkle the baking soda over the affected area, then gently pour vinegar on top. Allow it to fizz and work its magic for about 10-15 minutes. After that, scrub with your brush and rinse off with clean water. You’ll be amazed at the results!

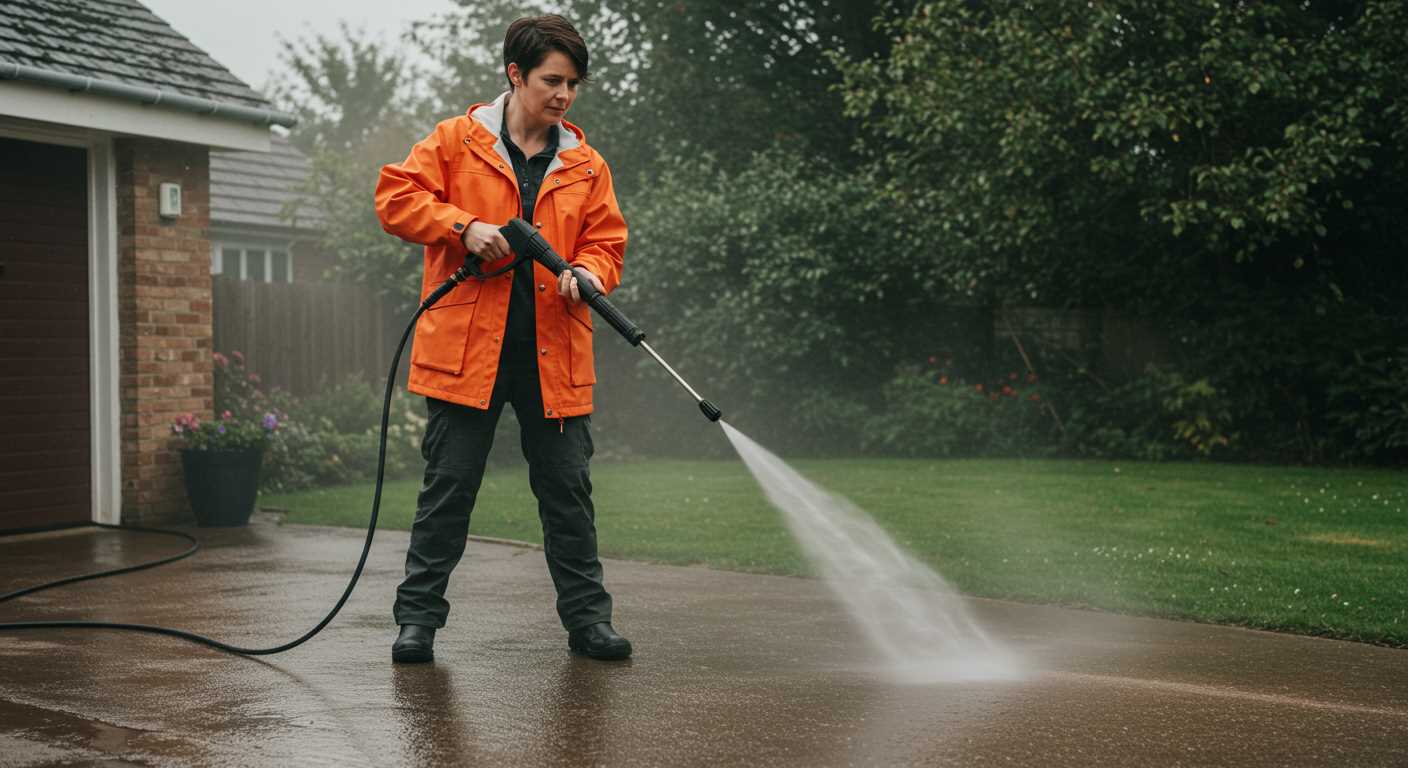
Don’t underestimate the power of a good old-fashioned garden hose to rinse away any remaining residue. If your outdoor area has tough spots that require extra care, consider using a putty knife or a scraper to lift away the debris before rinsing. This hands-on approach not only saves you from the hassle of heavy machinery but also gives you control over the process, ensuring a thorough job.
Finally, to prevent future build-up, consider applying a sealant specifically designed for your surface type. Regular maintenance with simple tools and natural solutions will keep your outdoor area looking pristine and welcoming for years to come.
Effective Techniques for Refreshing Your Outdoor Surfaces
Start by sweeping the area to remove loose debris and dirt. A stiff broom works wonders for this task. Ensure you get into the joints and corners where dirt tends to accumulate.
Next, create a cleaning solution using warm water and a few drops of dish soap. Apply this mixture to the surfaces using a mop or a scrub brush. The gentle abrasiveness of the brush will help lift stains without damaging the material.
For tougher spots, consider using a paste made of baking soda and water. Apply it to the stained areas, let it sit for about 15 minutes, and then scrub with the brush. This method is particularly effective for oil spots or other stubborn marks.
After scrubbing, rinse the area with clean water. If you have a garden hose, it can help to flush away the soap and residues. Ensure you direct the water to prevent pooling, which can lead to further staining.
To maintain the appearance of your surfaces, consider sealing them after cleaning. A good sealant will protect against future stains and make the next cleaning process easier. Pay attention to the manufacturer’s instructions for application and drying times.
If you’re looking to power up your cleaning game, a generator for pressure washer can be a handy tool for those larger spaces or stubborn grime, providing extra muscle when needed.
Regular maintenance is key. Make it a habit to sweep and wash your surfaces periodically to prevent the build-up of dirt and stains, keeping everything looking pristine.
Choosing the Right Cleaning Solution for Patio Pavers
For tackling stubborn stains on stone surfaces, I recommend starting with a pH-neutral detergent. These formulations are gentle yet effective, preventing damage to your outdoor surfaces while still lifting grime. Mix it according to the manufacturer’s instructions, usually combining it with water in a bucket.
Natural Alternatives
If you prefer eco-friendly options, consider a vinegar and water solution. A mixture of one part white vinegar to three parts water can break down dirt. Just be cautious with this approach on certain stones, as acidic substances might affect their finish. Always test a small, inconspicuous area first.
Commercial Cleaners
There are many commercial products designed specifically for stone and brick surfaces. Look for ones that specify compatibility with your material type. Many of these contain enzymes that target organic stains like moss or algae, making them a solid choice. Follow the application instructions for the best results.
Preparing Your Outdoor Area for Cleaning: Removing Debris and Furniture

Begin by clearing the surface of any loose articles. Remove furniture, planters, and any decorative elements. This not only provides better access but also prevents any accidental damage during the scrubbing process. You may want to relocate larger pieces to a shaded area to avoid cumbersome moving later.
Next, gather loose debris like leaves, twigs, or dirt. A broom or a leaf blower can expedite this task significantly. I’ve found that a stiff-bristled broom works wonders for dislodging stubborn remnants stuck in the crevices. Pay special attention to corners and edges where dirt tends to accumulate.
Once the larger debris is gone, inspect the surface for any stains or spots that may need extra attention. Taking note of these areas now will help streamline the application of your cleaning solution later on. If you see any moss or algae, consider treating those spots specifically before proceeding.
Finally, ensure that the area is safe to work on. Remove any obstacles that could cause trips or falls. I learned this the hard way on a particularly windy day when a misplaced chair led to a rather embarrassing tumble. Safety first!
Step-by-Step Guide to Manual Cleaning Techniques
Begin with a broom to sweep away loose dirt and debris. This step prevents any grit from scratching the surface during the scrubbing process. Ensure you reach into corners and edges where dust tends to gather.
Mixing Your Cleaning Solution
Combine warm water with a suitable cleaning agent, such as vinegar or baking soda, to create a natural solution. For tougher stains, consider adding a few drops of dish soap. This mixture helps break down grime effectively. Use a bucket for easy access and ensure it’s well-mixed before proceeding.
Scrubbing Technique
Employ a stiff-bristled brush to apply the solution to the surface. Work in small sections, applying firm pressure to lift stubborn marks. Use circular motions for even coverage. For deeper stains, allow the mixture to sit for several minutes before scrubbing again. Rinse the area with clean water after each section to see immediate results and prevent soap residue from building up.
For joints between stones, a smaller brush or old toothbrush can be useful. Dip it into the solution and scrub along the seams to remove any accumulated dirt or mildew.
After finishing the entire area, give it a thorough rinse with a bucket of clean water or a hose if available. This final wash ensures all cleaning agents and loosened debris are completely removed, revealing the true colour and texture of the surface.
For persistent stains, repeat the process as necessary, adjusting the cleaning solution’s strength based on the severity of the stains. Patience is key; results may take time but will be worthwhile.
Dealing with Stains: Specific Methods for Different Types
For effective treatment of various blemishes on your outdoor surfaces, it’s vital to identify the stain type. Here’s a breakdown of common stains and targeted solutions:
Oil and Grease
- Blot excess oil with paper towels to absorb as much as possible.
- Sprinkle baking soda over the stained area and let it sit for 15-20 minutes. This absorbs remaining grease.
- Mix a few drops of dish soap with warm water, apply it to the stain, and scrub with a stiff brush. Rinse thoroughly.
Rust Stains
- Use a commercial rust remover or create a paste from lemon juice and salt. Apply to the stain and let it sit for several hours.
- Scrub gently with a brush and rinse with clean water. Repeat if necessary.
Moss and Algae
- Mix equal parts vinegar and water in a spray bottle. Apply this solution directly to the affected areas.
- After a few hours, scrub with a stiff brush and rinse well.
General Stains
- For dirt and grime, a solution of warm water and mild detergent works wonders. Apply and scrub with a brush.
- After scrubbing, rinse the area thoroughly to remove any soap residue.
For those hard-to-reach spots or if you’re dealing with stubborn stains, consider using a soft scrub pad to avoid scratching the surface. Always test any cleaning solution on a small, inconspicuous area before full application.
If you need additional cleaning tips, check out this guide on cleaning the plastic strip on a shower door for similar techniques that might inspire your outdoor cleaning routine.
Maintaining Cleanliness: Tips for Ongoing Care of Patio Pavers
Regular upkeep is key to preserving the allure of your outdoor surface. After completing a thorough wash, consider implementing a consistent schedule for maintenance. Aim for a quick inspection every few weeks and a deeper clean every season.
Start by sweeping away leaves, dirt, and debris. A good broom can make a world of difference. I remember one summer, I neglected this step, and the buildup turned into a breeding ground for algae. The solution? A simple broom and a bit of elbow grease brought it back to life.
Next, consider applying a sealant. This layer protects against stains and weather damage. When I first used a sealant, I was surprised by how much easier it became to tackle spills. Just ensure the surface is completely dry before application for the best results.
For those stubborn areas, spot treatments can work wonders. Keep a small bottle of your chosen cleaning mixture handy for quick responses to unexpected messes. Vinegar mixed with water was my go-to for pesky grease stains, and it never failed me.
Establishing a routine can prevent larger cleaning tasks over time. Here’s a simple table to guide your ongoing care:
| Frequency | Task | Notes |
|---|---|---|
| Weekly | Debris removal | Sweep thoroughly, especially after heavy winds or rain. |
| Monthly | Inspect for stains | Treat stains as they appear to prevent set-in marks. |
| Seasonal | Deep clean and seal | Choose a dry day for better sealing. |
Lastly, nurture your surrounding plants. Overhanging branches can drop sap or leaves, leading to additional staining. Regular trimming can significantly reduce this risk. A well-maintained garden not only enhances your outdoor area but also eases the cleaning process.

.jpg)


