
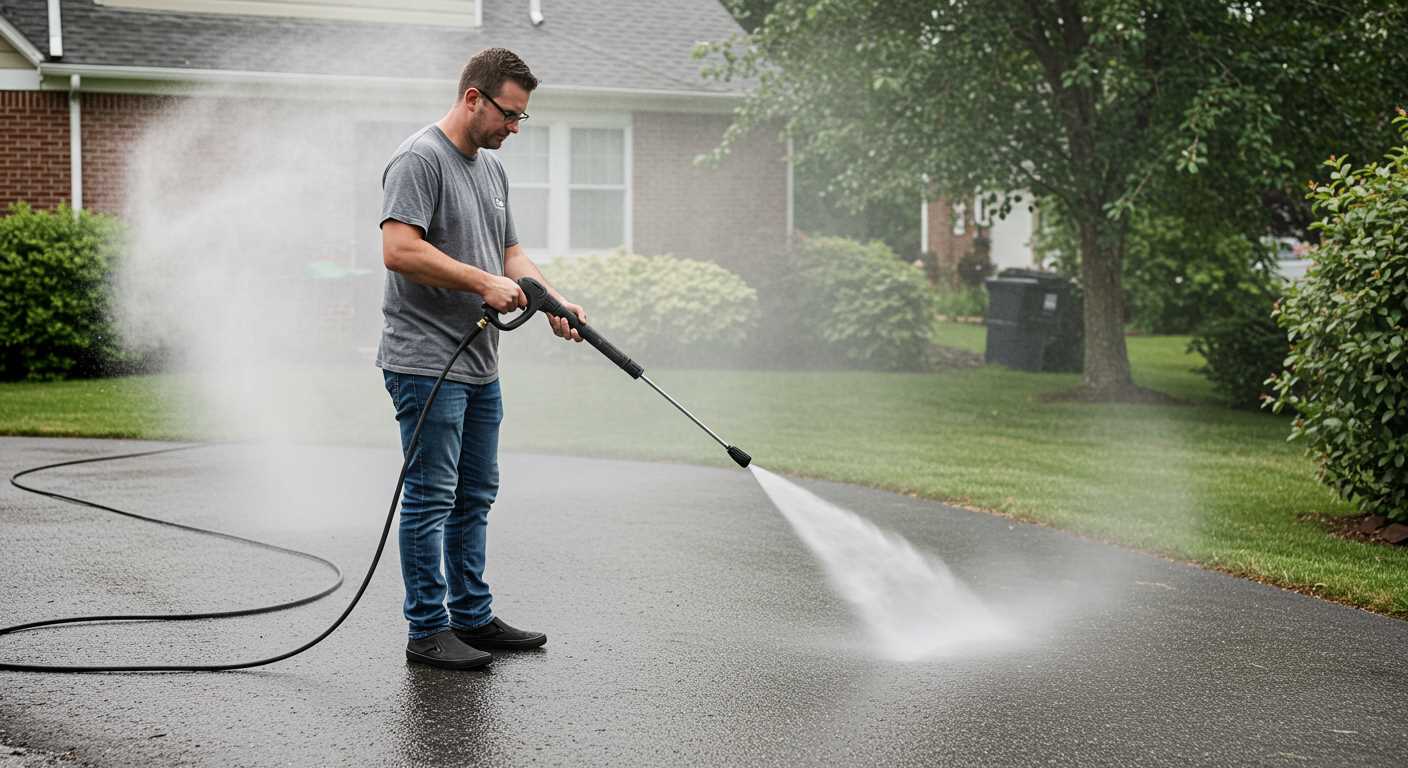


For those stubborn dirt and grime stains, the optimal approach involves utilising high-pressure equipment. Adjust the nozzle for a concentrated jet, aiming for a distance of about 30 centimetres from the surface to avoid any damage. Begin at one corner and methodically work your way across, ensuring a consistent motion to achieve an even finish.
In my experience, pre-treating particularly tough spots with a suitable cleaning solution can enhance results significantly. Once applied, let the solution sit for several minutes before returning with the high-pressure tool. This not only loosens embedded dirt but also accelerates the entire process.
Pay attention to the angle at which you operate the nozzle. A 45-degree angle is ideal for lifting debris without causing harm to the material beneath. I remember once misjudging the angle and accidentally etching a surface, which was a hard lesson learned. Always keep the nozzle moving to prevent any concentrated force from damaging the surface.
After the initial cleaning, it’s wise to rinse the area thoroughly. This helps remove any remaining detergent and ensures that nothing lingers to attract dirt later. A clean, dry surface will not only look appealing but will also be easier to maintain in the long run.
Finally, consider sealing the cleaned surface after it has dried completely. This added step can protect against future stains and make routine upkeep a breeze. Investing a bit of time now will save you considerable effort down the road.
Effective Techniques for Restoring Outdoor Surfaces
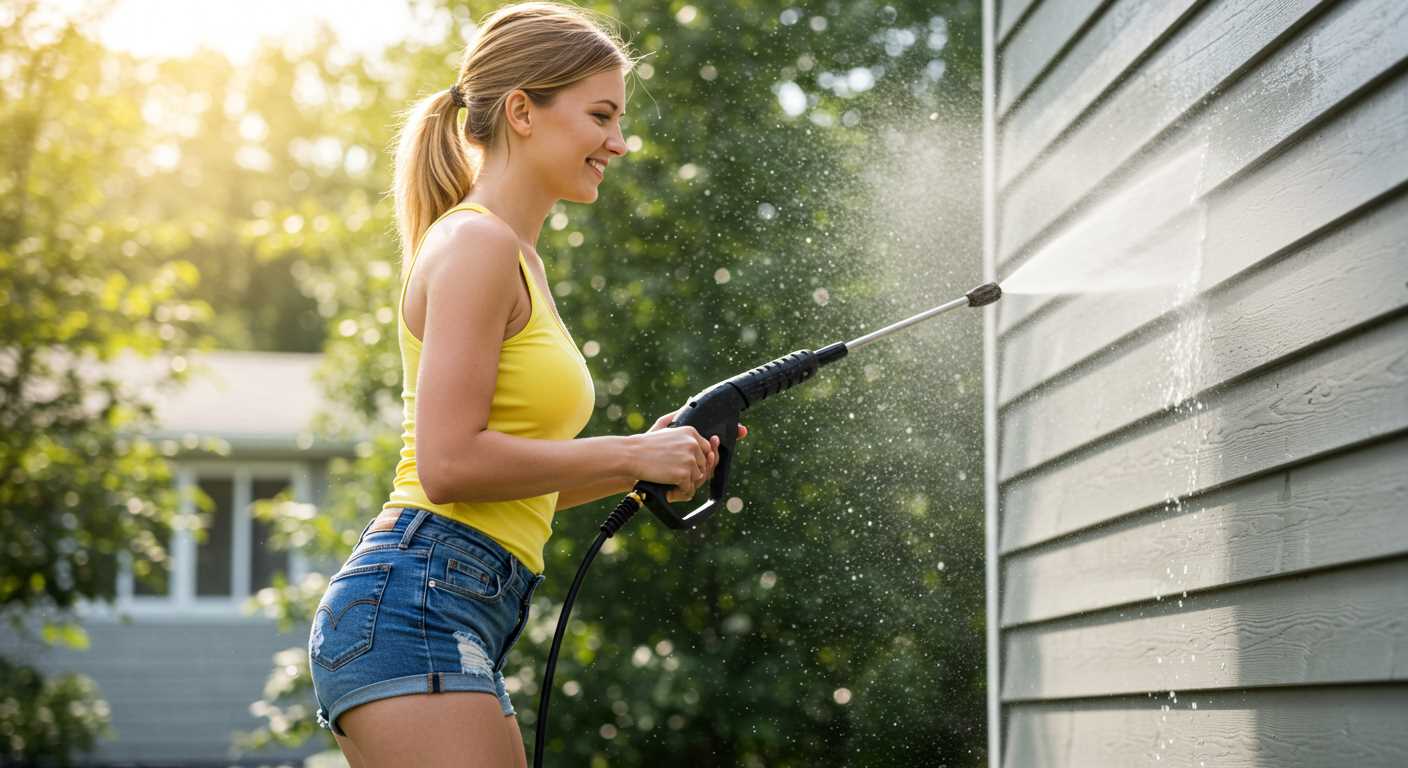
Begin by selecting a nozzle with a wide spray pattern, ideally around 25 degrees. This prevents damage to the surface while still providing adequate force to lift dirt and debris. From my experience, a 15-degree nozzle can be too aggressive, especially on softer materials.
Position the device at least 12 inches away from the surface. This distance helps avoid etching or chipping. I’ve seen many people make the mistake of getting too close, which can lead to costly repairs.

Start from one end and gradually work your way across. Use steady, sweeping motions to ensure even coverage and prevent streaks. I recommend overlapping your strokes slightly, as this guarantees that no spots are missed.
For stubborn spots, pause and allow the nozzle to sit for a moment. The high-pressure stream can break down grime more effectively when given a little time to penetrate. In my experience, a quick scrub with a stiff-bristled brush on particularly tough areas can enhance results before rinsing.
Always rinse the entire area afterward to remove any remaining residues. Leaving cleaning agents or debris can lead to discolouration or damage over time. A thorough rinse will ensure the surface remains in good condition.
Finally, consider applying a sealant once everything is dry. This not only enhances appearance but also protects against future staining. I’ve found that regular maintenance with a pressure device can significantly extend the life of outdoor surfaces, making the investment worthwhile.
Choosing the Right Pressure Washer for Patio Cleaning
Opt for a model with a minimum pressure of 2000 PSI and a flow rate of 1.5 GPM. This combination provides enough power to tackle stubborn dirt and grime without damaging surfaces. I recall using a 2200 PSI unit on a particularly grimy area; the results were impressive and saved me hours of scrubbing.
Electric vs. Gas Models
Electric versions are quieter and lighter, making them easy to manoeuvre. However, I’ve found that gas-powered units typically deliver more power. For larger areas, like extensive driveways, gas models can cut cleaning time significantly. A 3000 PSI gas machine I used once cleared decades of buildup in no time, leaving the surface looking brand new.
Attachments and Accessories
Consider models that come with a variety of nozzles. A rotating nozzle can enhance your efficiency, as I discovered during one particularly challenging job. Swapping to a 25-degree nozzle transformed a tedious task into a straightforward one, allowing me to cover more ground quickly. Additionally, a surface cleaner attachment can save you even more time and effort on flat surfaces.
Preparing Your Patio Stones for Cleaning
Before starting the task, ensure you remove all furniture, pots, and other items from the surface. This creates an unobstructed area for effective treatment. I recall a time when I overlooked this step; it turned into a hassle, moving everything mid-job. Save yourself the trouble.
Inspecting the Surface
Examine the area for cracks, loose pieces, or any structural issues. Identify any areas that may need repair prior to using the equipment. I once encountered a cracked section that worsened during the process, leading to extra work later. If repairs are needed, handle those first to avoid complications.
Preparing the Surroundings

Protect nearby plants and surfaces from potential damage. Cover flowers and delicate shrubs with tarps or plastic sheeting. I learned this lesson the hard way when I accidentally sprayed a beloved rosebush, which didn’t recover. Ensure to divert water flow away from walls and windows to prevent any unwanted consequences.
| Preparation Step | Description |
|---|---|
| Remove Items | Clear all furniture and decor from the area. |
| Inspect Surface | Check for cracks or loose pieces that may need repair. |
| Protect Surroundings | Cover nearby plants and structures to prevent damage. |
| Gather Supplies | Collect necessary tools and cleaning solutions. |
Gather your tools, including a broom for debris removal, and a suitable cleaning solution if required. Having everything ready before starting can streamline the process and ensure a thorough job. A little prep goes a long way in achieving great results.
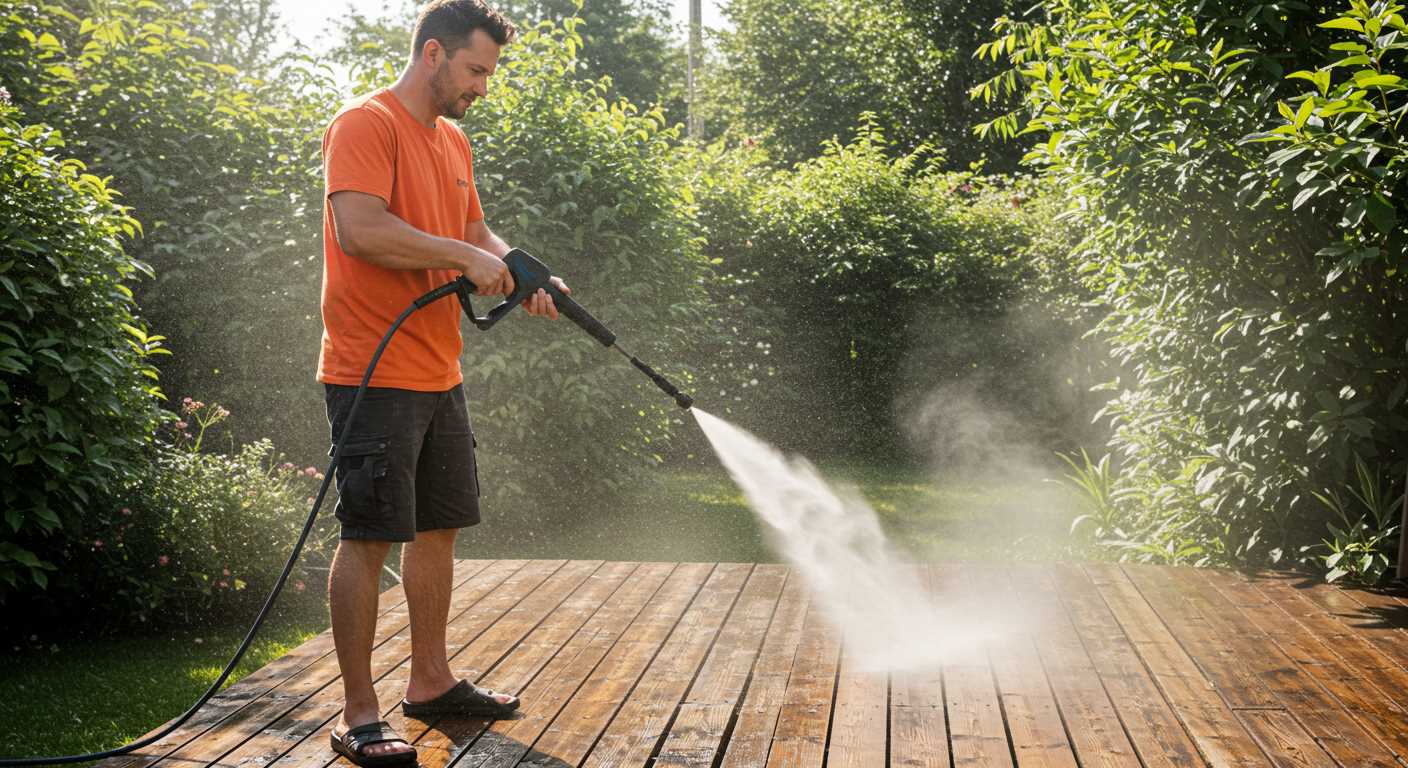
Techniques for Using a Pressure Washer on Patio Stones
Begin by selecting the correct nozzle for your task; a 25-degree fan nozzle is typically ideal for most surfaces, allowing for a balance between power and coverage. I once used a 15-degree nozzle on a particularly stubborn area, which resulted in some minor chipping–something to avoid!
Adjust the pressure setting on your machine. For most outdoor surfaces, a PSI between 2000 and 3000 is sufficient. If you’re unsure, testing on a small, inconspicuous section can help gauge the right pressure without causing damage. On one occasion, I mistakenly set my unit too high and created noticeable etching on a decorative surface. Lesson learned!
Maintain a consistent distance while spraying. Keeping the nozzle about 12 to 18 inches from the surface ensures effective removal of dirt without the risk of damaging it. I’ve seen many people get too close, resulting in unsightly marks and uneven cleaning.
Utilise a sweeping motion while washing. This method prevents streaks and ensures even cleaning. I recall a time when I focused too long on one spot, leading to an uneven appearance that required additional work to correct.
Incorporate detergents designed for outdoor cleaning. Apply the solution before using the washer for better results. Remember to let it sit for a few minutes to break down grime effectively. I’ve found that skipping this step often leads to disappointing outcomes.
Finally, always rinse thoroughly after washing. Residue from cleaning agents can lead to slippery surfaces and attract dirt quickly. I’ve had instances where I was too eager to finish and neglected this step, only to find dirt returning within days.
For those considering a commercial setup, understanding the psi for commercial pressure washer is vital. It ensures you have the right equipment for more extensive and frequent jobs.
Post-Cleaning Care and Maintenance for Patio Stones
After completing the washing process, maintaining the appearance and longevity of your outdoor surfaces is paramount. Here are some strategies to ensure they remain in pristine condition.
Regular Inspection
- Inspect your surfaces regularly for any signs of damage or wear.
- Check for cracks or loose pieces, and address them quickly to prevent further deterioration.
- Keep an eye out for weed growth between joints, removing them promptly to avoid root damage.
Sealing and Protection
- Consider applying a suitable sealant to protect against moisture and stains.
- Choose a sealant that suits your specific material type to enhance durability.
- Reapply the sealant every couple of years for optimal protection.
To keep the area tidy, using a best battery garden leaf vacuum can be incredibly helpful. This tool efficiently removes debris, leaves, and dirt, preventing build-up that can lead to staining or discolouration.
Lastly, ensure that any furniture or planters placed on these surfaces have protective pads underneath to prevent scratching and wear over time. Following these practices will help maintain the beauty and integrity of your outdoor surfaces for many years to come.
Common Mistakes to Avoid When Cleaning Patio Stones
Using the wrong nozzle can lead to severe damage. Always choose a wider spray pattern to prevent chipping or eroding the surface of your tiles. I once used a narrow nozzle on a delicate sandstone patio and ended up regretting it–chipped edges were hard to repair.
Another frequent error involves getting too close to the surface. I’ve seen many enthusiasts blast away from just inches away, thinking more pressure equals better results. It doesn’t. Maintaining a distance of at least two feet ensures you don’t strip away the material or cause unwanted wear.
Ignoring the cleaning solution is a big misstep. Some folks think water alone is sufficient. I learned the hard way that a quality detergent, applied before pressure washing, helps lift grime and stains significantly. Pre-treating is key for achieving that fresh look.
Failing to test on a small, inconspicuous area is crucial. I’ve had a client who went straight to the main section without checking how the surface would react. The result? A discolouration that required extensive restoration. Always do a patch test first.
Lastly, don’t forget to check the weather forecast. Washing during high humidity or rain can leave surfaces damp and prone to mould or mildew. I’ve planned cleanings only to have them thwarted by unexpected showers, which wasted time and effort. Plan wisely to ensure optimal conditions.
.jpg)


