

.jpg)
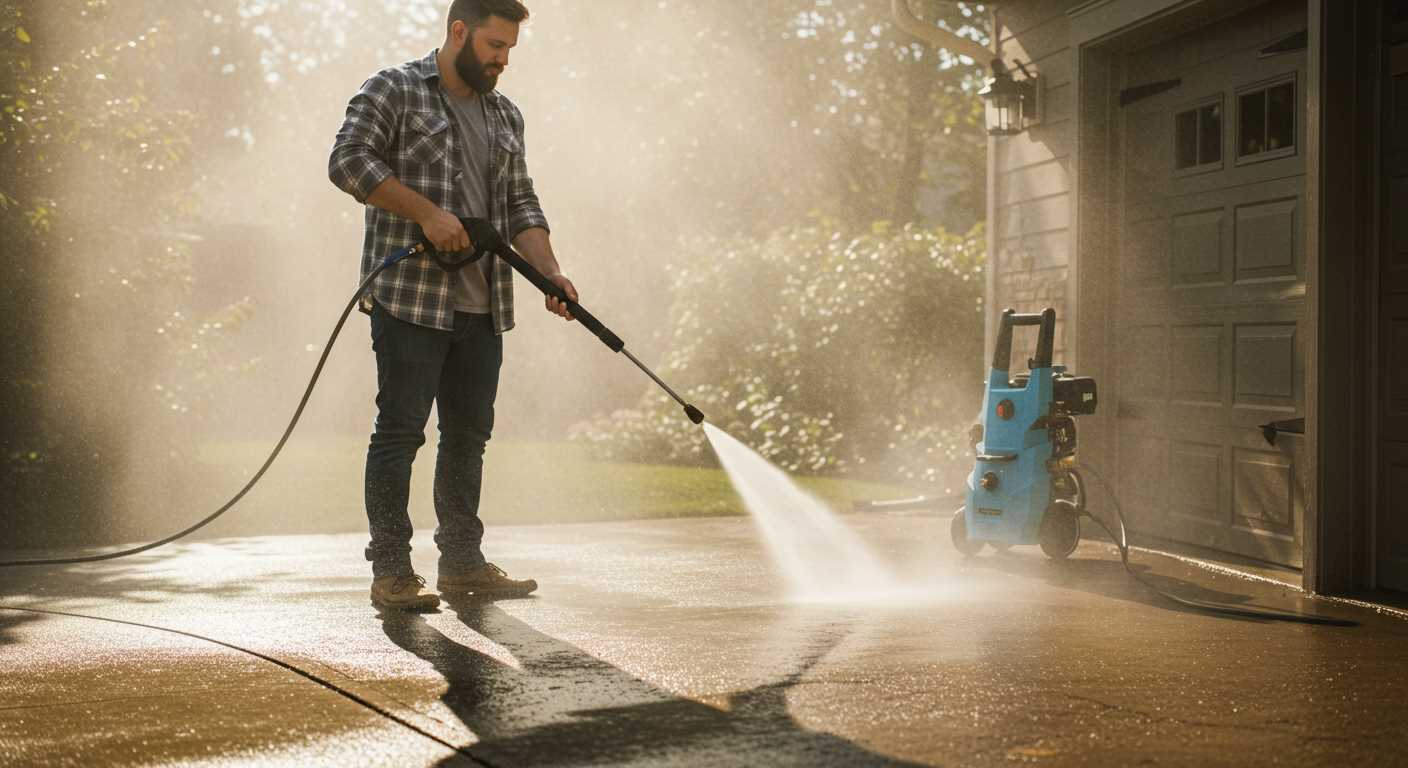
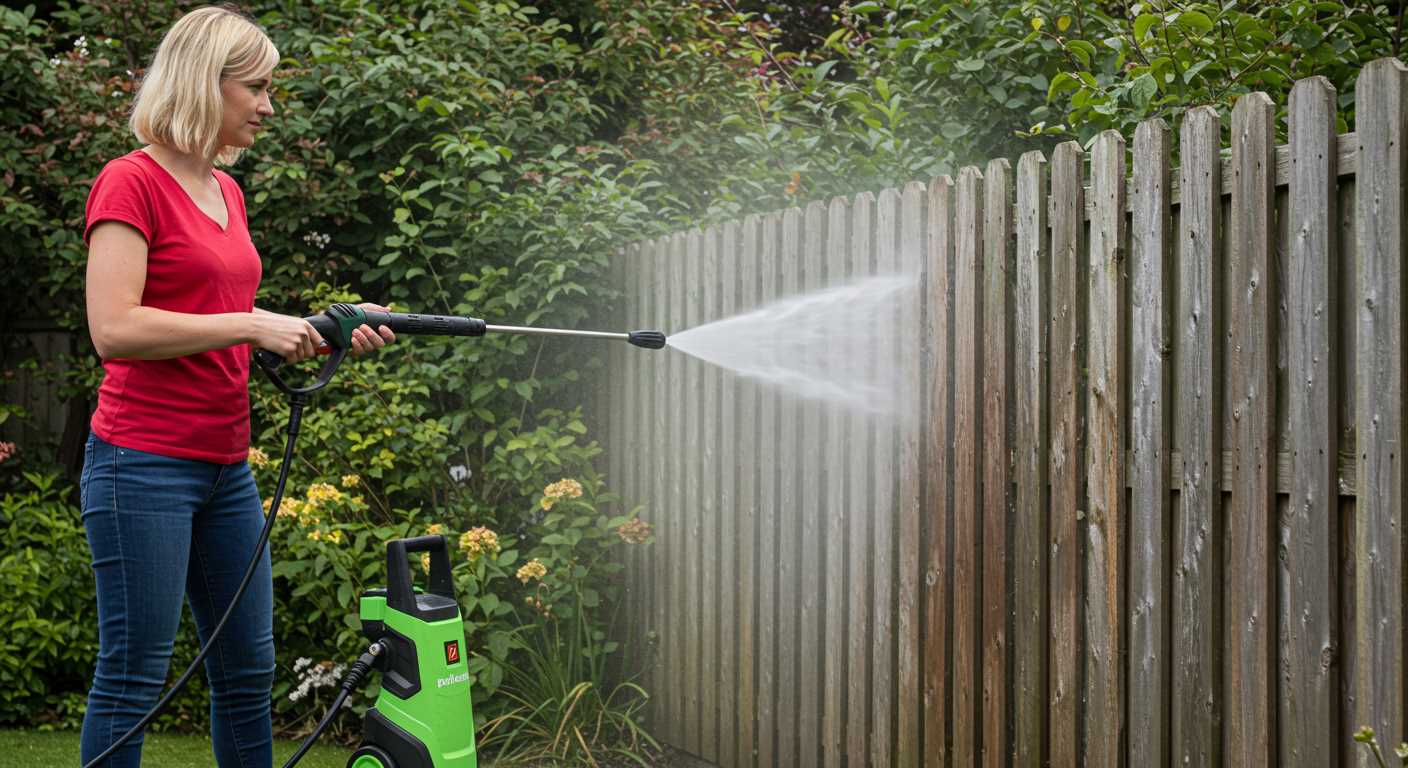
For an impressive transformation of your outdoor surfaces, focus on the right tools and techniques. I’ve used a variety of high-pressure machines over the years, and one thing is clear: proper preparation makes a huge difference. Begin by clearing the area of furniture, plants, and debris, allowing unobstructed access to the surface.
Next, gather your equipment. A reliable high-pressure unit with adjustable settings is key. I’ve often found that starting with a lower pressure setting helps prevent damage to delicate surfaces. Gradually increase the intensity as needed. It’s like finding the sweet spot; too much pressure can strip away the surface, while too little won’t get the job done.
Mix a suitable detergent with water, if necessary, to tackle stubborn stains. I recall a particularly challenging experience with algae growth; applying the solution and letting it sit for a few minutes worked wonders. Once you’re set, begin from one corner and methodically work your way across, maintaining a consistent distance to avoid streaks.
Pay attention to corners and edges; they often require a bit more focus. I’ve learned that using a scrub brush attachment can be invaluable for tough spots. After rinsing, step back and admire your work–there’s nothing quite like that fresh, revitalised look to enhance your outdoor living experience.
Tips for Effective Outdoor Surface Maintenance
Begin by ensuring all loose debris, like leaves and dirt, is removed from the surface. A broom or rake works wonders here. This step prevents clogging the nozzle and allows for a more thorough job.
Next, set up your equipment correctly. Attach the appropriate nozzle; the 25-degree one is versatile for various surfaces without causing damage. Adjust the pressure settings according to the material of the area you’re addressing. For example, lower settings are ideal for softer stones and tiles, while higher ones suit tougher materials.
Technique Matters
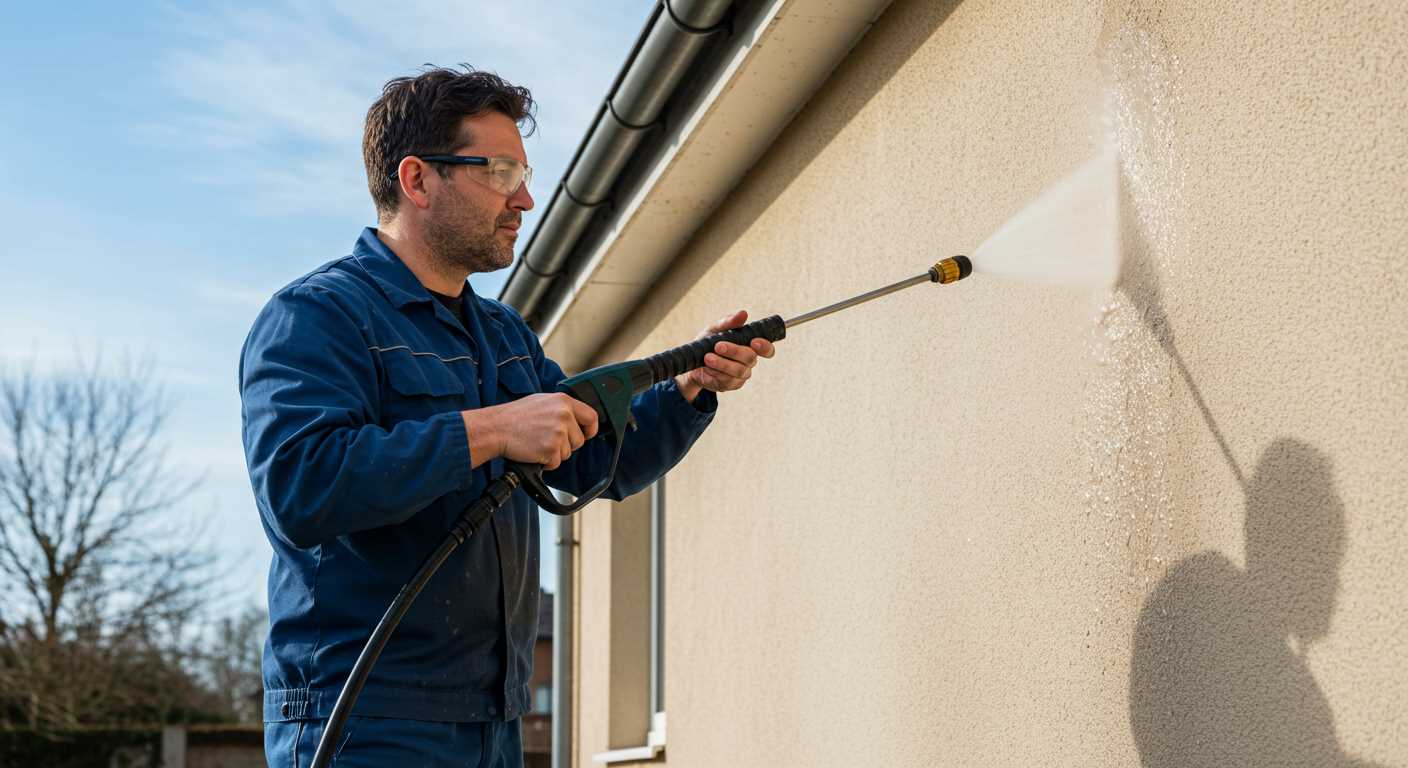
Work methodically. Begin at one end and move in a straight line, overlapping each pass slightly. This prevents streaks and ensures uniformity. Maintain a distance of about 30 cm from the surface to avoid any potential damage. If you notice stubborn stains, pause and apply a suitable cleaning solution, allowing it to sit for a few minutes before rinsing it off.
Finishing Touches
After completing the task, rinse the area thoroughly to remove any residual cleaner. Inspect for areas that may require a second pass. Once satisfied, allow the surface to dry completely before placing any furniture back. Regular upkeep will make future maintenance far easier, saving both time and effort.
Choosing the Right Pressure Washer Model for Your Outdoor Area
Opt for a model delivering at least 130 bar of pressure for effective results. During my tenure in the cleaning equipment industry, I often found this pressure range ideal for most surfaces, from stone to concrete.
Electric or petrol? If your space is small, an electric variant is quieter and lighter, making it easy to manoeuvre. For larger areas or tougher tasks, a petrol model offers greater power and mobility. I recall a particularly stubborn job at a local café where the electric unit struggled, but the petrol option made quick work of grime.
Look for adjustable pressure settings. This feature allows you to tailor the force to different surfaces, preventing damage to delicate areas. I once used a model lacking this option on a wooden deck, which led to unwanted splintering–an experience I’d rather not repeat.
Adequate flow rate is another key factor. Aim for at least 400 litres per hour. It significantly speeds up the process, especially for large spaces. I remember timing how long it took a lower flow model to finish a task compared to a higher-rated one; the difference was astonishing.
Consider the accessories that come with the unit. A rotating nozzle can be a game changer for stubborn stains. I’ve seen models equipped with these attachments cut cleaning time in half during my demonstrations.
Finally, check the weight and portability. A cumbersome design can be a hassle, especially if you need to move it around frequently. My go-to model had wheels that made it easy to transport, saving me considerable effort.
Preparing Your Outdoor Space for Cleaning: Essential Steps
Clear the area of furniture, planters, and any decorative items. This prevents damage and ensures thorough access to surfaces. When I tackled my own outdoor space, I learned the hard way that leaving items in place could lead to scratches and other issues.
Next, remove any debris such as leaves, dirt, or stones. A broom or a leaf blower can be quite handy here. I remember one time I didn’t clear the area properly, and the debris ended up clogging the nozzle, causing delays in my work. It’s a simple task that saves time in the long run.
Inspect the surface for any cracks or loose tiles. Addressing these issues beforehand can prevent further damage during the washing process. I once overlooked a loose tile and ended up causing more harm than good. A quick repair can save a lot of hassle.
Consider applying a suitable cleaning solution to stubborn stains or mould. Allow it to sit for a while for better results. I’ve found that a little preparation goes a long way in achieving a spotless finish.
Lastly, gather all necessary equipment and ensure your washing unit is in good working order. Check hoses, nozzles, and connectors. I’ve had instances where equipment failure set me back significantly, so a quick check can save you from frustration.
Selecting the Appropriate Nozzle for Optimal Results
For achieving the best outcomes, it’s vital to choose the right nozzle for your equipment. Different nozzles produce varying spray patterns and pressures, which can significantly impact your cleaning efforts. Here’s a breakdown of nozzle types and their uses:
Types of Nozzles
- 0° Nozzle: Produces a concentrated, high-pressure stream ideal for tough stains such as oil or grime. Use this with caution; it can damage delicate surfaces.
- 15° Nozzle: Great for heavy-duty tasks like stripping paint or deep cleaning concrete. It offers a wider spray than the 0° but still maintains a strong jet.
- 25° Nozzle: Versatile and suitable for most cleaning tasks, including brick and siding. It balances pressure and coverage effectively.
- 40° Nozzle: Provides a gentle spray, perfect for rinsing delicate surfaces or cleaning vehicles without causing damage.
- Soap Nozzle: Designed for applying detergent efficiently. It mixes soap with water for enhanced cleaning capabilities on porous or textured surfaces.
Choosing the Right Nozzle
When selecting a nozzle, consider the type of surface you’re dealing with and the extent of dirt accumulation. For example, I once faced a patio covered in months of debris. I started with the 25° nozzle, which effectively removed surface grime without harming the bricks. After that, I switched to the soap nozzle to apply a cleaner, followed by a rinse using the 40° nozzle to avoid any damage.
Additionally, always test the nozzle on a small, inconspicuous area first to ensure compatibility with the surface. This step can save you from costly mistakes.
For those interested in related topics, you might find it useful to know that are digital cameras allowed on airplanes can help you plan for travel photography without hassle.
Techniques for Cleaning Different Patio Materials
For stone surfaces, use a wide fan nozzle (25° or 40°) to avoid etching. Maintain a distance of at least 12 inches, moving the wand in a sweeping motion to lift dirt and grime without damaging the surface. For heavily soiled areas, a cleaner specifically designed for stone can be applied prior to washing. Always test on a small section first to ensure compatibility.
Wood Decks
Wood requires a gentler approach. Opt for a fan nozzle with a lower pressure setting, around 1,200 to 1,500 PSI. Keep the nozzle at a 45-degree angle to the wood and maintain a distance of about 18 inches. This prevents splintering or stripping of the wood. After washing, consider applying a wood preservative to protect against future damage.
Composite Materials

For composite decking, use a medium pressure setting and a 25° nozzle. Composite materials can withstand more power than wood but still require caution. Move the wand in the direction of the grain to avoid streaks. If stubborn stains persist, a mild detergent followed by rinsing will yield the best results.
For those considering a machine tailored for more demanding tasks, check out this pressure washer for tractors that can handle tough surfaces effectively.
Maintaining Your Karcher Pressure Washer for Longevity
After years of using various cleaning machines, I’ve learned that routine care can significantly extend the life of your equipment. One key aspect is flushing the system after every use. This simple step clears any remaining detergent or debris from the hoses and pump, preventing clogs and potential damage.
Regularly inspect and clean the filters. If debris builds up, it can hinder water flow and affect performance. I remember a time when neglecting this led to a frustrating day of weak output, all because I missed a small but vital part of maintenance.
Storing the unit properly is equally important. Keep it in a dry place, away from extreme temperatures. I’ve witnessed machines exposed to harsh conditions develop cracks and leaks, which could have been avoided with proper storage. Always detach the nozzle and gun before storing to relieve pressure and prevent wear.
Don’t forget to check the hoses for any signs of wear or damage. A small crack can lead to significant leaks, which not only waste water but can also damage the pump over time. Replace any worn-out parts promptly. It saves money in the long run and ensures your machine operates smoothly.
| Maintenance Task | Frequency | Notes |
|---|---|---|
| Flush System | After each use | Prevents clogs |
| Check Filters | Monthly | Clean to maintain flow |
| Inspect Hoses | Monthly | Replace if damaged |
| Store Properly | Every season | Avoid harsh conditions |
Lastly, follow the manufacturer’s guidelines for any scheduled maintenance. I’ve found that adhering to these recommendations not only optimises performance but also provides peace of mind knowing I’m doing everything to keep my equipment in top shape. A well-maintained machine will serve you well for many seasons to come.
Post-Cleaning Care: Sealing and Protecting Your Patio
After tackling the grime, it’s time to consider how to preserve that fresh look. Sealing surfaces is a straightforward step that can significantly extend their lifespan.
Choosing the Right Sealant
Opt for a sealant specifically designed for your surface type. Here are some common options:
- Concrete Sealers: Acrylic or epoxy-based sealers work well for concrete surfaces, offering durability and resistance to stains.
- Stone Sealers: Look for penetrating sealers that protect the pores of the stone while allowing it to breathe.
- Wood Sealers: For wooden surfaces, a water-repellent sealant helps prevent moisture damage and UV fading.
Application Tips
Follow these steps for optimal results:
- Ensure the area is completely dry post-cleaning.
- Use a roller or sprayer for even application.
- Apply multiple thin coats rather than one thick layer to enhance durability.
- Allow adequate drying time between coats, as per the manufacturer’s instructions.
Regular maintenance is key. Consider reapplying sealant every couple of years, depending on exposure and wear. This practice helps retain the appearance and integrity of your outdoor space.
In my experience, a well-sealed surface not only looks great but also simplifies future upkeep. It repels dirt and stains, making routine maintenance far less daunting. Remember, the effort put into sealing today pays off with a stunning outdoor area for years to come.

.jpg)


.jpg)


