


For an immediate impact, a solution of warm water and white vinegar works wonders on dirt and grime. Mix one part vinegar with three parts water, then apply it generously to the surface. Allow it to sit for about 30 minutes to break down stubborn stains, then scrub with a stiff-bristled brush. Rinse thoroughly with clean water to reveal a refreshed appearance.
Another effective method involves using baking soda. Create a paste by combining baking soda with water, applying it to stained areas, and letting it sit for a while. Scrubbing the area afterwards not only removes debris but also deodorises the surface. Rinse well to ensure no residue remains.
If you’re dealing with weeds, a simple solution of salt and water can prevent their return. Mix three parts water with one part salt, spray directly onto the foliage, and watch as the plants wilt away. Just be cautious about overspray, as salt can affect surrounding greenery.
I once tackled a particularly stubborn patch of mildew using a mixture of dish soap, water, and a splash of bleach. This combination proved effective, but I recommend wearing gloves and ensuring proper ventilation. Apply it to the affected area, let it sit, then scrub and rinse. The result was a spotless surface that looked brand new.
Investing in a quality stiff-bristled brush is just as crucial as the cleaning solutions themselves. A good brush will make scrubbing less laborious and more effective. Remember, patience is key–taking the time to properly apply and scrub will yield the best results.
Choosing the right cleaning solution for paving stones
Opt for a biodegradable cleaner to ensure safety for your plants and pets. I’ve tested several eco-friendly options that deliver impressive results while being gentle on the environment. Look for solutions specifically designed for hard surfaces; they often contain enzymes that break down stubborn stains.
Another effective choice is a vinegar and water mixture. I usually mix one part vinegar with one part water in a spray bottle. This combination works wonders on moss and algae. Just be cautious with the amount you use, as vinegar can affect the surrounding vegetation if applied excessively.
For oil stains, a dish soap solution can be very effective. Combine warm water with a few drops of dishwashing liquid, apply it to the stain, and let it sit for about 30 minutes before scrubbing. This method has saved me from replacing stones due to unsightly marks.
When considering commercial products, check the label for pH neutrality. Acidic solutions can erode the surface over time. I had a bad experience with a high-acid cleaner that damaged the finish of my own driveway. Always do a patch test in an inconspicuous area first.
| Type of Stain | Recommended Solution | Application Method |
|---|---|---|
| Moss/Algae | Vinegar and water | Spray, let sit, scrub |
| Oil | Dish soap and warm water | Apply, let sit, scrub |
| General Dirt | Biodegradable cleaner | Apply, scrub, rinse |
| Stubborn Stains | Commercial cleaner (pH neutral) | Apply, let sit, scrub |
Always follow the manufacturer’s instructions for any product you choose. The right solution can make a significant difference in maintaining the appearance and longevity of your outdoor surfaces.
Preparing the Area for Cleaning
Clear the vicinity of debris and outdoor furniture. Move pots, garden tools, and any loose items to ensure an unobstructed workspace. This step simplifies your task and prevents damage to possessions.
Assessing the Surface Condition
Inspect for moss, algae, or stubborn stains. Identifying problem areas beforehand allows for targeted treatment. Take note of any cracks or loose slabs that may require repair post-cleaning.
Gathering Necessary Supplies
Collect brushes, buckets, and brooms. A stiff-bristled brush can tackle tough spots effectively. Ensure you have a suitable cleaning solution on hand, as identified in previous sections. Having everything ready saves time and effort when you start scrubbing.
Consider wearing gloves and protective eyewear. Some cleaning agents can be harsh on skin and eyes. Protecting yourself is as vital as the preparation of the area.
Once you’ve set up your workspace and gathered your materials, you’ll be ready to tackle the task at hand with confidence and ease.
Using a broom and water for initial dirt removal
Begin with a sturdy broom to tackle loose debris. A stiff-bristled broom is preferable as it dislodges dirt more effectively.
- Start by sweeping in one direction to prevent debris from scattering.
- Focus on corners and edges where grime tends to accumulate.
- For larger areas, work in sections to maintain order.
Next, wet the surface lightly with water. This helps to bind the dirt, making it easier to sweep away. Use a garden hose with a spray nozzle for better control.
- Ensure the area is damp but not flooded; too much water can hinder the sweeping process.
- Consider using a bucket to carry water if access to a hose is limited.
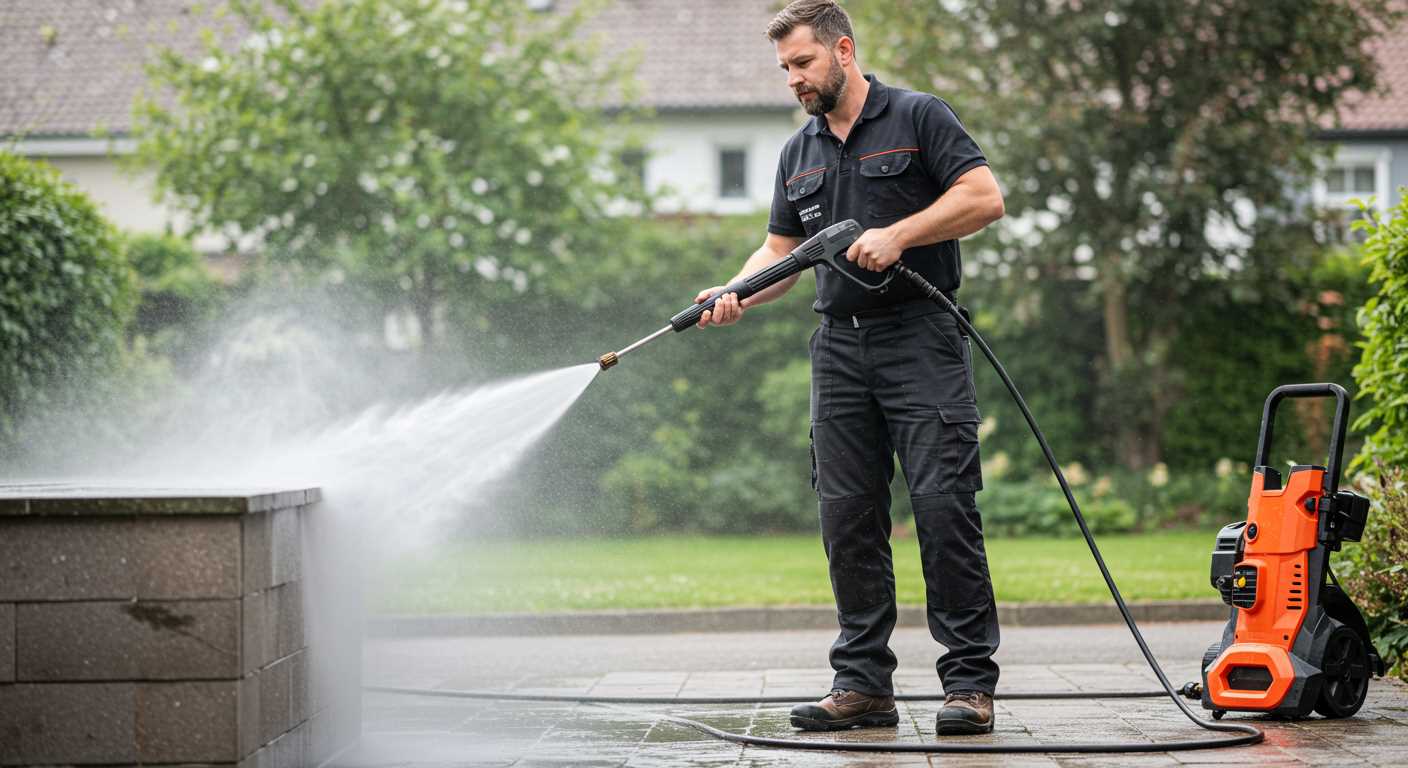
After sweeping, check for persistent stains or moss. If you encounter stubborn spots, a diluted cleaning solution may be necessary. I often recommend a medium duty electric pressure washer for deeper cleaning, but for now, focus on the basics.
Finishing this step will prepare your surface for a more thorough treatment, ensuring optimal results in your next cleaning phase.
Applying Vinegar or Baking Soda for Stains
For tackling stubborn marks, vinegar or baking soda can be remarkably effective. For light stains, I recommend a simple mixture of equal parts water and white vinegar. Spray it directly onto the discolouration and let it sit for about 15 minutes. Afterward, scrub with a stiff-bristled brush to lift the stain away. Ensure to rinse thoroughly with water afterward to remove any vinegar residue.
Baking Soda Paste for Tougher Stains
In cases where the blemishes are more persistent, a baking soda paste can work wonders. Combine baking soda with a small amount of water to create a thick paste. Apply it generously over the stained area and allow it to sit for 30 minutes. The alkaline properties of baking soda break down grime effectively. Scrub with a brush, then rinse with clean water. This method is not only safe but also environmentally friendly, making it a preferred choice for many.
For those curious about timing in the kitchen, you can explore how long to put a curry in the pressure cooker, as timing is key in many tasks, whether cleaning or cooking.
Scrubbing techniques for stubborn grime
Utilising a stiff-bristled brush can work wonders on tenacious dirt. Focus on a small section at a time to avoid overwhelming yourself. Apply firm pressure while scrubbing in a circular motion to dislodge embedded particles effectively.
Technique with a scrubber
For extremely stubborn spots, consider a scrubber with a handle. It allows better leverage and reduces strain on your back. Dip the scrubber in your chosen cleaning solution, then tackle the grime directly. If you encounter particularly resistant stains, let the solution sit for a few minutes before scrubbing; this will enhance its efficacy.
Using a mop for larger areas
A mop can be a handy tool for extensive surfaces. Pair it with a bucket filled with warm water and your selected cleaner. Work in sections, rinsing the mop regularly to avoid spreading dirt. For the best results, finish off with a thorough rinse using clean water to prevent any residue from drying onto the surface.
Sealing Paving Stones After Cleaning
Once you’ve completed the scrubbing and rinsing stage, the next step involves applying a sealant to provide protection and enhance appearance. Select a high-quality sealant specifically designed for your type of surface–this can significantly impact longevity and maintenance.
Before applying, ensure the area is thoroughly dry. I recommend waiting at least 24 hours after cleaning to allow any moisture to evaporate. This step is crucial as applying sealant on damp surfaces can lead to improper adhesion and reduce its effectiveness.
Use a roller or sprayer for even application. When I first tried sealing, I made the mistake of using a brush, which left streaks. A sprayer gives a consistent finish and avoids uneven coverage. Apply in thin coats, allowing adequate drying time between layers. Generally, two coats are advisable for optimal protection.
Be mindful of the weather–avoid applying sealant on windy days or when rain is expected within the next 24 to 48 hours. I once faced a situation where unexpected rain compromised my recent work, and I had to start over. It’s best to check the forecast before proceeding.
After sealing, maintain the surface by regularly sweeping away debris and rinsing with water. This practice will prolong the lifespan of the sealant and keep your surface looking fresh. I’ve found that simple maintenance can save a lot of effort in the long run.
Finally, resist the urge to walk on the newly sealed area for at least 24 hours. This waiting period allows the sealant to cure properly. I’ve learned from experience that even a few footsteps too soon can leave unwanted marks on the surface.
.jpg)


