


Begin with disconnecting the fuel supply and ensuring the unit is off. Safety first. Once you’ve done that, access the component by removing the necessary casing. A clean workspace will make this less of a hassle; gather your tools beforehand–screwdrivers, wrenches, and a cleaning solution will be your best friends here.
Next, take a close look at the assembly. Over time, deposits can build up, affecting performance. I remember a time when a client brought in their machine, convinced it was beyond repair. A simple disassembly and thorough rinsing of the jets revealed the culprit: a sticky residue that had clogged the fuel pathways. A few minutes of cleaning and it was back to life.
Using a soft brush and an appropriate solvent, gently scrub the internal parts. Pay special attention to the jets and needle, as these are often where blockages occur. A can of compressed air can help clear out any stubborn debris. After that, reassemble everything meticulously, ensuring that all parts fit snugly. A tight seal is crucial to maintain proper function.
Finally, refill with fresh fuel to avoid issues with stale petrol. After everything is back together, start the unit to ensure smooth operation. If it sputters, a second inspection might be needed to check for any missed spots. Trust me, a little patience goes a long way in prolonging the life of your equipment.
Maintenance Tips for Your Outdoor Cleaning Equipment
To optimise the performance of your outdoor cleaning equipment, regular upkeep is key. A well-maintained fuel delivery system ensures smooth operation during use. Begin by disconnecting the spark plug to prevent accidental starts. Carefully remove the bowl from the fuel delivery unit, ensuring you have a clean container ready for any leftover fuel. Once the bowl is off, inspect for any debris or residue that may be causing blockages.

Using a soft brush, gently scrub the inside of the bowl and any components. It’s a good idea to soak stubborn deposits in a suitable cleaner for a few minutes before scrubbing. Always check the fuel filter; a clogged filter can hinder performance. If you notice any damage or excessive wear, replacing it can save you from bigger issues down the line. Reassemble everything carefully, ensuring all seals are intact to prevent leaks.
Additional Recommendations for Equipment Care
While maintaining your cleaning tools, consider investing in a pressure washer undercarriage cleaner to keep hard-to-reach areas spotless. This attachment will not only extend the life of your machine but also enhance your cleaning efficiency. After every few uses, take a moment to check hoses and connections for wear. A small crack can lead to significant performance drops.
For those tackling indoor projects, such as refreshing upholstery, refer to this guide on how to clean microfiber couch with steam cleaner. Keeping all your tools in top shape leads to better results, whether outdoors or in.
Gather Necessary Tools and Materials
Before tackling the task, ensure you have the right tools and materials on hand. This will make the process smoother and more efficient.
Tools:
- Socket set or wrench: Needed for removing any bolts or nuts securing the engine cover.
- Screwdriver set: A flathead and Phillips screwdriver will be required to access various components.
- Cleaning brush: A small brush will help dislodge dirt and debris from tight spaces.
- Compressed air canister: This is perfect for blowing out any stubborn particles from the assembly.
- Soft cloths: Use these to wipe down surfaces and remove excess fuel or grime.
Materials:
- Fuel system cleaner: A specially formulated cleaner can help break down deposits within the system.
- Replacement gaskets: Stock up on gaskets in case the existing ones are damaged during disassembly.
- Sealant: A quality sealant can help ensure no leaks occur after reassembly.
- Disposable gloves: Protect your hands from any chemicals or residues.
Having everything ready before you start saves time and frustration. I’ve often found that the most unexpected hiccups arise from missing just one small item, so it’s best to be prepared. Over the years, I’ve learned the importance of a well-equipped workspace; it makes the job much more enjoyable and less daunting.
Remove the Carburetor from the Pressure Washer
Begin by ensuring the engine is completely cool. Disconnect the spark plug wire to prevent accidental starts. Drain any remaining fuel from the tank; this will avoid spills during the removal process.
Next, follow these steps:
- Locate the carburettor, typically found at the back of the engine, connected to the intake manifold.
- Use a socket wrench to remove the mounting bolts securing the unit to the engine. Keep these bolts in a safe place for reassembly.
- Carefully detach the fuel line. Depending on the model, there may be a clip or clamp holding it in place. Use pliers if necessary, but be cautious not to damage the line.
- If applicable, disconnect any choke or throttle linkages. Take note of how they are connected for easier installation later.
- Once everything is disconnected, gently pull the carburettor away from the engine. Inspect the gasket; if it appears worn or damaged, replace it to ensure a proper seal upon reinstallation.
With the carburettor removed, you can now proceed to the cleaning process. Always refer to the manufacturer’s manual for specific instructions relevant to your model.
Disassemble the Carburetor for Cleaning
Begin disassembly by laying out the cleaned work area with a cloth to catch any small parts. Carefully remove the screws securing the top cover of the fuel mixing device. A magnetic tray can be handy to prevent loss of these components.
Next, gently lift the top cover and take care not to damage any gaskets. Once exposed, you’ll see the float and needle valve assembly. Detach these pieces carefully; they can be delicate. Use a pair of pliers if necessary, but avoid excessive force that could cause bending or breaking.
After removing the float, check for any debris or varnish buildup. Clean these with a suitable solvent and a soft brush. Be mindful of the small passages in the assembly; a can of compressed air can assist in clearing out stubborn particles.
Proceed to the main body of the mixing device. Remove the main jet, which is typically located at the bottom. Use a screwdriver that fits the jet snugly to avoid stripping. Inspect for clogs, as this can severely affect performance. If it’s blocked, soak it in carburettor cleaner and use a fine wire to dislodge any blockage.
Assemble the components in reverse order once they are clean. Ensure each part is seated correctly and all screws are tightened to the manufacturer’s specifications. Refer to a service manual if available for torque settings.
| Component | Cleaning Method | Notes |
|---|---|---|
| Float Assembly | Solvent and soft brush | Check for cracks |
| Main Jet | Soak and fine wire | Ensure no clogs remain |
| Needle Valve | Wipe with a cloth | Inspect sealing surface |
| Gaskets | Replace if damaged | Use manufacturer parts |
After reassembly, double-check all connections and ensure there are no leaks before reinstalling the assembly onto the machine. This attention to detail will contribute significantly to the longevity and performance of your device.
Use Cleaning Solutions for Carburetor Parts
For a thorough cleanse of the components, I highly recommend investing in high-quality carburettor cleaning solutions. These specialised liquids are designed to dissolve varnish, gum, and other deposits that accumulate over time. In my experience, a dedicated cleaner is much more effective than household options.
Begin by soaking the disassembled parts in the solution. I’ve found that allowing them to sit for at least 30 minutes yields the best results. This timeframe gives the cleaner ample opportunity to penetrate and break down stubborn residues. Make sure to follow the manufacturer’s instructions for dilution and soaking times.
After soaking, use a soft brush, like an old toothbrush, to scrub the surfaces. This helps dislodge any remaining grime. Pay extra attention to intricate passages and jets, as these areas often harbour blockages. A can of compressed air is also handy for blowing out any debris after scrubbing.
For particularly tough deposits, consider using a ultrasonic cleaner. I’ve seen remarkable results with this method, as it provides a deep clean without the risk of damaging delicate parts. If you choose this route, ensure the solution is suitable for your components.
Once you’ve finished, rinse all parts with clean water to remove any residue from the cleaning solution. Dry them thoroughly before reassembly to avoid corrosion. By using the right cleaning solutions, you’ll ensure that every component is primed and ready for optimal performance.
Reassemble the Carburetor Correctly
Begin reassembly by ensuring all components are clean and dry. Start with the base, aligning it with the gasket to prevent leaks. Gaskets can easily be damaged, so handle them with care. Ensure that all screws and bolts are free of debris before use.

Step-by-Step Assembly
- Position the float and needle valve in the correct orientation. The float should move freely to allow proper fuel management.
- Attach the diaphragm, ensuring it sits evenly without any folds or creases.
- Secure the cover with screws, tightening them in a criss-cross pattern to maintain even pressure.
- Reconnect the fuel inlet, ensuring it’s tight to prevent leaks.
- Reattach any linkages or cables that were disconnected during disassembly.
Final Checks
- Inspect all seals and gaskets for proper placement.
- Ensure the throttle operates smoothly by manually manipulating it before reinstalling.
- Double-check connections for tightness to avoid future issues.
Take a moment to review your work. A thorough inspection now can save a lot of trouble later. Once satisfied, proceed to reinstall the entire assembly onto the equipment, ensuring all connections are secure. This meticulous approach will lead to reliable operation and longevity of the engine.
Test the Equipment After Maintenance
Once the assembly is complete, it’s crucial to put the unit through its paces. Begin by refilling the fuel tank with fresh petrol. This ensures that the combustion process runs smoothly and helps eliminate any remnants of stale fuel that may have lingered during disassembly.

Check for Leaks and Proper Functionality
Start the engine and observe closely for any signs of leaks around the joints and connections. A small amount of fuel vapour is normal, but any dripping or excessive leakage indicates a need for further tightening or adjustment. Allow the engine to warm up, listening for any irregular sounds that might suggest improper assembly or residual blockages.
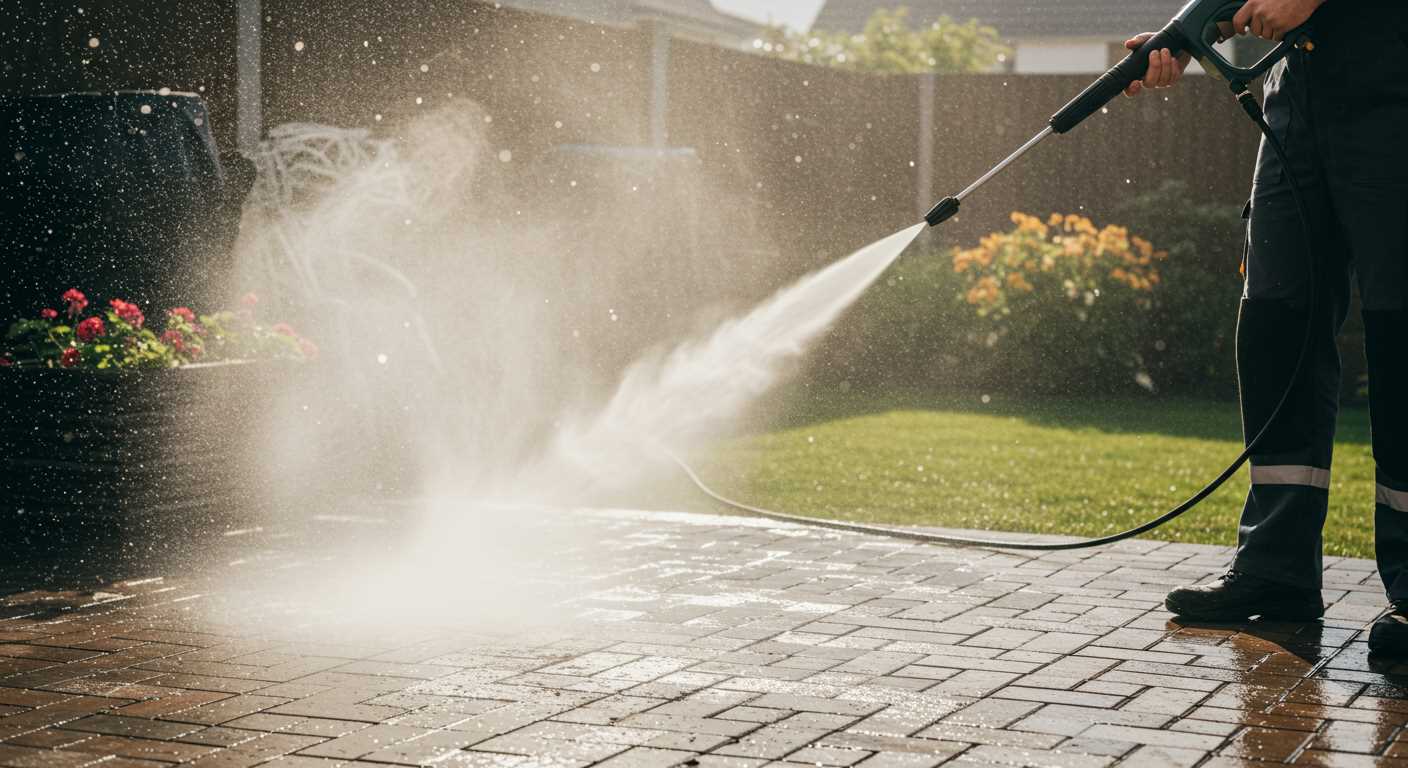
Test Performance on a Suitable Surface

Once warmed up, direct the spray onto a test surface. This can be a patch of concrete or a section of your driveway. Look for a steady, powerful stream that effectively removes dirt and grime. If you notice a weak or sputtering spray, it may indicate that additional cleaning of internal parts is necessary. Adjust the nozzle and pressure settings to find the optimal performance level.


.jpg)


