


Mix equal parts of distilled acetic acid and water in a spray bottle. This simple solution works wonders on stubborn grime. A gentle coat on affected surfaces allows the acid to penetrate and break down mineral deposits effectively. After a few minutes, you’ll notice the dirt loosening, making it easier to tackle.
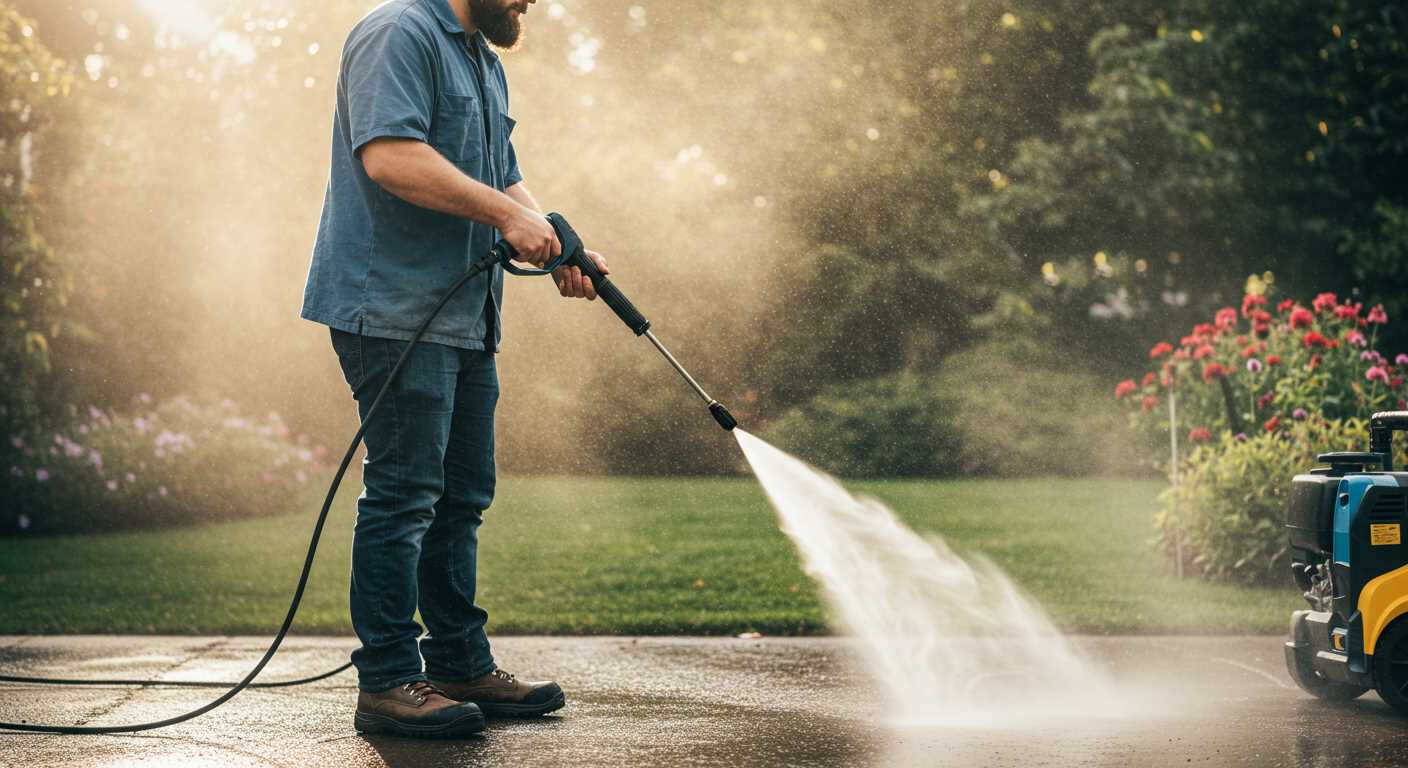
Following this, grab your high-powered cleaning device. Adjust the nozzle to a fan spray setting for optimal coverage. Start at one end and work methodically across the surface. The force of the water will dislodge any remaining debris without causing damage. This combination of natural cleaning and high-pressure application can restore your surfaces to their former glory.
Don’t forget to rinse thoroughly after the process. Any residue left behind can attract dirt faster than before. A final wash ensures a clean outcome, leaving your surfaces sparkling and inviting. Over the years, I’ve found this method not only saves time but also protects the environment by avoiding harsh chemicals.
For stubborn spots, a little extra scrubbing with a stiff brush can enhance results. It’s a straightforward approach that has consistently yielded excellent outcomes in my experience. Trust me; you’ll appreciate the transformation.
Efficient Techniques for Removing Stains from Water Features
Utilising an acidic solution can effectively tackle stubborn deposits. Begin by mixing equal parts of this solution and water in a spray bottle. Apply generously to the areas needing attention. Allow it to sit for 10–15 minutes to penetrate the grime. This step is crucial for breaking down the build-up before any mechanical action.
Utilising the Power Washer
Once the solution has had time to work, grab your high-pressure cleaner. Here’s how to maximise its use:
- Adjust the nozzle to a fan spray setting to cover a larger area.
- Keep a distance of about 30 cm from the surface to prevent damage.
- Begin at the top and work your way down in straight lines to avoid streaking.
- For tougher spots, focus the spray directly on the stain while moving in a circular motion.
After rinsing, inspect the area. If necessary, reapply the solution and repeat the pressure washing process. This layered approach ensures thorough removal of any remaining residue.
Final Touches
After the washing is complete, it’s beneficial to wipe down surfaces using a soft cloth or sponge. This step helps to remove any lingering particles and leaves a polished appearance. Regular maintenance following this method can prevent future build-up, making each session quicker and easier.

Gathering the Necessary Tools and Materials
Begin by collecting a high-quality pressure washing unit. A model with adjustable pressure settings is advantageous, allowing you to tailor the force according to the task at hand. I’ve found that machines with a minimum of 2000 PSI work wonders for tough stains.
Next, secure a reliable garden water hose for pressure washer. This component is often overlooked, yet it plays a critical role in maintaining a steady water supply. A durable hose ensures you won’t face interruptions during the process. You can check out options here.
Additional Supplies
Stock up on vinegar, which serves as an excellent natural cleaning agent. Opt for white vinegar, as its acidity effectively tackles mineral deposits and grime. A few gallons should suffice for most applications.
Don’t forget scrubbing brushes or sponges for any stubborn spots that require a bit of elbow grease. Selecting a brush with stiff bristles can make a significant difference in removing ingrained dirt.
Safety Gear
Finally, equip yourself with protective eyewear and gloves. Safety should never be compromised, especially when dealing with high-pressure equipment and cleaning agents. Investing in a good pair of goggles and gloves will keep you safe from splashes and debris.
Once everything is gathered, you’re ready to tackle the task ahead. The right tools set the stage for a successful and satisfying experience.
Preparing the Area for Maintenance
Clear the surroundings of the water feature before starting the task. Remove any furniture, toys, or decorations that might obstruct your work. This not only provides ample space but also protects your belongings from potential splashes or debris.
Ensure Safety and Accessibility
Check for any slippery surfaces around the area. Lay down non-slip mats if necessary. It’s wise to have a sturdy ladder on hand if you need to reach high spots. Make sure you have access to power sources for your equipment, ensuring everything is within reach.
Protect Surrounding Vegetation
Consider the plants nearby. Cover them with tarps or plastic sheeting to shield them from any overspray or runoff from your cleaning agents. This simple step can prevent damage to your garden and keep your outdoor space looking pristine.
After preparing, you might find it interesting to explore other cleaning techniques, such as this guide on cleaning leather shoes. It showcases how a structured approach can yield great results across various cleaning tasks.
Mixing Vinegar for Optimal Cleaning Solution
For a highly effective cleaning agent, combine equal parts of white distilled acid and water. This ratio ensures the solution is potent enough to tackle stubborn stains while being gentle on surfaces. Adjusting the concentration can yield different results; for severe build-up, you might want to increase the vinegar proportion to two parts vinegar and one part water.
Always use a clean spray bottle to mix your solution. This prevents contamination and maintains the efficacy of the ingredients. After mixing, give the bottle a good shake to ensure everything is well combined. When applying the mixture, use a spray nozzle for even distribution, covering the entire area you intend to treat.
In my experience, letting the solution sit for about 10 to 15 minutes before agitating it with a brush allows the acidity to break down mineral deposits effectively. This waiting period is crucial; it maximises the cleaning potential without requiring excessive scrubbing.
For added power, consider adding a teaspoon of baking soda to your vinegar mixture. This combination creates a fizzing reaction that can lift grime more efficiently. Just be cautious not to make too much at once, as the reaction can cause overflow.
Once you’ve mixed your solution, make sure to test it on a small, inconspicuous area first. This precaution helps confirm that the mixture won’t damage the surface you’re working on. By following these guidelines, you’ll find yourself with a reliable cleaning mix that simplifies the task at hand.
Using a Pressure Washer Safely and Effectively
Always wear protective gear–gloves, goggles, and sturdy footwear. I’ve seen too many people underestimate the force of water; it can cause serious injuries if you’re not careful. I once had a colleague who got a nasty bruise from a misdirected stream. Safety should always come first.
Before starting, check the machine thoroughly. Look for leaks, ensure connections are tight, and inspect the nozzle. A well-maintained unit not only performs better but also helps avoid accidents. I remember a time when I neglected this step and ended up with a malfunctioning device mid-job. Lesson learned!
Adjust the nozzle to suit the task. For stubborn stains, use a narrow spray pattern, but switch to a wider one for rinsing. I’ve found that experimenting with different angles can yield better results, especially in hard-to-reach areas. A few degrees can make a difference.
Maintain a safe distance from surfaces–typically around 30-36 inches. Getting too close can damage the material, which I learned the hard way while working on a friend’s patio. The high-pressure stream stripped some paint off unexpectedly.
| Tip | Description |
|---|---|
| Protective Gear | Always wear gloves, goggles, and sturdy shoes to prevent injuries. |
| Check Equipment | Inspect for leaks and ensure all connections are secure before starting. |
| Adjust Nozzle | Use a narrow spray for stubborn stains and a wider one for rinsing. |
| Safe Distance | Maintain 30-36 inches distance to avoid damage to surfaces. |
Don’t forget to use the appropriate cleaning solution. Some chemicals can be harmful, so read labels carefully. I once mixed a solution without checking compatibility, leading to a foamy mess that took longer to clean up than the original task!
Lastly, after finishing, clean your equipment properly. This extends its life and keeps it ready for the next use. I make it a habit to store my machine in a dry place, ensuring it stays in good condition for future projects.
Applying Vinegar to Stubborn Tile Stains
For those tough, grimy marks, undiluted acid can work wonders. Grab a spray bottle and fill it with straight vinegar. For especially resistant spots, consider applying the liquid directly onto the stains. Let it sit undisturbed for at least 15 minutes to allow the solution to penetrate and break down the deposits.
Technique for Application
- Spray generously over the stained area.
- Use a soft brush or sponge to gently agitate the surface.
- For extreme cases, use a cloth soaked in vinegar to wrap around the affected area, ensuring prolonged contact.
Rinsing and Follow-Up
After the vinegar has had time to work, rinse thoroughly with clean water. Observing the results can help determine if a second application is necessary. If the stains persist, repeat the process until the desired cleanliness is achieved. Regular upkeep will minimise future staining, making future maintenance easier.

Post-Cleaning Maintenance Tips for Pool Tiles
After refreshing your surfaces, regular upkeep ensures longevity and reduces the need for intensive scrubbing later. Consider applying a quality sealant specifically designed for your surface type. This creates a protective barrier against grime and stains.
Routine inspections are beneficial. Check for any signs of wear or damage, such as cracks or loose grout, and address them promptly to prevent further deterioration. A quick visual assessment can save you time and effort in the long run.
Introduce a weekly brushing regimen. A soft-bristled brush can help dislodge debris without scratching the surface. This small effort keeps your area looking pristine and minimises accumulation over time.
Keep an eye on water chemistry. Maintaining balanced pH and chlorine levels not only protects the integrity of your surfaces but also prevents the growth of algae and other unwanted organisms. Regular testing can help you stay ahead of potential issues.
Regularly remove debris, such as leaves and dirt, using a skimmer or net. This prevents organic matter from settling and causing stains or discoloration. If you notice any persistent discolouration, a targeted spot treatment can help before it becomes a larger problem.
Finally, consider the environment around your area. If you have nearby trees, periodic trimming can help reduce falling leaves and branches. A clean area not only enhances the aesthetic but also reduces the workload during your maintenance routine.
FAQ:
What are the benefits of using vinegar to clean pool tiles?
Vinegar is a natural and eco-friendly cleaning agent that effectively removes stains, mineral deposits, and algae from pool tiles. Its acidic properties help to break down grime without harming the surface of the tiles. Additionally, using vinegar avoids the harsh chemicals found in many commercial cleaners, making it a safer option for both the environment and pool users.
How do I prepare my pressure washer for cleaning pool tiles?
To prepare your pressure washer, first ensure that it is in good working order. Check the water supply, and make sure the hose is free of kinks. Fill the detergent tank with a suitable cleaning solution or vinegar mixed with water. Set the pressure to a moderate level, as excessive pressure can damage the tiles. Finally, attach a suitable nozzle that provides a fan spray to cover a larger area without causing harm.
Can I use vinegar and a pressure washer on all types of pool tiles?
While vinegar is generally safe for most types of pool tiles, it is advisable to exercise caution with delicate materials like glass or certain types of stone. Always test a small, inconspicuous area first to ensure there is no adverse reaction. For tiles that are particularly sensitive, consider using a gentler cleaning method or consulting the tile manufacturer for recommendations.
What is the step-by-step process for cleaning pool tiles with vinegar and a pressure washer?
To clean pool tiles with vinegar and a pressure washer, follow these steps: 1. Drain the pool or lower the water level to expose the tiles. 2. Mix equal parts vinegar and water in a spray bottle for easier application. 3. Apply the vinegar solution to the tiles, allowing it to sit for about 10-15 minutes to break down any build-up. 4. Set up your pressure washer with the appropriate nozzle and detergent. 5. Begin washing the tiles, keeping the nozzle at a safe distance to avoid damage. 6. Rinse the tiles thoroughly with clean water after pressure washing to remove any remaining vinegar and debris. 7. Finally, refill the pool and enjoy your clean tiles!
.jpg)


