
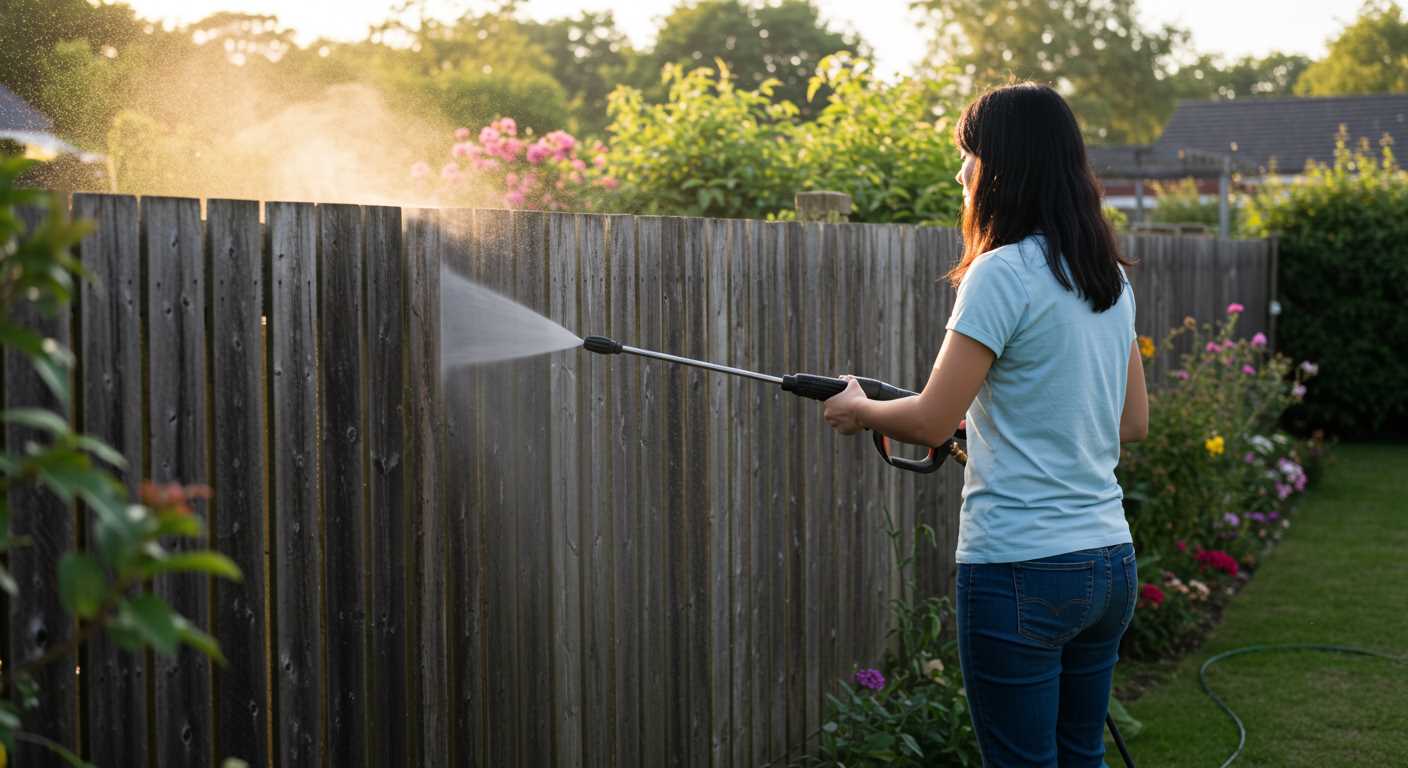


To maintain optimal performance of your high-pressure cleaning equipment, focus on the maintenance of the connecting tube. A simple yet effective method involves using a mixture of warm water and a mild detergent. This solution helps break down any stubborn residue or build-up that may affect functionality.
Begin by disconnecting the tube from the machine and laying it flat on a clean surface. Using a soft brush or cloth, apply the detergent mixture along the length of the tube. This gentle scrubbing action removes dirt and grime without causing damage. Rinse thoroughly with clean water to ensure all detergent is washed away.

Inspect the connectors and fittings for any signs of wear or damage. If you notice any cracks or leaks, consider replacing those parts to prevent further issues. Regular checks will save you time and money in the long run. Storing the tube in a cool, dry place will also help prolong its lifespan, protecting it from harsh weather conditions.
By incorporating these maintenance practices, you can ensure that your high-pressure cleaning apparatus operates smoothly and effectively whenever you need it. A little attention goes a long way in preserving the functionality of your equipment.
Prepare the Workspace for Cleaning
Clear the area around your equipment. Remove any obstacles like furniture, tools, or debris. This prevents accidents and allows for easy access. I’ve often found that a tidy space makes the task less daunting, and it’s easier to spot any issues with the equipment itself.
Gather Necessary Supplies
Collect all items you’ll need before starting. This includes a bucket, mild detergent, a soft brush, and possibly a garden hose for rinsing. I once started without the right supplies and ended up making multiple trips back and forth. It’s a time-saver to have everything at hand.
Check Surroundings for Safety
Inspect the work area for hazards. Look for wet surfaces, electrical outlets, or anything that could cause slips or shocks. I learned the hard way that a simple oversight can lead to not just delays but also safety risks. Always plan for a safe environment.
Inspect the Hose for Damage Before Cleaning
Examine every inch of the tubing for cracks, cuts, or abrasions. Pay special attention to the fittings where the line connects to the machine and the nozzle. I once overlooked a small tear on a unit I was using, thinking it was just surface wear. That tear led to a significant leak during use, causing a mess and wasting time. A thorough check can save you from such issues.
Look for any bulges or kinks that might indicate internal damage. Bulges can indicate wear from high pressure or improper storage. If you notice any abnormalities, consider replacing the section immediately. It’s not worth the risk of using compromised equipment, especially if you depend on it for regular tasks.
Don’t forget to inspect the connectors. Corrosion or rust can hinder performance and create leaks. I’ve seen connectors that looked fine on the outside but were corroded inside, leading to frustrating interruptions. If you find any signs of corrosion, it’s best to replace these parts to maintain optimal operation.
Lastly, check for any signs of wear on the protective outer layer. A worn outer layer can expose the inner components to elements that may cause premature failure. If you catch these issues early, you can ensure your equipment operates smoothly for longer.
Choose the Right Cleaning Solution for the Hose
Selecting the appropriate cleaning solution is vital for maintaining the integrity of your equipment. I’ve experimented with various products, and here are my recommendations based on years of hands-on experience.
Types of Solutions
- Detergents: Look for biodegradable options designed for outdoor use. They effectively break down grime without harming the environment or the materials.
- Degreasers: For stubborn oil or grease, a degreaser is your best bet. Ensure it’s safe for rubber and plastic components to prevent damage.
- Homemade Solutions: A mix of vinegar and baking soda can work wonders for light cleaning tasks. It’s non-toxic and safe for all parts.
Concentration and Application
Always follow the manufacturer’s instructions regarding dilution ratios. A more concentrated solution might seem effective, but it can lead to residue build-up if not rinsed properly. I’ve learned that a gentle approach often yields better results.
Apply the solution using a spray bottle or cloth to prevent oversaturation, which can be counterproductive. I’ve found that letting the solution sit for a few minutes before rinsing helps to loosen debris significantly.
In my experience, avoiding harsh chemicals that could damage seals or fittings is crucial. Always test a new solution on a small area first. This precaution can save you from costly repairs down the line.
Choosing the right cleaning agent is an integral step in prolonging the life of your equipment. Armed with the right information, you can ensure your tools remain in top condition for years to come.
Methods for rinsing and soaking the hose

For a thorough rinse, attach the flexible tubing to a garden tap. Ensure the nozzle is set to a gentle spray to prevent damage. Run water through for several minutes, allowing it to flush out any debris. Focus on the ends where contaminants often accumulate.
Soaking is another effective technique. Fill a bucket with warm water and a suitable cleaning solution. Submerge the coiled tubing completely, allowing it to soak for at least 30 minutes. This process helps to break down stubborn grime. After soaking, use a soft brush to gently scrub any remaining dirt on the surface.
When rinsing or soaking, pay attention to the fittings. They can trap dirt and require extra care. A small brush or cloth can be used to clean these areas effectively.
For those involved in the cleaning industry, investing in a high-quality pressure washer for pressure washing business can make maintaining your equipment simpler and more efficient.
After these processes, give the tubing a final rinse with clean water to remove any leftover cleaning solution. Hang the tubing in a shaded area to dry completely before storing it. This prevents mould and mildew growth, ensuring your equipment remains in excellent condition.
Removing stubborn stains and debris from the hose
For those persistent marks and build-up on your cleaning line, start with a solution that combines both physical and chemical methods. I’ve found that a mixture of warm water and vinegar works wonders. Mix equal parts in a bucket, then soak a cloth in this solution and wrap it around the stained areas. Let it sit for about 15-20 minutes to break down the grime.
Using a brush for tough spots
After soaking, use a soft-bristled brush to tackle any remaining stains. Gently scrub the affected areas, applying more solution if necessary. Avoid stiff brushes, as they can damage the rubber material. For particularly stubborn spots, a little baking soda can be sprinkled on the cloth for added abrasiveness without scratching the surface.
Final rinse and inspection
Once you’ve removed the stains, rinse the entire length of the line thoroughly with clean water to eliminate any residual cleaning agents. After rinsing, inspect the line for any signs of wear or damage that may have been hidden by the grime. This ensures that you maintain a safe and effective tool for your next task.
| Cleaning Method | Materials Needed | Time Required |
|---|---|---|
| Soaking with vinegar solution | Vinegar, water, cloth | 20 minutes |
| Scrubbing with a brush | Soft-bristled brush, baking soda (optional) | 10 minutes |
| Rinsing | Clean water | 5 minutes |
For those curious about other topics, you might find yourself interested in whether can dogs mate through a fence.
Drying and storing the hose properly after cleaning
After rinsing and scrubbing the tubing, it’s crucial to dry it thoroughly. I recommend hanging it on a sturdy hook or laying it flat in a well-ventilated area. Avoid direct sunlight, as prolonged exposure can weaken the material. If you’re in a hurry, a towel can help absorb excess moisture, but make sure to keep it loose to allow air circulation.
Best practices for storage
Once dry, coiling the tubing neatly is key to preventing kinks or bends. I’ve seen many people just toss them into a corner, leading to damage over time. A storage reel can be beneficial, but if you’re storing it without one, wrap it in large loops rather than tight coils. This method minimises stress on the material.
Choosing the right location
Store the tubing in a cool, dry place, away from harsh chemicals or extreme temperatures. I’ve made the mistake of leaving mine in a shed where it was exposed to freezing temperatures, resulting in cracks. Keeping it indoors or in a temperature-controlled space extends its lifespan significantly.
FAQ:
How often should I clean my pressure washer hose?
The frequency of cleaning your pressure washer hose depends on how often you use it. If you use your pressure washer regularly, it’s a good idea to clean the hose after every use to prevent buildup of dirt and grime. For occasional use, cleaning it every few months should suffice. Regular maintenance helps prolong the life of the hose and ensures optimal performance.
What materials do I need to clean my pressure washer hose?
To clean your pressure washer hose, you will need a few basic materials: a bucket, warm water, mild detergent or vinegar, a soft brush or cloth, and a hose nozzle for rinsing. If there are stubborn stains, you might also want to have a small amount of baking soda on hand. These items will help you effectively remove dirt and debris without damaging the hose.
Can I use a pressure washer to clean its own hose?
It is generally not recommended to use a pressure washer to clean its own hose, as the high-pressure water could cause damage to the hose or force dirt further into it. Instead, it’s best to use a bucket with warm, soapy water and a soft brush to gently scrub the hose. Rinsing it with a garden hose at a lower pressure is safer for cleaning without causing harm.
What should I do if my pressure washer hose has a leak?
If you discover a leak in your pressure washer hose, first turn off the machine and disconnect it from the water supply. Inspect the hose for any visible damage or punctures. If the leak is minor, you might be able to repair it using a hose repair kit, which typically includes patches and adhesive. For more significant damage, it’s advisable to replace the hose entirely to ensure safety and proper functionality.
Is it safe to use bleach to clean my pressure washer hose?
Using bleach to clean your pressure washer hose is not recommended, as it can degrade the material of the hose over time and may cause it to become brittle. Instead, opt for a mild detergent or vinegar mixed with water for cleaning. These alternatives are safer for the hose material and will effectively remove dirt without causing damage.
.jpg)

.jpg)


