
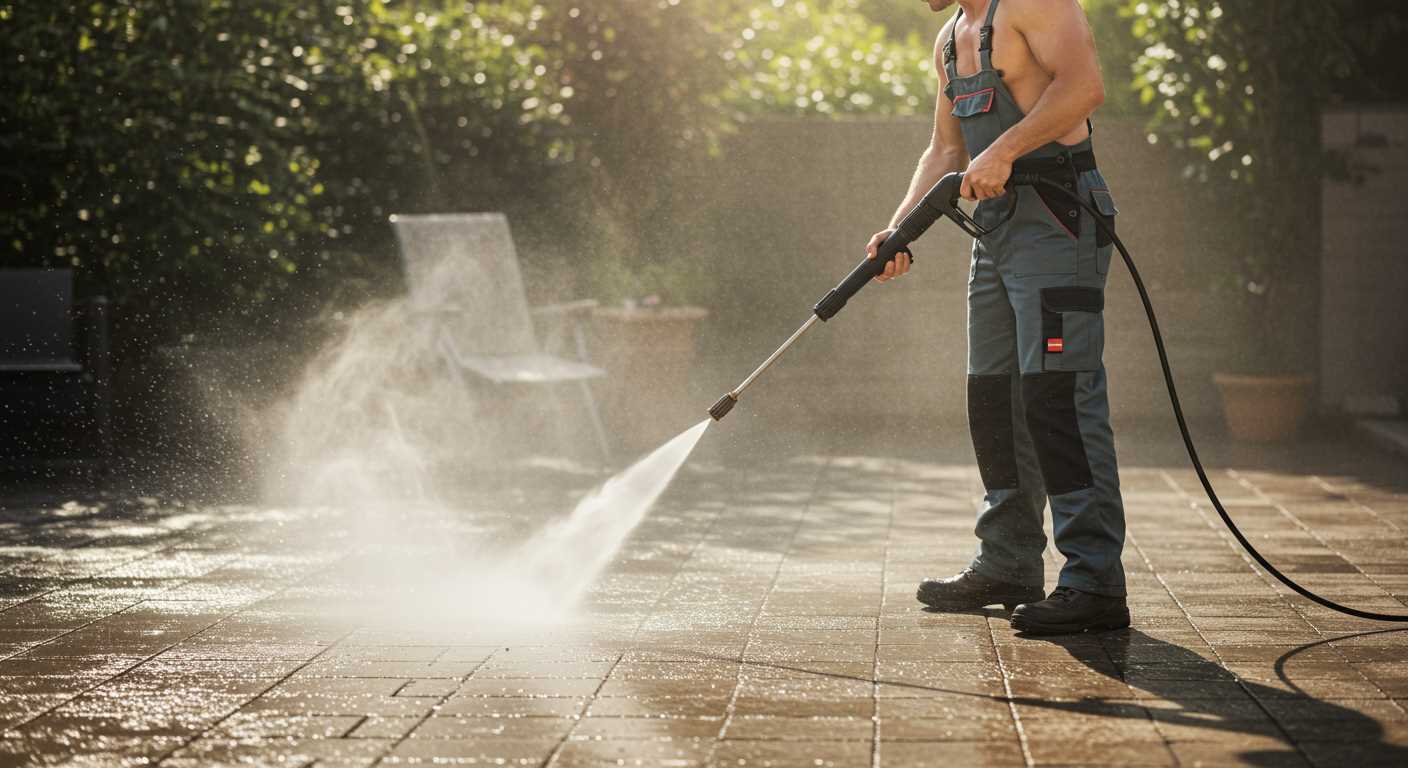


For the best results, set your machine to a pressure of around 2000 to 3000 PSI. This power level strikes a balance between effectiveness and safety, ensuring that you remove grime without damaging materials. Use a wide-angle nozzle, typically around 25 degrees, to achieve even coverage while minimising the risk of chipping or cracking.
Before you begin, ensure the area is clear. Remove any debris, such as leaves or branches, which can obstruct your progress. I’ve encountered situations where a simple oversight led to complications, such as blocked gutters or unexpected water pooling. A little preparation goes a long way.
Always start from the top and work your way down. This method prevents dirty water from running over already cleaned surfaces. I learned this the hard way during my early days, when I made the mistake of starting from the bottom. It resulted in a frustrating cycle of re-cleaning areas I’d thought were finished. Trust me, working downwards saves time and effort.

Applying a suitable cleaning solution can enhance the effectiveness of your efforts. Look for products specifically designed for your surface type. I’ve seen remarkable transformations using certain biodegradable solutions that not only lift stubborn stains but also protect against future build-up. Just ensure to rinse thoroughly after application to avoid any residue.
Remember to wear appropriate safety gear, including gloves and goggles. High-pressure water can be hazardous, and I’ve witnessed accidents that could have been easily avoided with the right precautions. Your safety should always come first.
Effective Techniques for Cleaning Outdoor Surfaces
Begin by selecting a nozzle that provides a wide spray pattern to avoid damaging the surface. I typically use a 25-degree nozzle for general cleaning, which strikes a balance between power and safety. Position the device at a distance of about 18 inches from the surface. This distance helps prevent any potential chipping or unwanted wear. It’s crucial to approach the task methodically, starting from the top and working downwards to ensure that debris flows off rather than being pushed upwards.
Preparation Steps
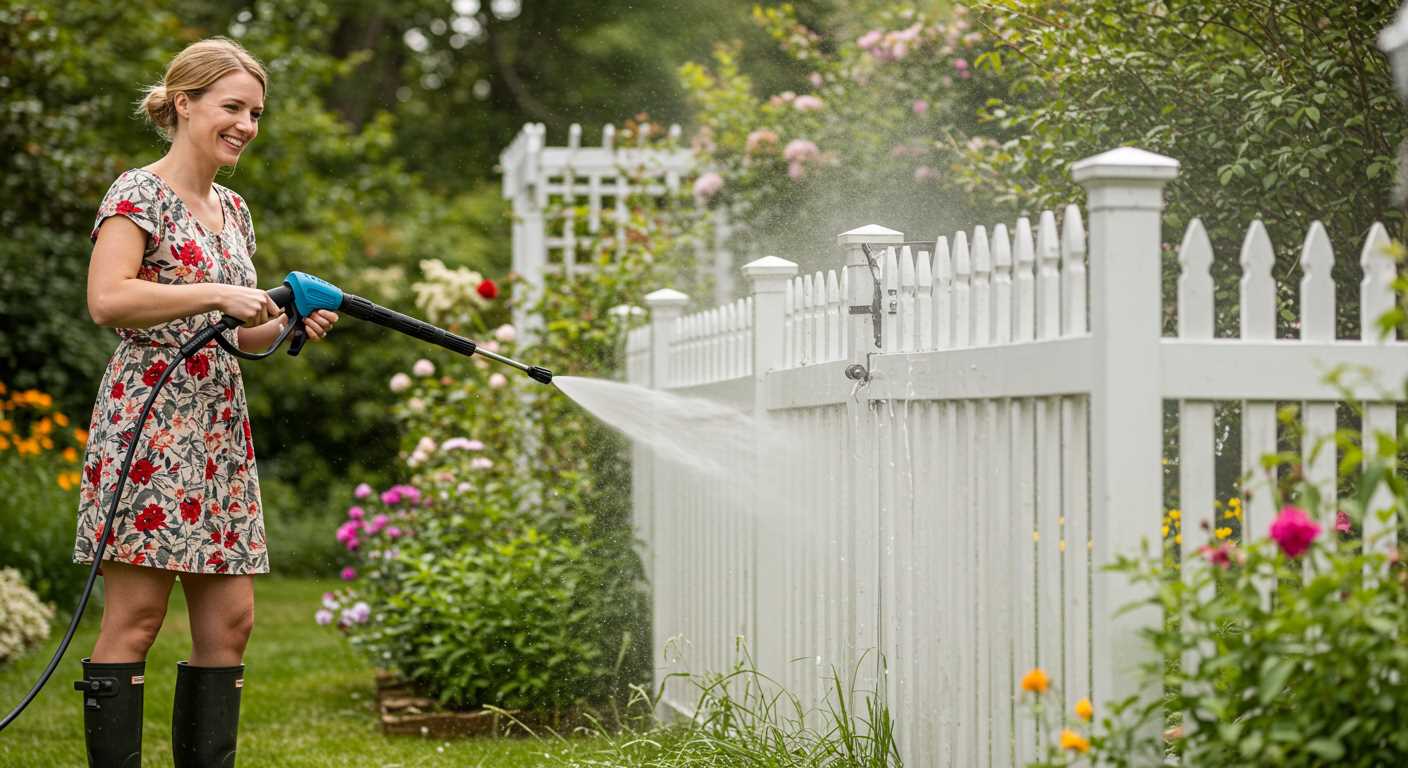
Before engaging in the process, ensure that any nearby vegetation is protected. Cover plants with tarps or plastic sheeting to shield them from the detergent or debris. I’ve learned the hard way that even gentle chemicals can harm delicate flora. Always check the weather; a sunny day helps surfaces dry quickly, while rain can undo your hard work.
Post-Cleaning Care
After completing the task, inspect the area for any missed spots. Sometimes, algae or moss can cling stubbornly, so a second pass might be necessary. If you notice persistent stains, a targeted cleaner may be necessary. I often mix a solution of water and a mild detergent to tackle those stubborn areas. Rinse thoroughly afterward to wash away any residual chemicals.
Finally, regular maintenance prevents heavy build-up in the future. I recommend a seasonal check-up to keep everything in good condition; this saves time and effort down the line.
Choosing the Right Pressure Washer for Roof Cleaning
Opt for a model with a minimum pressure rating of 2500 PSI. This level ensures sufficient force to dislodge debris and algae without damaging the surface. I remember using a lower-rated unit once; it took ages, and I ended up frustrated. After switching to a more powerful machine, the job was a breeze.
Consider the flow rate as well, measured in litres per minute (LPM). A flow rate of 10 LPM or higher helps rinse away dirt effectively. In my experience, higher flow rates make a noticeable difference in time spent on tasks.
- Electric vs. Gas: Electric models are quieter and easier to handle but may lack the power of gas units. I often choose gas for larger jobs. They’re robust and cut through grime faster.
- Nozzle Selection: Different nozzles create various spray patterns. A 25-degree nozzle is usually a good choice for most surfaces. I learned this after trying a narrower nozzle that caused some minor chipping.
- Weight and Portability: If you’re working on a tall structure, consider a lightweight model. A heavy unit can become cumbersome when climbing ladders.
Look for features like adjustable pressure settings. It allows you to tailor the intensity based on the material and condition of the surface. I once had a machine that didn’t offer this, and it limited my options.
Lastly, ensure the unit has a good warranty. Reliability matters, especially when working on tougher projects. I had a previous model fail mid-job, and it was a hassle getting support.
Invest time in researching brands and reading reviews. Personal recommendations often lead to solid choices. I’ve found that some lesser-known brands outperform big names, so don’t overlook them.
Preparing Your Roof for Cleaning
Before tackling the task, ensure your surroundings are clear of obstacles. Move any patio furniture, potted plants, or other items that could get damaged. I once had a friend who forgot to clear his garden, and a stray piece of debris ended up smashing a flowerpot. It’s not just about your safety; protecting your belongings is equally important.
Inspect the structure for loose or damaged shingles. If you spot any, consider replacing them beforehand to prevent further issues during the washing process. I recall a situation where a loose tile came off mid-operation, leading to an unexpected repair job. Better to fix these beforehand than to deal with complications later.
Check the weather forecast. Avoid working on a rainy day or when strong winds are expected. I made this mistake once, and it turned into a slippery challenge that I wouldn’t wish on anyone. A dry day ensures not only your safety but also aids in the effectiveness of the cleaning procedure.
Gather all necessary equipment and materials. Apart from your high-pressure cleaning machine, you’ll need a suitable nozzle, extension wand, and possibly a cleaning solution designed for your specific surface. Having everything at hand will save you from unnecessary trips back and forth.
Finally, consider the safety measures. Wear protective goggles, gloves, and non-slip footwear. I learned this the hard way when I slipped on wet surfaces without proper gear. Safety first; it makes all the difference.
Safety Gear and Precautions Before Starting
Before embarking on this task, equip yourself appropriately. A sturdy pair of safety goggles is non-negotiable; debris can fly off surfaces at high speeds. I once had a small piece of material strike my glasses, and it left a mark. That experience taught me the importance of protective eyewear.
Next, wear a quality mask to shield against inhaling dust and mould particles. Respiratory issues can arise from prolonged exposure, and I learned this the hard way after a session without proper protection left me coughing for days.
Sturdy footwear is another must-have. Slip-resistant boots or shoes will prevent accidents on wet surfaces. I recall a time when I wore regular trainers and nearly lost my footing while navigating a slope. It’s just not worth the risk.
Donning gloves can protect your hands from harsh chemicals, should you choose to use any detergents. I prefer a thick, durable pair that can withstand wear and tear. A slip can lead to injuries or contact with unwanted substances.
When setting up, ensure your work area is clear of obstacles. I often take a moment to survey the surroundings. A stray garden tool or hose can lead to a nasty fall. Consider setting up a safety zone, where only you and your equipment are allowed.
Finally, before starting the machine, check all connections and hoses for wear. A malfunctioning device can pose serious hazards. I once faced a minor mishap due to a frayed hose that split unexpectedly. Don’t skip this step; it’s as simple as a quick inspection.
For those interested in enhancing their cleaning performance, consider using a pressure washer dirt blaster. It can make a significant difference in your results.
Mixing Cleaning Solutions for Pressure Washing
For optimal results, creating the right mixture for your cleaning solution is critical. I often recommend starting with a base of water and an appropriate cleaning agent. For most external surfaces, a ratio of one part cleaner to five parts water works well. If you’re tackling stubborn stains, you might want to increase the concentration to one part cleaner to three parts water. Always test a small area first to ensure compatibility.
Types of Cleaners
There are several types of cleaners to consider. A sodium hypochlorite solution is excellent for mould and mildew, while oxalic acid can help brighten surfaces and tackle rust stains. For organic growth, a biodegradable cleaner can be both effective and environmentally friendly. When mixing, ensure you wear protective gear to avoid skin and eye irritation.
Storage and Application
It’s wise to prepare only what you need for the job at hand. Store any leftover solution in a clearly labelled container, away from children and pets. When applying, use a low-pressure nozzle to distribute the mixture evenly across the area. Allow it to dwell for a few minutes before rinsing with a higher pressure to remove grime. This two-step approach often yields the best results.
Setting Up the Pressure Washer for Roof Tiles
Begin by ensuring the right nozzle is attached. For delicate surfaces, a wider nozzle, such as a 25-degree or 40-degree tip, prevents damage while providing adequate coverage. I often use a 25-degree nozzle on concrete and ceramic surfaces, as it strikes a good balance between power and safety.
Next, adjust the pressure settings. I recommend starting at a lower pressure, around 1200 to 1500 PSI. If the grime proves stubborn, gradually increase the pressure. I recall a project where I began at 1500 PSI and had to dial it up to 2000 PSI to tackle some tough stains, but I avoided any chipping.
Water Supply and Hose Management
Ensure a consistent water supply. Connect the washer to a reliable source, as interruptions can lead to inconsistent cleaning results. I’ve experienced instances where a low water flow caused the machine to overheat, so it’s prudent to check hose connections for leaks before starting.
Lay out the hose to prevent kinks and tangles. An obstructed hose can reduce efficiency and create operational issues. I often keep my hose elevated or draped over a ladder, which prevents water from pooling and maintains a steady flow.

Final Checks Before Operation
Inspect the machine for any wear or damage, particularly the trigger gun and hoses. A small crack can lead to leaks, which I’ve encountered before, resulting in an abrupt halt to a job. Also, check the detergent tank–if you’re using a cleaning solution, ensure it’s filled and mixed correctly.
Lastly, test the equipment briefly on a small, inconspicuous section before diving into the main cleaning task. This quick check helps ensure everything is functioning as intended and allows for any necessary adjustments. My initial test on a corner saved me from potential overspray on nearby plants during one of my earlier projects.
Techniques for Cleaning Different Types of Roof Tiles
For concrete surfaces, a wide nozzle is most effective. Set the pressure to a lower setting to avoid damaging the material. I recommend starting at the eaves and moving upward to prevent water from seeping underneath the tiles. This technique helps to remove moss and dirt without causing cracks.

Clay Roofs
Clay materials require a gentle touch. Use a fan nozzle and keep the pressure around 1500 PSI. It’s essential to maintain a distance of at least 2 feet to avoid chipping. I once used a biodegradable solution mixed with water on a particularly stubborn roof, and it worked wonders without any damage.
Slate Surfaces

Slate demands the utmost care. A low-pressure setting, around 1000-1200 PSI, is advisable. I’ve found that using a rotary nozzle helps to cover more area without causing harm. Always test a small section first to ensure the surface can withstand the force. Additionally, keeping the nozzle at a 45-degree angle reduces the risk of loosening tiles.
| Type of Tile | Recommended Nozzle | Pressure Setting (PSI) | Distance from Surface |
|---|---|---|---|
| Concrete | Wide | 1500-2000 | 12-18 inches |
| Clay | Fan | 1500 | 2 feet |
| Slate | Rotary | 1000-1200 | 2 feet |
Each material has its own quirks, and understanding them can save you time and potential repairs. I’ve learned that patience and precision are key; rushing can lead to costly mistakes. Always remember to keep safety at the forefront, especially when working at heights.
Avoiding Damage While Using a High-Pressure Cleaner
To prevent harm while using a high-pressure cleaner, maintain a distance of at least 3 to 4 feet from the surface you are targeting. This distance helps reduce the impact of the water jet, which can strip away protective coatings or damage delicate materials. When working on sloped areas, always direct the nozzle downwards to prevent water from seeping under shingles or into gaps.
Adjusting Pressure Settings
Before you begin, always adjust the pressure settings according to the material you’re treating. For instance, if you’re tackling softer surfaces, dial down the pressure to avoid gouging or chipping. I once encountered a situation where a friend used excessive pressure on a clay surface, resulting in irreparable damage. It’s a hard lesson learned!
Using the Right Nozzle
Choosing the appropriate nozzle is critical. A wider spray pattern disperses the force over a larger area, reducing the risk of damage. I’ve found that a 25-degree nozzle works well for most situations, providing a balance between cleaning power and gentleness. If there’s a stubborn stain, use a concentrated nozzle only on that spot and be quick to move it away to avoid concentrated force on one area.

Finally, consider using a solution like the best algae scrubber for aquarium to help lift stubborn grime before rinsing it away with your cleaner. This combination can save you time and reduce the need for high pressure, further protecting your surfaces.
Cleaning Hard-to-Reach Areas on the Roof
Utilising an extension wand significantly enhances access to elevated sections. I recall a project where eaves and valleys posed a challenge. The extension allowed me to maintain distance while effectively removing debris and grime. Ensure the wand is compatible with your equipment to avoid mishaps.
Utilising Ladders Safely
For spots that an extension wand can’t reach, a sturdy ladder is indispensable. Position it on level ground and maintain a firm grip while navigating. I once had the misfortune of unsteady footing, which resulted in a minor slip. Always have someone to stabilise the base when working on inclines or uneven surfaces.
Employing a Safety Harness
In precarious situations, a safety harness provides peace of mind. I invested in a quality harness after a close call on a steep pitch. Attach it to a secure anchor point to prevent falls while tackling those tricky spots. This extra layer of safety allows for greater focus on the task at hand, ensuring thoroughness without compromising security.
Post-Cleaning Maintenance Tips for Roof Tiles
After completing your cleaning session, it’s crucial to maintain the integrity of your surfaces. Here are some strategies to ensure longevity and prevent future issues:
- Inspect for Damage: After you’ve finished, take a careful look at each section. Check for cracks, loose pieces, or any signs of wear that might have been hidden under dirt.
- Apply a Protective Coating: Consider using a sealant designed for your specific type of material. This can help repel dirt and moisture, extending the life of your surfaces.
- Regular Inspections: Schedule biannual checks. Early detection of problems can save significant repair costs later.
- Clear Debris: Regularly remove leaves, branches, and other debris. This prevents water buildup and reduces the risk of moss or algae growth.
- Monitor Vegetation: Keep an eye on any nearby trees. Overhanging branches should be trimmed back to prevent damage from falling limbs or excessive shade that encourages mould.
- Maintain Gutters: Ensure your drainage systems are clear. Blocked gutters can lead to water pooling, which can damage your surfaces over time.
- Test for Algae and Moss: Periodically check for growths. If you spot any, use a gentle solution to treat them before they become entrenched.
- Stay Informed: Keep up with the latest products and techniques in maintenance. Innovations can provide new solutions for protecting your surfaces.
In my experience, a little bit of ongoing care goes a long way. I once neglected a small issue, thinking it would resolve itself, and ended up facing much larger repairs down the line. Establishing a routine can save you time and effort in the long run.

.jpg)


