
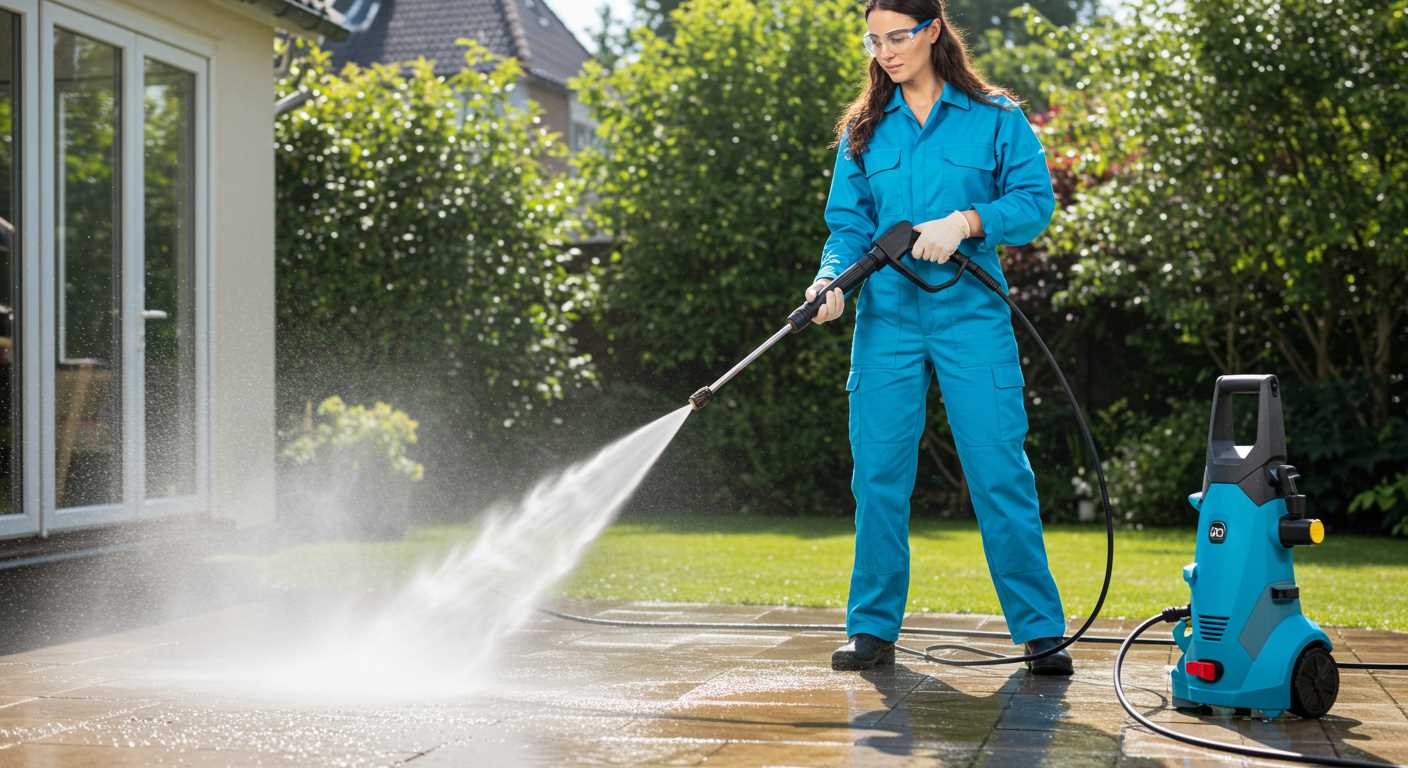


For a remarkable transformation, tackle your home’s exterior surfaces using high-powered cleaning equipment. Begin by ensuring you have the right attachments and settings for different materials; this prevents damage while maximising the cleaning potential. I recommend a fan spray setting for delicate exteriors and a more concentrated jet for tougher grime.
One day, while assisting a friend, we faced years of accumulated dirt on their home. Adjusting the pressure, I aimed for a gradual approach. Starting from the top and working downward not only optimised our efforts but also prevented streaking. This simple technique made the task efficient and satisfying.
Don’t overlook the need for a surface cleaner attachment. This tool revolutionised our cleaning process, allowing us to cover larger areas quickly. I recall how much time we saved on that sunny Saturday, moving from one section to another with ease. Always keep a safe distance from surfaces to avoid any unwanted damage.

For drainage systems, a nozzle specifically designed for clearing blockages can work wonders. A few years back, I tackled a particularly stubborn set of channels. The right angle attachment allowed me to blast away leaves and debris with minimal effort. Keeping these areas clear not only enhances appearance but also prevents water damage in the long run.
Finish up with a thorough rinse, ensuring all cleaning solutions are removed. This final step protects surfaces and maintains their integrity. Reflecting on my experiences, I can attest that a well-maintained exterior not only looks fantastic but also increases property value. Enjoy the process and the results will speak for themselves.
Techniques for Effective Exterior Surface Maintenance
Begin with the right nozzle. A fan spray nozzle between 25° and 40° is ideal for most surfaces. It disperses water over a larger area, reducing the risk of damage while providing sufficient force to remove dirt.
Preparation Steps
- Clear the area of furniture and decorations.
- Check for loose panels or damaged sections that may be affected by water pressure.
- Cover nearby plants with tarps to protect them from cleaning solutions.
Application Techniques
- Using the selected nozzle, maintain a distance of 2 to 3 feet from the surface.
- Start from the bottom and work your way up to avoid streaking.
- Use a side-to-side motion, ensuring even coverage.
- For stubborn stains, consider using a detergent suitable for your specific material.
Mix the detergent according to the manufacturer’s instructions, applying it with a low-pressure setting. Allow it to sit for several minutes, but don’t let it dry out completely. Rinse thoroughly after.
Regular upkeep not only enhances appearance but can extend the lifespan of surfaces. My experience shows that a well-maintained exterior can significantly improve property value over time.
Choosing the Right Pressure Washer for Your Home
For optimal results, select a machine with at least 2000 PSI for residential tasks. This power level effectively tackles tough stains and grime. I learned early on that not all models are made equal; some are designed for light jobs, while others excel in heavy-duty scenarios. When I first tested a 3000 PSI unit, it transformed my approach to outdoor cleaning, making previously stubborn stains disappear effortlessly.
Types of Pressure Washers
Electric models are quieter and generally lighter, perfect for smaller spaces. I once used an electric unit to wash my patio furniture; it was surprisingly effective and didn’t require much effort. On the other hand, gas-powered versions offer higher pressure and mobility, suitable for extensive areas. I recall using a gas-powered machine for a driveway restoration project, and it cut my work time in half.
Accessories and Attachments
Choosing appropriate attachments can enhance your experience. Nozzle tips vary in spray patterns; I recommend a 25-degree tip for most jobs. Additionally, using a car wash and wax for pressure washer can give surfaces a polished finish. I’ve often combined a detergent injector with the right nozzle for a thorough clean, achieving results that impressed even my neighbours.
Preparing the Area: Safety Tips and Precautions
Before diving into any outdoor cleaning task, ensure the vicinity is secure. Remove any furniture, decorations, or items that could become projectiles when hit with powerful water jets. I once had a garden statue that took a hit during an enthusiastic session–let’s just say it didn’t survive the pressure.
Cover nearby plants and delicate landscaping with tarps or plastic sheeting. The force of the spray can dislodge soil and damage foliage. I learned this the hard way when I accidentally stripped the leaves off a prized rose bush, leaving it looking rather bare for the season.
Inspect the surface you’re targeting. Look for loose boards or cracks that could worsen under high pressure. On one occasion, I aimed at a section of an old wooden façade, only to see it splinter away. A thorough check can save you from costly repairs later.
Ensure you wear appropriate protective gear. Safety goggles are a must to shield your eyes from debris, while closed-toe shoes will protect your feet from falling objects or slippery surfaces. I’ve had a few close calls with slipping, and a sturdy pair of shoes made all the difference.
If you’re using ladders, make sure they’re stable and positioned on firm ground. A friend of mine once had a tumble because the ladder shifted on uneven terrain. It’s always wise to have someone spot you if you’re working at height.
Be cautious of the weather. Avoid working in windy conditions, as debris can be blown into your face. I recall a particularly breezy day that turned a straightforward task into a messy ordeal, with dirt flying everywhere. Wait for a calm day to maintain control over the situation.
Lastly, keep children and pets well away from the work area. I can’t stress this enough; even the most careful person can have an accident. Establish a safe zone and clearly communicate it to everyone around. Your peace of mind is worth it.
Selecting the Appropriate Cleaning Solution
For optimal results during your outdoor cleaning endeavours, choosing the right solution is key. Consider a biodegradable option, as it’s friendly to both your plants and the environment. In my experience, a simple mixture of water and vinegar works wonders for light stains and dirt. For more stubborn grime, a commercial cleaner specifically designed for exterior surfaces can be effective. Be sure to read the label; a solution that’s too harsh can damage your surfaces.
When tackling mildew or mould, look for a product containing sodium hypochlorite or a non-chlorine alternative. I recall a project where I underestimated the power of these cleaners. After applying a diluted mixture, the results were impressive, transforming a dull exterior into a bright, fresh appearance.
Mix your cleaning solution in a separate container before applying it to ensure even distribution. A good rule of thumb is to follow the manufacturer’s guidelines regarding dilution ratios. Too concentrated, and you risk surface damage; too diluted, and you may not achieve the desired effect. I’ve learned the hard way that preparation is half the battle.
Always test your chosen solution on a small, inconspicuous area first. This practice saved me on numerous occasions, as it helped avoid potential mishaps. Maintaining a keen eye on the surface reaction can save you a lot of trouble down the line.
Lastly, don’t forget to check local regulations regarding the use of certain chemicals outdoors. Some areas have restrictions to protect local water sources. I once faced a hefty fine due to negligence in this area, a mistake I won’t repeat.
Adjusting Pressure Settings for Different Surfaces
I’ve often found that selecting the right pressure setting can make or break the outcome of a cleaning job. Each material requires a distinct approach to avoid damage while achieving that pristine finish. For instance, soft materials like wood need a gentle touch, while tougher surfaces like concrete can handle a robust blast.
Surface Guidelines
| Surface Type | Recommended Pressure (PSI) | Additional Notes |
|---|---|---|
| Wood | 1000 – 1500 | Avoid high pressure to prevent splintering. |
| Vinyl | 1500 – 2000 | Maintain distance to prevent warping. |
| Brick | 2000 – 2500 | Use a fan tip for even distribution. |
| Concrete | 2500 – 3000 | Effective for removing tough stains. |
| Glass | 1500 – 2000 | Keep nozzle at least one foot away. |
Adjusting Techniques
When tackling a variety of surfaces, I always begin with the lowest pressure setting and gradually increase it. This method allows me to gauge how each surface responds. For example, while working on a wooden deck, I started at 1200 PSI and noticed some stubborn spots. After a careful assessment, I opted for 1500 PSI, which effectively removed the grime without damaging the wood.
Conversely, I’ve had experiences where excessive pressure led to unwanted results. While cleaning a brick patio, I initially set the machine to 2500 PSI. A quick adjustment to 2000 PSI provided a perfect clean without eroding the mortar. Always pay attention to the feedback from the surface you’re treating–if you see paint chipping or material cracking, it’s time to dial it back.
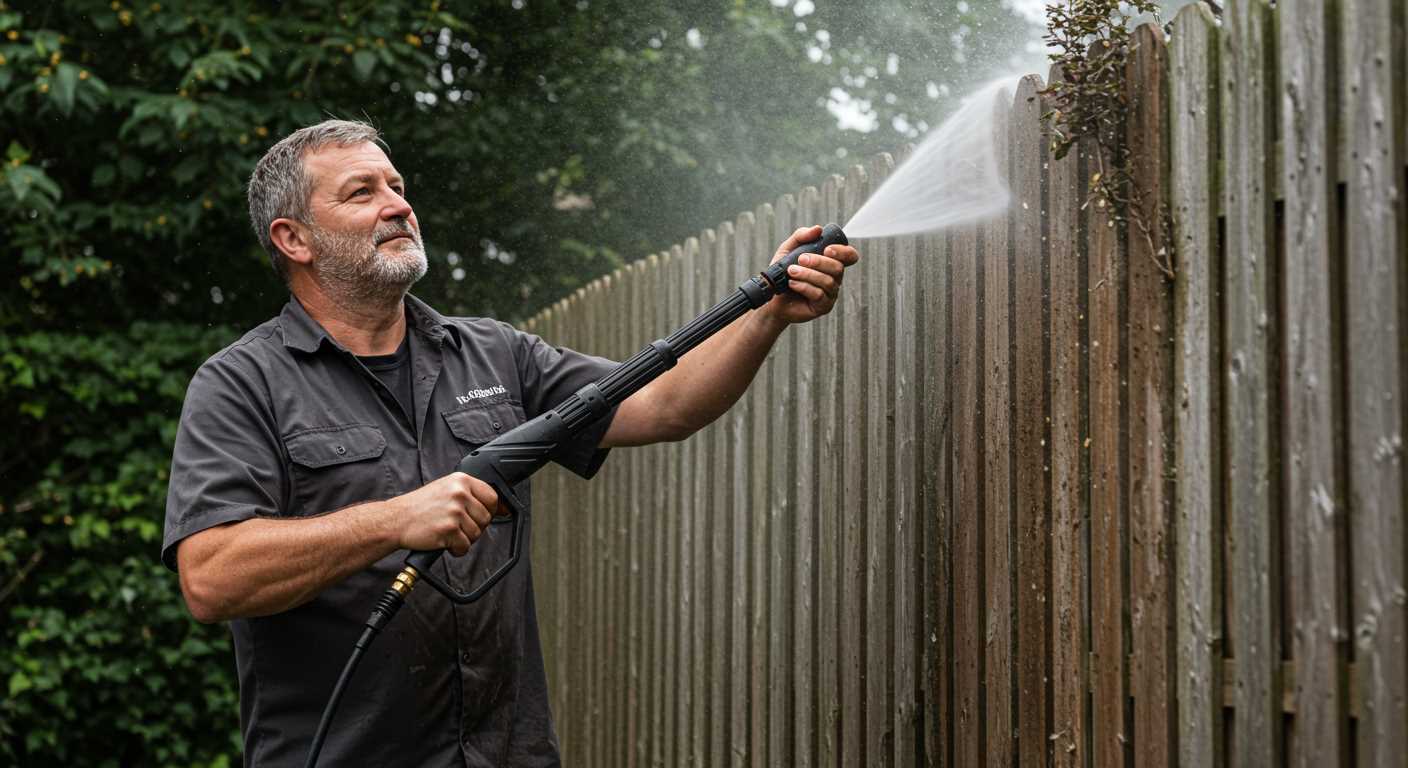
Techniques for Cleaning Siding Without Damage
Using a high-pressure device on delicate exteriors requires a careful approach. Here are specific methods to protect surfaces while achieving optimal results:
Angle of Attack
- Maintain a 45-degree angle to the surface. This prevents direct impact on the material, reducing the risk of damage.
- Work from the bottom up, allowing water to flow downwards, which minimises streaking and potential infiltration under edges.
Distance Matters
- Keep the nozzle at least 2-3 feet away from the surface. Adjust this distance based on the type of material; for example, wood requires more space than vinyl.
- Test the distance with a light spray on a small, inconspicuous area first. This helps gauge the reaction of the exterior.
Utilising a wide spray pattern can also help distribute the force more evenly, reducing the chance of causing any harm to the surface. A rotating nozzle might be beneficial for stubborn stains, but use it cautiously to avoid concentrating pressure on one spot.
Pre-Treatment of Stains
- Apply a suitable cleaning solution to problematic areas before using the device. Allow it to dwell for a few minutes, softening the grime.
- A soft-bristle brush can help agitate the solution on tough spots, ensuring a more thorough clean while protecting the surface.
Always assess the material type before proceeding. For example, wood may require a gentler approach than composite materials. Prior experience has taught me that patience and attention to detail yield the best outcomes.
Steps to Safely Clean Gutters with a Pressure Washer
Start by positioning a sturdy ladder at a comfortable angle, ensuring it’s on stable ground. For those tricky spots, consider using a ladder stabiliser. I’ve seen too many people overlook this, leading to unnecessary risks.
Next, ensure you’re wearing appropriate gear: safety goggles, gloves, and non-slip shoes are must-haves. I recall a day when I skipped the gloves and regretted it after a few sharp edges snagged my hands.
Before firing up the equipment, check the nozzle size. A wider nozzle reduces pressure, which is kinder to the surfaces. I often use a 25-degree nozzle; it strikes a good balance between power and safety.
Begin spraying at the roofline, directing the stream downwards. This approach prevents water from pooling and ensures debris flows out smoothly. I remember one instance where I started at the bottom, and it created a mess that took much longer to fix.
Keep a steady distance of around 3 to 4 feet from the surface. Adjusting this distance can prevent damage while still effectively removing grime. I’ve had moments where I got too close, resulting in unnecessary wear.
For stubborn blockages, a focused stream can help, but be cautious. If you notice any leaks or cracks in the troughs, consider addressing those before proceeding. I’ve had to repair sections after being too aggressive with the spray.
Conclude by rinsing the area to clear any residual cleaning solutions or loosened debris. A thorough rinse not only ensures a neat finish but also helps you spot any areas needing further attention later on.
Finally, once everything is done, inspect your equipment for any wear and tear. I’ve learned the hard way that neglecting maintenance leads to performance issues down the line.
Common Mistakes to Avoid When Using a Pressure Washer
Avoiding certain pitfalls can make a significant difference in your results. One common error is not knowing which nozzle to use. Each nozzle has a specific purpose; for instance, the zero-degree nozzle is extremely powerful and can cause damage to surfaces if misused. Opt for a wider spray pattern for softer materials to prevent gouging.
Another frequent oversight is using too high a pressure setting, especially on delicate surfaces like vinyl or painted areas. I once witnessed a friend ruin his exterior paint job by cranking up the PSI too high. Always adjust the settings based on the material you’re working on to ensure safety and effectiveness.
Not pre-treating surfaces is another mistake. I’ve learned that applying a suitable cleaning solution before you start washing can greatly enhance the outcome. It allows dirt and grime to loosen up, making your job easier and more efficient.
Neglecting to maintain a proper distance from the surface can lead to unwanted damage. Keeping the nozzle too close can chip or dent materials. A safe distance of 12 to 24 inches is often recommended, depending on the pressure level.
Here’s a table summarising these common errors and their consequences:
| Common Mistake | Consequence |
|---|---|
| Using the wrong nozzle | Potential damage to surfaces |
| High pressure settings on delicate materials | Surface damage, paint removal |
| Skipping pre-treatment of surfaces | Ineffective cleaning, increased effort |
| Too close to the surface | Chips, dents, or etching |
| Ignoring safety gear | Injury risk from debris |
Lastly, don’t overlook personal safety. Always wear protective eyewear and sturdy footwear. I’ve had my share of close calls, and it’s not worth the risk. By being mindful of these common mistakes, you can ensure a more successful and safe cleaning experience.
Maintenance Tips for Your Pressure Washer After Use

Always disconnect the power source immediately after finishing your tasks. This simple act prevents unintended activation while performing maintenance. Once powered down, make it a habit to check for any leaks in hoses or connections; small issues can escalate quickly if left unattended.
Cleaning the Equipment
After every use, flush the system with clean water. This step helps remove any detergent or debris that may have accumulated. Follow these steps:
- Attach a hose to the water inlet.
- Run the unit for several minutes, allowing clean water to circulate through.
- Disconnect the hose and let the machine drain completely.
Inspect the nozzle for clogs. A blocked nozzle can reduce performance and lead to uneven cleaning. Use a small pin to clear any debris, ensuring a smooth flow of water.
Storing Your Pressure Washer
Proper storage extends the life of your machine. Here’s how to do it right:
- Store in a dry, sheltered place to prevent rust and damage from the elements.
- Keep the unit upright to prevent any residual water from pooling.
- Wrap the power cord neatly to avoid tangles or damage.
For long-term storage, consider running a fuel stabiliser through the engine if your model is gas-powered. This helps prevent fuel degradation, ensuring easy starts next time you need it.
Lastly, make sure to review the manufacturer’s guidelines for any specific maintenance recommendations. If you find yourself in need of a new recipe for canning, check out how to can diced tomatoes with a pressure cooker. It’s a great addition to your culinary skills while you wait for your equipment to be ready for its next job!

.jpg)


