
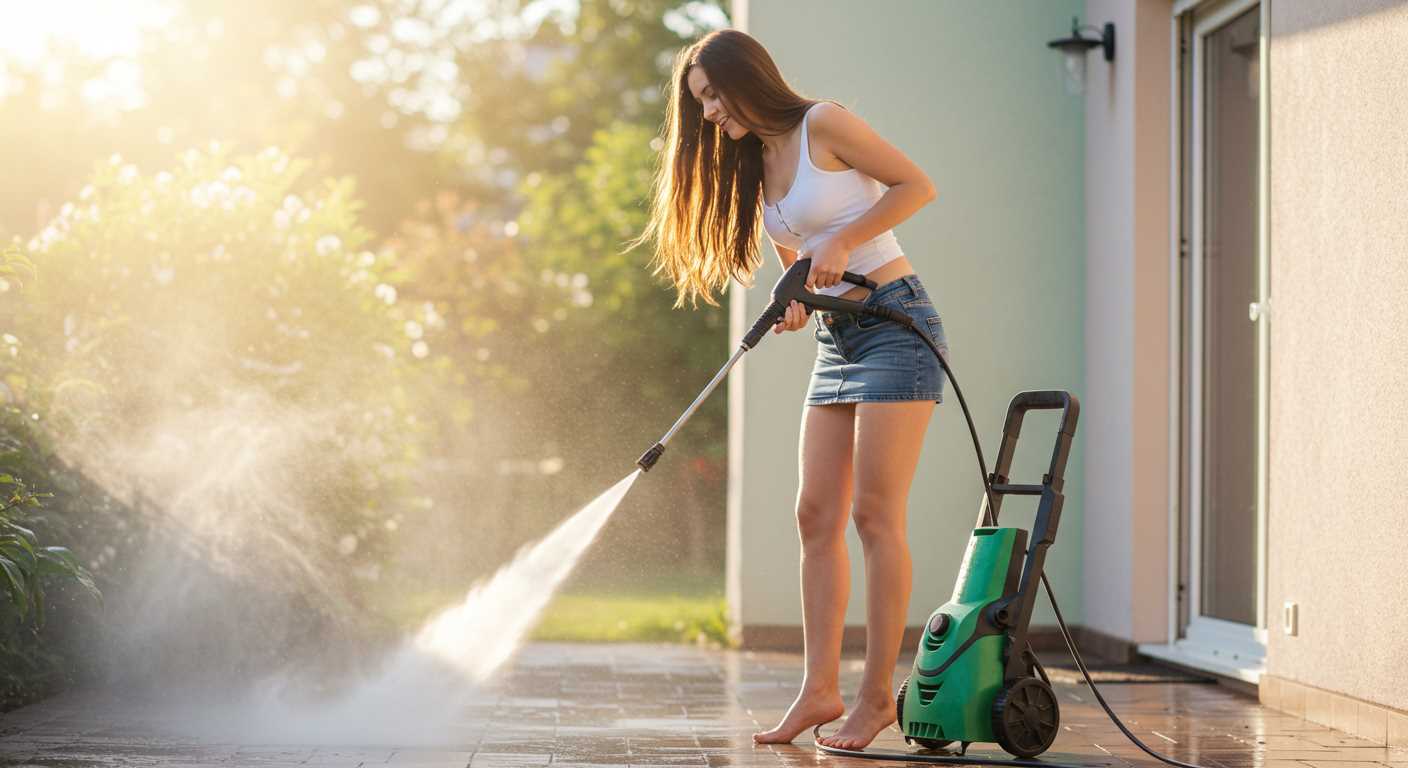


Utilising a high-powered cleaning tool can transform your home’s eaves, restoring them to a pristine condition. Begin by selecting the right nozzle; a 25-degree tip is ideal for removing dirt without damaging the surface. Ensure the equipment is set to a moderate pressure to avoid any unintentional harm.
Before you begin, it’s wise to remove any obstructions such as leaves or debris. This step prevents blockages that could lead to water damage. Once the area is clear, maintain a safe distance, ideally around 2 to 3 feet, while aiming the stream at an angle. This technique helps in dislodging grime effectively.

During my years as a consultant, I learned that working in sections yields the best results. Concentrate on one area at a time, moving from the top downwards to allow dirty water to flow away from the clean surfaces. After washing, a quick rinse with clean water can enhance the finish and remove any remaining residues.
Finally, always prioritise safety. Wear protective gear such as goggles and gloves to shield yourself from debris and water spray. Trust me, taking these precautions can make all the difference in ensuring a smooth and successful cleaning experience.
Effective Techniques for Cleaning Underside Areas
Begin by selecting a nozzle with a wide spray pattern, ideally 25 degrees, to avoid damage while ensuring thorough rinsing. Maintain a safe distance of approximately 3 feet from the surface to prevent any potential harm to the material.
Prior to operation, inspect for any loose debris or cobwebs. A quick sweep with a brush can enhance the efficiency of the washing process. If you notice stubborn stains, consider applying a mild detergent solution to the affected areas and allow it to sit for a few minutes before rinsing.
Utilise a ladder placed on stable ground to reach elevated sections safely. Always ensure that someone is nearby to assist or hold the ladder steady. As you work, keep the spray wand at a downward angle to direct dirt and grime away from the house, ensuring proper drainage.
After completing the task, inspect the areas closely. If any spots appear missed, repeat the washing process, adjusting the nozzle distance as necessary. For those interested in additional home care techniques, check out this guide on how to clean oven with steam cleaner.
Selecting the Right Pressure Washer for Soffits
Choosing a suitable cleaning device is crucial for achieving the best results. For this task, I recommend opting for a model with a pressure rating between 1500 to 2500 PSI. This range effectively removes dirt and grime without risking damage to delicate surfaces.
Features to Consider
- Adjustable Pressure Settings: Models with variable pressure settings allow for fine-tuning according to the surface type. Lower settings are ideal for softer materials, while higher settings tackle more stubborn residues.
- Lightweight Design: A portable unit makes manoeuvring around eaves and corners much easier, reducing strain during use.
- Effective Nozzle Options: A nozzle with a wide spray pattern will cover more area efficiently. A rotating or adjustable nozzle can help in reaching various angles.
Power Source
- Electric Models: Quieter and lighter, these are suitable for residential applications and ideal for less intensive tasks.
- Gas-Powered Units: More powerful, these machines excel in heavy-duty applications but require more maintenance and produce higher noise levels.
During my time testing various models, I found that electric units often suffice for routine upkeep, while gas ones shine in challenging scenarios. Always consider your specific needs, as the right machine can make all the difference in your cleaning routine.
Preparing Your Soffits for Pressure Washing
Ensure you gather all necessary tools and materials before starting. Begin by removing any loose debris, such as leaves or cobwebs, that may obstruct the cleaning process.
- Use a broom or a soft brush to sweep the area. Pay special attention to corners where dirt tends to accumulate.
- Check for any damage or wear on the surfaces. Repair any cracks or gaps to prevent water from seeping into unwanted areas.
- Cover electrical outlets and fixtures with plastic sheeting to protect them from water exposure.
- Secure any loose items around the area, such as planters or outdoor furniture, to avoid accidental damage during the washing process.
Consider the height of your eaves. If they are too high, a sturdy ladder is necessary. Make sure it’s positioned safely and on level ground. If you’re not comfortable working at heights, seek assistance from a professional.
Prior to using your equipment, verify the nozzle type and pressure settings. A wider nozzle reduces the risk of surface damage. Test the pressure on a small, inconspicuous area first.
For optimal performance, ensure that your machine is in good working order. Check the hoses for leaks and the filter for clogs. If you’re looking for a model suited for various tasks, including pressure washer for drain cleaning, consider versatility in your choice.
Lastly, wear appropriate safety gear. Goggles, gloves, and non-slip footwear are crucial for your protection while working. Taking these steps will prepare you adequately for an efficient and safe cleaning experience.
Choosing the Correct Cleaning Solution for Soffits
For those looking to tackle grime on eaves, selecting the right cleaning agent is paramount. I remember my early days in the cleaning equipment industry, experimenting with various solutions. A common mishap was using an overly harsh chemical that damaged surfaces. Always opt for a gentle, biodegradable formula designed for delicate materials.
Types of Cleaning Agents
There are generally two categories of products: ready-to-use cleaners and concentrated solutions. Ready-to-use options are convenient, but concentrated formulas allow for custom dilution based on the severity of the buildup. I often suggest starting with a mild solution, especially if you’re unsure about the material composition. A mixture of water and vinegar can work wonders for light stains, while a dedicated exterior cleaner is ideal for tougher grime.
Application Tips
Always apply the chosen solution from the bottom up. This technique prevents streaking and allows for better penetration into the dirt. After application, let the solution dwell for a few minutes before rinsing. In my experience, this waiting period significantly enhances the cleaning power, ensuring that even stubborn deposits are easily removed.
Lastly, never forget to test any product on a small, inconspicuous area first. I’ve seen too many homeowners face unexpected results because they skipped this step. A simple test can save you from potential damage and ensure the solution is suitable for your specific materials.
Adjusting Pressure Settings for Soffit Cleaning
For optimal results, setting the right pressure on your equipment is critical. When I first started using these machines, I learned the hard way that too much force can damage surfaces. I recommend starting at a lower setting, around 1500 PSI, especially if you’re dealing with older materials. Gradually increase the pressure to assess how the surface reacts.
It’s advisable to maintain a distance of at least 2-3 feet from the surface while spraying. This not only helps in preventing damage but also ensures that dirt and grime are effectively removed without causing any harm. I remember one instance where I got a bit too close, and the result was a chipped edge on a delicate trim. Lesson learned!
Here’s a quick reference table for adjusting pressure settings based on different scenarios:
| Surface Type | Recommended PSI | Distance from Surface |
|---|---|---|
| Vinyl | 1200 – 1500 | 2 – 3 feet |
| Aluminium | 1500 – 2000 | 2 – 3 feet |
| Wood | 1000 – 1500 | 3 – 4 feet |
| Painted Surfaces | 1300 – 1800 | 2 – 3 feet |
Always test a small, inconspicuous area before proceeding with the entire surface. This practice saved me from making costly mistakes on several occasions. If you’re unsure, err on the side of caution and start with a lower setting. You can always increase it until you find the sweet spot.
Techniques for Washing Soffits with a Pressure Washer
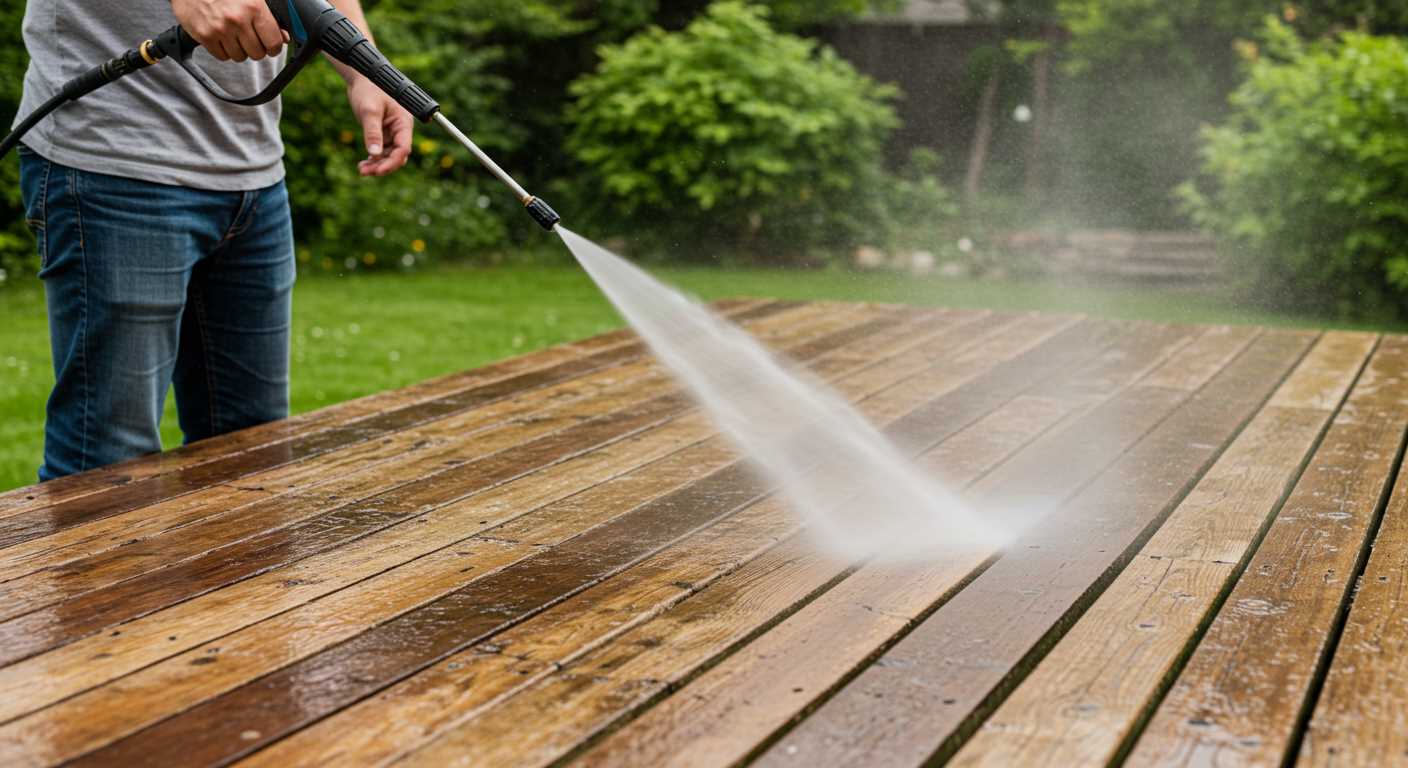
For optimal results, always begin from the highest point and work your way down. This prevents dirt and debris from flowing onto areas that have already been treated. When targeting these horizontal surfaces, I find that a wide-angle nozzle is particularly effective. It disperses water broadly, reducing the risk of damage while still providing excellent coverage.
Angle and Distance
Maintaining the right angle is crucial. Position the nozzle at about 30 degrees to the surface, ensuring that the water hits it directly rather than bouncing off. Additionally, keep a distance of around 12 to 18 inches between the nozzle and the material. This spacing allows for effective cleaning without causing harm. If you notice stubborn stains, bring the nozzle closer for a few seconds before resuming the proper distance.
Technique in Action
In my experience, a sweeping motion works best. Start at one end and gradually move across, overlapping slightly with each pass. This method ensures even coverage and prevents streaks. I’ve encountered various materials over the years, from vinyl to wood, and this approach has always yielded satisfying results. After completing the process, it’s wise to inspect the area for any missed spots, as they can often be tackled quickly with a second pass.

Safety Precautions While Cleaning Soffits
Always wear safety goggles to protect your eyes from debris. I remember the first time I skipped this step; a small rock hit my glasses and reminded me how crucial it is to shield your vision.
Ensure you are using non-slip footwear. Slippery surfaces can lead to accidents, especially when water is involved. I once lost my footing on a wet ladder, which taught me to invest in good grip shoes.
Secure any loose items around the work area. I’ve seen how a small item caught in the spray can become a dangerous projectile. Take a moment to clear the space before starting.
Be mindful of electrical sources. Always check for nearby outlets or power lines. I’ve had close calls where I almost sprayed water on exposed wiring. Using extension cords rated for outdoor use can also help avoid hazards.
Maintain a safe distance from the cleaning surface. While the temptation to get too close for a thorough rinse is strong, I’ve learned that standing back reduces the risk of injury from flying debris or overspray.
Consider the weather conditions. Wind can cause water to spray back towards you or affect your control over the nozzle. I once ended up soaked because of an unexpected gust. If the forecast looks stormy, it’s better to postpone.
Check your equipment thoroughly before use. I’ve had hoses burst mid-clean, resulting in a messy situation. Inspect all connections and hoses to ensure everything is in good working order.
Lastly, be cautious when using ladders. If you need elevation, always have someone assist you. I learned this the hard way when balancing on a ladder while trying to reach a high spot. Having a partner can make a significant difference in stability and safety.
Post-Cleaning Inspection and Touch-Ups
After tackling the task of washing eaves, a detailed inspection is crucial. I always recommend stepping back and assessing the outcome from a distance. This gives a clearer perspective on any areas that may have been missed or need further attention. Look for streaks, residues, or any stubborn spots that weren’t adequately addressed during the initial clean.
Identifying Areas Needing Attention
While inspecting, have a keen eye for dirt accumulation in corners or where the eaves meet the walls. I’ve found that these areas often trap grime and can require a little extra effort. A simple touch-up can be done by using a lower pressure setting or a soft brush in combination with your chosen cleaning solution. This method allows for a more focused approach without risking damage to surrounding surfaces.
Final Touches and Maintenance Tips
After any necessary touch-ups, rinsing the entire area again can help ensure a uniform finish. For ongoing maintenance, I advise planning regular inspections. Seasonal checks can prevent excessive build-up, making future cleaning easier and more efficient. A quick rinse every few months can keep them looking fresh and reduce the need for intensive cleaning sessions.
Maintaining Clean Soffits After Pressure Washing
After tackling the grime on your eaves, a bit of routine upkeep can go a long way. I’ve found that a simple solution is to inspect the area regularly, ideally every few months. This helps catch any dirt build-up before it becomes a daunting task again. A quick wipe-down with a soft cloth or sponge can effectively maintain that freshly cleaned look.

Using a gentle garden hose with a sprayer attachment can also help keep the surfaces free from accumulating debris. Just a light spray every now and then can remove dust and prevent stains from forming. I’ve noticed that areas near trees or gutters tend to attract more dirt, so pay extra attention to those spots.
Consider applying a protective coating after washing. There are products available that can help repel dirt and moisture, making future maintenance easier. I once experimented with a silicone-based sealant on my own home and was surprised at how well it worked. It kept my eaves looking pristine for months.
Lastly, don’t forget about the surroundings. Keeping gutters and downspouts clear of leaves and debris will reduce the amount of dirt that can splash onto your eaves during rainstorms. Regularly clearing these areas has proven beneficial in my experience, leading to less maintenance overall.

.jpg)


