


For anyone looking to restore the elegance of their outdoor surfaces, using the right cleaning technique can make a significant difference. I recommend starting with a diluted solution of mild detergent mixed with water. This combination not only enhances the effectiveness of your cleaning tool but also protects the surface from potential damage.
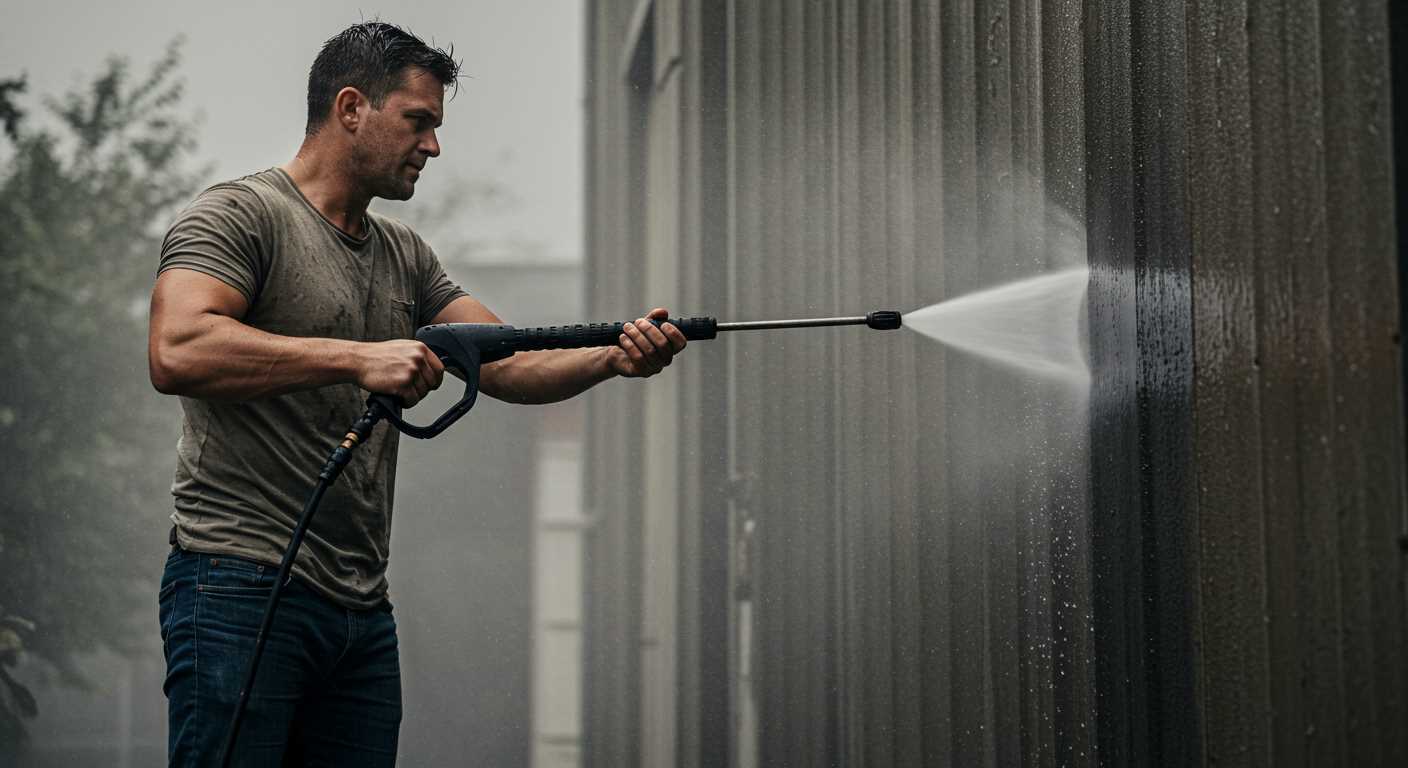
In my years as a product expert, I’ve discovered that adjusting the nozzle for a wider spray pattern can prevent potential harm to porous materials. A narrow jet may seem powerful, but it can etch surfaces, leaving them looking worse than before. Always keep the nozzle at least two feet away from the surface to maintain an optimal cleaning distance.

After applying the detergent, let it sit for a few minutes. This allows the solution to penetrate and loosen dirt and grime. Once that’s done, use a gentle rinse with a broader spray angle to wash away the debris. You’ll notice a marked difference, particularly in those stubborn spots that seem to cling on no matter what.
Lastly, consider the finishing touch: a thorough rinse with clean water post-application. This ensures no detergent residue remains, which can attract dirt in the future. Trust me, taking these steps not only prolongs the beauty of your surfaces but also saves time and effort in the long run.
Cleaning Techniques for Natural Surfaces with a High-Pressure Device
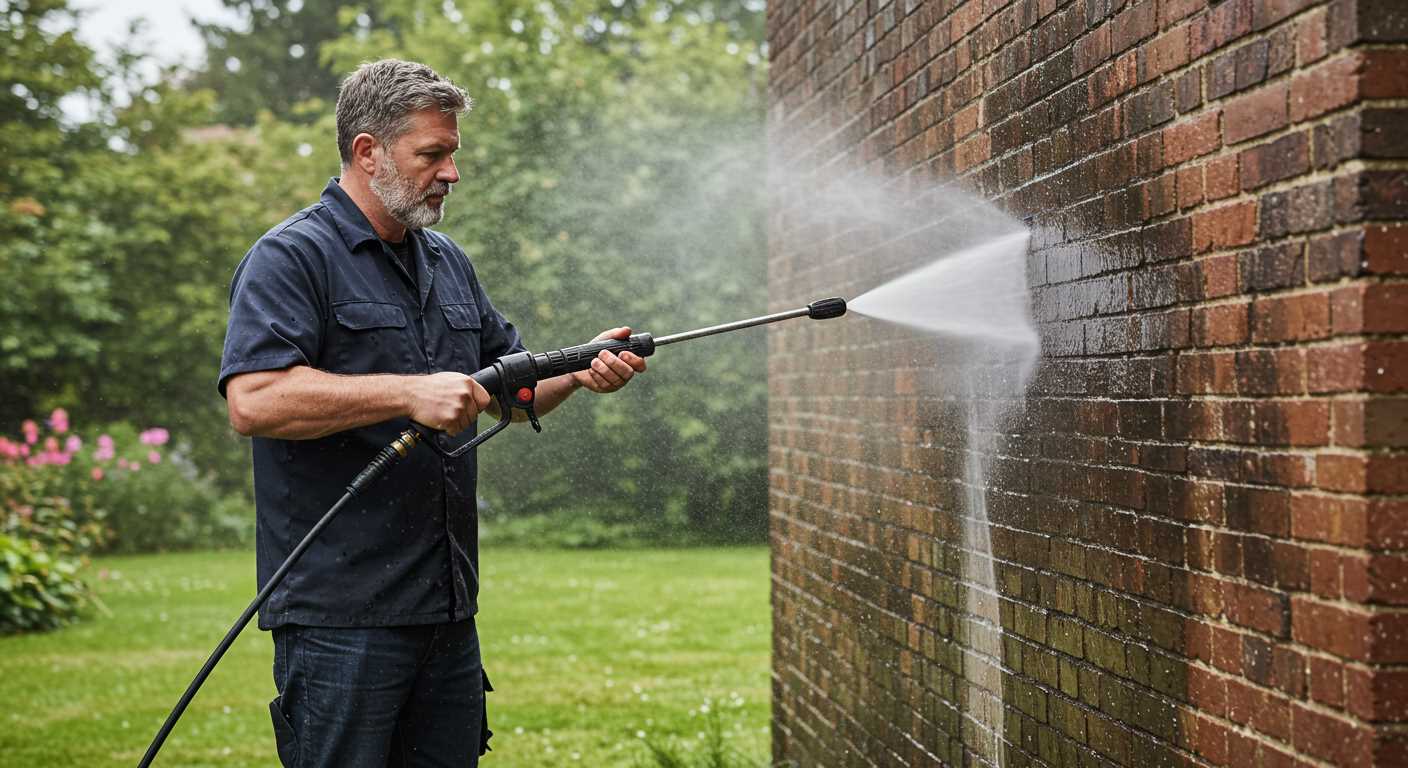
Begin with selecting the right nozzle. For textured or uneven surfaces, a wide-angle nozzle works best to avoid damage. I always prefer the 25-degree nozzle for its balance between coverage and pressure. It’s crucial to maintain a distance of at least 30 cm from the surface to prevent chipping.
Next, preparation is key. Remove any loose debris by sweeping or using a blower. This step prevents dirt from becoming embedded during the washing process. If there are stubborn stains or moss, applying a suitable cleaning solution prior to rinsing can be beneficial. I usually let it sit for about 10-15 minutes to break down the grime.
When ready to start, begin at the highest point and work your way down. This method allows you to effectively rinse off the dirt without re-soiling areas you’ve already cleaned. Keep the spray moving to avoid concentrated pressure on any one spot.
- Rinse thoroughly after applying the cleaning solution to remove any residue.
- For best results, follow up with a final rinse using plain water to ensure all cleaning agents are washed away.
- After cleaning, consider sealing the surface to protect against future stains and weathering.
Always check the manufacturer’s guidelines for specific recommendations regarding surface types. Some materials are more delicate and require extra care. I once encountered a situation where a client’s limestone was damaged due to excessive pressure – a valuable lesson learnt.
Lastly, regular maintenance can save time and effort in the long run. A quick rinse every few months can keep surfaces looking their best and extend their lifespan. From my experience, it’s often the little things that make a significant difference.
Choosing the Right Nozzle for Stone Cleaning
For optimal results, selecting the appropriate nozzle is fundamental. I’ve found that a rotary nozzle is particularly effective for tough grime build-up on rugged surfaces. The spinning action increases the pressure impact, making it easier to lift stubborn stains without excessive effort.
Types of Nozzles
Consider using a 25-degree nozzle for general cleaning tasks. It provides a wider spray pattern, which is beneficial for larger areas. In contrast, if you’re tackling more delicate regions or intricate designs, a 15-degree nozzle will concentrate the force, allowing for precision cleaning without damaging the material.
Matching Nozzles to Tasks

When dealing with moss or algae, I recommend the use of a detergent nozzle. This allows you to apply cleaning solutions effectively before rinsing. For regular maintenance, a fan spray nozzle is suitable as it covers more ground, reducing the time spent on repetitive tasks. Always test in a small, inconspicuous area first to ensure compatibility with the surface. If you’re also interested in maintaining other surfaces, check out this how to clean solid wood floors complete guide.
Preparing the Surface Before Pressure Washing
Before tackling any outdoor cleaning, I always recommend inspecting the area thoroughly. Look for loose debris, such as leaves or twigs, and clear them away. This simple step prevents unwanted obstacles during the washing process and ensures a smooth operation.
Next, check for any large stains or grime buildup. If you encounter stubborn spots, pre-treat them with a suitable solution. I often use a degreaser or a specific stain remover, applying it generously and allowing it to sit for a few minutes. This approach can significantly enhance the results once the high-pressure cleaning begins.
Assessing the Surroundings
Take a moment to evaluate the surroundings. Ensure that any nearby plants or delicate surfaces are protected. I’ve learned the hard way that covering nearby shrubs and delicate features with tarps or plastic sheeting can save a lot of hassle later on. Additionally, you should move any outdoor furniture or equipment that might get in the way. This not only keeps them safe but also creates a clear working area.
Safety First
Don’t forget about safety. Wearing protective gear, such as goggles and gloves, is essential. I’ve had my share of narrow escapes from flying debris, and I always advise others to prioritise their safety. Moreover, ensure the electrical outlets and hoses are in good condition, and check for any potential hazards like loose bricks or uneven surfaces that could cause slips.
Following these steps will set a solid foundation for an efficient and successful cleaning experience. The satisfaction of seeing the results is worth the effort put into preparation!
Setting the Correct Pressure Level for Stone
For effective upkeep of hard surfaces, it’s paramount to adjust the pressure settings correctly. I’ve found that a range of 1500 to 2000 PSI works wonders for most masonry. This level is powerful enough to remove built-up grime yet gentle enough to avoid damage.
Understanding Surface Types
Different materials require varying pressure levels. For instance, granite can typically handle higher pressures, while softer stones like limestone need a more delicate approach. Here’s a quick reference guide:
| Surface Type | Recommended Pressure (PSI) |
|---|---|
| Granite | 2000 – 3000 |
| Slate | 1500 – 2000 |
| Limestone | 1200 – 1500 |
| Concrete | 2000 – 2500 |
Adjusting for Conditions
Environmental factors can affect your settings. If the surface is particularly dirty or has stubborn stains, you might need to crank it up slightly. However, always revert to lower settings for regular maintenance to prevent wear. If you encounter difficulties with the equipment, check out this resource on resolving common problems troubleshooting issues with starting your ryobi pressure washer.
Using the right pressure not only ensures cleanliness but also extends the life of your surfaces. Trust me, a little adjustment goes a long way in maintaining their appearance.
Applying Detergents and Cleaning Solutions Safely
Before using any cleaning agents, always conduct a patch test on a small, inconspicuous area. I recommend waiting 24 hours to observe any adverse reactions. This simple step can save you from potential damage to the surface.
When selecting a detergent, opt for biodegradable options. They are not only environmentally friendly but also less likely to harm surrounding vegetation. I remember once using a harsh chemical that ended up damaging my garden. Lesson learned!
Mix the cleaning solution according to the manufacturer’s instructions. Over-concentration can lead to residue buildup, which is not what you want. I’ve seen users attempt to boost cleaning power by increasing the concentration, only to face more work later on.
Utilise a foam nozzle or a dedicated detergent applicator. This allows for even distribution, ensuring that the solution adheres properly to surfaces. I often use a foam lance; it helps me achieve a thick layer of suds that clings well, maximising the cleaning potential.
Apply the cleaner from the bottom up. This method keeps the solution from running down and streaking already cleaned areas. I’ve made the mistake of starting at the top, leading to frustrating backtracking.
After application, allow the solution to sit for the recommended time. This is crucial for breaking down grime. I often set a timer to avoid rushing this step, as a little patience goes a long way in achieving better results.
Rinse thoroughly with water after the appropriate dwell time. Residual detergent can attract dirt, which defeats the purpose. On one occasion, I skipped this step, and the surface looked worse than before.
Always wear protective gear: gloves, goggles, and a mask. Some detergents can be irritating to the skin and eyes. I have a pair of sturdy gloves that I always reach for, ensuring my hands stay safe during the process.
Store your cleaning solutions properly, away from direct sunlight and extreme temperatures. I’ve had containers burst due to heat, creating a mess I didn’t want to deal with. Keeping them in a cool, dark place prolongs their effectiveness.

Lastly, always read the labels. Each product has its specific use and safety instructions, which are vital for optimal results. I’ve found that taking a few moments to read can prevent mishaps down the line.
Post-Cleaning Maintenance for Stone Surfaces
After finishing the washing process, it’s essential to protect the surfaces to maintain their appearance and longevity. I’ve discovered that applying a sealant can significantly enhance resistance to stains and weathering. Look for a high-quality, breathable sealant specifically designed for porous materials. Apply it evenly with a roller or sprayer, ensuring full coverage without pooling.
Regular Inspection and Touch-ups
Schedule periodic assessments of the surfaces. Look for signs of wear or damage, such as cracks or discolouration. If you notice any imperfections, address them promptly. Small repairs, like filling in cracks with appropriate filler, can prevent more extensive damage later. In my experience, a quick touch-up can save a lot of time and effort down the line.
Routine Maintenance Practices
Incorporate simple cleaning routines into your maintenance schedule. A gentle sweep removes debris and prevents dirt accumulation. For tougher stains, a diluted vinegar solution can be effective without harming the surface. Avoid harsh chemicals that may degrade the material over time. Remember, consistent care is key to prolonging the life and beauty of your outdoor areas.

By following these practices, you’ll ensure that your surfaces remain in excellent condition, ready to withstand the elements while looking their best.
.jpg)


