
.jpg)


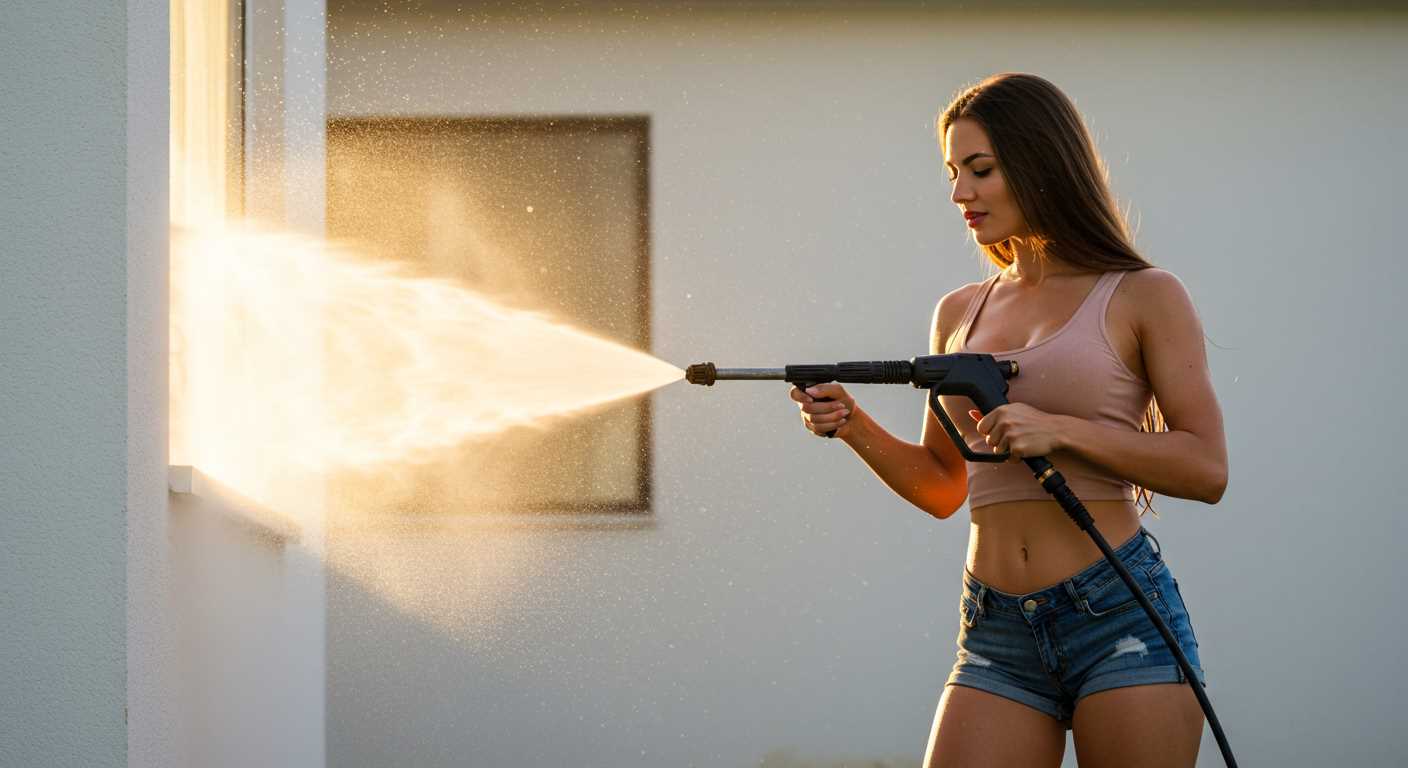
.jpg "How to clean stucco without pressure washer")
Begin with a simple solution: mix warm water with a mild detergent in a bucket. Using a soft-bristle brush, gently scrub the surface in sections. This method not only removes dirt and grime but also protects the texture of your walls. Pay attention to areas with heavy staining, applying a bit more pressure as needed.
For stubborn spots, consider creating a paste with baking soda and water. Apply this mixture directly to the affected area and allow it to sit for about fifteen minutes. The natural abrasiveness of baking soda aids in lifting tough stains. Afterward, use your brush again, rinsing the area with clean water to ensure no residue remains.
Don’t overlook the importance of regular maintenance. A quick wash every few months can prevent the build-up of mildew and dirt, keeping your walls looking fresh. I remember when I neglected this step on my own property; the transformation after a thorough clean was astonishing. A little effort goes a long way in preserving the appearance of your home.

If you encounter green growth, a mixture of vinegar and water can be an effective remedy. Spray this solution on the affected areas and let it sit for a while before scrubbing. Vinegar’s natural acidity works wonders in breaking down organic material.
Lastly, always rinse thoroughly with clean water. This step is crucial to avoid any soap or cleaning solution residue that might attract dirt in the future. Trust me, a well-maintained exterior not only enhances curb appeal but also extends the life of your walls.
Cleaning Techniques for Textured Exterior Walls
Start with a soft-bristle brush. This tool is key for removing dirt and grime from the surface. Choose a brush with a sturdy handle for better control and comfort while you scrub.
Mix a solution of mild detergent and warm water. A ratio of about one cup of detergent to five gallons of water works well. This mixture effectively loosens dirt without damaging the texture.
Dip the brush into the soapy solution and apply it to the wall in sections. Use a circular motion to lift dirt, making sure to get into the crevices of the texture. Rinse the brush frequently to avoid redistributing dirt.
For stubborn stains, consider a baking soda paste. Combine baking soda with a bit of water until it forms a thick paste. Apply this directly to the stained areas and let it sit for about 15 minutes before scrubbing gently with the brush.
After scrubbing, rinse each section with a garden hose. Use a spray nozzle attachment to control the flow of water. Aim for a gentle spray to avoid damaging the surface while ensuring that all soap and residue are washed away.
Inspect the surface for any remaining spots. If necessary, repeat the process for those areas. Regular maintenance can significantly reduce the need for deeper cleaning sessions in the future.
Gather Necessary Cleaning Supplies
For an effective approach to refreshing your exterior, assemble the right tools and materials first. You’ll need a few basic items to ensure the job is manageable and the results are satisfactory.
Recommended Tools
Start with a sturdy ladder if your walls are high. A long-handled scrub brush will help reach elevated areas without strain. A soft bristle broom is also useful for loosening dirt and debris. Combine these with a bucket for mixing your cleaning solutions.
Cleaning Solutions
Prepare a mixture of mild detergent and warm water. A solution of white vinegar mixed with water can also be effective. Avoid harsh chemicals, as they can harm the surface texture. To kill mould or mildew, consider adding a small amount of bleach to your cleaning solution, but ensure proper dilution to prevent damage.
| Item | Purpose |
|---|---|
| Ladder | Access high areas |
| Scrub Brush | Remove dirt and stains |
| Broom | Loosen debris |
| Bucket | Mix solutions |
| Detergent | General cleaning |
| Vinegar | Natural cleaner |
| Bleach | Mould removal (diluted) |
Gathering these supplies will set a solid foundation for your cleaning venture. It’s all about being prepared and having the right tools at hand for a smooth process.
Prepare the Stucco Surface Before Cleaning
Before tackling any cleaning task, ensuring the surface is ready is paramount. Begin by inspecting the exterior thoroughly. Look for cracks, loose pieces, or any other imperfections that may require repair. Addressing these issues beforehand will prevent further damage and make the cleaning process more effective.
Next, remove any loose dirt, debris, or cobwebs using a soft-bristled brush or broom. This step is crucial as it prevents dirt from mixing with your cleaning solution, keeping the process smooth and efficient. Pay particular attention to corners and crevices where grime tends to accumulate.
Consider wetting the area lightly with water. This can help to loosen stubborn dirt and prevent it from becoming airborne during the scrubbing process. However, avoid saturating the surface, as an excess of moisture can lead to complications.
Lastly, ensure the surrounding area is protected. Cover nearby plants, furniture, or any delicate items that could be affected during your cleaning efforts. Using plastic sheeting or tarps can be helpful here. Taking these precautions will save you time and effort in the long run.
Choose the Right Cleaning Solution for Stucco
Opt for a gentle yet effective mixture tailored for textured surfaces. A solution of warm water and mild dish soap serves as a great starting point. Mix about a quarter cup of soap with a gallon of water. This combination removes dirt and grime without damaging the finish.
Vinegar and Baking Soda Mix
If you’re tackling stubborn stains, consider a paste made of vinegar and baking soda. Combine one cup of baking soda with half a cup of vinegar. Apply this paste directly to the stained areas, allowing it to sit for about 15 minutes before rinsing off with clean water. This method not only lifts stains but also acts as a natural disinfectant.
Commercial Cleaners
For tougher jobs, look into commercial products specifically designed for textured surfaces. Ensure they are compatible with your exterior finish. Always conduct a patch test in an inconspicuous area before applying broadly. Check for recommendations online, as many users share their experiences with various brands. If you’re curious about how a digital camera uses pixels for capturing images, you might find it interesting to compare the precision needed in both cleaning and photography.
Apply Cleaning Solution Evenly on Stucco
To achieve the best results, use a pump sprayer or a sponge to distribute the cleaning mixture uniformly across the surface. This method helps to ensure that every area receives adequate treatment, which is crucial for tackling dirt and stains effectively.
When using a pump sprayer, adjust the nozzle to create a fine mist for even application. Stand about two feet away from the wall to avoid oversaturation in any one spot. Start from the top and work your way down to prevent streaks from running down the surface.
If you opt for a sponge, soak it in the solution and apply it with firm, circular motions. This technique allows for better penetration into textured surfaces, ensuring that the solution reaches deeper crevices. Re-soak the sponge frequently to maintain moisture and avoid spreading dry areas.
Take care to cover all sections, including corners and edges. These areas often accumulate more grime. A detailed approach will save time and provide a more thorough cleanse.
After applying, let the solution sit for the recommended time to break down the build-up. Keep an eye on the exposure time; too long can damage the surface, while too short may not yield effective results.
Scrub and Rinse the Surface Properly
Begin by selecting a sturdy, non-scratch scrub brush with stiff bristles. This tool will help you tackle grime effectively without damaging the texture.
Work in small sections, applying the cleaning solution generously to the area you’re addressing. Allow it to sit for a few minutes to penetrate stains and dirt.
- Use the brush to scrub in circular motions, applying consistent pressure.
- Focus on crevices and textured spots where dirt accumulates.
- Rinse the brush frequently to avoid redistributing dirt back onto the surface.
After scrubbing, it’s essential to rinse thoroughly. Use a garden hose with a spray nozzle set to a gentle stream. Start from the top of the section you’ve cleaned and work your way down to prevent dirty water from running over already cleaned areas.
- Ensure all cleaning solution is removed to avoid residue.
- Check for any missed spots and repeat scrubbing and rinsing as necessary.
- Inspect the area from different angles to ensure an even finish.
For stubborn stains, a second application of the cleaning solution may be necessary. Repeat the scrubbing and rinsing process until the desired cleanliness is achieved.
Maintain Clean Stucco to Prevent Future Build-up
Routine upkeep is key to keeping surfaces looking fresh and avoiding stubborn deposits. Regularly inspect the exterior for dirt or algae, especially in shaded areas where moisture lingers. A quick visual check can save hours of scrubbing later.

Schedule Periodic Inspections
Set a calendar reminder for bi-annual inspections. This allows you to catch any developing issues before they escalate. If you notice any signs of wear or build-up, address them immediately with a gentle scrub and a suitable solution. Taking action early is far easier than dealing with a major clean-up later.
Implement Preventative Measures
Consider applying a protective sealant every couple of years. This forms a barrier against dirt and moisture, making future maintenance simpler. Additionally, ensure proper drainage around your property to minimise water pooling, which can lead to grime accumulation. For those looking to enhance their cleaning routine, investing in a quality pressure washer for balcony decking can be beneficial for other surfaces while keeping your stucco intact.
Lastly, keep foliage trimmed back from the walls. This not only improves air circulation but also reduces the chance of organic matter clinging to the surfaces, which can lead to discolouration and mould growth. Simple actions today can lead to less hassle tomorrow.

.jpg)


