
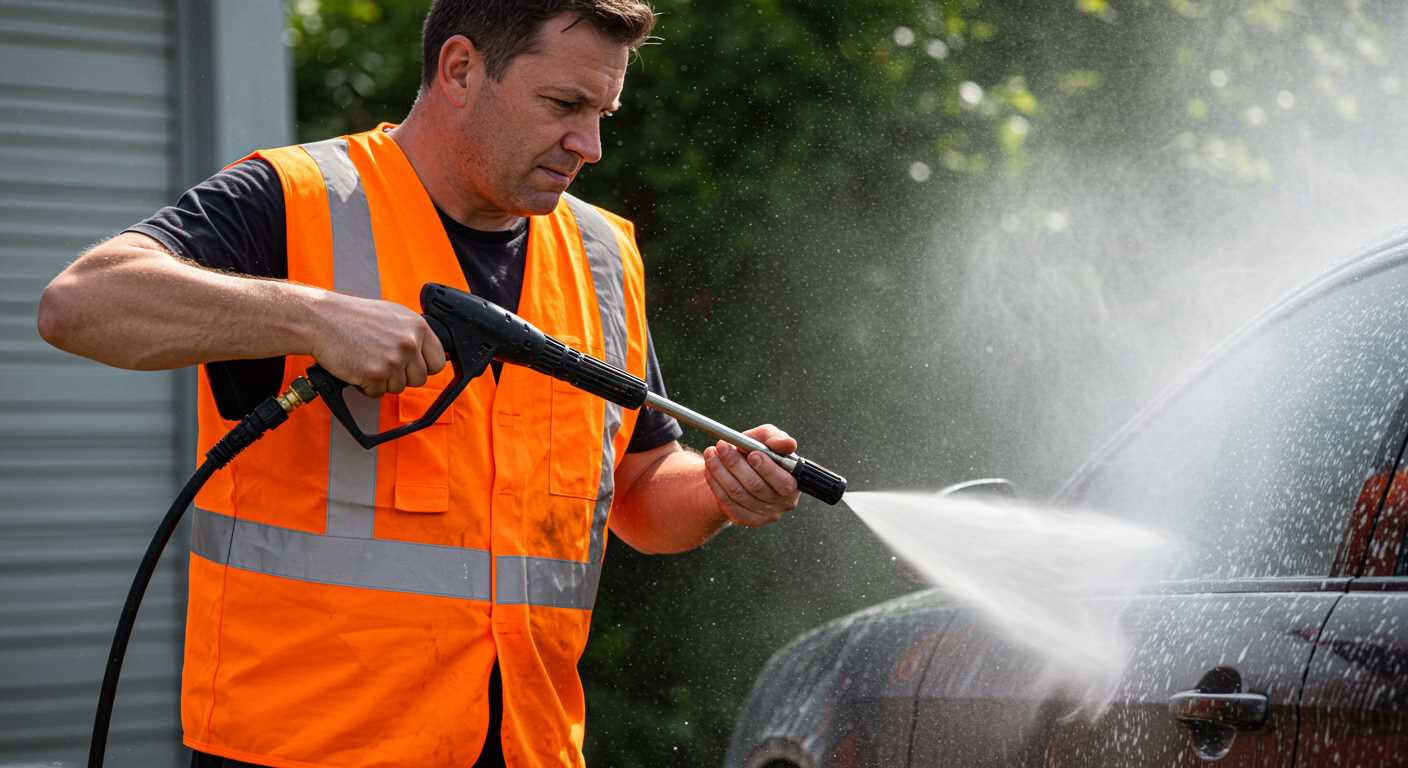


For optimal performance, focus on the release mechanism at least once per season. A simple disassembly and inspection can prevent costly repairs down the line. I recall a time when I neglected this aspect, only to face a frustrating day filled with reduced efficiency and erratic pressure fluctuations. A few moments spent on maintenance could have saved me hours of hassle.
Begin with detaching the component from the main unit. Ensure the device is turned off and unplugged. Once removed, examine for any signs of debris or mineral build-up. In my experience, even a small obstruction can lead to significant issues. A soft brush or cloth works wonders for clearing away dirt without damaging the internal parts.

Pay attention to the seals and O-rings as well. These elements often wear out and can cause leaks, leading to diminished pressure. I’ve had instances where simply replacing a worn seal restored my equipment to peak condition. It’s a small investment that pays off in reliability and longevity.
After cleaning, reassemble everything carefully, ensuring that all connections are tight. A common mistake I’ve seen is failing to reconnect hoses properly, which can lead to further complications. Trust me, taking those extra moments to double-check your work saves time and frustration later on.
Cleaning the Unloader Mechanism of Your Cleaning Equipment
Begin with disassembling the unit carefully. Use a socket wrench to remove the retaining nut. This will expose the internal components that often need attention. Inspect for debris accumulation or mineral deposits, as these can impede performance. A soft brush can help dislodge any stubborn particles.
Next, prepare a solution of warm water and mild detergent. Use this mixture to soak the parts for about 15 minutes. This step is crucial for breaking down any buildup. After soaking, scrub each piece gently with a soft cloth or brush. Rinse thoroughly with clean water to ensure no residue remains.
Pay special attention to the springs and seals. If they show signs of wear or damage, replace them promptly. Worn components can lead to improper operation, resulting in pressure fluctuations. I once overlooked a small crack in a seal, and it caused significant headaches during operation.
Once everything is clean, reassemble the unit. Ensure that all components fit tightly and are aligned correctly. A misaligned assembly can lead to leaks or failure to operate properly. I remember a time when I rushed this step, and it cost me a full day of troubleshooting.
After reassembly, perform a test run without any attachments. This allows you to check for any irregularities. Listen for unusual noises and observe the pressure output. If you notice anything off, it’s worth taking apart again to inspect for issues.
| Component | Cleaning Method | Replacement Indicator |
|---|---|---|
| Springs | Soak and scrub | Visible wear or corrosion |
| Seals | Inspect and clean | Cracks or deformation |
| Retaining Nut | Wipe with a cloth | Stripped threads |
Regular maintenance of this assembly not only prolongs the lifespan of your device but also ensures optimal performance. I’ve seen machines run smoothly for years with just a bit of attention to this part. Don’t underestimate the power of routine checks and cleanings; they make a world of difference.
Understanding the Function of the Unloader Valve
When I first started working with high-pressure cleaning machines, I quickly realised the significance of the device that regulates the flow of water in the system. It’s the component that ensures the right pressure is maintained during operation, preventing damage and inefficiency.
- Controls water flow: As soon as the trigger is released, this component redirects the flow of water back to the pump. This prevents excessive pressure build-up.
- Maintains optimal performance: By allowing water to circulate back into the pump, it keeps the motor from overworking and ensures a consistent pressure output during use.
- Prevents damage: Without this mechanism, the entire system is at risk of severe damage due to overpressure, which can lead to costly repairs.
In my experience, I’ve seen machines with faulty mechanisms struggle to maintain pressure, resulting in inconsistent cleaning performance. Regular maintenance of this part has saved my clients both time and money.
- Watch for leaks: A common sign of a malfunctioning component is the presence of water leaks. This can indicate wear or damage.
- Listen for unusual noises: If you hear strange sounds coming from your machine, it could be a signal that something isn’t functioning correctly.
- Check for pressure fluctuations: Inconsistent pressure during operation often points to issues with this component.
Understanding its role not only helps in troubleshooting but also in optimising the cleaning process. Regular inspection and maintenance are key to ensuring longevity and reliability.
Tools Required for Cleaning the Unloader Valve
To tackle the task of refreshing the pressure control component, you’ll need some specific tools at your disposal. Here’s a concise list based on my years of hands-on experience in the field.
| Tool | Description |
|---|---|
| Socket Wrench Set | A variety of socket sizes will help in removing any bolts or nuts securing the assembly. Make sure to choose a set that fits snugly to avoid stripping. |
| Screwdriver Set | Both Phillips and flathead screwdrivers are essential for loosening any screws that may hold components in place. |
| Soft Brush | This is for gently removing debris and buildup without damaging any delicate parts. A toothbrush works well for this purpose. |
| Compressed Air Canister | Utilise compressed air to blow out any stubborn particles or residue that may be lodged in hard-to-reach areas. |
| Cleaning Solution | A non-corrosive cleaner designed for metal surfaces will aid in breaking down grease and grime effectively. |
| Safety Goggles | Protective eyewear is a must to shield your eyes from any flying debris during the cleaning process. |
| Gloves | Wear rubber or latex gloves to protect your hands from chemicals and ensure a firm grip on the components. |
Each of these tools has played a crucial role in my maintenance routine. Keeping your equipment in top shape not only extends its life but also enhances performance. Make sure to have everything ready before you start; it makes the process smoother and more efficient.
Identifying Signs of a Clogged Unloader Valve
Unusual pressure fluctuations are a clear indicator of a blockage in the system. If you notice that the water pressure varies dramatically while in use, it might signal that debris is obstructing the flow through the mechanism. This inconsistency can lead to inefficient cleaning and wasted time.
Listen for abnormal sounds during operation. If your equipment starts making strange noises–such as hissing or sputtering–this could suggest a malfunction in the flow control component. These sounds often accompany a decrease in performance.
Visual Inspection
Examine the area around the fitting for water leaks. If you see water pooling or spraying from unexpected locations, it often points to a failure in the flow management part, which may be caused by clogging. A quick visual check can save you from more extensive repairs later on.
Difficulty in Starting or Stopping
If you experience issues when starting or stopping the operation, it’s a sign that the internal mechanisms are not functioning properly. This can be attributed to a blockage preventing the normal flow of water, leading to operational difficulties. Regular checks can help catch these issues early.
To maintain optimal performance, using a quality hose for karcher full control pressure washer can also prevent debris from entering the system, reducing the likelihood of clogs. Stay proactive in your maintenance routines to ensure a seamless experience with your equipment.
Step-by-Step Disassembly of the Unloader Valve

Begin by ensuring the equipment is completely turned off and disconnected from any power source. This prevents accidental activation during the process.
Using a suitable wrench, carefully unscrew the retaining nut located at the top of the assembly. Keep a firm grip to avoid losing any small components that may fall out. Once the nut is loosened, remove it along with any washers present.
Next, gently lift the upper casing to expose the internal components. Take note of the arrangement of the parts for reassembly later. If you have a smartphone or camera, capturing a quick photo can be helpful.
Remove the spring and the diaphragm, making sure to handle these parts carefully as they can be delicate. Inspect them for wear or damage; replacing these components is often necessary if they show signs of deterioration.
Now, focus on the lower section. Unscrew the bottom cap using the appropriate tool. Again, be cautious as there may be additional small parts inside. After removing the cap, you should see the seat and ball mechanism. Take these out for cleaning.
With all components disassembled, you can now clean each part thoroughly. Using a soft brush and suitable cleaning solution, ensure that all debris and buildup are removed. Rinse thoroughly and allow everything to dry completely before reassembly.
As you put everything back together, refer to your earlier notes or pictures to ensure the correct order of the components. Tighten all screws and nuts securely, but avoid over-tightening as this can cause damage.
Finally, reconnect the equipment and perform a test run to ensure everything is functioning correctly. If you encounter ongoing issues, further inspection may be needed, or it could indicate a more serious problem.
For those considering safety measures around pets, it’s wise to understand concerns like can an electric fence kill a small dog to protect your furry friends while maintaining your cleaning equipment.
Cleaning Techniques for the Unloader Valve Components
Utilising a combination of techniques can significantly improve the functioning of the pressure control component. Here are the specific methods I recommend based on years of experience.
Disassembly and Inspection
Start with careful disassembly. Remove the component from the system, ensuring you keep track of all screws and washers. Place everything in a designated area to avoid losing parts. Once disassembled, inspect each part for wear or damage. Pay special attention to seals and springs, as these often show signs of fatigue.
Soaking in Cleaning Solution
Prepare a mixture of warm water and a light detergent. Soak the parts for at least 30 minutes. This helps to loosen any stubborn deposits. After soaking, use a soft brush to gently scrub the surfaces, ensuring you get into any small crevices. Rinse thoroughly with clean water to remove any detergent residue.
- Use a toothbrush or a similar soft-bristled brush for hard-to-reach areas.
- For tougher deposits, consider a non-corrosive solvent, but be cautious with plastic components.
Drying and Reassembly
After rinsing, place the components on a clean, dry cloth to air dry completely. Ensure there is no moisture left before reassembly, as trapped water can lead to corrosion. Once dry, carefully reassemble the parts in reverse order, ensuring that all seals are properly seated to prevent leaks.
Lastly, I always recommend running a test cycle with clean water after reassembly. This helps to verify that everything functions smoothly and identifies any potential issues before putting the equipment back into regular use.
Reassembling the Unloader Valve Properly
After ensuring all components are thoroughly cleaned, begin reassembly by placing the main body onto a flat surface. Align the internal spring carefully; it should sit snugly within its designated groove. In my experience, a misaligned spring can lead to malfunction.
Next, insert the ball or poppet mechanism. This part is critical for maintaining pressure. I’ve had instances where a simple oversight here resulted in leaks and reduced performance. Ensure it moves freely but is secure within its seating.
Now, place the cap back onto the assembly, tightening it gently. Over-tightening can cause damage, so I recommend using a torque wrench if available. I always keep a torque specification guide handy for reference.
Don’t forget to replace any O-rings or seals. These components are often overlooked but play a significant role in preventing leaks. I’ve seen many units return for service simply due to damaged seals. Lubricate them lightly with silicone grease to ensure a proper fit.
Finally, reconnect the assembly to the main unit. Double-check that all connections are secure and there are no visible gaps. A tight seal is key to optimal operation. After reassembly, I always conduct a quick test run to ensure everything functions correctly. This step can save you from more extensive repairs down the line.
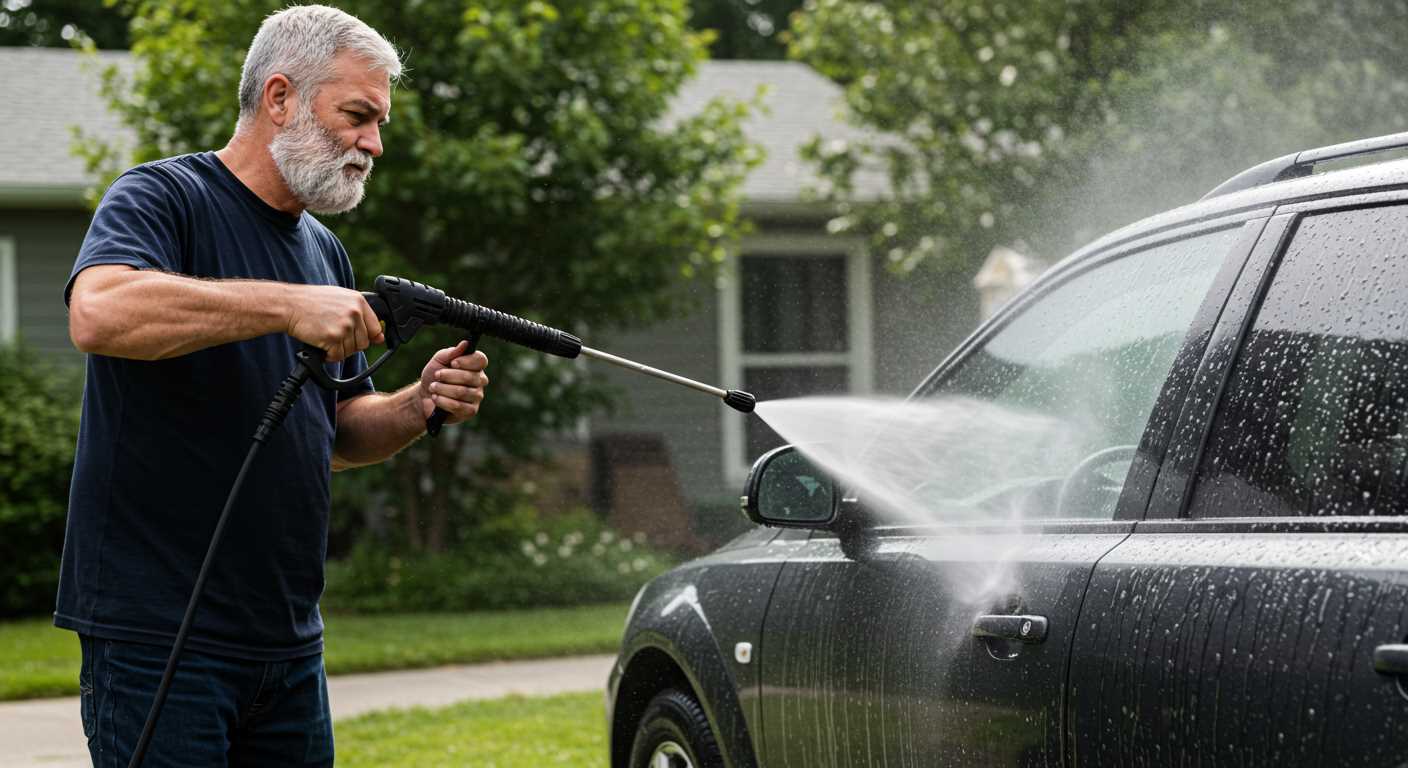
Testing the Unloader Valve After Cleaning
After completing the maintenance task, it’s crucial to check the performance of the component. Begin by reattaching the unit to a water source and ensuring that all connections are tight. Turn on the water supply and engage the trigger. Listen for any unusual sounds; a properly functioning part should operate quietly without any hissing or sputtering noises.
Pressure Evaluation
Next, assess the pressure output. If you have a pressure gauge, connect it to the outlet. The pressure should match the manufacturer’s specified range. If it’s significantly lower or fluctuates, this indicates that further adjustments or checks may be needed.
Flow Rate Check
Observe the flow rate as well. The water should flow steadily without interruptions. Any irregularities could suggest residual debris or improper assembly. If everything appears normal, congratulations! You’ve successfully restored functionality. If issues persist, consider revisiting the assembly process or inspecting for other potential blockages within the system.
Common Mistakes to Avoid During the Cleaning Process
One of the biggest blunders is neglecting to disconnect the power source before starting any maintenance. I’ve seen too many people forget this simple step, leading to unexpected sprays or, worse, injury. Always ensure everything is powered down and unplugged.

Ignoring Manufacturer Guidelines
Each machine comes with its own set of instructions. Skipping these can lead to improper handling and damage. I remember a colleague who disregarded the manual and ended up breaking a crucial part because he used the wrong cleaning solution.
- Read the manual thoroughly.
- Follow specified cleaning procedures.
- Use recommended products only.
Forgetting to Inspect Components
Skipping the inspection of parts before starting can be detrimental. I’ve often found that what seems like a minor clog can actually signify deeper issues. Always check for wear and tear. A small crack can lead to larger problems down the line.
- Look for cracks or signs of wear.
- Check seals and O-rings for damage.
- Ensure all components are clean before reassembly.
Another mistake is using abrasive tools or harsh chemicals. I once used a steel brush on a delicate part, thinking it would speed things up. Instead, I scratched the surface, leading to leaks. Always opt for soft brushes and non-corrosive cleaners.
- Choose soft brushes or cloths.
- Stick to mild cleaning solutions.
- Avoid anything abrasive or harsh.
Lastly, rushing through the reassembly can cause misalignment. I had a customer who hurriedly put everything back together, only to find that the unit wouldn’t function correctly. Take your time and ensure each piece fits as it should.
- Double-check alignment of all parts.
- Ensure screws are tightened properly.
- Test each function before full operation.
By steering clear of these common pitfalls, you’ll enhance the longevity and performance of your equipment while ensuring a safer and more effective cleaning experience.
Maintaining the Unloader Valve for Longevity
Regular inspections are key. I recommend checking the assembly at least every few months, especially if you use your machine frequently. Look for any signs of wear or corrosion that might indicate the need for replacement parts. I once had a client whose equipment failed during a big job because they ignored a small crack that eventually led to a larger issue. A simple visual check could have prevented that headache.
Lubrication is another crucial aspect. After cleaning, apply a light coat of silicone grease to moving parts. This helps prevent seizing and reduces wear over time. I learned the hard way when a lack of lubrication caused a complete breakdown during a job. It’s a small step that makes a significant difference in the lifespan of the components.
Don’t underestimate the power of proper storage. Keeping your machine in a dry, cool place away from direct sunlight extends its life considerably. I remember a colleague who left their equipment outside, and the sun caused irreversible damage to the seals. Protecting your gear pays off in the long run.
Regularly replace worn-out seals and O-rings. I suggest keeping a few spares on hand. I had a customer who faced downtime because they didn’t have replacements available when they needed them. It’s a minor investment that can save you time and frustration.
Lastly, always refer to the manufacturer’s guidelines for maintenance schedules and recommendations. I often found that following their advice led to fewer problems and longer life for the gear. Ignoring these guidelines often resulted in premature failures, which could have been avoided with a little diligence.
FAQ:
What is an unloader valve on a pressure washer?
An unloader valve is a critical component of a pressure washer that regulates the pressure in the system. It diverts the flow of water when the trigger on the gun is released, allowing the pump to operate without building excessive pressure. This helps to prevent damage to the machine and ensures a consistent flow of water during operation.
How do I know if my unloader valve needs cleaning?
If your pressure washer is experiencing fluctuating pressure, leaking water from the unloader valve, or if the machine won’t start or stop properly, it may indicate that the unloader valve is clogged or dirty. Regular maintenance checks can help identify these issues early on, preventing further damage to the unit.
What materials do I need to clean the unloader valve?
To clean the unloader valve, you will typically need a few basic tools and supplies: a wrench or socket set to remove the valve, a soft brush or cloth for cleaning, and possibly a cleaning solution or vinegar to remove any buildup. It’s also advisable to have replacement seals or O-rings on hand in case they need to be replaced during the cleaning process.
Can I clean the unloader valve without professional help?
Yes, cleaning the unloader valve can be done without professional assistance, provided you have a basic understanding of how your pressure washer operates. Make sure to disconnect the power and water supply before starting. Follow the manufacturer’s instructions for disassembly, and take care to clean all components thoroughly. If you are unsure or uncomfortable with the process, seeking help from a professional is always a good option.
What steps should I follow to clean the unloader valve?
To clean the unloader valve, first turn off the pressure washer and disconnect it from the power and water supply. Locate the unloader valve, usually found near the pump. Use the appropriate tools to carefully remove it. Inspect the valve for any signs of dirt or buildup and clean it with a soft brush and cleaning solution. Rinse it thoroughly and allow it to dry completely. Reassemble the valve, replacing any worn seals if necessary, and reconnect your pressure washer. Test it to ensure proper functioning.
How often should I clean the unloader valve of my pressure washer?
The frequency of cleaning the unloader valve depends on how often you use your pressure washer. If you use it regularly, it’s advisable to clean the unloader valve at least once a month. For occasional use, a thorough cleaning before storing the machine for an extended period is recommended. Regular maintenance helps prevent buildup that can affect performance.
.jpg)
.jpg)


