
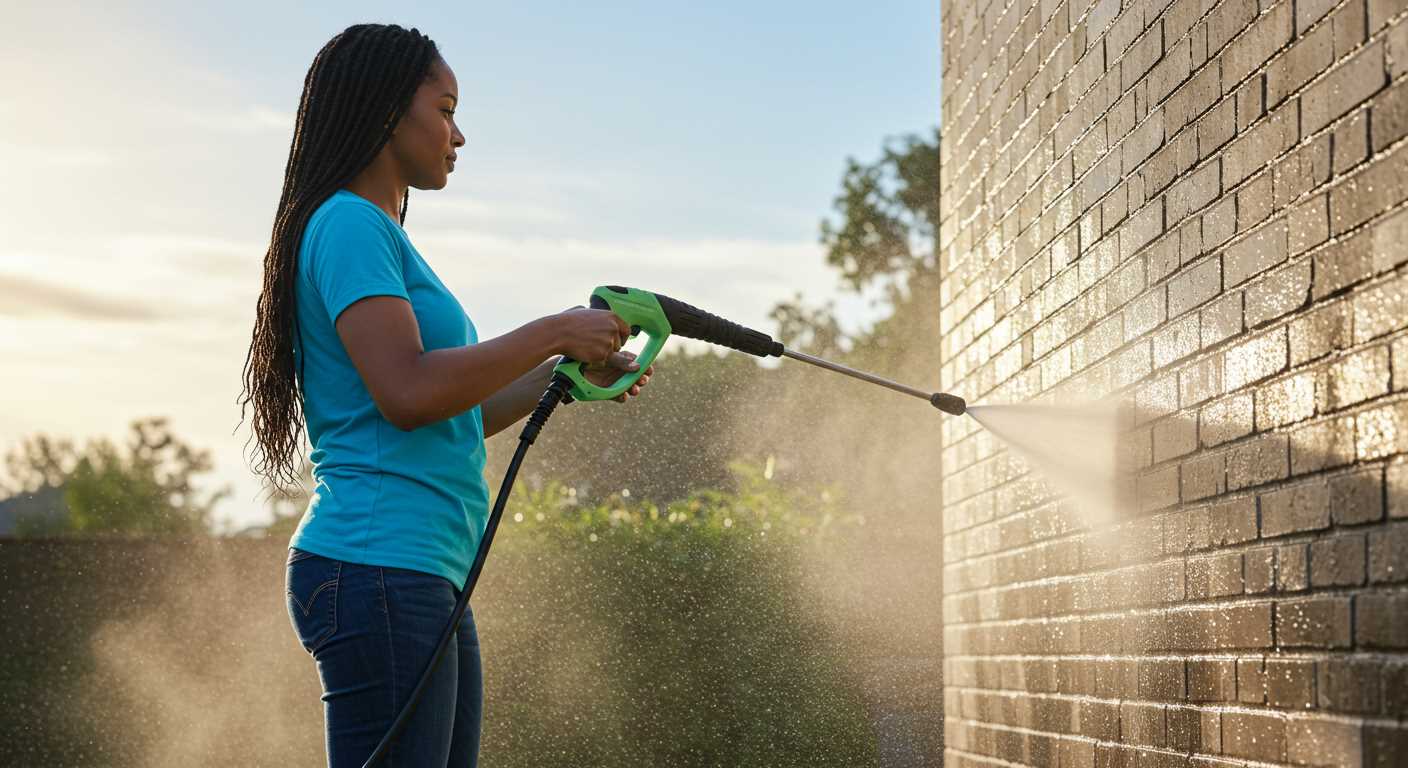


Begin by selecting a suitable nozzle for your cleaning device. A 15-degree or turbo nozzle works wonders, providing a concentrated stream that tackles stubborn grime effectively. From my experience, adjusting the distance between the nozzle and the surface is key; keep it around 30 cm to avoid damage while ensuring a thorough wash.
Next, prepare your container by emptying it completely and rinsing out any loose debris. I always recommend using a biodegradable detergent specifically designed for outdoor surfaces. Mixing it in a bucket and applying it directly to the inner walls will give the solution time to break down the build-up before the high-pressure rinse.
Once the soap has settled in, grab your device and start rinsing from the top down. This technique prevents dirty water from pooling at the bottom. As you work your way around, be mindful of the crevices and corners where dirt tends to accumulate. I’ve found that moving the nozzle in a sweeping motion allows for better coverage and ensures no spot is missed.

After a thorough rinse, inspect your container for any remaining stains. For persistent marks, a second application of detergent may be required. Don’t hesitate to repeat the process; the results are worth the effort. Finally, let your container air dry in a sunny spot–it reduces moisture and discourages unpleasant odours.
Regular maintenance will save time and effort in the long run. I’ve learned that a quick wash every few months keeps everything looking and smelling fresh, making refuse days much more pleasant.
Cleaning Your Refuse Container Using a High-Pressure Cleaner
Begin by gathering the necessary tools: a high-pressure cleaner, a suitable nozzle (preferably a rotating or fan-shaped one), rubber gloves, and a bucket with warm soapy water. If your container has stubborn stains or odours, consider a degreaser or vinegar solution to pre-treat those areas.
Follow these steps for optimal results:
- Location: Choose an outdoor area where water can drain away easily, ideally on a hard surface.
- Preparation: Empty the container completely. Rinse it with plain water to remove loose debris.
- Soak: Apply soapy water or a cleaning solution inside. Let it sit for a few minutes to break down grime.
- Pressure Application: Set your cleaner to a medium pressure setting. Stand back a few feet and begin spraying from the top down to avoid splashing dirty water back onto yourself.
- Focus Areas: Pay special attention to corners and the bottom, where dirt tends to accumulate. Use the rotating nozzle for stubborn spots.
- Rinse: After the main cleaning, rinse thoroughly with clean water to remove any soap residue.
- Drying: Allow the container to air dry completely in the sun to prevent any lingering moisture that could lead to unpleasant scents.
In my experience, tackling the task on a sunny day not only speeds up drying but also helps to eliminate bacteria effectively. After trying various methods over the years, I’ve found that a combination of pressure and a good cleaning solution yields the best results.
Regular maintenance is key. A quick rinse every few weeks can prevent heavy build-up, making future cleanings easier. Trust me, a clean refuse container makes a noticeable difference in your outdoor space!
Choosing the Right Pressure Washer for Bin Cleaning
Opt for a model with a minimum of 1500 PSI for optimal results. This pressure level effectively removes grime and stubborn residues. I’ve tested several units, and those at this PSI range consistently outperform lower-powered versions.
Types of Pressure Washers
- Electric Models: Ideal for residential use. They are lightweight and quieter, making them perfect for neighbourhood settings. However, they may struggle with very tough stains.
- Gas-Powered Options: These beasts unleash higher pressure and flow rates. They are suitable for heavy-duty tasks but require more maintenance and fuel considerations.
Key Features to Consider
- Adjustable Nozzle: A variable nozzle allows you to switch between different spray patterns. For tougher stains, a narrow nozzle focuses pressure, while a wider spray can be used for rinsing.
- Detergent Compatibility: Look for models that can accommodate cleaning solutions. Some units have built-in tanks for easy application.
- Portability: Ensure the unit has wheels or is lightweight. This can make manoeuvring around your property much easier.
From my experience, a good balance of pressure and flow rate is key. A machine with at least 1.3 GPM (gallons per minute) works well alongside the necessary PSI. This combination aids in removing stubborn stains without excessive scrubbing.
In the past, I’ve encountered models that claimed high pressure but lacked adequate flow, leading to frustration. Always check user reviews for insights on real-world performance. You want a reliable machine, not just one that looks good on paper.
Remember to consider cord length or hose length. A longer hose offers flexibility, allowing you to work without constantly moving the unit. This can save time and make the task far less cumbersome.
Preparing the Wheelie Bin for Cleaning
Before tackling the task, ensure you empty the container completely. Remove any residual waste, as leftover materials can hinder the cleaning process and create an unpleasant mess during washing. I once forgot this step and ended up with a slippery, smelly situation that could have been avoided.
Next, inspect the exterior and interior for any stubborn debris. It’s helpful to use a scraper or a stiff brush to remove large clumps of dirt and grime. A quick scrub can make a significant difference in how effectively the high-pressure cleaner performs. I recall a time when I skipped this, and the results were far from satisfactory.
After clearing the container, it’s wise to rinse it lightly with water. This pre-wash can help loosen any remaining particles, ensuring the cleaning solution penetrates more effectively. I found that a thorough rinse saved me time and effort during the main wash.
Consider the location for this task. Choose a space with adequate drainage, as this will prevent water pooling and make the process more manageable. I learned this the hard way when I had to deal with a flooded area after an enthusiastic wash.
Lastly, gather your supplies. You’ll need a suitable cleaning solution, a sturdy pair of gloves, and safety goggles. Protecting yourself is key; I always wear gloves since the chemicals can be harsh on the skin. This preparation sets the stage for a successful cleaning experience, ensuring you achieve the best results without unnecessary hassle.
Selecting the Appropriate Cleaning Solution
For optimal results, the right cleanser is paramount. I’ve experimented with numerous formulations, and I can tell you that a biodegradable detergent specifically designed for waste receptacles works wonders. These products not only tackle stubborn odours but also break down grime effectively. Look for solutions that contain enzymes; they’re particularly adept at digesting organic matter.
Concentration and Application
Follow the manufacturer’s instructions regarding dilution ratios. A common recommendation is to mix one part detergent to ten parts water for most situations. Apply the mixture liberally, allowing it to sit for at least 15 minutes before rinsing. This dwell time is crucial as it maximises the effectiveness of the ingredients, ensuring thorough degradation of build-up.
Environmental Considerations
Always consider the environment when selecting your cleaner. Many formulations are eco-friendly, but check for certifications to ensure they won’t harm local ecosystems. I’ve found that using vinegar or baking soda can also be effective alternatives for a more natural approach. These household items are non-toxic and can eliminate bad smells while being kind to the planet.
Safety Precautions Before Starting the Pressure Washer
Ensure to wear appropriate protective gear, including safety goggles, gloves, and non-slip footwear. This will safeguard against debris and potential splashes during operation. I recall a time when I neglected to wear goggles; a small piece of dirt hit my eye, causing discomfort and a brief interruption in my task.
Check the work area for any hazards. Remove any obstacles, such as loose items or tripping hazards, to prevent accidents. Once, I tripped over a garden hose while operating equipment, which could have resulted in a serious injury if I hadn’t been cautious.
Inspect the equipment before use. Look for any signs of wear or damage, particularly on the hoses and connections. I once encountered a frayed hose that burst during a session, creating a messy situation. Always ensure connections are secure to avoid leaks.
Maintain a safe distance from electrical outlets and devices. Water and electricity do not mix well. I learned this the hard way during a rainy day when I mistakenly got too close to an extension cord. Always keep the washing area dry and avoid using equipment in wet conditions.
Lastly, have a clear plan for where the water will drain. It’s essential to prevent any backflow or pooling near electrical outlets. One time, I didn’t account for drainage, and it led to a muddy area that was difficult to manage. For reference on other cleaning methods, you might find effective cleaning techniques for stucco using a pressure washer helpful.
| Precaution | Description |
|---|---|
| Protective Gear | Wear goggles, gloves, and suitable footwear. |
| Clear Work Area | Remove obstacles and hazards from the vicinity. |
| Equipment Inspection | Check hoses and connections for damage. |
| Maintain Distance | Avoid proximity to electrical devices and outlets. |
| Plan Drainage | Ensure proper water drainage to avoid hazards. |
Step-by-Step Pressure Washing Technique for Bins
Begin by positioning your container on a flat, stable surface. Ensure you have an adequate water supply and that the area is free from obstructions.
Connect the nozzle to your machine, selecting a wide-angle attachment to prevent damage to surfaces. Adjust the pressure setting; a medium level is usually sufficient for tough grime while being gentle enough not to cause any harm.

Start from the top of the container, working your way down. This method allows dirt and debris to flow downwards without being pushed back onto cleaner sections. Maintain a distance of approximately 30 cm from the surface to avoid any splatter or damage.
Use sweeping motions, ensuring even coverage. Pay extra attention to the corners and the bottom, where residue tends to accumulate. If you notice stubborn stains, pause to apply your chosen cleaning solution, letting it sit for a few minutes before rinsing.
After rinsing, inspect the container for any missed spots. If necessary, repeat the process on those areas. Once satisfied, turn off the machine and disconnect the hose. Let the container air dry completely before placing it back in use.
For additional insights on maintenance techniques, check out this guide on how to clean an old fish tank.
Post-Cleaning Care for Your Bin
Once you’ve finished tidying up your refuse container, it’s wise to take a few extra steps to maintain its condition and prevent unpleasant odours. Start by rinsing the inside and outside with clean water to remove any leftover cleaning solution. This ensures that no residue lingers, which could attract pests.

Drying Techniques
After rinsing, allow the container to air dry completely. If time permits, place it in a sunny spot; UV rays help eliminate bacteria. If it’s a damp day, use a towel to wipe down the interior and exterior surfaces. This will discourage mildew growth and keep it smelling fresh.
Regular Maintenance Schedule
To keep your container in top shape, establish a cleaning routine. I recommend washing it every month, especially during warmer months when waste decomposes more quickly. A simple solution of vinegar and water can be used for regular upkeep. This not only cleans but also sanitises without harsh chemicals.
| Maintenance Task | Frequency | Recommended Solution |
|---|---|---|
| Thorough wash | Monthly | Vinegar & water |
| Odour neutralisation | Weekly | Baking soda |
| Visual inspection | Bi-weekly | N/A |
Finally, keep an eye out for any damage or wear. Small cracks can develop over time, so addressing these promptly can extend the life of your refuse container. Staying proactive will save you from larger issues down the road.
Maintaining Cleanliness Between Collections
After giving your container a thorough refresh, it’s vital to keep it in tip-top shape until the next collection. A few simple steps can make a world of difference, ensuring that any unpleasant odours or stubborn stains don’t return.

Regular Rinsing
Every week, just before collection day, I recommend a quick rinse. Use a hose or a bucket of warm water to flush out any leftover debris. This prevents build-up and keeps the interior looking fresh. If you have a garden, consider directing the rinsed water towards your plants–it’s a sustainable way to reuse the water.
Use Baking Soda or Vinegar
For an extra boost, sprinkle baking soda or pour white vinegar into the container after rinsing. Both substances are excellent at neutralising smells. Let them sit for a couple of hours before giving the container another rinse. This simple trick has saved me from some less-than-pleasant odours over the years.
Keep the lid ajar when not in use. This allows air circulation, helping to dry out moisture and prevent mould from forming. A little attention can go a long way in maintaining a pleasant environment around your bins.
Lastly, consider placing a few citrus peels or a small bowl of coffee grounds inside the container. Both act as natural deodorisers and can help eliminate lingering smells. I’ve found this method particularly effective during the warmer months when odours can be more pronounced.
FAQ:
What equipment do I need to clean my wheelie bin with a pressure washer?
To clean your wheelie bin effectively with a pressure washer, you will need a pressure washer with a suitable nozzle, typically a 15-degree or turbo nozzle for better water force. Additionally, it’s helpful to have a pair of rubber gloves, a scrubbing brush, and possibly a biodegradable cleaning solution to tackle tough stains and odours. Ensure that you have protective eyewear to shield your eyes from water spray and any debris that may come loose during the cleaning process.
Can I use any pressure washer for cleaning my wheelie bin?
While most pressure washers can clean a wheelie bin, it’s advisable to use one with a pressure rating of at least 1200 PSI for effective cleaning. A higher-pressure washer will make it easier to remove dirt and grime. However, avoid using excessive pressure, as it may damage the plastic of the bin. Always start with a lower setting and adjust as necessary to find the right balance between cleaning power and safety for the bin’s material.
What steps should I follow to clean my wheelie bin using a pressure washer?
To clean your wheelie bin with a pressure washer, follow these steps: First, ensure the bin is empty and rinse it out with water to remove any loose debris. Next, apply a biodegradable cleaning solution if needed, using a scrubbing brush to work it into tough stains. After letting it sit for a few minutes, use the pressure washer, starting from the top and working your way down, to rinse off the solution and dirt. Finally, allow the bin to air dry completely before using it again. Make sure to clean the nozzle of the pressure washer periodically throughout the process to avoid clogs.
How often should I clean my wheelie bin with a pressure washer?
It’s generally recommended to clean your wheelie bin at least once every few months, but if you notice any unpleasant odours or visible dirt, you should clean it more frequently. Factors such as the type of waste you dispose of and the climate in your area can affect how often you need to clean it. For instance, bins used for food waste may require more regular cleaning to prevent odours and pests.
Are there any safety precautions I should take while cleaning my wheelie bin with a pressure washer?
Yes, safety precautions are important when using a pressure washer. Always wear protective eyewear to shield your eyes from spray and debris. Use gloves to protect your hands from chemicals if you’re using a cleaning solution. Make sure the area around the bin is free of obstacles and bystanders to prevent accidents. Keep the pressure washer’s electrical components away from water, and never point the nozzle at yourself or others while operating the machine. Lastly, be cautious of slippery surfaces, as water may cause the ground to become slick.
What are the steps to clean a wheelie bin using a pressure washer?
To clean a wheelie bin with a pressure washer, first ensure that you have the right equipment, including a pressure washer and appropriate safety gear, such as gloves and goggles. Begin by emptying the bin and rinsing it out with water to remove loose debris. Then, mix a suitable cleaning solution, such as a bin cleaner or a mixture of vinegar and water, and apply it to the interior and exterior of the bin. Allow the solution to sit for a few minutes to break down any grime. After that, use the pressure washer to thoroughly rinse the bin, ensuring that you pay attention to any stubborn stains or corners. Finally, let the bin dry completely before using it again.
Is it safe to use a pressure washer on a plastic wheelie bin?
Yes, it is generally safe to use a pressure washer on a plastic wheelie bin, but caution is advised. Make sure to set the pressure washer to a lower setting to avoid damaging the plastic. Keep the nozzle at a safe distance from the bin’s surface to prevent any cracking or warping. It’s also a good idea to check the manufacturer’s guidelines for your specific bin model to ensure that pressure washing is recommended. If in doubt, hand cleaning may be a safer alternative for maintaining your bin.

.jpg)


