


Utilising a high-powered cleaning device can transform the appearance of your outdoor barrier in no time. I recall my first experience with one of these machines; the satisfaction of watching years of grime and mildew vanish was unforgettable. The right approach makes all the difference, and I’ve honed my technique over the years to achieve optimal results.
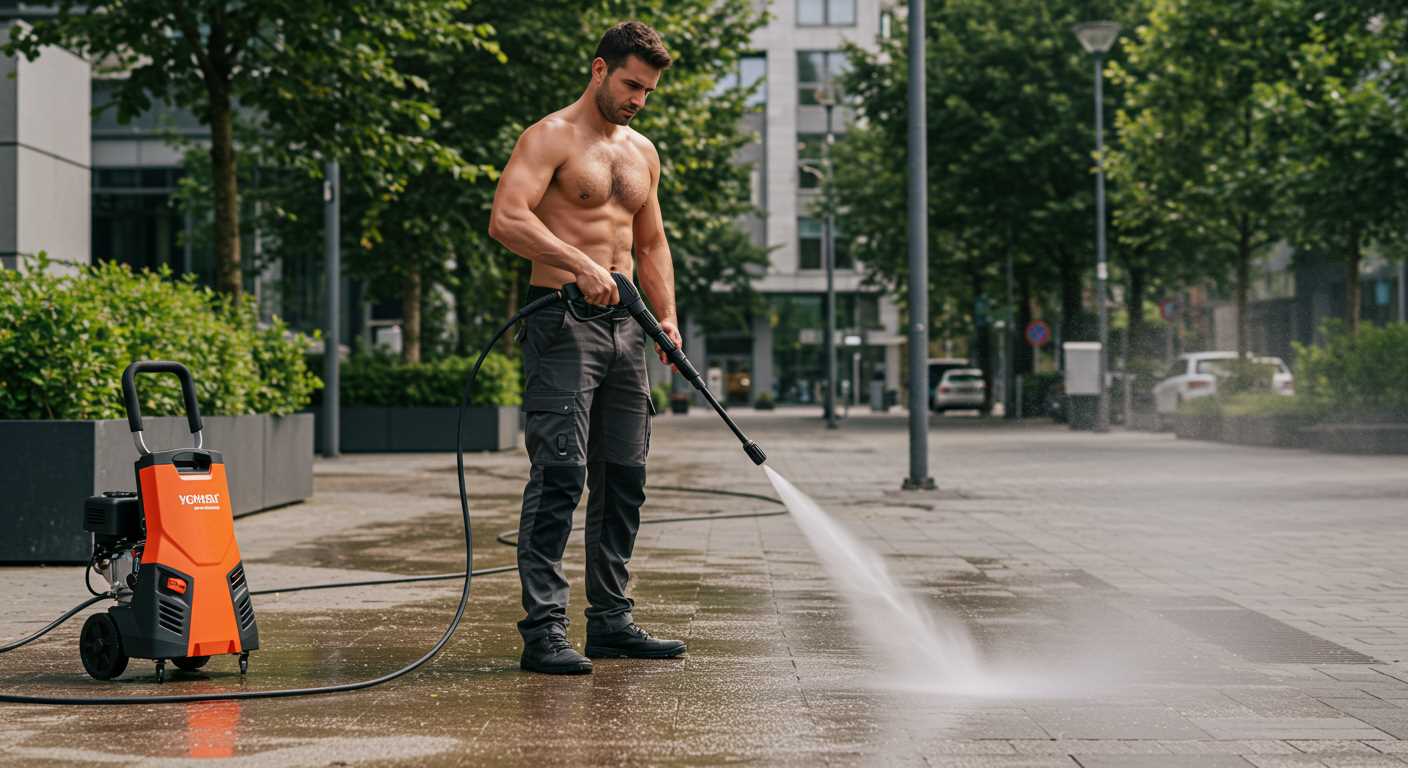
Begin by ensuring you have the correct nozzle attached to your device. A wide-angle spray is ideal for this task, as it distributes water evenly without causing damage. I’ve learned the hard way that a too-narrow stream can lead to unwanted dents or scratches, so choose wisely. Make sure to stand at least two feet away from the surface to avoid any potential harm.
Next, it’s wise to pre-treat any stubborn stains. A mixture of warm water and a gentle cleaning solution can work wonders. I often apply it using a garden sprayer, allowing it to sit for a few minutes before engaging the cleaning machine. This step ensures that embedded dirt has a fighting chance to loosen up, making the process smoother.

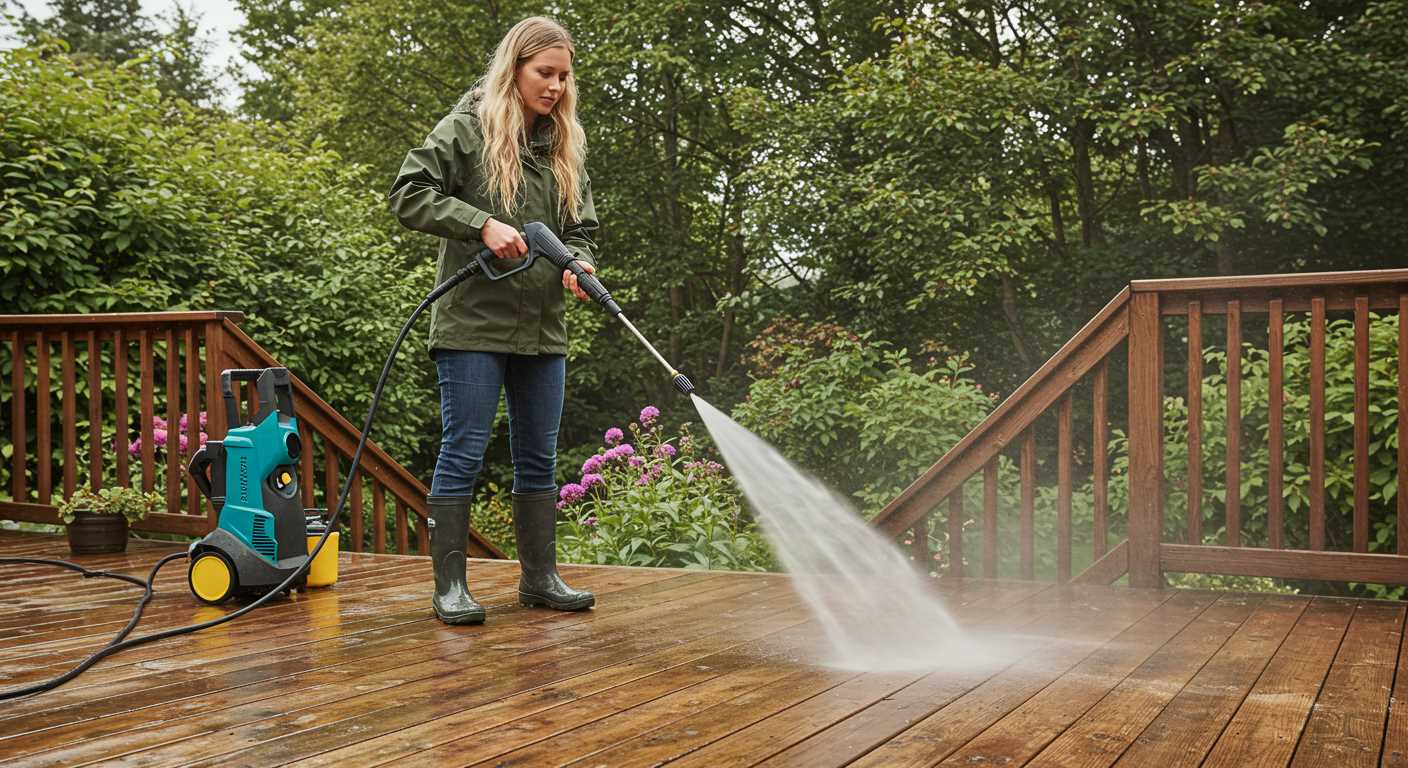
Once the pre-treatment is complete, it’s time to power up the machine. Start from the top and work your way down. This technique prevents streaking and ensures that any runoff doesn’t carry dirt back onto already cleaned areas. I remember the first time I did this in my own backyard; I was amazed by the instant transformation!
Finally, rinse thoroughly. Any residue from the cleaner should be washed away completely to avoid a sticky or discoloured finish. After the job is done, step back and admire your handiwork. The clean, bright appearance of your outdoor barrier will not only enhance your property’s aesthetic but also extend its lifespan. Trust me, the results are well worth the effort!
Effective Techniques for Maintaining Your PVC Barrier
Utilising a high-powered sprayer can significantly enhance the appearance of your PVC barrier. Always ensure you have the right nozzle attached; a 25-degree nozzle is typically ideal for the task. This angle strikes a balance between power and coverage, preventing damage while ensuring thorough washing.
Start from the top and work your way down. This method allows dirt and debris to flow downwards, ensuring a more efficient process. Keep the sprayer at least 12 inches away from the surface to avoid any potential harm. I recall a day when I got too close and ended up with a small dent, which taught me to maintain that safe distance.
For stubborn stains, a pre-treatment may be necessary. I often mix a mild detergent with water, applying it with a garden sprayer before the main wash. Allow it to sit for about 10 minutes; this helps lift the grime. Just make sure to rinse thoroughly afterwards to prevent any soap residue from drying on the surface.
Pay attention to the joints and corners where dirt tends to accumulate. Using a smaller nozzle or a brush attachment can help get into those tight spots. I remember using a brush on a particularly dirty section and being amazed at how much cleaner it looked afterwards.
After completing the wash, inspect the entire area. Any missed spots can easily be addressed with a quick re-spray. Regular maintenance every few months will keep your barrier looking fresh and new, minimising the amount of effort needed for deeper cleans. Trust me, investing a bit of time now saves a lot of hassle later on.
Choosing the Right Pressure Washer for Vinyl Fencing
Consider a model with a minimum of 2000 PSI for adequate power. In my experience, anything below this lacks the necessary force to tackle stubborn grime effectively. A 2500 PSI unit strikes a good balance, offering both efficiency and safety for surfaces like these.
Key Features to Examine
- Flow Rate: Aim for at least 1.5 GPM. This ensures a steady stream of water, making the process quicker.
- Nozzle Options: A rotating or adjustable nozzle provides versatility. I’ve found that different nozzles handle various types of dirt more effectively.
- Electric vs. Gas: Electric models are quieter and easier to maintain, while gas units typically deliver more power. Your choice should depend on the size of the area and your comfort level.
Portability and Storage
- Weight: A lightweight unit can be moved easily, especially if you have a large area to cover.
- Hose Length: Look for at least a 25-foot hose to minimise moving the unit around frequently.
- Storage Options: Some models come with onboard storage for accessories, which I find invaluable for keeping everything organised.
In my years of testing, I’ve seen models perform well with various attachments. Consider a surface cleaner attachment for expansive areas; it saves time and ensures an even finish. Choose wisely, and your cleaning task will be a breeze.
Preparing the Area and Gathering Necessary Supplies
Before tackling the task at hand, ensure the work area is well-organised. Start by removing any furniture, decorations, or obstacles that could obstruct your access to the surface you intend to refresh. This not only creates a safer environment but also maximises efficiency during the process.
- Clear the immediate vicinity of debris, plants, and garden equipment.
- Consider covering nearby plants with tarps or cloths to protect them from overspray or cleaning solutions.
- Make sure there’s adequate drainage to prevent water accumulation.
Next, gather all necessary equipment and supplies. Here’s a checklist to streamline your preparation:
- Cleaning Solution: Choose a suitable cleaner that is safe for the material. Look for a biodegradable option to minimise environmental impact.
- Soft-Bristled Brush: This will help you tackle stubborn spots before the main cleaning.
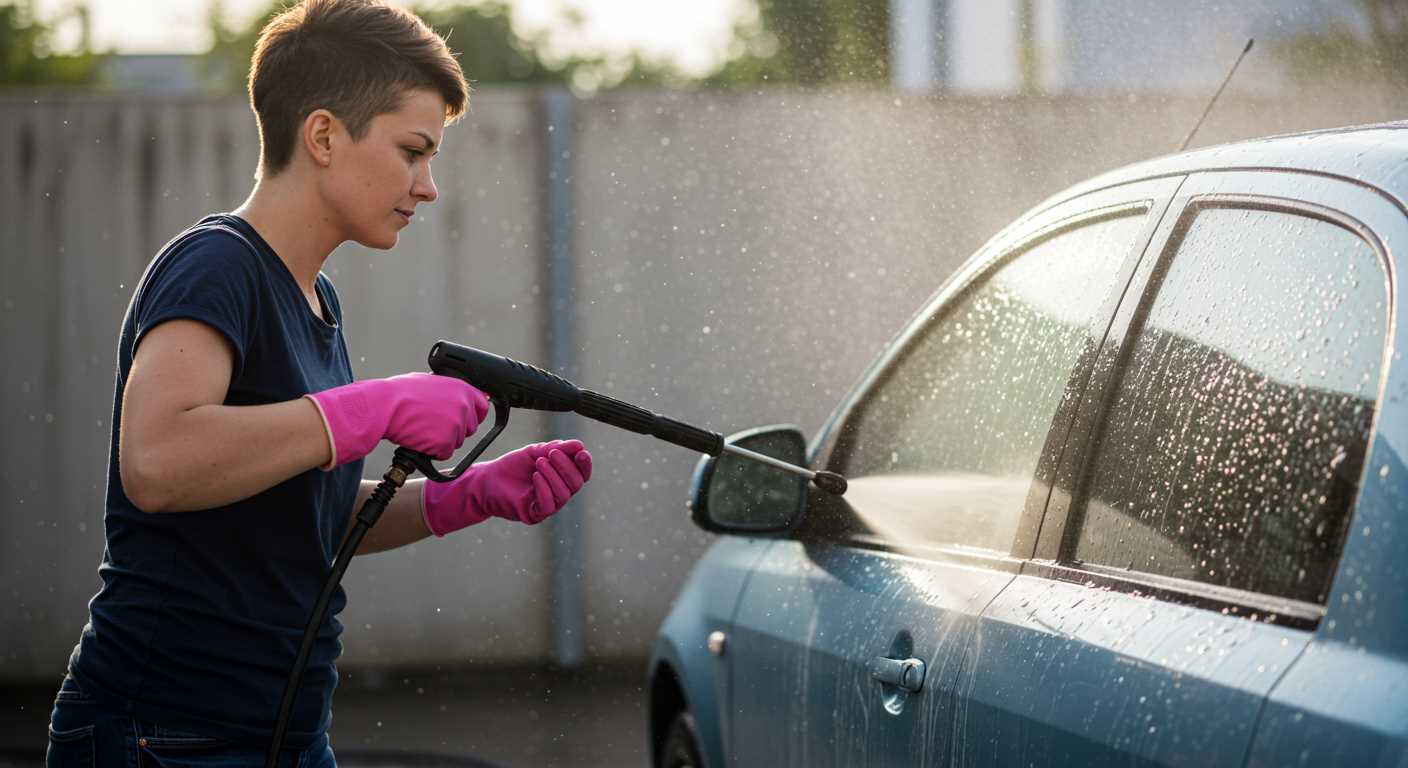
- Safety Gear: Don’t forget gloves and goggles. Protecting your eyes and skin is crucial.
- Extension Cord: If your unit requires electricity, ensure you have a heavy-duty extension cord that reaches the area.
- Hose and Nozzle Attachments: Select the appropriate nozzle for your unit to control the pressure effectively.
After ensuring you have everything, double-check the water supply. If you’re using a hose, make sure it’s in good condition to avoid leaks. For additional insights on timing and efficiency, you might find this resource helpful.
Finally, take a moment to assess the area for any hazards, such as loose tiles or uneven surfaces. Addressing these issues beforehand can prevent accidents and ensure a smooth operation.
Adjusting Pressure Settings for Safe Cleaning
Start by setting your machine to a low pressure, around 1200 to 1500 PSI. This range is typically enough to remove dirt without damaging the surface. I remember one time, while helping a friend, we made the mistake of starting too high–resulting in a few scratches. It taught me the importance of caution, especially with delicate surfaces.
Gradually increase the pressure if necessary. Test the spray on an inconspicuous area first. This practice ensures you get a feel for how the surface reacts. When I was experimenting with different settings, I found that adjusting the nozzle to a wider spray pattern also helps in distributing the force more evenly, minimising the risk of harm.
For stubborn stains, a concentrated nozzle can be effective, but always keep it at a safe distance–about 2 feet away from the surface. I once got too close and ended up chipping some paint off a garden bench. Lesson learned: distance is key!
When dealing with various materials, remember to consult the manufacturer’s guidelines. Some surfaces require specific settings to avoid damage. If you’re considering a petrol-powered model for tougher jobs, there are reliable options like a petrol pressure washer to unblock drains that can handle higher demands, but always adjust accordingly.
Finally, keep the nozzle moving. A steady motion prevents concentrated pressure on one spot, reducing the risk of causing any harm. Trust me, this approach saves a lot of headaches down the line. Over time, I’ve learned that patience and precision lead to the best results.
Applying Cleaning Solutions for Stubborn Stains
For those tricky marks that refuse to budge, a targeted approach using appropriate cleaning agents is key. I’ve found that a mixture of warm water and a mild detergent often does the trick for general grime. However, for more persistent stains such as mildew, algae, or rust, you might need something stronger.
Recommended Cleaning Agents
Here are a few options that have proven effective in my experience:
| Stain Type | Cleaning Solution | Application Method |
|---|---|---|
| Mildew | 1 part bleach to 10 parts water | Apply with a spray bottle, let sit for 10-15 minutes, then rinse thoroughly. |
| Algae | White vinegar | Spray directly on the affected area, scrub gently, and rinse. |
| Rust | Commercial rust remover | Follow manufacturer’s instructions, usually involving application and rinsing. |
Application Tips
Always test any solution on a small, inconspicuous area first. This way, you can ensure it won’t harm the surface. When applying the cleaning agent, allow adequate dwell time for it to break down the stain before rinsing. A soft-bristle brush can help lift stubborn marks without scratching the surface. Don’t forget to wear protective gear, especially when using harsh chemicals like bleach!
Tips for Maintaining a Clean Vinyl Fence After Washing
Regular inspections are key. Schedule a visual check every few months to catch any dirt or mildew before it becomes a bigger issue. I always recommend taking a close look after heavy rains or storms, as debris can accumulate quickly.
Keep Surrounding Areas Tidy
Trim back any shrubs or trees near the boundary. Overhanging branches can drop leaves or sap, making the surface dirty. I learned this the hard way; my neighbour’s tree caused a mess that took ages to rectify.
Utilise a Soft Brush Periodically
A soft-bristled brush can be your best friend. I found that a quick scrub every couple of months, especially in areas prone to grime, makes a noticeable difference. Use a mild detergent mixed with water, and you’ll find it’s a simple way to keep surfaces looking fresh.
Don’t forget to rinse thoroughly after any cleaning solution application. Residue can attract more dirt, and you want to avoid creating a cycle of needing to scrub constantly.
Lastly, if you spot any scratches or damages, consider applying a vinyl repair product. I’ve seen how a small patch can prevent further issues and maintain the overall appearance. Regular maintenance saves time and effort in the long run!
.jpg)


