


Before you pick up that high-velocity sprayer, ensure you have the right nozzle. A 25-degree or 40-degree attachment is ideal for achieving spotless surfaces without causing damage. I’ve witnessed too many homeowners mistakenly grab the zero-degree nozzle, believing it would yield better results. Trust me, that narrow jet can etch glass and create more problems than it solves.
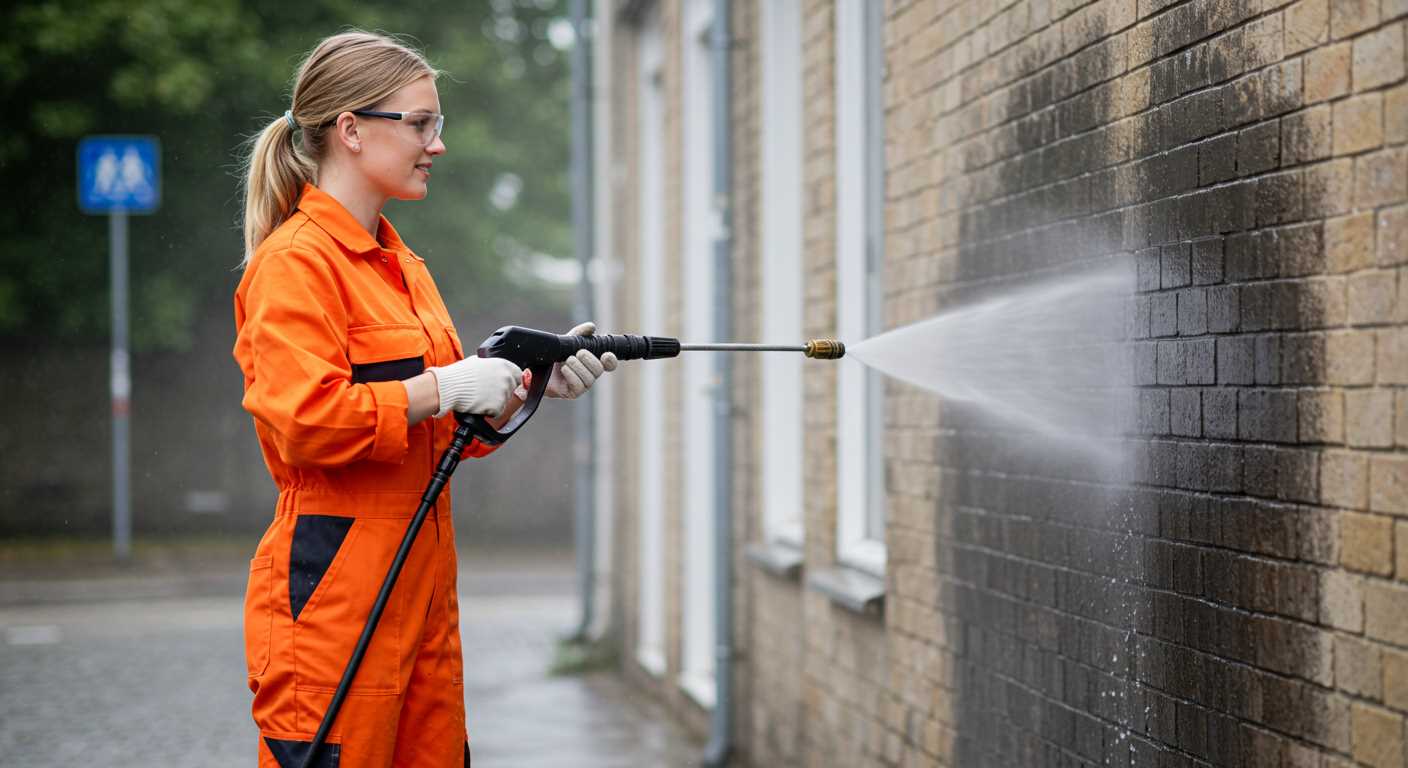
Next, don your safety gear. Protective eyewear is non-negotiable. The last thing you want is debris flying into your eyes while you’re focused on getting those panes shimmering. I recall one instance where a friend ignored this advice, and a small stone ricocheted back, resulting in a visit to the hospital. It’s not worth the risk.
Maintain a safe distance, ideally 2-3 feet, from the glass surface while working. This distance allows for effective cleaning without risking damage. I’ve seen people get too close, thinking they can speed up the process. Instead, they end up with cracked surfaces and more repairs down the line.

Always begin from the top and work your way down. This technique prevents dirty water from running down onto already cleaned areas. I learned this the hard way during my first attempt, wasting time and energy by having to redo sections. The flow of water should be downward, so keep that in mind as you make your way across the surface.
After washing, don’t forget to rinse thoroughly. Residual detergent can lead to streaks, defeating your efforts. I often use a separate hose attachment to ensure all soap is removed before I step back to admire the results. A little extra time spent rinsing pays off in the long run.
Lastly, consider the weather. A cloudy day is perfect for this task; direct sunlight can dry the surfaces too quickly, leaving unsightly marks. I’ve had my best results on overcast days, allowing ample time to work without the pressure of drying too fast. If you follow these practical tips, you’ll be rewarded with beautifully clear surfaces that enhance your home’s appearance.
Optimal Techniques for Sparkling Panes
Begin with the right nozzle. A 25-degree fan tip is ideal for delicate surfaces; it provides a good balance between pressure and coverage. I recall a time when I mistakenly used a narrow nozzle on a friend’s glass facade. The result? A chip that required costly repairs. Now, I always double-check the nozzle selection before starting.
Before applying any solution, inspect the glass for stubborn residues or debris. A quick rinse with plain water can help remove loose dirt. After that, I often mix a gentle soap solution in the pressure unit. Be cautious with soap types; some can leave streaks if not rinsed properly. I once used a product meant for cars, and the aftermath was less than satisfactory–streaks galore!
Strategic Approach to Application
Maintain an appropriate distance while operating the equipment. I’ve found that keeping the nozzle at about two feet from the surface yields the best results. Too close, and you risk damage; too far, and the cleaning power diminishes. When I first started, I was overly ambitious, and a few cracked panes taught me to respect the power of the machine.
Work from the top down. This method prevents dirty water from dripping onto already cleaned areas. I remember a particularly stubborn stain on a large sliding door. By starting from the top, I was able to rinse away the grime effectively without re-soiling the lower sections. After rinsing, a final pass with plain water ensures all soap residues are gone.
Final Touches
For a flawless finish, consider using a squeegee to remove any remaining water. I often carry one around for that extra touch. It’s amazing how much of a difference that little tool makes in achieving a streak-free shine. On days when the sun is shining bright, I make sure to work quickly, as the heat can cause water to dry too fast, leading to unsightly spots.
Choosing the Right Pressure Cleaner for Window Maintenance
For optimal results, selecting a unit with adjustable pressure settings is key. This feature allows you to tailor the force to the specific type of glass and grime you’re dealing with. A unit that offers between 1000 to 2000 PSI is generally suitable for most residential glass without risking damage.
Key Features to Consider
When evaluating different models, keep an eye out for the following attributes:
| Feature | Importance |
|---|---|
| Pressure Adjustment | Allows for safe use on various surfaces |
| Nozzle Types | Different angles for effective application |
| Length of Hose | Increases reach without needing a ladder |
| Weight | Consider portability and ease of use |
| Attachments | Specialty tools enhance versatility |
Recommendations Based on Experience
I’ve found that electric models are often lighter and quieter, making them suitable for residential use. However, if you have larger areas or tough stains, a gas-powered option might be beneficial for its higher output. Always test the equipment on a small section first to gauge effectiveness and adjust settings as necessary.
For additional insights into various cleaning methods, including cleaning roof tiles 3 techniques at a glance, consider exploring resources that can expand your knowledge further. This will help you make an informed choice tailored to your specific needs.
Preparing Your Windows for Pressure Washing
Before tackling the task of cleaning your glass surfaces, ensure you take the necessary steps to prepare them adequately. A few moments spent on preparation can significantly improve your results and protect your windows from potential damage.
- Inspect for Damage: Carefully check for cracks, chips, or other vulnerabilities in the glass. If you find any, consider repairing them before proceeding.
- Remove Obstructions: Clear away any items near the windows, such as flower pots, furniture, or decorations. This creates a safe working area and prevents potential accidents.
- Close Windows: Ensure all openings are tightly shut to prevent water from entering your home. Seals can wear out over time, so double-check their condition.
- Secure Screens: If your frames have screens, either remove them or ensure they are firmly in place. Screens can get damaged during the cleaning process if they’re not secured.
- Choose the Right Time: Avoid cleaning during direct sunlight, as this can cause water to dry too quickly, leading to streaks. Opt for overcast days or early mornings.
During my years of experience, I’ve seen how these simple preparations can make a world of difference. One time, I neglected to check for loose screens, resulting in a frustrating chase after a flying screen that caught the wind. Lesson learned–always prepare properly!
Lastly, gather your equipment and make sure everything is in working order. A quick test run can save you from interruptions later on. Having everything ready before you begin will streamline the process and enhance your overall experience.
Selecting the Correct Nozzle for the Job
For optimal results, choose a nozzle that matches the task at hand. For delicate surfaces, like glass, I recommend using a 25-degree or 40-degree nozzle. These wider spray patterns provide a gentler touch, preventing potential damage while ensuring thorough rinsing. When I first started out, I made the mistake of using a more concentrated jet, which led to noticeable streaks and even some chips on the edges of the panes.
Conversely, when tackling tougher grime or build-up, a 15-degree nozzle works wonders. This narrow spray is powerful, cutting through stubborn residues, but use it cautiously; maintain a safe distance to avoid harming the surface. I had a client who was sceptical about the effectiveness of the 15-degree nozzle until I demonstrated its capabilities on their heavily soiled frames, leaving them impressed.
For those tricky corners and tight spaces, consider a rotating or turbo nozzle. This design combines the power of a narrow spray with the coverage of a wider one, effectively addressing areas that are often overlooked. During a recent job, I discovered how much easier it was to reach those hard-to-get spots by simply switching to this type.
Keep in mind the material of the surface too. For metal or painted surfaces, a less aggressive approach is needed. Always assess the condition of the area before proceeding. I’ve learned over the years that a little caution can save a lot of time and money in repairs.
Lastly, remember to test the nozzle on a small, inconspicuous area first. This simple step can save you from any unpleasant surprises. I’ve had moments where a particular nozzle approach yielded unexpected results, and a quick test could have avoided that hassle.
Mixing the Appropriate Cleaning Solution
For optimal results, combine a quality detergent with water in a separate container before application. I typically use a ratio of one part cleaner to five parts water, but it may vary based on the product specifications. Always check the label for specific instructions, as some formulations are more concentrated than others.
Selecting the Right Detergent
Choose a detergent designed for exterior surfaces. Products containing surfactants aid in breaking down grime and debris. I once experimented with a generic brand, and while it worked decently, a specialised formula made a noticeable difference in the clarity of the glass. Brands that focus on eco-friendly solutions are also worth considering, as they tend to be gentler on the environment and your surrounding plants.
Safety Precautions
Wear protective gear, including gloves and goggles, when mixing and applying your solution. I learned the hard way that even mild chemicals can irritate your skin or eyes. Always store any unused mixture in a labelled container, away from children and pets, to prevent accidents. After tackling your task, rinse the area thoroughly to remove any residue. For more tips on maintaining cleanliness, check out this guide on how to clean the plastic strip on a shower door ultimate guide.
Adjusting Pressure Settings for Safe Cleaning
Start by setting your device to a low pressure, typically around 1,200 to 1,500 PSI. This range is sufficient for most surfaces without risking damage. I’ve seen too many mishaps from using excessive force; shattered glass or stripped paint are all too common when pressure is too high.
Before diving into the task, test the pressure on a small inconspicuous area. This helps gauge the impact on the surface and adjust accordingly. In my experience, it’s always better to begin softer and increase pressure as necessary rather than starting too strong.
Use a fan spray pattern while adjusting the settings. This distributes water more evenly and reduces the risk of causing harm. I recall a time when I switched to a narrow stream too quickly, leaving an unsightly mark that took extra effort to rectify.
If your equipment has varying settings for different tasks, consider using the dedicated mode for delicate surfaces. Some models offer specific adjustments that enhance safety while ensuring thorough results. I once worked with a multi-functional unit that had a gentle mode, which was a game changer for sensitive materials.
Always pay attention to the distance from the surface as you operate. Keeping a distance of around 3 to 4 feet allows for effective cleaning while minimising risks. I’ve made the mistake of getting too close, which led to unintended damage; learning from that was key.
Lastly, remember that environmental factors play a role. Wind can carry debris and spray back towards you, so adjust your angle and pressure to counteract this. I’ve had a few surprise showers from my own equipment when I didn’t account for the breeze. Stay aware, and you’ll maintain control throughout the process.
Techniques for Washing Different Types of Windows
For those tricky double-glazed units, I recommend starting at the top and working down. Use a wide-spray nozzle to prevent water from getting trapped between the panes. Ensure the angle is slightly tilted down to avoid forcing water inside. I’ve found that a dedicated glass cleaner mixed with water works wonders when applied before rinsing. It helps to break down grime effectively.
Single-Pane and Storm Windows
For single-pane and storm models, I’ve had great success using a medium-pressure setting. An adjustable nozzle is key here. Start with a fan spray to loosen dirt, then switch to a tighter stream for stubborn spots. Always keep a safe distance to avoid shattering. If you notice any paint or stubborn stains, a targeted approach using a concentrated cleaner can save you time and effort.
High and Hard-to-Reach Areas
When tackling elevated or difficult spots, I recommend using an extension wand. This not only keeps you safe but also allows better reach. Set your equipment to a lower pressure to avoid damaging the surface. A rotating nozzle can be a game changer, as it covers more area while remaining gentle. For those high-up frames, a soft-bristle brush attachment can help lift dirt without scratching the finish.

Ensuring Safety During the Pressure Washing Process
Always wear protective gear, including goggles, gloves, and non-slip footwear. A good pair of safety glasses will shield your eyes from debris and chemicals. Gloves protect your hands from harsh solutions and minimise the risk of injury from high-pressure water streams.
- Assess the Area: Before starting, inspect the environment. Look for power lines, loose objects, or slippery surfaces that may pose a hazard.
- Secure Surroundings: Clear the area of furniture, plants, or any items that may get damaged or obstruct your path. Consider placing a tarp or plastic sheet to protect the ground.
- Check Equipment: Ensure the equipment is in good condition. Inspect hoses for leaks and connections for tightness before use.
- Understand Your Equipment: Familiarise yourself with the manual and controls of your machine. Knowing how to operate it properly minimizes risks.
I’ve seen firsthand the importance of understanding the equipment. One time, I didn’t check the hose connections properly. Mid-wash, the hose slipped out, spraying water everywhere, and I nearly lost my balance. Always double-check everything.
- Maintain a Safe Distance: Keep a safe distance from surfaces being treated. High-pressure water can cause injury if aimed at people or pets.
- Use the Right Ladder: If working from heights, ensure your ladder is stable and suitable for the task. Never overreach; it’s safer to reposition the ladder.
- Be Mindful of Weather: Avoid working in wet or windy conditions. Rain can make surfaces slippery, and wind can blow debris into your path.
- Have a First Aid Kit Ready: Always keep a first aid kit on hand. Accidents can happen, and it’s best to be prepared.
During one project, I had a minor cut from a sharp piece of metal while cleaning a building. Luckily, I had a first aid kit nearby, which allowed me to address it quickly.
Lastly, if you’re using solutions, consider the potential hazards. Read labels carefully and use them in well-ventilated areas to avoid inhaling fumes.
Post-Cleaning Care and Maintenance for Windows
After you’ve tackled the grime on your panes, it’s time to focus on upkeep. Start by inspecting the seals and frames for any signs of damage. If you notice any gaps or cracks, seal them promptly to prevent moisture intrusion, which can lead to more serious issues.
Next, consider applying a protective treatment to the glass. Products designed to repel dirt and water can make future clean-ups easier. I’ve personally used hydrophobic sprays that create a barrier, reducing the frequency of washing needed.
Regularly wipe down your frames and sills. A simple damp cloth can remove dust and debris that accumulates over time. This maintenance prevents build-up and keeps your fixtures looking sharp.
Pay attention to the weather. After heavy rain or storms, check for any residue left on your glass. Quick touch-ups can help maintain clarity and prevent staining from water spots.
Finally, schedule a thorough inspection at least once a year. This proactive approach allows you to catch any potential issues before they escalate. It’s a small investment of time that pays off in the long run, ensuring your views remain unobstructed and your glass stays in top condition.
.jpg)


