
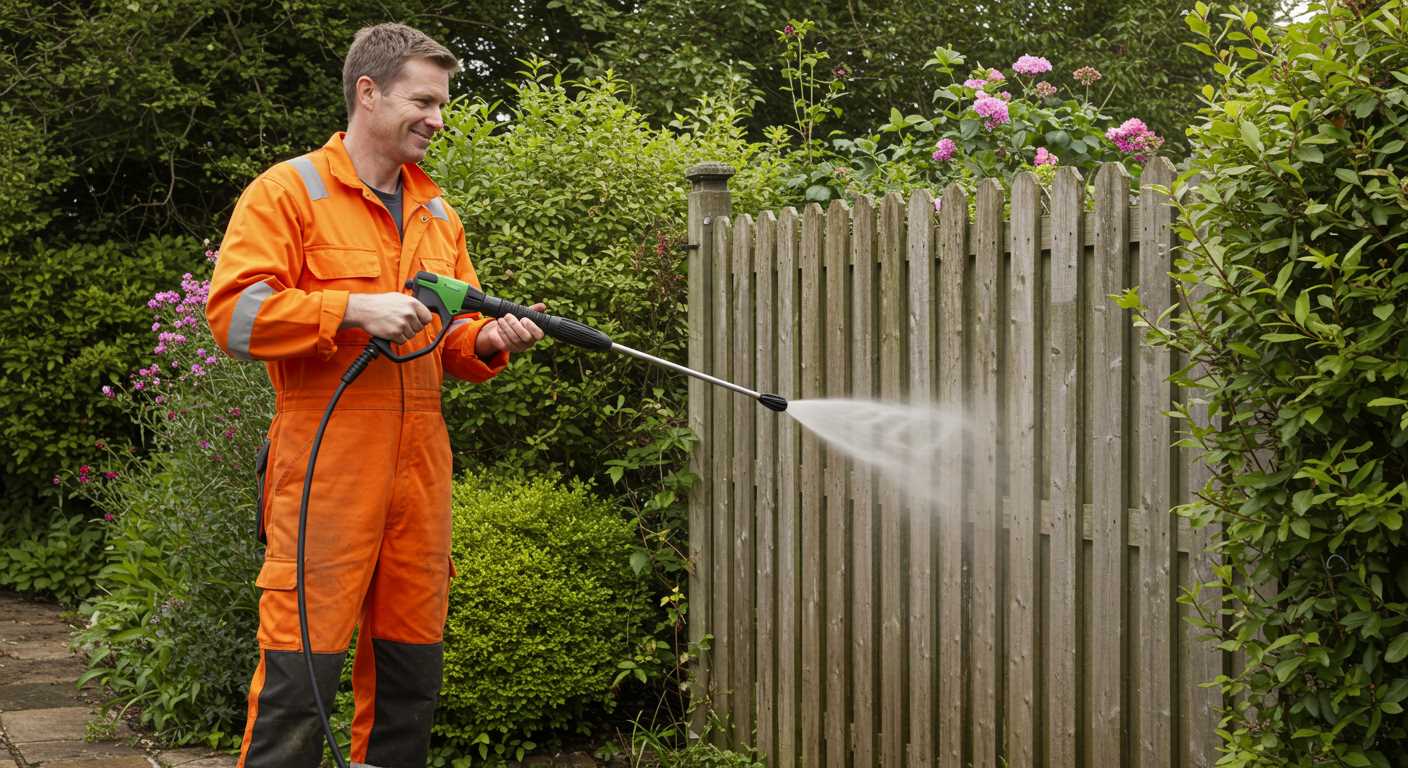


The best approach is to begin with the right nozzle. A 25-degree nozzle typically works wonders; it strikes the perfect balance between power and precision, ensuring that the glass remains unharmed while effectively removing grime. During my years in the cleaning equipment industry, I discovered that the fan pattern allows for broader coverage, reducing the time spent on each panel.
Before tackling the task, thoroughly rinse the glass to remove loose dirt and debris. This simple step prevents scratching and enhances the overall outcome. I recall a time when I skipped this part, and the results were far from satisfactory. A quick rinse can be a game changer, transforming a tedious chore into a swift process.
Adjusting the pressure is equally significant. Too much force can lead to damage, especially on older frames. I’ve encountered many situations where clients were hesitant to use their machine at lower settings, but I assured them that a gentle touch often yields the best results. It’s about being smart with your equipment rather than relying solely on brute strength.

Remember the importance of a consistent distance. Keeping the sprayer about two feet away from the surface allows for an even application of water, combining efficiency and gentleness. I’ve learned that moving in a steady, sweeping motion ensures that no area is missed, preventing streaking and leaving a flawless finish.
Finally, never underestimate the power of a squeegee after using a sprayer. The combination of both methods not only enhances visibility but also provides a professional appearance. I often recommend this finishing touch to anyone looking to achieve that pristine look. My experience has shown that these steps can turn a mundane task into a satisfying accomplishment.
Effective Techniques for Window Maintenance Using a Power Sprayer
Begin by selecting the right nozzle. A 25-degree or 40-degree nozzle is ideal for delicate surfaces. The narrower the spray pattern, the more concentrated the force, which can cause damage.
Before you start, ensure that the area around the glass is free from obstacles. Move any furniture or decorations that might obstruct your path. It’s crucial to protect nearby surfaces from overspray.
- Preparation: Use a soft brush to remove any loose dirt or debris. This step prevents scratching the glass during the process.
- Dilution: Mix your cleaning solution according to the manufacturer’s instructions. Avoid using harsh chemicals that can leave residues.
- Application: Starting at the top, apply the solution evenly across the surface. Let it sit for a few minutes to break down grime.
- Rinsing: Use the power sprayer on a low-pressure setting to rinse from the top down. This method ensures that any remaining solution flows downwards, reducing streaks.
- Inspection: After rinsing, check for spots you might have missed. If necessary, repeat the process on those areas.
During my years in the field, I’ve learned that timing matters. Avoid working in direct sunlight, as it can cause cleaning solutions to dry too quickly, leading to streaks and marks. Early mornings or late afternoons are perfect for this task.
Don’t overlook maintenance. Regular upkeep reduces the need for intensive cleaning sessions. A simple rinse every few weeks can keep surfaces clear of dust and grime buildup.
Lastly, always wear safety gear. Protective eyewear and gloves can prevent injuries from chemicals and flying debris. Remember, a little caution goes a long way.
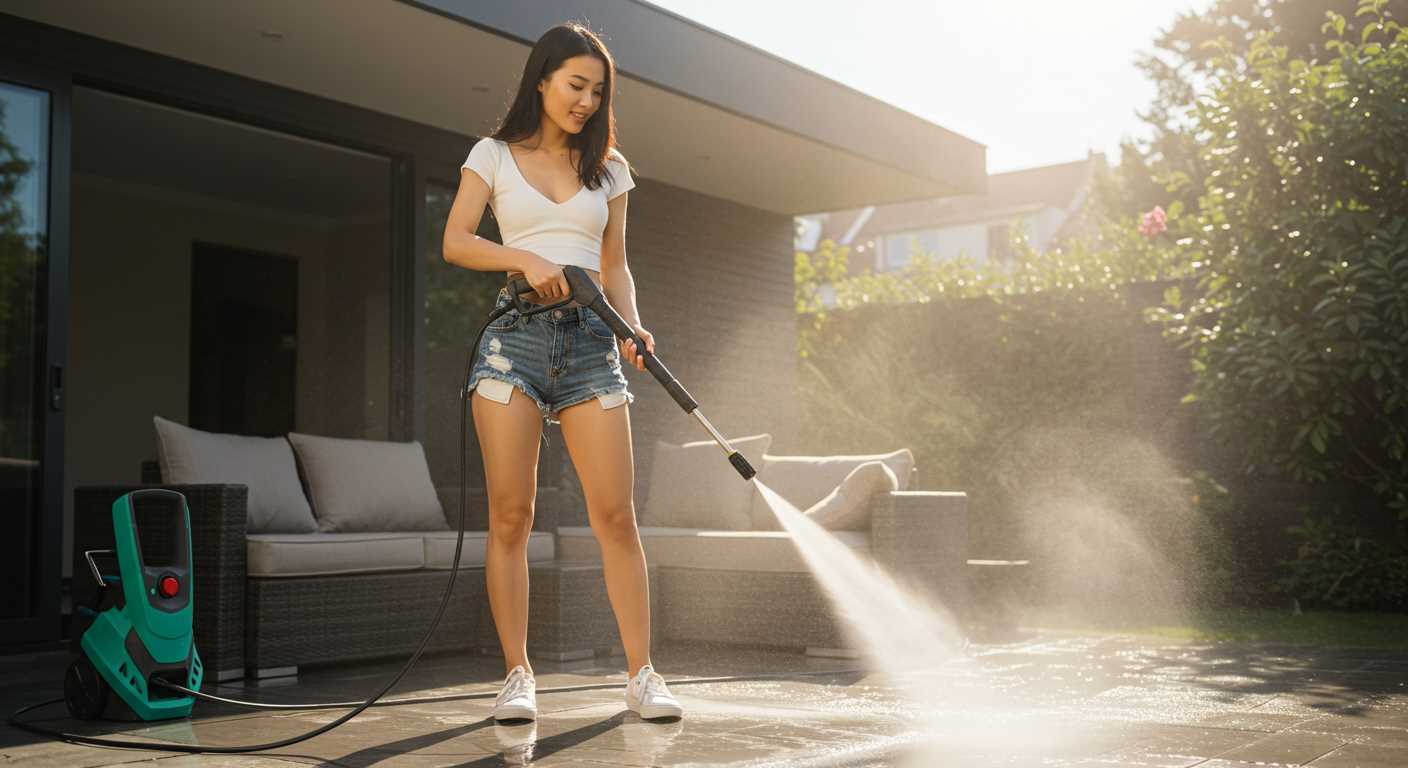
Choosing the Right Pressure Washer for Window Cleaning
For effective results, opt for a unit delivering around 1500 to 2000 PSI. I’ve found this range ideal for achieving a thorough finish without risking damage to surfaces. Too much force can lead to unintended consequences, such as cracking glass or dislodging seals.
Pay close attention to the flow rate, measured in gallons per minute (GPM). A model with a minimum of 1.4 GPM works well, allowing for adequate water volume to rinse away dirt and grime. I remember testing one machine with a lower flow rate; it left streaks that required additional scrubbing.
Types of Detergents
Utilise a detergent specifically designed for glass surfaces. I’ve experimented with various cleaning agents, and those formulated for this purpose produce the best results when paired with the right equipment. Ensure the washer has a detergent tank or a siphon attachment for easy application.
Attachments and Accessories
Selecting the right nozzle is crucial. A 25-degree or 40-degree nozzle is preferred for working on glass, as it provides a broader spray pattern. I recall using a narrow nozzle once and regretted it; the concentrated stream left marks and required more effort to fix. Additionally, consider a telescoping wand for hard-to-reach areas. This accessory made a significant difference during my own projects, saving time and effort.
In my experience, investing in a reliable unit pays off. Look for brands with a solid reputation, and read reviews to gauge performance. Remember, a well-chosen model will simplify your task and enhance the outcome.
Preparing Your Windows for Pressure Washing
Before starting the task, ensure all items obstructing access are removed. This includes plants, furniture, and decorations near the glass surfaces. A clear area allows for better manoeuvrability and prevents damage.
Next, inspect the frames and seals. Look for any existing cracks or damage. Repairing these issues beforehand can prevent water seepage during the process.
Cover any sensitive areas. Use plastic sheeting or tarps to protect nearby surfaces, including the ground, walls, or surrounding structures. This prevents splashes and potential damage from the cleaning solution.
Check the weather conditions. Avoid pressure washing on windy or rainy days. Ideal conditions are dry and calm, as this helps the detergent work effectively and reduces the risk of streaks.
Gather your cleaning supplies:
- Appropriate detergent suitable for the surface type.
- Soft-bristled brush for stubborn spots.
- Microfibre cloths for detailing after washing.
Lastly, ensure your equipment is ready. Check hoses for leaks, and ensure all connections are secure. Having everything in order will streamline the process and ensure a successful outcome.
Selecting the Appropriate Nozzle for Window Cleaning
Choosing the right nozzle is pivotal for achieving clear results. I recall a time when I underestimated the impact of nozzle selection. Opting for a narrow jet, I ended up with streaks rather than the spotless finish I aimed for. My go-to recommendation is the fan spray nozzle, typically rated at 25 degrees. This nozzle disperses water in a broader pattern, ensuring even coverage without risking damage.
For delicate surfaces, like tinted glass, a low-pressure soap nozzle can be a game changer. It applies cleaning solution gently, allowing it to penetrate dirt without the risk of chipping or cracking. I remember a client with vintage windows who was apprehensive about pressure washing. Switching to that soap nozzle transformed their outlook, giving them confidence in the process.
Consider the material of your frames and any protective coatings. If working with wooden frames, a wider angle nozzle will help avoid splintering. Metal frames, on the other hand, can handle a bit more intensity, but still benefit from a more gentle approach. I often suggest a quick test on a small area to ensure compatibility before proceeding.
Don’t overlook the potential of adjustable nozzles. They offer versatility, allowing you to switch between different spray patterns without the hassle of changing attachments. This is particularly useful when tackling various surfaces around the property. I’ve found them invaluable during extensive cleaning jobs where time is of the essence.
Lastly, always ensure your nozzle is clean. A clogged or damaged nozzle can lead to uneven pressure and, ultimately, unsatisfactory results. Regular maintenance of your equipment is key. I’ve seen firsthand how a small issue can escalate into a major setback.
Mixing Cleaning Solutions for Best Results
The right combination of cleaning agents can significantly enhance the efficiency of your equipment. My experience has taught me a few key mixtures that yield outstanding results.
- Basic Solution: Combine one part white vinegar with three parts water. This mixture effectively tackles grime and is safe for most surfaces.
- Streak-Free Formula: Mix equal parts of distilled water and isopropyl alcohol. This blend leaves surfaces crystal clear, perfect for finishing touches.
- Heavy-Duty Cleaner: For stubborn stains, use a solution of one cup of ammonia diluted in a gallon of water. Apply sparingly, as ammonia can be harsh on certain materials.
Always test your mixture on a small, inconspicuous area first. This step saves potential damage and ensures compatibility with the surface being treated.
When preparing a cleaning solution, consider the following:
- Concentration: Adjust the concentration based on the level of dirt. Heavily soiled areas may require stronger solutions.
- Temperature: Warm water can enhance the effectiveness of many cleaning agents, aiding in the breakdown of stubborn residues.
- Order of Mixing: Always add the cleaner to water, not the other way around. This prevents splattering and ensures even distribution.
In my early days, I once made the mistake of mixing two different cleaners without research. The result was a foamy mess that clogged my nozzle, wasting time and effort. Avoiding such pitfalls is key to a smooth operation.
Finally, store any leftover solutions properly in labelled containers to prevent accidental misuse. Keeping a clean workspace not only aids in efficiency but also ensures safety.
Setting Up Your Pressure Washer Safely
Before you start any cleaning task, ensure the area is free from obstacles. I always recommend surveying the surroundings for loose items, such as furniture or garden decorations, that could get damaged or obstruct your work. A clear path makes the entire process smoother and safer.
Check the power source. Whether you’re using an electric or gas model, ensure that connections are secure. For electric units, use an outdoor-rated extension cord to prevent any electrical hazards. Gas models should be positioned on a stable, flat surface to avoid spills.
Always wear appropriate personal protective equipment (PPE). At a minimum, I suggest safety goggles, gloves, and sturdy footwear. During my earlier days in the field, I learned the hard way that flying debris can cause serious injuries, so don’t skip this step.
Next, inspect your equipment. Before powering up, look for any signs of wear or damage. Cables should be intact, and hoses free of leaks. I once came across a frayed hose that led to a sudden burst, sending water everywhere. Preventing such issues starts with a thorough check.
It’s advisable to set up in a well-ventilated area, especially if you’re using chemicals. I’ve often found that inadequate ventilation can lead to headaches or discomfort, particularly when mixing cleaning solutions. Make your setup a priority to avoid these situations.
Lastly, keep a fire extinguisher nearby if using gas. Accidents can happen, and being prepared is key. In my experience, having the right safety measures in place allows you to focus on the task at hand without unnecessary distractions.
| Item | Recommendation |
|---|---|
| Power Source | Secure and suitable connections |
| Protective Gear | Safety goggles, gloves, sturdy footwear |
| Equipment Check | Inspect hoses and cables for damage |
| Ventilation | Ensure proper airflow when using chemicals |
| Emergency Preparedness | Keep a fire extinguisher nearby |
Techniques for Cleaning Different Types of Windows
For tinted panes, a gentle approach is key. I recall a time when I used too much force, leading to streaks that were difficult to remove. Instead, I opted for a wider angle nozzle and maintained a distance of at least 3 feet. This method prevented any damage while effectively removing dirt.
For double-glazed units, focus on the edges where grime tends to accumulate. Using a concentrated cleaning solution on a low-pressure setting allowed me to penetrate those tight spots without risking seal integrity. I’ve found that working from the top down helps avoid drips that could mar lower sections.
Cleaning Skylights and High-Rise Panels
Skylights require special attention due to their angles. I often use an extension wand, which gives me the reach I need. A fan spray pattern works wonders, evenly distributing the cleaning agent while minimising splashback. Always ensure that you’re not too close, as the glass can be more fragile than standard panes.

Handling Decorative or Stained Glass
For decorative pieces, it’s crucial to use a softer touch. I’ve learned that a low-pressure rinse combined with a mild cleaner preserves the beauty and integrity of the glass. Avoiding abrasive brushes is essential; a soft cloth attachment on the nozzle does the trick without causing scratches.
Always assess the type of glass and the surrounding environment before beginning. Each surface has its quirks, and adapting your technique can save time and effort while ensuring a thorough job.
Common Mistakes to Avoid When Pressure Washing Windows
Never underestimate the power of distance. Keeping the nozzle too close can lead to damage on the surface, causing cracks or chips. Always maintain a safe distance, usually around 3 to 4 feet, depending on the model you are using.
Mixing cleaning agents haphazardly is another pitfall. I recall a time when I combined different solutions, thinking it would enhance the result. Instead, it created a gunky mess that was harder to remove. Stick to manufacturer recommendations for mixing cleaning solutions.

Ignoring the weather conditions can also ruin your efforts. On windy days, debris and dirt can blow back onto the surface, negating your hard work. Aim for a calm day; this will ensure the cleaning solution stays where you apply it.
Using the incorrect nozzle can lead to poor performance. I once used a narrow nozzle designed for tough stains on a delicate surface and ended up with scratches. Always select the appropriate tip for the task at hand; a wide fan nozzle is often best for softer surfaces.
Another mistake is to rush the process. I’ve seen many people speed through the job, thinking they’ll save time. Take your time to ensure every area is covered evenly. A thorough approach yields better results, saving you from having to redo sections later.
Lastly, neglecting safety precautions can lead to injuries. I’ve had my share of close calls. Always wear protective gear, including goggles and gloves, to shield yourself from the spray and chemicals. Remember, a budget pressure washer for car detailing can be effective, but safety should always come first.
Each of these oversights can turn a simple task into a frustrating experience. Learning from them will save you time and effort in the long run. And if you’re using air tools, ensure you have the best air compressor for engraving for optimal performance.
Post-Cleaning Care and Maintenance for Windows
Once you’ve finished washing your glass surfaces, immediate attention to maintenance is crucial. First, inspect each pane for streaks or spots. If you notice any imperfections, a microfibre cloth lightly dampened with a vinegar solution can swiftly resolve the issue. This method is effective in eliminating any remaining residue without scratching the surface.
Preventive Measures
Keep your windows in pristine condition by applying a protective sealant every six months. This not only enhances shine but also provides a barrier against dirt and grime accumulation. Additionally, consider installing screens to minimise the impact of dust and pollen, especially during the spring and autumn seasons.
Regular Check-Ups

Establish a routine for inspecting the frames and seals around your panes. Look for signs of wear and tear, such as cracks or peeling paint, and address these issues promptly. A well-maintained frame can prevent moisture damage and prolong the lifespan of the glass itself. Document any repairs needed and keep track of your last maintenance date to ensure you stay on top of things.
| Maintenance Task | Frequency | Notes |
|---|---|---|
| Inspect for streaks | After each wash | Use vinegar solution for touch-ups |
| Apply protective sealant | Every 6 months | Enhances shine and protects against grime |
| Check frames and seals | Every 3 months | Repair any damage immediately |
Incorporating these practices will ensure your glass remains clear and inviting while extending the life of the installation. A little effort now will save time and resources in the long run.

.jpg)


