
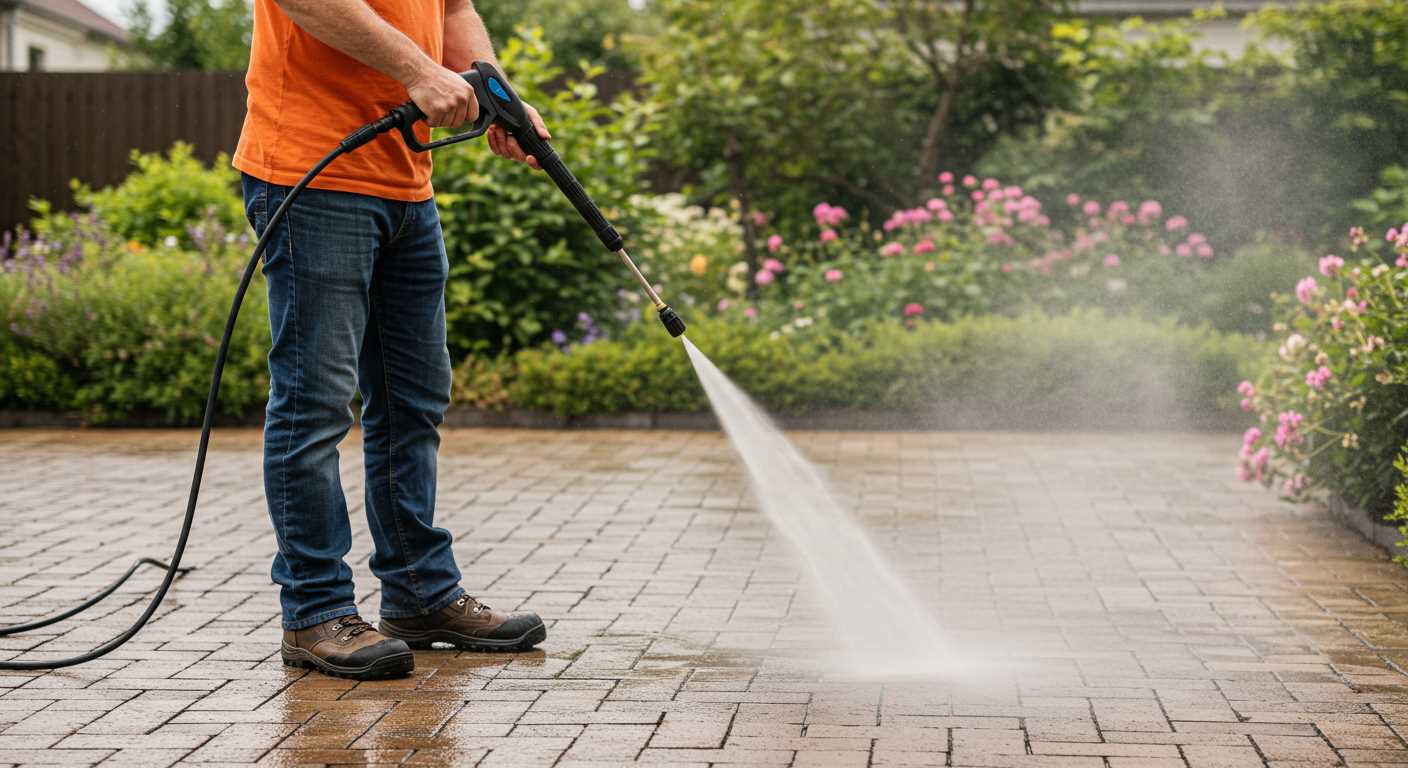


Begin with a thorough rinse, ensuring all loose dirt and grime are washed away. I recall the first time I employed this method; the transformation was astonishing. The key is to maintain a safe distance–approximately 2 feet–from the surface to prevent damage while effectively dislodging dirt.
Next, select an appropriate nozzle; a 25-degree spray is typically optimal for most surfaces. During my time testing various models, I found that the right attachment can make all the difference. I often switch between narrow and wide spray patterns to tackle stubborn spots and larger areas efficiently.
Don’t underestimate the power of detergent. Using a dedicated vehicle cleaning solution can enhance the results significantly. I learned this lesson after a few attempts with standard soap; the specialised formulas really lift away oils and road grime. Just remember to follow the manufacturer’s recommendations for dilution and application.

After applying the soap, let it sit for a few minutes to break down the dirt–timing is crucial here. On one occasion, I rushed this step, and it resulted in extra scrubbing later, which could have been avoided. Rinse thoroughly, ensuring no residue is left behind, as this can lead to streaks or spots once dried.
Finally, dry the vehicle with a microfibre cloth or chamois to avoid water spots. I’ve found that taking this extra step makes a noticeable difference in the overall finish. Trust me, the satisfaction of seeing a gleaming exterior truly makes the effort worthwhile.
Efficient Techniques for Vehicle Maintenance with a High-Pressure Device
Begin by selecting the appropriate nozzle for the task. A 25-degree or 40-degree nozzle works well for exterior surfaces, while a 15-degree nozzle is ideal for removing stubborn grime.
Ensure the machine is set to a low pressure before starting to avoid damaging paintwork. Here’s a step-by-step approach:
- Rinse the vehicle thoroughly with water to remove loose dirt.
- Apply a suitable detergent using a foam cannon. Allow it to sit for a few minutes to break down dirt.
- Using the high-pressure device, start from the top and work your way down, keeping the nozzle at least 2 feet away from the surface.
- Pay special attention to wheel arches and undercarriage, as these areas collect significant dirt.
- Finish by rinsing off all detergent, ensuring no residue remains.
After washing, consider investing in a garden water hose for pressure washer to simplify your setup. This will improve your water flow and make the entire process smoother.
Finally, drying the vehicle with a microfiber cloth prevents water spots and enhances shine. Regular maintenance will keep your vehicle looking fresh and new.
Selecting the Right Pressure Washer for Your Vehicle
Choose a model with a pressure rating between 1200 to 1900 PSI. This range provides enough power to tackle dirt without risking damage to delicate surfaces like paint and trim. I once used a 1400 PSI unit on my own vehicle, and it worked wonders, effortlessly removing grime while being gentle enough for the finish.
Electric vs. Gas Models
Electric units are ideal for home use. They’re lighter, quieter, and require less maintenance. I remember my first electric model; it was compact and easy to set up, perfect for those quick washes after a weekend getaway. On the flip side, gas-powered machines deliver higher pressure and flow rates, making them suitable for heavy-duty tasks. However, they are bulkier and need more upkeep.
Features to Look For
Consider options like adjustable nozzles and detergent tanks. Adjustable nozzles allow you to switch between different spray patterns, which I found incredibly useful for reaching tight spots. A built-in detergent tank simplifies the process of applying cleaning solutions, making the task quicker and more efficient. I once used a unit with a detergent feature, and it saved me so much time on a muddy day.
Finally, check for portability. Look for wheels and a lightweight design, especially if you plan to move it around. A portable model can make a significant difference; I’ve struggled with heavier machines in the past, but a well-designed unit made my experience much more enjoyable.
Preparing Your Vehicle for High-Pressure Cleaning
Before you begin with the high-pressure equipment, ensure all windows are closed tightly. I’ve seen many instances where a tiny crack allowed water to seep in, leading to electrical issues or soaked interiors. Pay special attention to sunroofs and door seals; a quick check can save you headaches later.
Remove any personal items from the interior. Loose change, sunglasses, and other belongings can shift during the process, potentially causing damage or getting lost. Additionally, take out floor mats and any removable accessories. This not only protects your possessions but also allows for a thorough wash of the surfaces.
Protecting Sensitive Areas
Cover delicate components such as cameras, sensors, and electronic systems with plastic bags or cling film. I’ve had clients who neglected this step, only to face costly repairs because sensors got wet. Be especially cautious around the engine bay and wheel wells, where dirt and debris can accumulate. A quick wipe down with a cloth before starting will help prevent any unwanted surprises.
Rinsing Off Loose Dirt
Before applying any cleaning solutions, it’s wise to give the exterior a quick rinse with plain water. This removes loose dirt and grit, reducing the risk of scratches when you apply soaps or other cleaning solutions. I typically recommend starting from the top and working downwards, ensuring the grime flows away from the painted surfaces. It’s a simple trick that can make a significant difference in the final result.
Choosing the Correct Nozzle for Car Cleaning
For optimal results, select a nozzle that suits the task at hand. The right nozzle can make a significant difference in achieving a spotless finish without damaging the vehicle’s surface.
Generally, nozzles are categorised by their spray angle, which affects the pressure and width of the water stream. Here’s a quick breakdown:
| Angle | Type of Use |
|---|---|
| 0° | Direct, powerful jet; suitable for stubborn grime but can cause damage to paint and trim. |
| 15° | Great for heavy-duty cleaning; still powerful but safer than the 0° nozzle. |
| 25° | Versatile choice; effective for general washing without risking damage. |
| 40° | Gentle spray; ideal for rinsing off soap and final touches. |
| Soap nozzle | Designed for applying detergent; usually has a wider angle to mix soap with water. |
In my experience, the 25° nozzle is the most practical for regular upkeep. It strikes a balance between pressure and coverage, ensuring dirt is removed without risking scratches on the paint. I recall a time when I used a narrower nozzle on a friend’s vehicle, and it left marks on the surface–definitely a lesson learned!
For delicate areas, such as wheel rims or painted surfaces, the 40° nozzle is preferable. It allows for a thorough rinse without the risk of causing damage. If you find yourself needing to tackle algae or other stubborn residues in tight spaces, check out this guide on how to clean algae off aquarium decorations for tips that might be applicable.
Ultimately, having a selection of nozzles on hand can enhance your cleaning routine, making it more efficient while protecting the integrity of your vehicle’s finish.
Applying the Right Car Wash Soap with a Pressure Washer
Selecting the appropriate vehicle wash detergent is crucial for achieving a spotless finish. I’ve found that not all soaps are compatible with high-pressure equipment. A dedicated car wash solution is designed to lift grime without damaging the paintwork or protective coatings. Always choose a pH-balanced product; it maintains the integrity of the surfaces while effectively breaking down dirt.
Foam Cannons vs. Traditional Methods
Using a foam cannon with a pressure generator is one of my favourite methods. It creates a thick layer of suds that adheres to the surface, loosening dirt and debris. This method reduces the risk of scratching during the rinsing phase. When using this attachment, follow the manufacturer’s dilution instructions carefully; too much soap can lead to excessive foam that’s hard to rinse off.
Application Techniques
Apply the soap starting from the top sections, allowing it to flow downwards. This technique ensures that dirt doesn’t get pushed back onto already cleaned areas. I often let the suds dwell for a few minutes, as this enhances the cleaning action. After the dwell time, rinse thoroughly with plain water to avoid soap residue. A quick tip: keep a separate bucket for rinsing your wash mitt or sponge to prevent dirt reapplication.
After years of testing various products, I recommend avoiding household detergents. They often contain harsh chemicals that can damage finishes. Instead, invest in a quality car wash soap; it’s a small price to pay for protecting your investment.
Techniques for Safe Pressure Washing of Your Vehicle
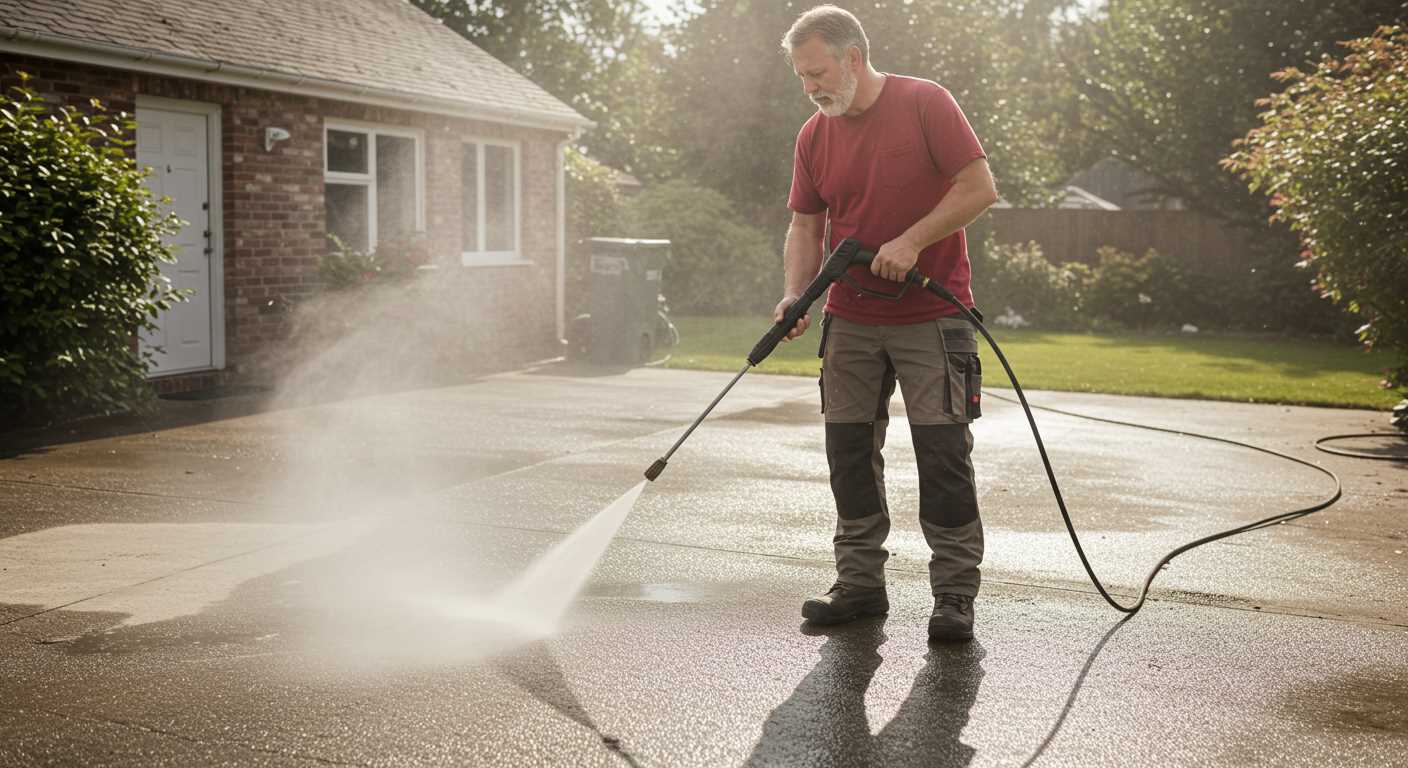
Maintain a safe distance of at least two feet from the surface while operating the equipment. This prevents damage to paintwork and seals. I recall a time when I got too close while cleaning a friend’s hatchback; the high intensity stripped away some clear coat. A lesson learnt the hard way!
Control the Angle
Angle the nozzle at around 45 degrees to avoid direct impacts on the paint, which can cause chips. I often shift the nozzle to spray from different angles as I work my way around the vehicle. This approach helps dislodge dirt without risking damage.

Avoid Sensitive Areas
Stay clear of electronic components, air intakes, and seals. Water can seep into these areas and lead to electrical issues or leaks. I’ve seen vehicles suffer from water damage after owners inadvertently sprayed sensitive spots. Always take a moment to assess the layout before starting.
Post-Wash Care: Drying and Waxing Your Vehicle
After rinsing off dirt and grime, proper drying is crucial. I always recommend using a microfiber towel. It absorbs moisture without scratching surfaces. Make sure to pat dry rather than wipe, which can create swirls. Work from the top down; this prevents water from running onto already dried areas.
- Start with the roof and work your way down to the wheels.
- Use separate towels for different sections to avoid cross-contamination of dirt.
- Check for missed spots before moving on to the waxing stage.
Once dried, it’s time for waxing. Applying wax not only enhances shine but also provides a protective layer. Choose a high-quality product that suits your finish type. I’ve found that liquid waxes are easier to apply and buff out than paste waxes, especially for beginners.
- Apply wax in small sections using an applicator pad.
- Allow it to haze over, which usually takes a few minutes.
- Buff off using a clean microfiber cloth, ensuring no residue is left behind.
For long-lasting results, consider using a sealant every few months in addition to regular waxing. This not only prolongs the shine but also makes future maintenance simpler. In my experience, consistent care with high-quality products yields the best results.
Lastly, don’t forget about the wheels and tyres. A dedicated tyre dressing product can make a significant difference in appearance. Apply it after you’ve dried and waxed the body to complete the look.
Common Mistakes to Avoid When Using a Pressure Washer
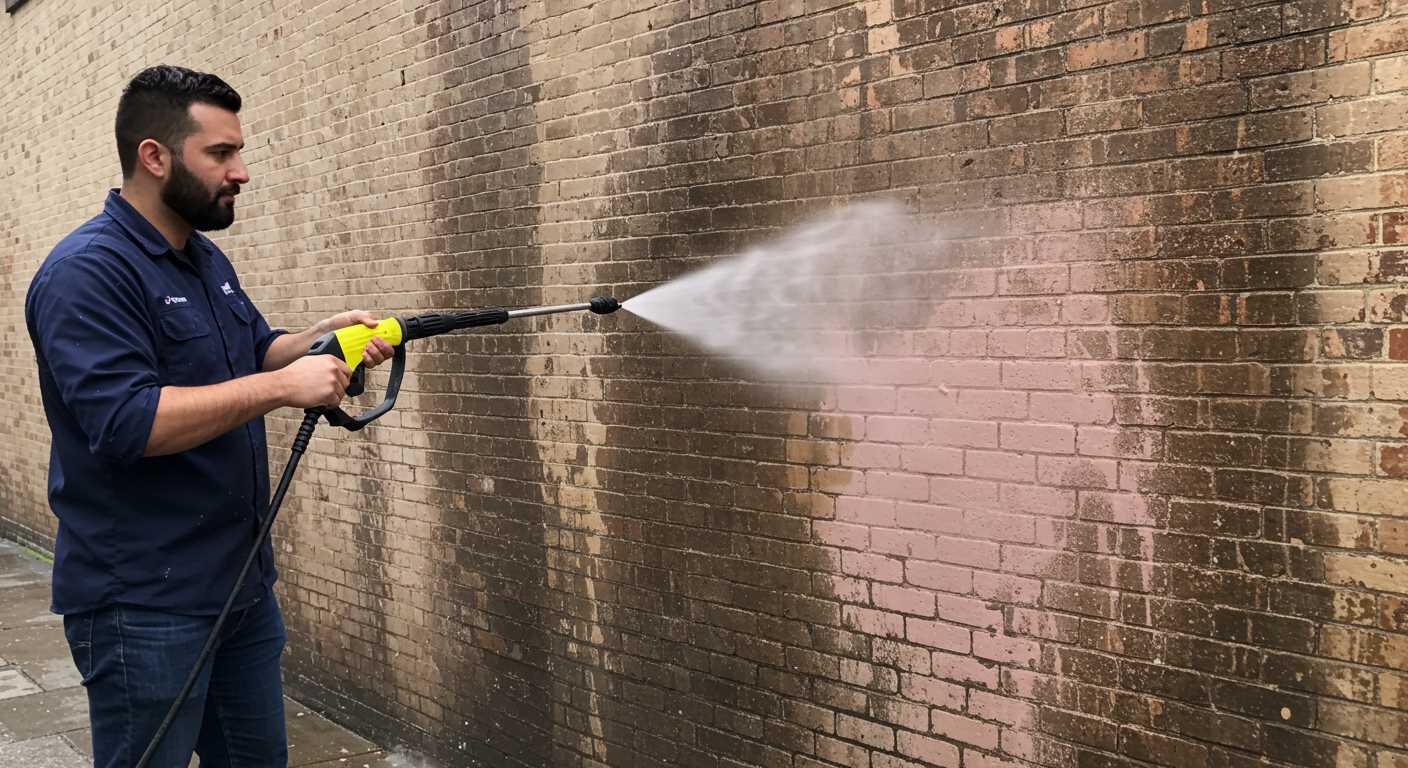
One of the biggest blunders I’ve seen is using the wrong nozzle. Opting for a narrow spray can lead to damage on delicate surfaces like paint. Always choose a wider angle for a gentler approach. My first attempt at washing my vehicle ended with some unfortunate scratches, a lesson learned the hard way.
Another frequent error is keeping the nozzle too close to the surface. Standing too near can strip paint or damage trim. Maintain a safe distance, typically around two feet, to prevent unnecessary harm. I recall a friend who had to repaint his entire hood after a mishap caused by getting too close.
Ignoring the Soap Application Process
Applying detergent directly without proper dilution is a recipe for disaster. Not only does it risk residues, but it can also cause streaks. I always mix soap according to the instructions, ensuring it works effectively without leaving marks. Remember to rinse thoroughly to avoid any leftover soap that could harm the finish.
Neglecting to pre-rinse the surface is another oversight. Dirt and grime can become more embedded when using a high-powered stream without loosening them first. I’ve found that a quick rinse helps lift the bulk of the dirt, making the entire process smoother and more efficient.
Failing to Maintain the Equipment
Regular maintenance of the machine itself is crucial. I’ve had my share of rough experiences with clogged nozzles and worn-out seals. Always check the equipment before starting, as a small issue can turn into a frustrating delay. Keeping everything in good shape not only enhances performance but also extends the life of the device.
Last but not least, underestimating the power settings can lead to missed spots. It’s tempting to turn the dial down, but that often leaves behind stubborn contaminants. Adjust the pressure according to the level of dirtiness, ensuring you effectively tackle all areas without causing damage.
.jpg)


