


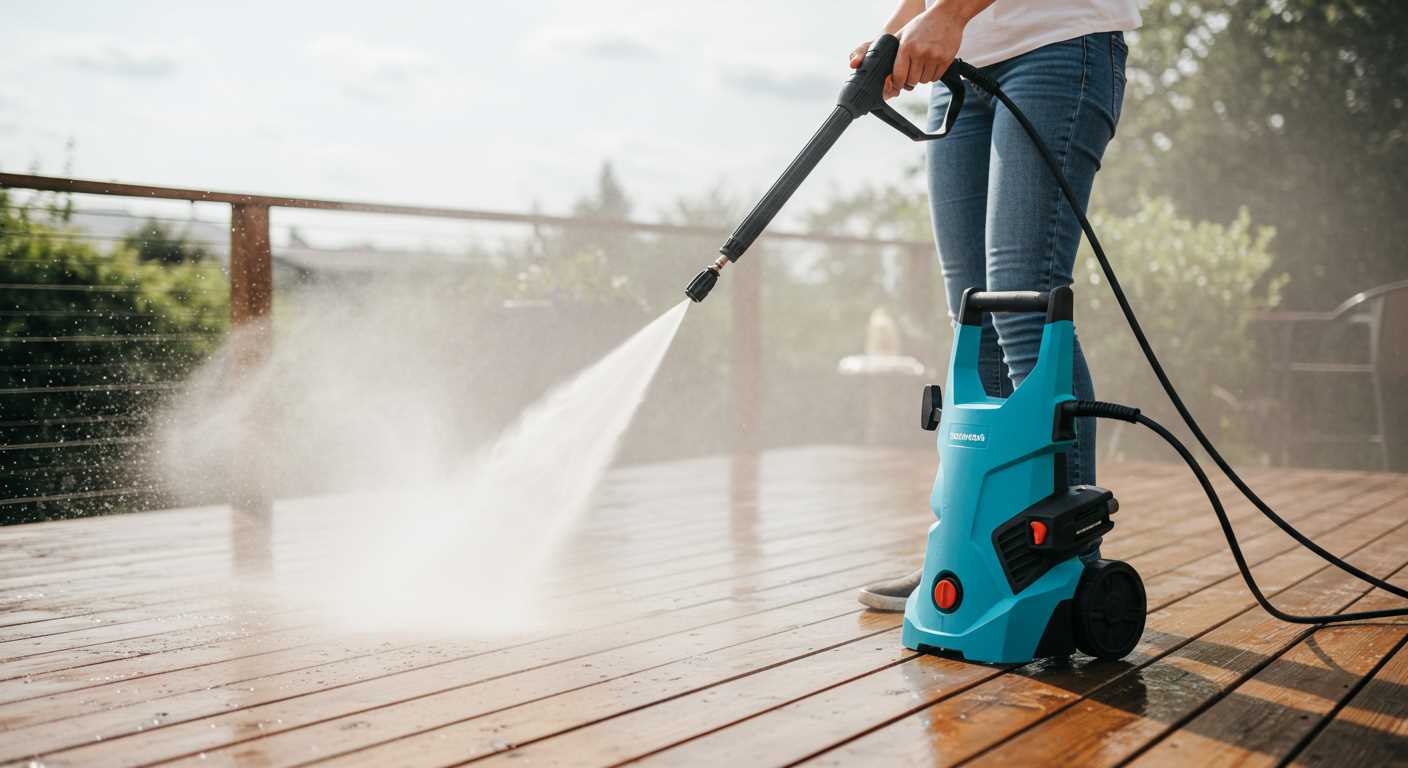
Before you even pull out the equipment, make sure to gather the right supplies: a suitable detergent, a foam lance, and a soft brush. This combination transforms the routine task into a thorough maintenance ritual that leaves the vehicle looking brand new. From personal experience, I can tell you that skipping these steps often leads to disappointing results. Trust me, the extra effort pays off.
Start by applying the detergent using the foam lance. It’s crucial to cover every inch, especially areas prone to grime and dirt accumulation. I’ve found that letting the foam sit for a few minutes allows it to break down stubborn stains more effectively. During one occasion, I noticed a significant difference in the ease of rinsing after letting the foam work its magic for a bit longer than usual.
Next comes the rinsing phase. This is where the real power of the machine shines. Position the nozzle at a slight angle to avoid damaging the paintwork while ensuring a thorough washout of all detergent and debris. I recommend standing back a bit for better coverage; getting too close can lead to unwanted scratches. One time, I got a bit too eager and ended up with a few swirl marks that took time to buff out.
After the rinse, using a soft brush on tough spots is a game-changer. It allows for a more detailed clean without the risk of scratching. I’ve learned through trial and error that paying attention to this step ensures a pristine finish and saves time on touch-ups later.
Finally, a thorough rinse will remove any residue from the cleaning solution. Make sure to dry the surfaces properly to prevent water spots. I often use a microfiber towel for this, as it absorbs moisture effectively while being gentle on the surface. Incorporating these steps consistently transformed my approach to automotive care, making it less of a chore and more of a rewarding experience.
Detailed Approach for Using a Karcher Device on Your Vehicle
Begin by selecting the right nozzle. A wide-angle spray is ideal for rinsing, while a narrow jet works for stubborn grime. I’ve found that using the 25-degree nozzle strikes the perfect balance between power and safety for the vehicle’s paintwork.
Before you start, ensure to remove any loose debris. A quick sweep with a soft brush or cloth will prevent scratching during the washing process. I remember a time when I skipped this step, and it resulted in unsightly swirl marks that took a while to polish out.
Next, use a dedicated vehicle shampoo instead of household cleaners. These products are formulated to be gentle yet effective. Mix the shampoo with water in the appropriate container, following the manufacturer’s instructions for dilution ratios, which I always double-check for best results.
Attach the foam cannon if you have one. This accessory allows for even distribution of the soapy mixture, which clings to the surface longer, breaking down dirt effectively. When I first tried this method, I was amazed at how much easier it was to rinse off the residue.
Work from the top down. Start at the roof and move downwards to avoid spreading dirt to already cleaned areas. I’ve made the mistake of washing from the bottom up, only to have dirt splatter back onto the freshly cleaned sections.
After applying the foam, let it sit for a few minutes. This dwell time allows the solution to penetrate and lift stubborn dirt. I often use this interval to clean the wheels and tyres with a dedicated brush and cleaner.
Once the foam has had its time, rinse thoroughly. Keep the nozzle at a distance of about 30 cm from the surface to avoid damage. I’ve learned that getting too close can chip paint, especially on older vehicles.
For stubborn spots, a gentle scrub with a soft mitt can do wonders. Always rinse the mitt frequently to avoid grinding dirt back into the paint. I can recall using a mitt without rinsing it properly and regretting the scratches left behind.
After rinsing, dry the vehicle using a microfibre towel to prevent water spots. I prefer this method over air drying, which can leave unsightly streaks.
For those considering alternatives, check out the sun joe electric pressure washer. It offers excellent performance for those looking for a reliable option.
This approach has served me well over the years, ensuring my vehicles always look their best without risking damage. Each step plays a critical role in achieving a pristine finish, so take your time and enjoy the process.
Choosing the Right Karcher Pressure Washer for Vehicle Maintenance
Opt for a model with a pressure rating between 120 and 180 bar for optimal results. This range provides sufficient force to eliminate dirt and grime without damaging delicate surfaces. In my experience, units with adjustable pressure settings offer versatility for various tasks, whether it’s a gentle wash or a more intense scrub.
Consider Accessories
Look for options that come with specific attachments designed for automotive care. A foam lance is invaluable for applying soap evenly, allowing the detergent to break down stubborn residues. Additionally, a rotating brush can significantly simplify the process of tackling tricky areas like wheel arches and bumpers. I once used a model equipped with these features and noticed a remarkable difference in the outcome.
Portability and Storage
Evaluate the weight and design of the unit. Lightweight models are easier to manoeuvre around the driveway and can be stored without hassle. I’ve tested numerous variants, and those with integrated wheels and compact frames make transportation much more manageable. Always consider the hose length as well; a longer hose grants greater reach without needing to reposition the machine frequently.
Preparing Your Vehicle for a Pressure Clean
Before starting the washing process, ensure all windows are tightly closed. This prevents water from seeping in and causing damage to the interior. It’s a simple step but often overlooked.
Remove any personal items and loose debris from the interior and trunk. This not only protects your belongings but also makes the entire process smoother. I once had a friend who forgot to take out a few items, and they ended up soaking wet, which was quite a hassle.
Inspect for Damage
Check the bodywork for scratches or dents. A thorough inspection allows you to assess if any areas require special attention. If your vehicle has any sensitive components, like aftermarket parts, take extra care to avoid them during the cleaning phase. I recall a time when I accidentally sprayed a sensitive sensor, which resulted in a costly repair.
Choose the Right Cleaning Agents
Utilise a pH-neutral shampoo designed for automotive surfaces. Avoid harsh chemicals that might damage the paint or finish. I’ve tested numerous products over the years, and sticking to gentle, car-specific detergents makes a noticeable difference in the final appearance.
Lastly, always consider the weather conditions. If it’s too hot, the soap may dry too quickly, leading to streaks. Overcast days are ideal, as they help maintain a consistent temperature throughout the process.
Selecting the Appropriate Nozzle for Different Surfaces
For optimal results, match the nozzle type to the surface being treated. Each nozzle produces a different spray pattern and pressure, crucial for preventing damage while ensuring thorough removal of dirt and grime.
Based on my experience, I’ve found that using a 25-degree nozzle works wonders on painted surfaces. It provides a wide spray that cleans effectively without risking scratches. Conversely, the 15-degree nozzle is more aggressive, perfect for stubborn spots like wheel arches or undercarriages where dirt accumulates. However, be cautious; this nozzle can strip paint if used too closely.
| Nozzle Type | Recommended Use | Pressure Level | Surface Safety |
|---|---|---|---|
| 0-degree | Heavy-duty cleaning, concrete | High | Risk of damage |
| 15-degree | Stubborn dirt, wheel arches | Medium to high | Use with caution |
| 25-degree | Painted surfaces, bodywork | Medium | Safe |
| 40-degree | Delicate surfaces, glass | Low | Very safe |
For the most delicate areas like windows, opt for a 40-degree nozzle. It disperses water gently, ensuring no risk of shattering or scratching. This combination of nozzles allows for a comprehensive approach, tackling various surfaces without compromising safety.
Always start at a distance of about two feet and adjust as necessary. If you’re unsure, test on a less visible area first. Don’t forget to check for any residual wax or sealant that may affect how surfaces respond to water pressure. And while you’re preparing, consider this: are digital cameras allowed on airplanes? It’s a good reminder to keep your gear safe while tackling those tough spots.
Using Pre-Wash Solutions to Loosen Dirt and Grime
Applying a pre-wash solution is key to enhancing the efficiency of the cleaning process. This step significantly reduces the effort needed to remove embedded dirt and contaminants.
Choosing the Right Pre-Wash Product
Select a formula designed for automotive surfaces. Look for pH-neutral solutions that won’t harm paintwork or trim. Here are some options:
- Foaming shampoo: Provides excellent cling and lifts grime effectively.
- Traffic film remover: Perfect for loosening stubborn road film.
- All-purpose cleaner: Versatile and effective for various surfaces.
Application Technique
For optimal results, follow these steps:
- Ensure the vehicle is parked in a shaded area to prevent rapid drying.
- Apply the pre-wash solution using a foam lance for even coverage.
- Allow the solution to dwell for 5-10 minutes to break down dirt.
- Rinse thoroughly with the appropriate nozzle setting to remove loosened debris.
In my experience, using a pre-wash not only saves time but also leads to a more thorough finish. I recall a particularly muddy day when I neglected this step. The difference was clear after I incorporated a foaming shampoo into my routine; the grime came off much easier. Investing in a good pre-wash solution pays off significantly in the long run, making the entire process smoother and more satisfying.
Step-by-Step Guide to Pressure Washing Your Vehicle
Begin by ensuring the surroundings are safe and free of debris. Remove any obstacles that may obstruct the path of water or might get damaged during the process.
1. Gather Required Equipment
- High-pressure cleaning unit
- Appropriate nozzle for vehicle surfaces
- Pre-wash solution
- Microfibre cloths
- Bucket (optional)
- Hose for rinsing
2. Rinse the Exterior
- Attach the nozzle that provides a wide spray pattern.
- Start from the top and work downwards, ensuring even coverage.
- Maintain a safe distance to avoid damaging the paint.
- Focus on areas with visible dirt and grime.
Once the initial rinse is complete, apply a pre-wash solution. This will help in loosening stubborn dirt and contaminants. Spray it generously over the surface and allow it to sit for a few minutes, but avoid letting it dry on the paint.
3. Second Rinse with Higher Pressure
- Switch to a more concentrated nozzle for this stage.
- Start rinsing from the top again, but this time focus on areas where the pre-wash solution was applied.
- Utilise a side-to-side motion to ensure thorough coverage.
- Pay special attention to the wheel arches and undercarriage, as these areas often hold more grime.
After the thorough rinse, inspect for any stubborn spots. If necessary, reapply the pre-wash solution to those areas and repeat the rinsing process.
4. Drying and Final Touches
- Use microfibre cloths to dry off the surfaces, avoiding water spots.
- Consider applying a wax or sealant for added protection and shine.
- Don’t forget to clean the windows and mirrors with a suitable cleaner.
Regular maintenance using this method will keep the vehicle looking its best while protecting the finish over time. Trust me, taking these steps makes a remarkable difference.
Addressing Stubborn Stains and Contaminants
For those persistent marks like bird droppings, tree sap, or mud caked on the wheels, a standard wash won’t suffice. Always treat these spots before launching into a full cleaning session. I’ve found that applying a dedicated stain remover or degreaser directly to the affected areas can make a significant difference. Let it sit for a few minutes to break down the grime.
Targeted Techniques
Use a soft brush or sponge to gently agitate the stain after applying the solution. This allows the product to penetrate deeper and lift the contaminant. For delicate areas, such as painted surfaces, ensure the brush is non-abrasive to avoid scratching. After agitating, rinse thoroughly to remove any residue from the cleaner.
Adjusting Water Pressure
When tackling tougher stains, it’s tempting to crank up the power. However, maintain a balance. Too much force can damage the finish. I typically use a mid-range setting, which effectively dislodges dirt without risking harm. Always maintain a safe distance from the surface, gradually moving closer as needed.
For wheel wells and undercarriage, where grime tends to build up, a lower pressure with a focused nozzle can work wonders. Position the nozzle to ensure concentrated water flow directly onto the contaminants, allowing them to wash away more easily.
In instances where stains remain, repeated applications of the stain remover may be necessary. Patience is key; sometimes, it takes a few rounds to fully eradicate the problem. Keeping a consistent routine not only preserves the appearance but also extends the life of the finish.
Drying Your Vehicle After Pressure Washing
After rinsing off the soap and dirt, drying is the next vital step. I always recommend using a high-quality microfiber towel. These towels are incredibly absorbent and gentle on surfaces, reducing the risk of scratches. When drying, start from the top and work your way down. This method prevents water from running down onto already dried surfaces.
For larger areas like the roof and hood, use a blotting technique. Instead of dragging the towel across the surface, gently press it down to soak up water. This approach minimizes the chances of swirling marks. Don’t forget the crevices and edges; they tend to hold onto water. A soft detailing brush or a smaller towel can help reach these spots effectively.
If you prefer a quicker method, consider using a leaf blower. I’ve found this tool particularly handy, especially for drying intricate areas like around mirrors and in wheel wells. The air pressure helps push out water without any risk of contact damage.
For those who like a shiny finish, applying a quick detailer spray after drying can enhance the gloss. Just mist a small amount onto the surface and buff with a clean microfiber cloth. This not only boosts shine but also leaves a protective layer, making future washes easier.
Finally, ensure that all surfaces are completely dry before putting the vehicle away or covering it. Trapped moisture can lead to spots and, over time, contribute to corrosion. A thorough drying routine will keep your vehicle looking pristine for longer.
Maintaining Your Karcher Pressure Washer for Longevity
Regular inspection of seals and hoses is crucial. I remember a time when I overlooked a small crack in the hose. It resulted in a significant drop in performance. Always check for leaks or wear and replace parts as necessary.
Rinsing the unit after each use prevents buildup of detergent and dirt. I make it a habit to run clean water through the system after every session. This simple step extends the life of internal components and keeps everything running smoothly.
Storing the machine properly is equally important. I recommend keeping it in a dry place, away from extreme temperatures. In my experience, exposure to frost can cause irreparable damage to the pump. Use protective covers if storing outdoors.
Regular maintenance of the filter is a must. I often find debris clogging the inlet filter, which can severely impact performance. Cleaning or replacing the filter at intervals ensures optimal flow and pressure.
Checking the oil level in oil-lubricated models can’t be ignored. I’ve had instances where neglecting this led to engine strain. Always top up or change the oil according to the manufacturer’s guidelines.
Annual servicing by a professional can save you from future headaches. I once had a technician point out issues I missed, which could have escalated into costly repairs. It’s worth the investment for peace of mind.
Lastly, don’t forget to review the user manual. I often find valuable tips and maintenance schedules that are specific to the model in use. Staying informed about care requirements keeps everything in tip-top shape.



.jpg)


