
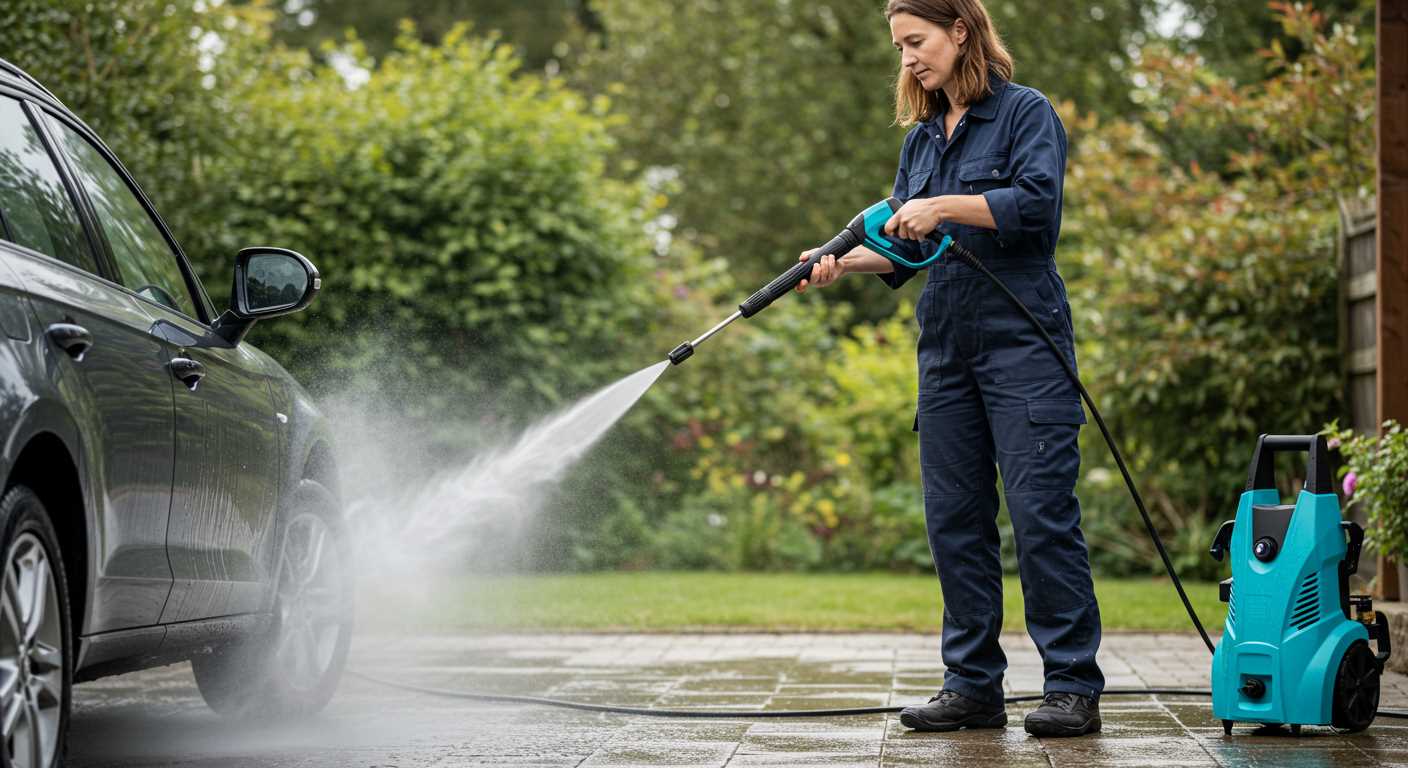


For a swift transformation of wood or composite surfaces, a high-pressure cleaner is your best ally. I recall the first time I tackled my own patio; years of grime vanished in mere minutes, revealing the original beauty beneath. The satisfaction that came from seeing those rich colours emerge again was unparalleled.
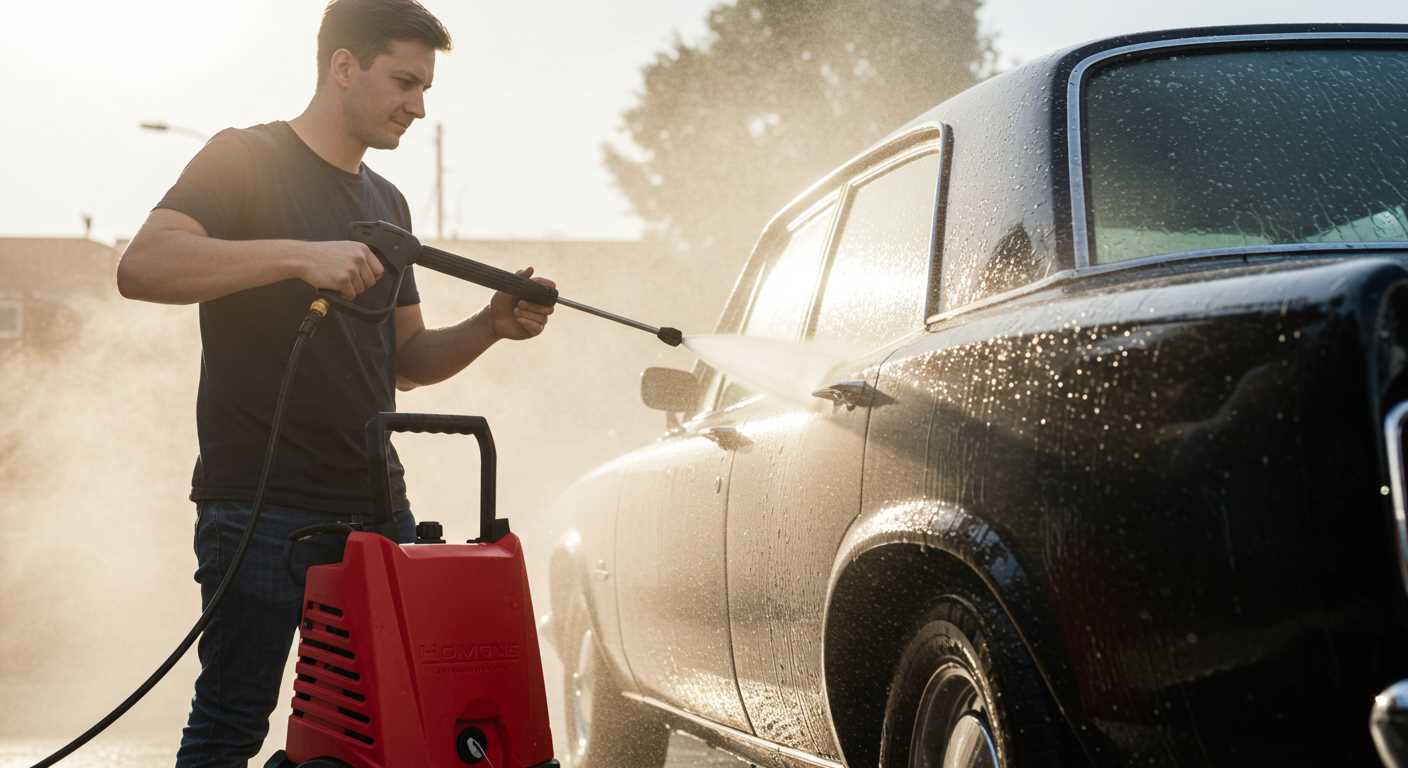
Choose a model with adjustable pressure settings to avoid damage. My go-to is typically set between 1500 and 2000 PSI for most surfaces. I learned the hard way that too much force can splinter wood or strip paint. Always test in an inconspicuous area first; it saves you from potential mishaps.
Preparation is key. Start by clearing the area of furniture and debris. A quick sweep to remove loose dirt makes all the difference. I often use a broom with stiff bristles to dislodge any stubborn bits. Once clear, a pre-treatment using a suitable cleaning solution can enhance the results. Just remember to follow the manufacturer’s instructions for dilution and application.
As you work, maintain a consistent distance of about 12 to 18 inches from the surface. This ensures an even clean without causing harm. I’ve found that using a wide fan spray nozzle works wonders for large areas, while a narrow nozzle is perfect for stubborn stains. The rhythmic sound of the water blasting away years of neglect is music to my ears.
After completing the task, give the surface ample time to dry before placing any items back. I often find that a little maintenance goes a long way. Regularly scheduled cleanings not only preserve the appearance but also extend the life of the material. Trust me; the effort pays off in the long run.
Deck Restoration Techniques Using a High-Pressure Cleaner
To achieve impressive results, adjust the nozzle to a 25-degree angle for broad coverage, ensuring the water stream remains 30 cm away from the surface. This prevents damage while effectively eliminating grime and mildew.
Always start at one end and systematically move to the other, following the wood grain. This approach not only enhances results but also prevents streaks that can occur from working against the grain.
For stubborn stains, consider using a dedicated cleaning solution designed for outdoor surfaces. Apply it before using the high-pressure device to loosen up dirt. A brushless pressure washer can make this task easier, as it maintains consistent power and reduces wear on the equipment.
After completing the washing, inspect the area. If any spots remain, a second pass may be necessary. Be sure to rinse thoroughly to remove any residual cleaning solution, as leftover chemicals can damage the wood over time.
Once finished, allow the surface to dry fully before applying any protective sealant. This step is crucial for ensuring longevity and maintaining the visual appeal of your outdoor space.
Choosing the Right Pressure Washer for Your Decking
When selecting a high-pressure cleaning unit, focus on the PSI (pounds per square inch) and GPM (gallons per minute). For wooden surfaces, I recommend a model with a PSI between 1500 and 2000. Too high a pressure can damage the wood, while too low won’t effectively remove dirt and grime.
Next, consider the type of motor. Electric units are quieter and suitable for light to moderate tasks, while gas-powered machines deliver more power and are ideal for large areas or tougher stains. From my experience, gas units tend to provide a more robust clean, especially on heavily soiled surfaces.
Pay attention to the nozzle options. A rotating nozzle can increase efficiency, making the job quicker. Additionally, adjustable nozzles allow you to switch between wide and narrow sprays, giving you versatility for different cleaning tasks.
Don’t overlook the importance of accessories. A good surface cleaner attachment can significantly speed up the process, covering more area in less time. I always carry a few different brushes for various surfaces, including one for delicate areas.
Lastly, ensure you have the right cleaning solution. Some models allow for detergent application, which can enhance the cleaning effect. For tougher stains, consider using a dedicated cleaner designed for outdoor surfaces. If you’re also looking at air filtration for dust and particles during your cleaning process, check out the best air scrubber for home options.
Preparing the Area Before Cleaning
Clear the space surrounding the surface you plan to refresh. Remove all furniture, planters, and any other items that could obstruct the process. This not only ensures safety but also allows for more thorough work.
Inspect for any loose boards or protruding nails. It’s wise to fix these issues beforehand to avoid damage to both your equipment and the surface. A simple inspection can save you from unnecessary headaches down the line.
Protect Surrounding Areas
Cover nearby plants and delicate surfaces. Use tarps or plastic sheeting to shield them from debris and excess water. This precaution can prevent potential damage during the cleaning operation.
Additionally, check for power sources. Ensure any electrical outlets or appliances in close proximity are secured. Water and electricity don’t mix well, and this can prevent accidents.
Gather Necessary Supplies
Prepare all equipment and solutions ahead of time. Here’s a quick list of what you might need:
| Item | Purpose |
|---|---|
| Pressure cleaner | Main tool for removing dirt and grime |
| Extension cord | To access power sources easily |
| Protective gear | To shield yourself from debris and spray |
| Cleaning solution | To enhance the cleaning process |
Having everything at hand creates a smoother workflow. Trust me, it makes a significant difference when you’re knee-deep in the task. You’ll be glad you took these steps before getting started.
Selecting the Appropriate Cleaning Solution
Choosing the right cleaning solution can significantly enhance the results of your cleaning session. I remember one summer, I was tackling a particularly stubborn deck covered in algae and grime. I opted for a sodium hypochlorite solution, which worked wonders. It’s crucial to select a detergent that suits the material of your surface–wood, composite, or PVC all have different requirements.
Types of Cleaning Solutions
Here are a few effective options based on surface type:
| Surface Type | Recommended Solution |
|---|---|
| Wood | Oxygen bleach or a wood-specific cleaner |
| Composite | Non-chlorine based cleaner |
| PVC | General-purpose cleaner or dish soap solution |
Application Tips
When applying the solution, I found that diluting it according to the manufacturer’s instructions yields the best results. Use a garden sprayer or a low-pressure setting on your device for an even application. Let it sit for the recommended time to break down dirt and stains, but avoid letting it dry out, as this can lead to residue.
Always wear protective gear when handling chemicals; a simple pair of gloves can save your skin from irritation. After applying, rinse thoroughly to prevent any damage to the surface. Trust me; following these steps will save you time and effort in the long run, ensuring a pristine finish.
Setting Up Your Pressure Washer Safely

Always begin by checking the manufacturer’s instructions for specific setup guidelines. Position the unit on a stable, flat surface to prevent any unwanted movement during operation. Ensure that the power source is suitable for the model; electrical units should be plugged into a grounded outlet, while petrol models require adequate ventilation.
Inspect all hoses and connections for any signs of wear or damage. Replace any frayed or cracked hoses before proceeding. Secure all fittings tightly to avoid leaks, which can lead to accidents or reduced performance.
Wear appropriate safety gear: goggles to protect your eyes from debris, gloves to shield your hands from chemicals and high pressure, and sturdy footwear to prevent slipping. I once disregarded the importance of proper footwear and ended up with a nasty slip. Lesson learned!
Before connecting to the water supply, ensure that the hose is free of kinks and that the water source is flowing adequately. Turn on the water and check for leaks at the connection points. This simple step can save you from unexpected interruptions while in operation.
Keep the area surrounding the equipment clear of obstacles. This not only ensures a safe working environment but also allows for quick access in case of an emergency. I’ve had my share of close calls, tripping over tools left lying around. A tidy workspace is a safe workspace.
Finally, never point the nozzle at yourself or others, even when the machine is powered off. I’ve seen accidents happen because someone thought they could demonstrate a feature without considering the inherent risks. Safety first–always! Following these guidelines will help ensure a smooth and secure experience as you tackle your outdoor projects.
Adjusting Pressure Settings for Different Deck Materials
For optimal results, set the pressure according to the material of the surface. Here’s a quick guide based on my extensive testing and experience.
Wood
- Softwood (e.g., pine, cedar): Use a pressure setting of 1200 to 1500 PSI. Higher pressures can damage the fibres, leading to splintering.
- Hardwood (e.g., teak, mahogany): Aim for 1500 to 2000 PSI. These materials are denser and can handle more pressure without sustaining damage.
Composite
- Composite decking requires a gentle approach; keep the pressure between 1200 and 1500 PSI. Excessive force can cause surface wear and discolouration.
Concrete
- For concrete surfaces, you can increase the pressure to 2500 PSI. This level effectively removes dirt and stains without compromising the integrity.
Always begin with the lowest setting and gradually increase until you find the effective level. Testing on a small, inconspicuous area is a wise approach to avoid any unwanted damage.
Techniques for Cleaning Stains and Grime
Start with a thorough inspection of the surface. Identify areas with stubborn stains, mildew, or algae. For oil stains, use a degreaser that’s safe for the material. Apply the solution directly onto the stain and let it sit for 10-15 minutes to break down the grease.
For mildew and algae, a mixture of water and vinegar works wonders. Combine one part vinegar with two parts water and spray it on the affected areas. Allow it to penetrate for about 20 minutes before rinsing. This natural approach is both effective and eco-friendly.
When addressing general grime, adjust the nozzle of the sprayer to a wider spray pattern. This minimizes the risk of damaging the surface while still providing enough force to remove dirt. Keep the nozzle about 30 cm from the surface to avoid etching or splintering.
For heavily soiled areas, a focused nozzle can be beneficial. Move in a steady motion, overlapping each stroke slightly. This prevents streaks and ensures a uniform finish. Remember to work in sections, allowing each area to dry before moving on to the next.
In my experience, using the right technique can make all the difference. I once tackled a deck covered in years of grime; a mix of vinegar and a gentle scrubbing brush made the process easier. After letting it sit, I used a wider nozzle to rinse away the remnants, revealing a surprisingly fresh surface beneath.
Regular maintenance goes a long way in preventing stubborn stains. A quick wash every few months can keep things looking sharp. If you notice any signs of mould or mildew, address them immediately to avoid more extensive cleaning later.
Rinsing and Inspecting Your Deck After Cleaning
After washing, ensure you thoroughly rinse the surface to eliminate any remaining cleaning solution and residue. A clear stream of water should be directed from the farthest edge towards you, preventing any leftover debris from settling back onto the surface. Adjust the nozzle to a wider spray pattern for this step to avoid any potential damage.
Once rinsing is complete, inspect the area closely. Look for any spots that may have been missed during the initial wash. Pay particular attention to corners and edges where grime tends to accumulate. If you spot any stubborn stains, a second pass may be necessary. Use a brush with stiff bristles to agitate these areas, followed by another rinse.
Examine the integrity of the boards, checking for cracks, splinters or any signs of rot. This is the perfect time to identify any repairs needed before applying a protective finish. If you notice significant damage, consider replacing those boards to maintain the overall safety and appearance of the structure.
Finally, allow the surface to dry completely before applying any sealants or treatments. This ensures proper adhesion and durability of the protective layer. A dry deck also allows for a more effective inspection, ensuring you haven’t missed any areas that require attention.
Maintaining Your Decking After Pressure Washing
After completing the cleaning process, focus on protecting and preserving the surface. Consider applying a suitable sealant to prevent moisture damage and UV degradation. Here are steps to ensure long-lasting results:
Sealant Application
- Select a high-quality water-repellent sealant that matches the material of the surface.
- Ensure the surface is completely dry before application, ideally waiting 24-48 hours after washing.
- Use a brush or roller for even application, covering all areas thoroughly.
- Follow the manufacturer’s guidelines regarding drying time before use.
Regular Inspections and Maintenance
- Inspect the surface for signs of wear, such as cracks or splinters, at least twice a year.
- Address any issues promptly to prevent further damage.
- Remove debris, such as leaves and dirt, regularly to minimise staining and moisture retention.
- Consider periodic maintenance cleaning, using a gentle cleaner, to keep the surface looking fresh.
In my experience, regular upkeep can significantly extend the life of the material. Investing a little time each season pays off in the long run, keeping everything in good condition and ready for use.
FAQ:
What equipment do I need to clean my decking with a pressure washer?
To clean your decking with a pressure washer, you will need several items. First, obviously, you need a pressure washer. Ensure it has an appropriate pressure setting for decking, typically around 1500 to 2000 PSI. Beyond that, a patio cleaner attachment can help cover larger areas more evenly. You might also want to use a cleaning solution designed specifically for decking, which can be mixed with water in the pressure washer. Lastly, safety gear such as goggles and gloves is advisable to protect yourself from debris and chemicals.
How do I prepare my decking before using a pressure washer?
Before using a pressure washer on your decking, it’s important to prepare the area properly. Start by removing all furniture, planters, and any other items from the decking surface. Then, sweep the decking to eliminate any loose dirt, leaves, or debris. If there are any stains or moss, you might want to apply a pre-treatment cleaner to those areas and let it sit for a while. Finally, inspect the decking for any loose boards or nails that could pose a hazard during cleaning.
Can using a pressure washer damage my decking?
Yes, using a pressure washer can potentially damage your decking if not done correctly. High pressure can strip the wood, causing splinters or grooves. To prevent this, keep the nozzle at least 12 inches away from the surface and use a fan spray pattern rather than a concentrated stream. For softer woods, it’s advisable to use a lower pressure setting. Always test the pressure washer on a small, inconspicuous area first to ensure it won’t cause damage.
How often should I clean my decking with a pressure washer?
The frequency of cleaning your decking with a pressure washer depends on various factors, such as the amount of foot traffic and the local climate. Generally, it’s recommended to clean your decking at least once a year, ideally in the spring or autumn. If you live in an area with heavy rainfall or a lot of tree cover, you might find that you need to clean it more often, perhaps every six months. Regular maintenance can help prevent the build-up of dirt, mould, and algae, extending the life of your decking.

.jpg)


