

Begin by ensuring the power is disconnected. Safety should always come first. Next, locate the control mechanism responsible for the operation of your unit. If it appears to be stuck or unresponsive, gentle manipulation may help. Applying a small amount of lubricant can often free up any debris or buildup that might be causing the issue.
If the control remains non-functional, consider examining the wiring connections. Ensure that all are secure and free from corrosion. A loose or damaged connection can impede functionality significantly. Take the time to inspect each point; a small oversight can lead to bigger complications down the line.
In my experience, it’s often the simplest solutions that yield the best results. I once encountered a similar problem with a customer’s model. After checking the connections and cleaning the mechanism, it turned out that a minor adjustment was all it needed to get back to optimal performance. Don’t underestimate the power of regular maintenance; it can save you time and frustration in the long run.
Should these steps not resolve the issue, consulting the user manual can provide additional troubleshooting tips tailored to your specific model. Sometimes, manufacturers include specific instructions for common problems that can save you valuable time.
Steps to Resolve Malfunction in the Water Control Mechanism
Begin by disconnecting the appliance from the power supply to ensure safety. Next, locate the control component, typically situated at the rear or side of the unit. Remove any covering to gain access. You may need a screwdriver for this task.
Inspect the area for any signs of blockage or debris. Sometimes, a simple accumulation of grime can hinder operation. Use a soft cloth or a small brush to clean the surrounding space carefully. If the component appears damaged or corroded, consider replacing it with a new one.
Reassembly and Testing the Equipment
Once everything is clean and any necessary replacements are made, reassemble the covering securely. Plug the device back into the electrical outlet. Run a short cycle to check if the issue has been resolved. Listen for any unusual sounds and observe the water flow to ensure it operates smoothly.
If problems persist, further investigation may be warranted. Consult the user manual for specific troubleshooting tips or consider reaching out to a qualified technician for assistance.
Identifying Symptoms of a Stuck Pressure Control Mechanism
Recognising the signs of a malfunctioning control mechanism is crucial for maintaining the performance of your appliance. Common indicators include an inability to initiate the cycle, which often manifests as a complete lack of response when attempting to start. This might also be accompanied by unusual sounds, such as a persistent clicking or buzzing, which suggests that the component is attempting to engage but is hindered.
Visual Cues
Another telltale sign lies in the visual indicators on the front panel. If the lights are flickering or remaining unlit despite the machine being plugged in, it’s a strong signal that something is amiss. Pay close attention to any error codes displayed on the screen, as these can provide specific insights into the underlying issue.
Operational Issues
Additionally, if you notice irregular water flow during operation–such as inconsistent pressure or sudden drops in power–this could indicate a blockage or a jam in the mechanism. Such fluctuations can lead to incomplete cycles, leaving your laundry uncleaned or damp. It’s essential to address these symptoms promptly to avoid further complications.

In my experience, I’ve seen many users overlook these signs, leading to more extensive repairs down the line. Regular maintenance and keen observation can save you both time and money. Trust your instincts; if something feels off, it probably is.
Gathering Necessary Tools for the Repair Process
Prepare for the task by collecting the following tools and materials:
- Screwdriver Set: A range of screwdrivers, both flathead and Phillips, will allow you to remove any screws securing panels and components.
- Multimeter: This device is invaluable for checking electrical continuity and ensuring that connections are functioning correctly.
- Socket Wrench Set: A variety of socket sizes will assist in loosening bolts and nuts that may be holding components in place.
- Pliers: Needle-nose pliers can help grip small parts, while regular pliers are useful for pulling or twisting connections.
- Cleaning Solution: A mild detergent or vinegar solution can be effective for cleaning any grime or residue that might interfere with the operation.
- Soft Cloth or Sponge: Use these to wipe down surfaces and ensure all components are free from dirt before reassembly.
- Safety Gear: Safety goggles and gloves should be worn to protect yourself from any sharp edges or cleaning agents.
- Flashlight: Adequate lighting can help you see into tight spaces or dark areas where components are located.
- Work Surface: A sturdy table or workbench will make the process more comfortable and organised. Ensure it’s clean and spacious.
Gathering these items ahead of time saves effort and prevents unnecessary interruptions during the repair. In my experience, having everything on hand makes the process smoother and more efficient. Once you’re equipped with the right tools, the task becomes straightforward and manageable.
Safely Accessing the Pressure Washer Switch on the Machine
Ensure the device is unplugged before commencing any work. Disconnecting it from the power supply eliminates the risk of electrical shock. Once safe, locate the access panel, usually positioned at the back or bottom of the appliance. Use a screwdriver to remove the screws securing the panel. Keep these screws in a safe place for reassembly.
Next, gently pry the panel away, taking care not to damage any clips or hinges. If resistance is met, double-check for any hidden screws or fasteners. Once the panel is removed, you’ll have a clear view of the inner components, including the assembly related to the cleaning system. Take your time here; rushing may lead to unintended damage.
Before proceeding with any repairs, inspect the area for any signs of wear or damage. If anything looks out of place, it’s best to replace those parts to avoid further complications. After you’ve assessed everything, you can safely address the issue at hand. Always keep your workspace tidy; it helps maintain focus and avoid misplacing tools.
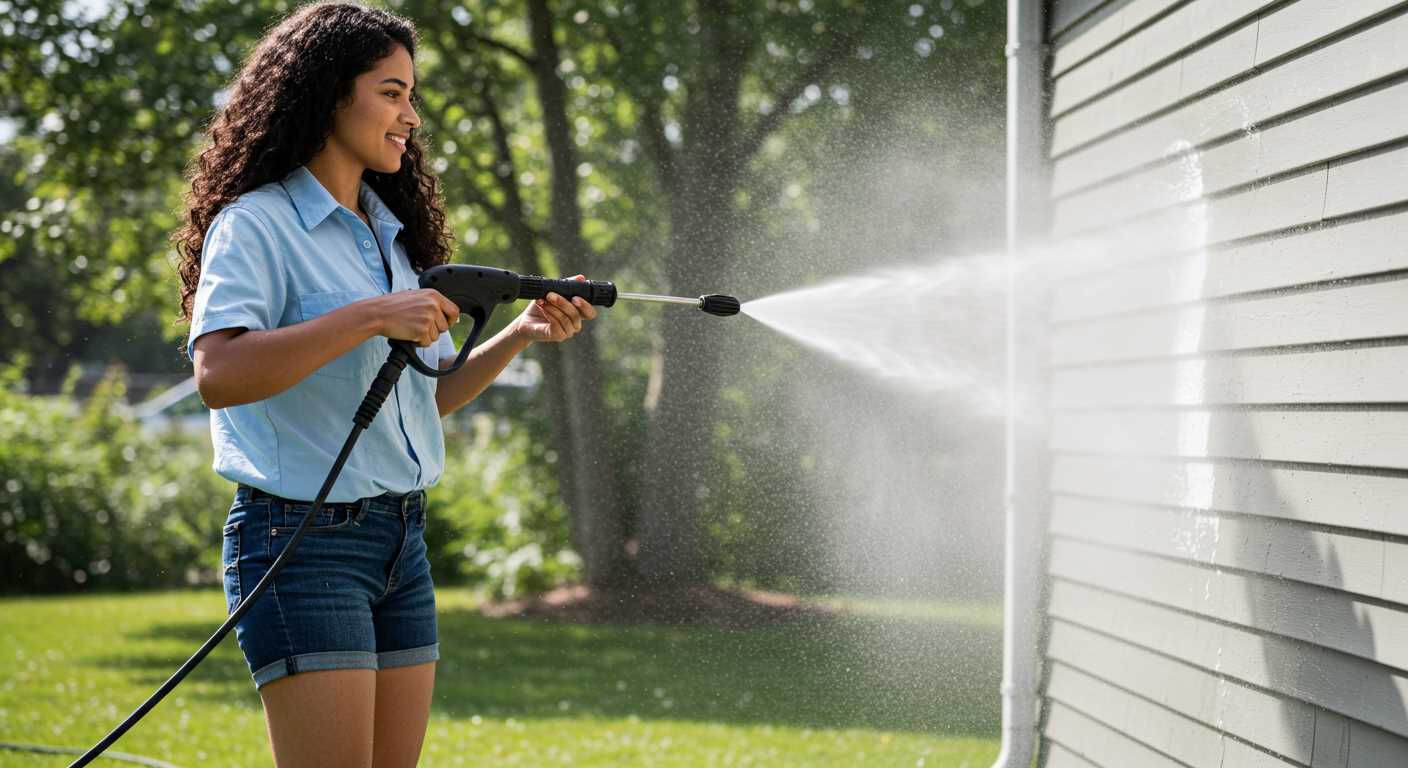
For better results during cleaning tasks, consider using best car wash soap to use with pressure washer. This can enhance the cleaning efficiency and protect the surfaces you’re working on.
Step-by-Step Guide to Clear the Pressure Washer Switch
Begin with disconnecting the appliance from the power source to ensure safety. Once you’ve done that, remove the back panel of the device using a screwdriver. This will grant you access to internal components.
Inspecting the Component
Carefully examine the component in question for any visible blockages or signs of wear. If debris is present, use a soft brush or compressed air to remove it. Ensure that the mechanism is free to move. Test the operation by gently pressing the actuator; it should respond smoothly without resistance.
Reassembly and Testing
After addressing any issues, reassemble the back panel securely. Plug the device back in and run a short cycle to check for functionality. Observe whether the indicator lights behave as expected and listen for any unusual sounds. If everything operates correctly, your task is complete.
Testing the Switch Functionality After Clearing
To ensure everything is functioning correctly following the maintenance process, conduct a thorough test. Begin by reconnecting the appliance to the power source. Watch for any unusual sounds or flickering lights that could indicate lingering issues.
- Set the appliance to a low cycle setting. This will help gauge if the components respond appropriately without unnecessary strain.
- Observe the cycle initiation. If it starts smoothly, the components are likely operational.
- Check for any error codes displayed on the control panel. If any appear, consult the user manual for troubleshooting steps specific to those codes.
Pay attention to the following:
- Listen for consistent operation sounds. Any irregular noises may suggest further inspection is needed.
- Monitor the water flow. It should be steady and without interruptions, indicating that the internal mechanisms are working as intended.
- Test the temperature settings. Ensure that the selected heat levels correspond to the actual output.
If the appliance fails to operate as expected, revisit the previous steps. It may be necessary to repeat the cleaning process or check for any overlooked debris. My experience has shown that sometimes the simplest oversight can lead to ongoing issues. Don’t hesitate to double-check connections and seals as well.
Once satisfied with the performance, run a full cycle to confirm reliability. Document any issues and resolutions for future reference, as this can be beneficial for ongoing maintenance or if similar situations arise.
Preventative Measures to Avoid Future Switch Issues
Regular maintenance is key to preventing issues with your appliance’s operational components. One effective method is to routinely inspect and clean the areas around the components to remove any debris or build-up that could interfere with their function.
Routine Cleaning
Set a schedule for cleaning the unit, focusing on the areas surrounding the control mechanisms. This can involve wiping down surfaces and ensuring that any filters are clear of dust and grime. Use a damp cloth with a mild detergent to avoid damaging any sensitive parts.
Monitor Usage
Be mindful of how the unit is being used. Avoid exceeding the recommended load capacities and refrain from using harsh chemicals that could corrode internal parts. Additionally, always follow the manufacturer’s guidelines for operation to maintain optimal performance.
| Prevention Tip | Description |
|---|---|
| Regular Inspections | Check components for wear and tear every few months. |
| Proper Storage | Store the unit in a dry place to avoid moisture damage. |
| Use Recommended Cleaners | Only use cleaners that are safe for the specific materials of your appliance. |
| Read the Manual | Familiarise yourself with the manufacturer’s instructions and recommendations. |
Consider investing in a cleaning solution designed for delicate surfaces to maintain your appliance’s integrity while ensuring optimal performance. Implementing these practices can significantly extend the lifespan of your equipment and reduce the likelihood of future issues.
FAQ:
What are the signs that my Hotpoint washing machine switch may be blocked?
If you notice that your washing machine fails to start or appears unresponsive when you press the power button, it could indicate that the switch is blocked. Additionally, if you hear unusual sounds or see error codes on the display, these may also suggest an issue with the switch. It’s advisable to inspect the machine for any visible signs of damage or debris around the switch area.
How can I safely access the pressure washer switch on my Hotpoint washing machine?
To access the pressure washer switch, start by unplugging the washing machine to ensure safety. Remove the back panel or the top cover, depending on your model. This usually involves unscrewing a few screws. Once you have access, locate the pressure washer switch, which is typically near the water inlet. Be cautious of any sharp edges or components that may be in the way.
What tools do I need to clear the pressure washer switch on a Hotpoint washing machine?
You will generally need a screwdriver (either Phillips or flat-head, depending on your machine), a soft brush or cloth for cleaning, and possibly a multimeter to check the switch functionality. If you encounter any stuck parts, a pair of pliers may also be useful. Always ensure you have the correct tools for your specific model to avoid damaging any components.
What cleaning method should I use to clear the pressure washer switch?
To clean the pressure washer switch, first, use a soft brush or cloth to remove any dust or debris. If there is stubborn grime, slightly dampen the cloth with a mild detergent solution and gently wipe the switch area. Avoid using excessive water, as this could damage electrical components. After cleaning, ensure everything is dry before reassembling the machine and plugging it back in.
What should I do if cleaning the pressure washer switch doesn’t resolve the issue?
If cleaning the switch does not solve the problem, it may be necessary to test the switch with a multimeter to check for continuity. If there is no continuity, the switch may need to be replaced. You could also consider consulting the user manual for troubleshooting steps or contacting a professional technician for further assistance. It’s important to address any underlying issues to prevent further damage to your washing machine.
How can I clear the pressure washer switch on my Hotpoint washing machine?
To clear the pressure washer switch on a Hotpoint washing machine, first, ensure the appliance is unplugged for safety. Locate the pressure switch, which is usually found near the water inlet valve or at the back of the machine. Inspect the switch and its tubing for any blockages or debris. If you find any, gently clean them out. You can use a soft brush or compressed air to remove dirt. After cleaning, reconnect any disconnected parts, plug the machine back in, and test the washer to see if the issue has been resolved. If the switch still doesn’t function properly, it may require replacement, and consulting a professional technician is advisable.

.jpg)


