

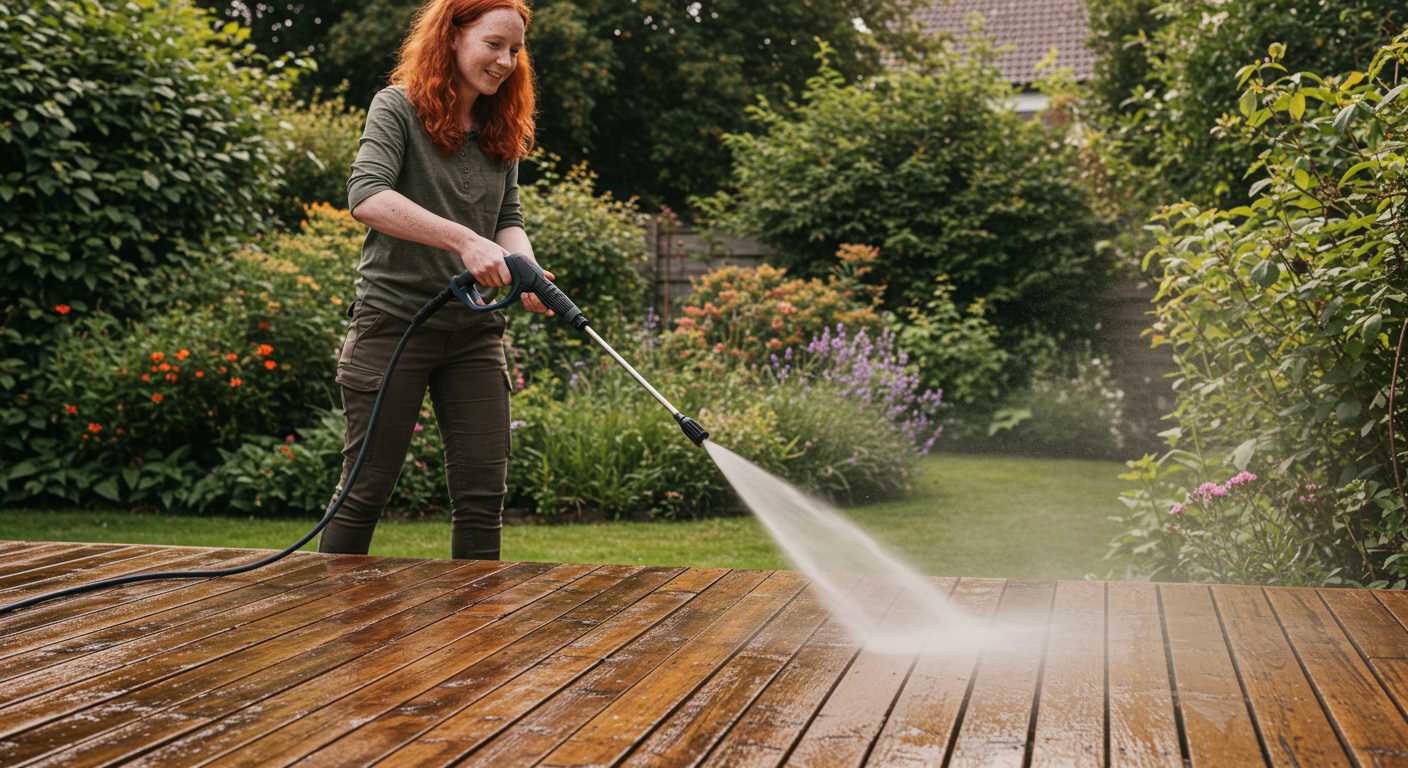
Begin with a sturdy foundation; ensure the unit is placed on a flat, stable surface. This not only promotes safety but also enhances the performance of the machine. Position it close enough to a water source to eliminate long hoses that can lead to pressure loss.
Next, attach the water intake hose securely to the designated inlet. A common mistake is to overlook the use of a filter to prevent debris from entering the system. Trust me, I’ve seen too many machines fail due to neglecting this simple step. Always check that the hose is free of kinks or damage before connecting.
Once the water supply is established, it’s time to focus on fuel. Ensure you are using the correct type of petrol for your model. I once had a colleague who used a mix that resulted in engine trouble, costing him valuable time and money. Fill the tank carefully, avoiding spillage, and remember to check the oil level as well.
After these preliminary steps, connect the high-pressure hose to the outlet. A secure fit is critical; I’ve witnessed hoses detach during operation, leading to unintended chaos. Always check the fittings for tightness. Finally, attach your chosen nozzle and ensure everything is in place before turning on the power. With these steps, you’ll be ready to tackle grime like a pro.
Choosing the Right Hose for Your Pressure Washer
Opt for a hose rated for at least 3,000 PSI. I once used a lower-rated hose for a tough job, and it burst midway through. Not only was it frustrating, but I also lost valuable time. The right PSI ensures durability and performance.
Length Matters
Stick to a hose length of 25 to 50 feet. Longer hoses can result in pressure loss, impacting your cleaning efficiency. I learned this the hard way during a big project where I overestimated the distance. The extra length caused unwanted drops in pressure, making the task take twice as long.
Material Selection
Choose between rubber and PVC. Rubber hoses are more flexible and withstand high temperatures, while PVC hoses are lightweight and easier to store. I personally prefer rubber for tough jobs; it’s more reliable in harsh conditions. Make sure the fittings are solid brass or stainless steel for added longevity.
Connecting the Water Supply to the Pressure Cleaner
Ensure the water source is turned on before you start. This simple step prevents air from getting into the system, which can cause damage over time.
Steps to Follow
- Attach the garden hose to the water inlet on the unit. Ensure it’s snug but not over-tightened to avoid damaging the threads.
- Check for any kinks or blockages in the hose before turning on the water. A clear path is necessary for optimal flow.
- Use a filter at the hose connection if available. This keeps debris from entering the machine, which can lead to clogs or malfunctions.
- Once everything is connected, turn on the water supply gradually. Watch for leaks at the connections; if any appear, tighten them gently.
Additional Recommendations
- Opt for a hose rated for high flow. This ensures your equipment receives the necessary water pressure without strain.
- Inspect the hose regularly for signs of wear or damage. A compromised hose can lead to reduced performance and potential hazards.
- If using a portable water tank, ensure it’s filled adequately to meet the demands of your tasks.
After establishing the water supply, take a moment to run the machine briefly without the nozzle attached. This helps purge any air from the system and primes it for use.
Attaching the High-Pressure Hose to the Unit
Start by ensuring the machine is off and cool to touch. Locate the high-pressure outlet on your equipment. This will usually be situated at the front of the unit. Align the hose fitting with the outlet, making sure it’s clean and free from debris.
Next, twist the connection clockwise until it feels secure. Avoid over-tightening, as this can damage the threads. A snug fit is all you need. If you have trouble aligning the hose, check if there’s any obstruction or misalignment that may be causing the issue.
Once the hose is attached, it’s a good idea to check for any leaks before starting. Turn on the water supply and inspect the connection. If you notice water seeping out, recheck the fitting and adjust as necessary.
| Step | Description |
|---|---|
| 1 | Ensure the equipment is off and cool. |
| 2 | Locate the high-pressure outlet. |
| 3 | Align and twist the hose fitting clockwise. |
| 4 | Check for leaks by turning on the water supply. |
In my experience, a common mistake is not checking the hose for kinks or damage before attachment. Always inspect the hose for any signs of wear or tear, as this can affect performance. A well-maintained hose will ensure optimal operation and prolong the life of your equipment.
Securing the Spray Gun and Nozzle
Always ensure that the spray gun is tightly secured before starting your machine. A loose connection can lead to unexpected leaks or even accidents. I recall a day when I neglected this step–what a mess it created! The spray gun slipped from my grip, and the high-pressure jet of water went everywhere, leaving me drenched and my workspace in chaos.
To fasten the spray gun, check that the connection point is clean and free of debris. Align the nozzle with the gun, and twist it clockwise until it feels snug. If you hear a click, that’s a good sign that it’s locked in place. A quick test of the trigger can confirm everything is secure; just make sure to point it away from yourself and others.
When selecting a nozzle, consider the task at hand. Different nozzles provide varying spray patterns and pressures. I often switch between the 25-degree and 40-degree nozzles for cleaning patios and furniture, respectively. If you’re looking for something compact yet powerful, a small pressure washer for home use might be perfect. They usually come with interchangeable nozzles for versatility.
Lastly, always store your equipment properly after use. Removing the nozzle and gun from the hose can prevent wear and tear. I’ve learned the hard way that neglecting this can lead to clogs and damage. For stubborn spots, like on non-removable cushions, refer to this how to clean non removable cushions a step by step guide for tips on achieving a thorough clean without damaging your furniture.
Checking for Leaks Before Starting
Before you even think about firing up that machine, it’s crucial to inspect all connections for any potential leaks. I’ve seen too many people rush into operation only to discover water spraying from a loose fitting or a cracked hose. Start with the high-pressure hose–look for any signs of wear or damage. If you spot any frays or bulges, it’s time to replace that hose. Trust me, it’s not worth the hassle later.
Inspect Connections
Next, examine each connection point where hoses attach to the unit and the spray gun. Ensure the fittings are tight and secure. A quick twist with your hands can often make a significant difference. If you notice any dampness around these areas, that’s a red flag. I once missed a small drip at the joint, thinking it was just condensation, only to have a full-blown spray during my first use. Use a towel to wipe the area dry, then check again after a few moments. If it’s wet again, it’s definitely a leak.
Perform a Pressure Test
After visually checking, I recommend doing a quick test. With the water supply on, but the machine off, look for any signs of leakage. If everything looks good, you can proceed to fire it up. If there are leaks, you’ll want to address those before using the equipment. It saves you time and prevents potential damage to your surroundings. I’ve learnt the hard way that a small oversight can lead to big messes!
Setting Up the Fuel System for Operation
Before you can begin using your equipment, ensuring the fuel system is properly configured is critical. Follow these steps for a smooth start.
1. Selecting the Right Fuel
- Use fresh unleaded fuel with an octane rating of at least 87.
- Avoid fuel with ethanol content exceeding 10% to prevent engine issues.
- Consider a fuel stabiliser if the fuel is being stored for an extended period.
2. Fuel Tank Preparation
- Check the fuel tank for any debris or moisture. Clean it if necessary.
- Fill the tank, leaving some space at the top to accommodate fuel expansion.
- Securely close the fuel cap to prevent leakage.
During my years in the field, I’ve encountered numerous instances where improper fuel selection led to performance problems. Always prioritise quality over convenience.
3. Inspecting the Fuel Lines
- Examine fuel lines for cracks or leaks. Replace any damaged sections immediately.
- Ensure all connections are tight to prevent any fuel loss.
I recall a situation where a minor leak in the fuel line caused significant inconvenience. Taking the time to inspect these lines can save you from unexpected downtime.
4. Priming the Fuel System
- Engage the primer bulb until you see fuel moving through the lines.
- Listen for any unusual sounds that may indicate air in the system.
Once the system is primed, you’re nearly ready to start. Always double-check that everything is secure and functioning well. The last thing you want is a hiccup when you’re ready to go.
5. Starting the Engine
- Follow the manufacturer’s instructions for starting. Typically, this involves turning the ignition key or pulling the starter cord.
- Let the engine warm up for a few minutes before use.
In my experience, a warm engine performs consistently better. Patience pays off when dealing with these machines.
By following these guidelines, you’ll ensure your equipment runs smoothly and efficiently, ready to tackle any cleaning task ahead. Always prioritise safety and take your time to get everything right from the start.
Starting the Pressure Washer Safely
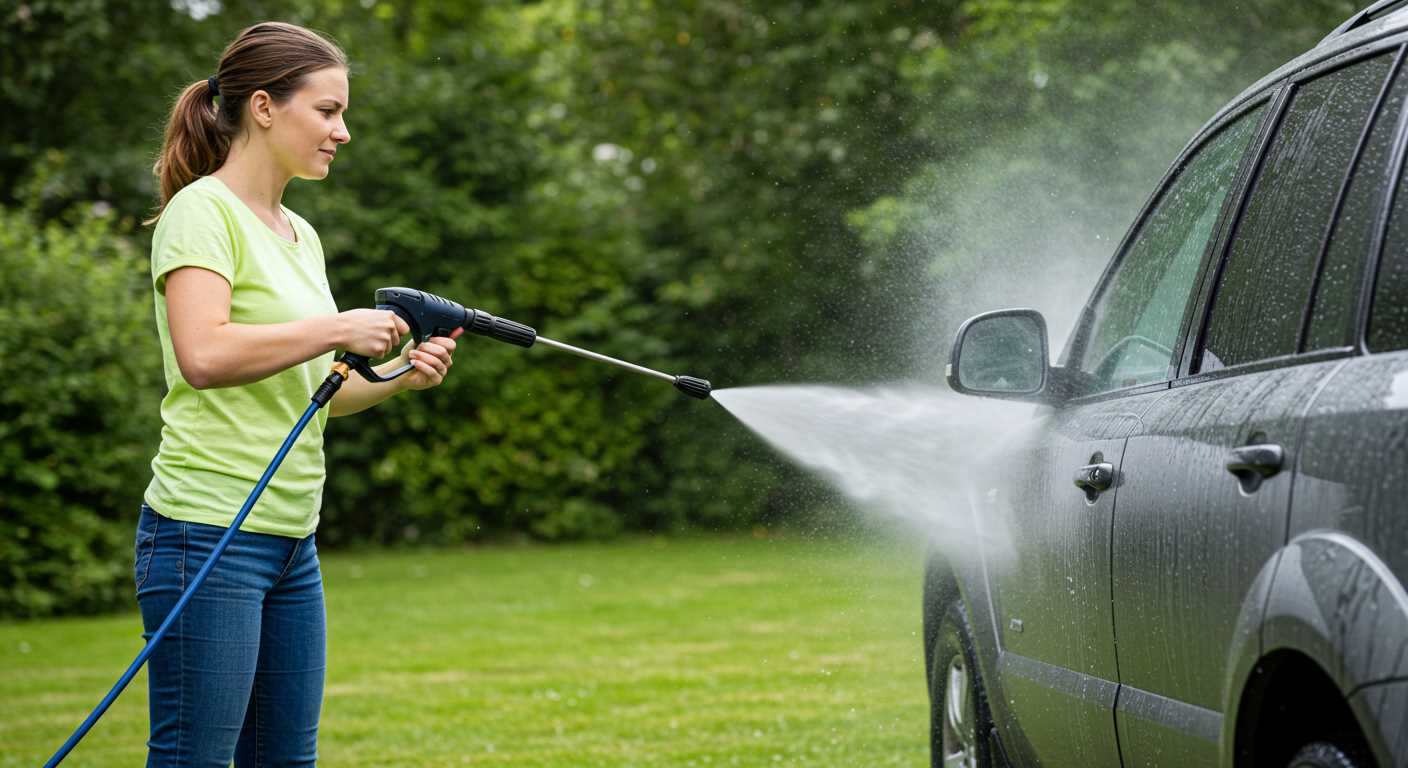
Before firing up the equipment, ensure you are wearing appropriate safety gear: goggles, gloves, and closed-toe shoes. This isn’t just a recommendation; it’s a must. During my years of testing various machines, I’ve seen how easily debris can be propelled from the nozzle, potentially causing injury.
Check the Area
Clear the workspace of any obstacles, including loose items that could get caught in the spray or become projectiles. I once had a close call with a garden gnome that didn’t survive an accidental blast. Make sure pets and children are at a safe distance as well, as the noise and power can startle them.
Fuel and Oil Inspection
Inspect the fuel tank; it should be filled with the correct type of gasoline. I’ve experienced hard starts due to using fuel that was too old or mixed incorrectly. Always refer to the manufacturer’s specifications. Additionally, check the oil level. A low oil level can lead to engine damage, which I’ve seen too often in poorly maintained units. If it’s low, top it up before starting.
Once everything is in place, ensure the choke is set correctly for the temperature outside. This small adjustment can make a significant difference in starting efficiency. Pull the starter cord firmly; you might need a few tries if the machine hasn’t been used for a while. Patience is key here.
After the engine starts, let it run for a minute. This allows the oil to circulate properly, ensuring optimal performance. Listen for any unusual noises and check for leaks around the connections. If all sounds good, you’re ready to begin your cleaning task with confidence.

.jpg)


