
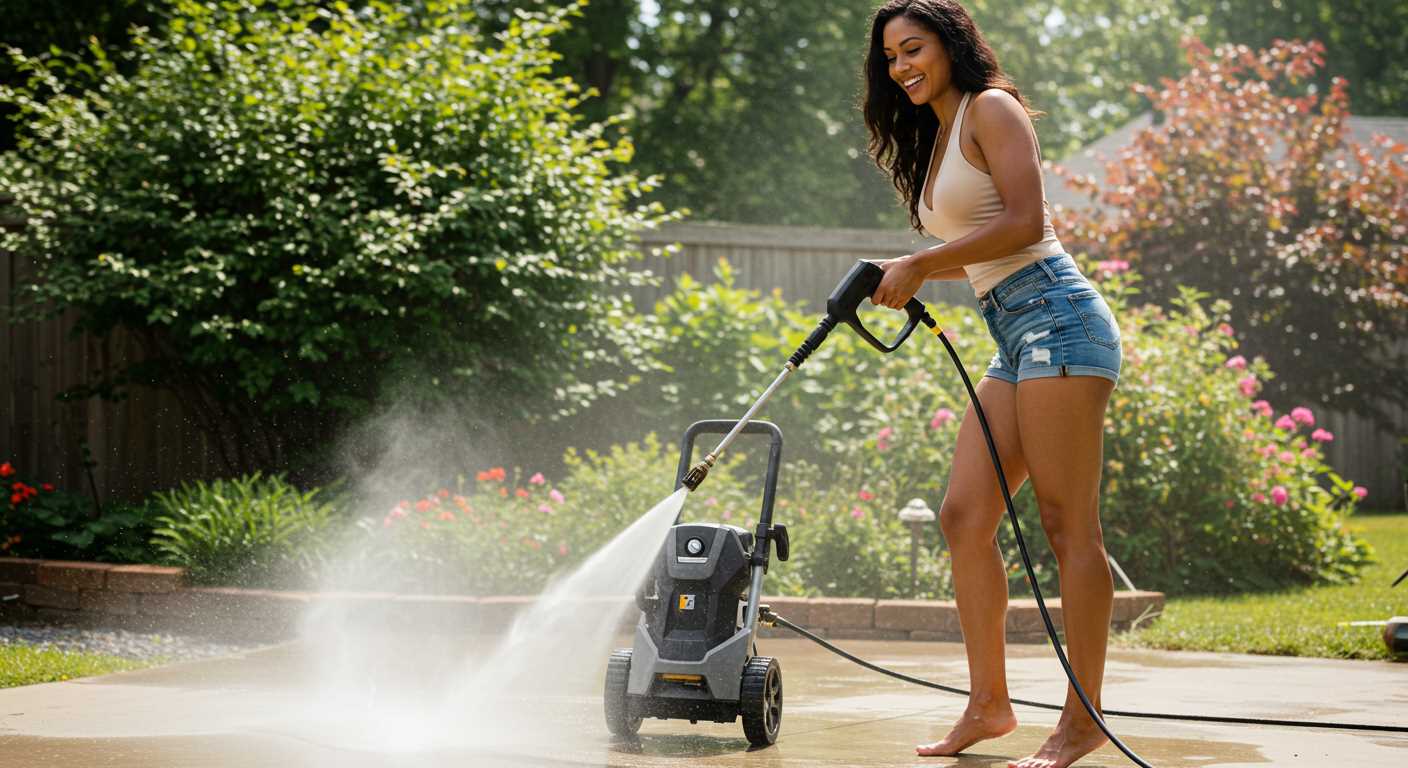


Begin by ensuring your machine is placed on a flat, stable surface. A level ground prevents any unnecessary movement during operation and reduces the risk of spills or accidents. I recall a time when I attempted to set up on an uneven path, and it turned into a slippery ordeal. Stability makes all the difference.
Next, locate the water supply. It’s crucial to use a garden hose that is compatible with your device. I’ve seen many make the mistake of using hoses that are too long or damaged, leading to poor water flow. Make sure the hose is free of kinks and leaks. When you attach it to the water inlet, ensure it’s tightly secured. A loose connection can result in water spraying everywhere, which is not only messy but can also damage the machine.

After ensuring the water connection is secure, turn on the water supply before starting the engine. This step is often overlooked. I remember rushing to start the motor without doing this, only to face a frustrating situation of air getting trapped in the system. Water needs to flow freely through the pump to avoid any damage.
Finally, check the nozzle settings. Different tasks require different levels of intensity. I’ve had instances where I started with too high a pressure, which not only wasted time but also risked damaging surfaces that needed cleaning. Adjust to the appropriate setting based on the task at hand, and you’ll notice a world of difference.
Connecting a Honda High-Pressure Cleaner
Start with ensuring that the water supply is adequate; it should be clean and free of debris. I’ve faced issues before when the source was contaminated, leading to pump damage. A simple garden hose connected to a tap works well, but make sure the hose is inspected for kinks or leaks.
Next, attach the hose to the inlet on your device. Use a wrench to tighten it securely, avoiding over-tightening which can cause damage. I once stripped a fitting by being too forceful; a lesson I won’t forget.
Now, focus on the nozzle. Different attachments serve various purposes. For general cleaning, I recommend the 25-degree nozzle. It provides a good balance of pressure and coverage. I’ve often switched nozzles during a task to suit the surface I’m working on, which can save time and improve results.
Don’t forget to prime the machine. Turn on the water supply and pull the trigger on the wand to let any air escape from the system. I’ve had a situation where I skipped this step, resulting in a delay as the pump struggled to draw water. A quick few seconds of priming can save a lot of hassle.
Finally, ensure that all connections are secure before powering up the unit. It’s worth spending an extra minute checking everything; it can prevent leaks and potential damage. If you’re looking to enhance your cleaning efficiency, consider investing in a rotary flat surface cleaner pressure washer. I’ve found these to be game-changers for large flat areas, providing an even clean without missing spots.
Identifying the Pressure Washer Components
Familiarity with each element of your machine significantly eases operation. Begin with the motor, typically located at the rear. It powers the entire system, so ensure it’s well-maintained and free from debris. The pump is next; this component is crucial as it generates the necessary water pressure. Look for any leaks or unusual noises during operation, which could indicate wear.
Hoses and Nozzles
Inspect the hoses for cracks or kinks. A sturdy, flexible hose ensures water flows smoothly. The nozzle, often interchangeable, controls the spray pattern. I’ve found that having a range of nozzles optimises performance for different tasks. For instance, a narrow spray works wonders for tough stains, while a wider one is ideal for rinsing surfaces.
Accessories and Attachments
Don’t overlook the importance of accessories. A surface cleaner attachment can save time while providing an even clean on large areas. Brushes and extension wands enhance reach and effectiveness. I recall a time when using a simple brush attachment transformed a tedious cleaning job into a breeze, making the task far more efficient. Always ensure these extras are compatible with your setup for optimal results.
Choosing the Right Hose for Connection
For optimal performance, focus on selecting a hose that matches the specifications of your cleaning unit. In my experience, a high-quality, reinforced hose not only enhances durability but also ensures consistent water flow, which is crucial for effective cleaning.
Consider the length of the hose. A longer hose allows for greater reach but can lead to pressure loss. I typically recommend a hose length of no more than 30 feet to maintain adequate pressure while providing flexibility in movement.
Material matters. Rubber hoses tend to be more robust and resistant to kinks compared to vinyl options. My preference has always been rubber hoses, as they withstand wear and tear better over time.
| Hose Type | Length (ft) | Material | Pressure Rating (PSI) |
|---|---|---|---|
| Standard | 25 | Rubber | 3000 |
| Extended | 50 | Vinyl | 2000 |
| Heavy Duty | 30 | Rubber | 4000 |
Another factor to keep in mind is the diameter of the hose. A wider diameter allows for a higher flow rate, which can enhance cleaning efficiency. For most applications, a 3/8-inch diameter is suitable, striking a balance between flow and pressure.
Lastly, ensure that the fittings are compatible with your machine. Using mismatched connectors can lead to leaks or even damage. I’ve learned the hard way to double-check compatibility before making a purchase.
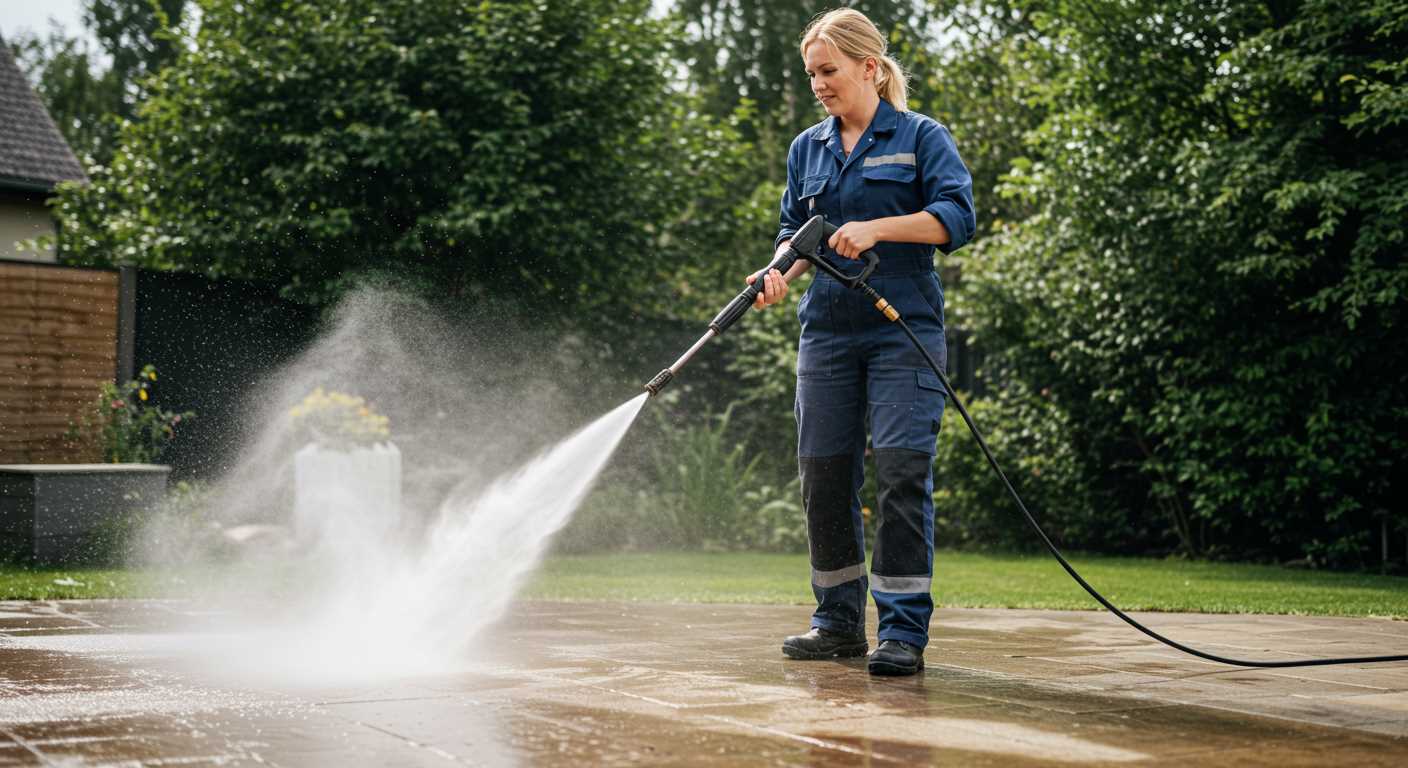
Connecting the Water Supply Properly
Begin with a clean water source–preferably a garden hose connected to a tap. Ensure the tap is fully opened before attaching the hose to the inlet on your unit. This prevents air from being trapped in the system, which can lead to inefficiency.
Securing the Hose
Use a quality hose with a diameter that matches the inlet specifications. Once you attach the hose, check for a snug fit. A loose connection can cause leaks, leading to decreased performance. After securing, turn on the water supply to test for any leaks before starting the machine.
Checking the Water Supply
Monitor the water flow. A steady, uninterrupted stream is crucial. If you notice any fluctuations, it might indicate a blockage or insufficient supply pressure. In such cases, consider using a different tap or checking the hose for kinks. Clear water flow not only maximises efficiency but also prolongs the lifespan of the equipment.
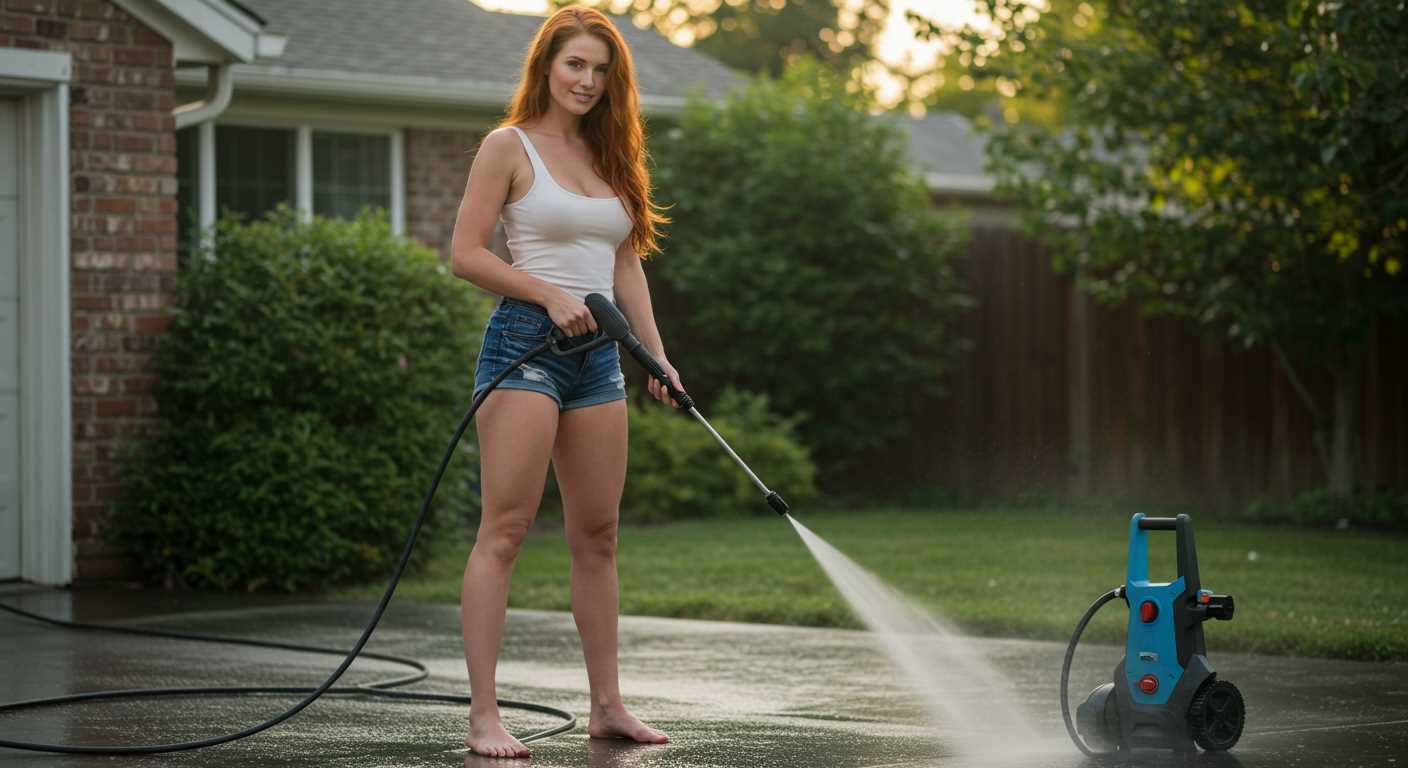
Attaching the Pressure Washer Wand
To secure the wand to your machine, ensure the safety trigger is engaged and the unit is powered down. Align the wand with the designated outlet on the gun, typically marked for easy identification. Push firmly until you hear a click, which indicates a proper fit. Always check for any visible gaps or misalignments–this could lead to leaks during operation.
During my years in the cleaning equipment industry, I’ve seen many users overlook the importance of a tight connection. I remember one time while demonstrating a unit, I neglected to double-check the attachment. The wand slipped during use, resulting in a messy situation. Learning from that experience, I always advise performing a quick tug test after securing the wand to ensure it’s locked in place.

Once the wand is attached, consider your nozzle options. Different nozzles provide varying spray patterns and pressures. For tasks like cleaning decks, using a wider spray angle can prevent damage to the surface. If you’re looking for effective solutions to enhance your cleaning routine, explore the best chemicals for deck pressure washing for optimal results.
Finally, keep in mind that regular inspection of the wand and connections is important. Over time, wear and tear can affect performance. I recommend a routine check every few uses, especially if you’re working with stubborn grime.
Starting the Engine Safely
Before you fire up the motor, ensure you are in a clear area, free from obstacles and flammable materials. This simple step can prevent mishaps and ensure a smooth operation.
Here are the specific actions to take:
- Check the oil level. Make sure it’s filled to the recommended mark to avoid engine damage.
- Inspect the fuel tank. Use fresh gasoline, and avoid filling it to the brim to prevent spillage during operation.
- Verify the choke position. For a cold start, the choke should be closed, while for a warm start, it should be open.
- Engage the safety switch, if available. This feature prevents accidental starts.
- Ensure the nozzle is set to a wide spray pattern. This reduces the risk of kickback when starting.
Now, it’s time to start the device:
- Firmly hold the handle and firmly grip the pull cord.
- Pull the cord briskly until you feel resistance, then pull sharply. This technique ensures a prompt start.
- If the engine doesn’t start after a few attempts, check the fuel, oil, and spark plug connections.
Once the engine is running, allow it to warm up for a few minutes. This ensures optimal performance and longevity of the motor. Keep an eye on the surroundings and always be ready to turn off the machine if necessary.
Testing the Setup for Leaks
Begin by ensuring all connections are tight. Check the fittings between the water source and the unit, as well as any hoses used. A simple visual inspection can often reveal issues; look for any signs of water seeping out.
Next, turn on the water supply without activating the machine. Observe all connections for a few moments. If you spot any drips or puddles forming, that’s a clear indicator of a leak. Tighten any loose connections, and if the leak persists, consider using plumber’s tape on threaded connections to create a better seal.

After addressing visible leaks, it’s time to run the equipment. Start the engine and let it run for a minute. Pay close attention to the areas where hoses connect. A functional unit should not leak under pressure. If you notice any water escaping from fittings or hoses, turn off the engine immediately and reassess your connections.
Don’t forget to check the wand. After ensuring the main unit is leak-free, point the wand away from yourself and activate the trigger. This will allow you to see if water escapes from the wand or the nozzle. If you encounter any leaks, inspect the wand for damage or improperly fitted nozzles.
Finally, always keep a towel handy during this process. It not only helps with quick clean-ups but also allows you to better identify the source of any leaks by observing where the towel becomes wet. Taking these steps will ensure your equipment operates smoothly and safely, ready for the tasks ahead.
.jpg)


