


Always begin with the right tools at hand–wrenches, screwdrivers, and Teflon tape will make your task smoother. During my years in the cleaning equipment industry, I’ve witnessed many users struggle with faulty connections due to inadequate preparation. Start by ensuring the hoses are in good condition, free from kinks or cracks. A well-maintained hose will save you time and frustration.
Position your cleaning machine on a stable surface to prevent any accidental tipping. I recall a time when a colleague’s unit toppled over during setup, causing a mess and a delay in the job. Make sure the inlet and outlet areas are clear and easily accessible. This will make your assembly process much more straightforward, and you won’t find yourself wrestling with tangled hoses.

Next, attach the intake hose to the designated inlet. A tight seal is crucial; use Teflon tape on the threads for added security. I learned the hard way that even a minor leak can drastically reduce performance. After that, connect the high-pressure hose to the outlet. Always follow the manufacturer’s guidelines for torque specifications–over-tightening can damage the fittings, while under-tightening can lead to leaks. Your attention to detail here can make all the difference in achieving optimal results from your equipment.
Choosing the Right Pressure Washer Pump for Your Needs
When selecting a suitable motor for your cleaning tasks, consider the application first. If you’re aiming for light-duty jobs like washing cars or patio furniture, opt for an axial cam unit. These are often quieter and more compact, making them ideal for occasional use.
For mid-range tasks such as cleaning driveways or decks, a triplex pump is the better choice. These models offer higher pressure and flow rates, ensuring efficient performance even with thicker grime. I recall using a triplex setup for a particularly stubborn driveway; it cut through the dirt like a hot knife through butter.
If you’re tackling heavy-duty projects, a commercial-grade model is essential. Look for a robust design that can handle prolonged use without overheating. My experience taught me that investing in quality pays off, especially when the job demands consistent high performance.
Don’t overlook the importance of compatibility with your existing equipment. Always check that the motor matches your current system’s specifications. I once encountered a situation where I mismatched components, leading to frustrating inefficiencies. Ensuring compatibility can save you time and hassle.
Finally, consider maintenance needs. Some units require more frequent upkeep than others. A well-maintained system will not only last longer but also perform better. I’ve learned that a small investment in maintenance can extend the life of your tools significantly.
For those interested in the technical aspects, understanding how components work together is as crucial as knowing how a digital camera uses pixels for capturing images. Grasping the technicalities will empower you to make informed decisions that suit your cleaning requirements.
Gathering Necessary Tools and Materials for Installation
Before embarking on the task of setting up your new equipment, ensure you have the right tools and materials at hand. This preparation simplifies the process and saves time.
Tools Required
- Wrench Set: A combination of adjustable and socket wrenches will help you secure fittings tightly.
- Screwdriver Set: Both flathead and Phillips screwdrivers are necessary for various screws.
- Pliers: These are handy for gripping and twisting hoses and fittings.
- Pipe Cutter: If you need to adjust any hoses, a pipe cutter ensures a clean cut.
- Teflon Tape: Essential for sealing threaded connections to prevent leaks.
- Measuring Tape: Useful for ensuring that your hoses fit correctly and reach the necessary distances.
Materials Needed
- Hoses: Ensure you have the right diameter and length for your specific model.
- Fittings: Collect the appropriate connectors, adapters, and couplings required for your setup.
- Mounting Bracket: If your system requires a mount, having this ready will save time during installation.
- Safety Gear: Gloves and eye protection are crucial to safeguard against any splashes or sharp edges.
In my experience, having everything laid out before starting makes the process smoother. I once attempted to set up without checking my tool inventory first, which resulted in multiple trips to the store. This not only delayed me but also tested my patience. So, do a quick inventory check to avoid unnecessary interruptions.
Step-by-Step Guide to Connecting the Water Supply
Begin by locating a suitable water source, ensuring it can provide adequate flow and pressure for optimal operation. A garden tap is often the best choice due to its accessibility and compatibility with standard fittings.
Next, gather the necessary components:
- Hose with the correct diameter (usually 1/2 inch or 3/4 inch).
- Hose connectors to fit both the tap and the equipment.
- Optional: a filter to prevent debris from entering the system.
Attach one end of the hose to the tap. Use a wrench to secure it tightly, preventing leaks. If you’re using a filter, install it between the tap and the hose. This step can save you from clogged filters later on.
Now, connect the other end of the hose to the inlet of the device. Ensure a snug fit to avoid any loss of pressure. It’s helpful to check for compatibility between the hose and the machine’s inlet before making a purchase.
After securing both ends, turn on the water supply gradually. Monitor for any leaks at the joints. If you notice any, tighten the connections until the issue is resolved. It’s crucial to ensure everything is leak-free to maintain the efficiency of your equipment.
Finally, check the water flow by running the system briefly without engaging the high-pressure mode. This ensures that the water supply is consistent and ready for use. If everything is functioning properly, you can proceed to test the full capabilities of your device.
| Component | Description |
|---|---|
| Hose | Flexible tubing that carries water from the source to the unit. |
| Hose Connectors | Fittings that join the hose to the tap and the machine. |
| Filter | Optional accessory that prevents debris from clogging the system. |
For those seeking recommendations on suitable devices, I suggest checking out options such as domestic pressure washer australia for reliable performance and quality.
Installing the Pump to the Pressure Washer Frame

To secure the unit to the frame, align the mounting holes of the device with the pre-drilled holes on the chassis. Ensure the orientation allows for optimal access to the inlet and outlet connections. Use a level to check that it’s straight; a slight tilt can affect performance.
Fastening the Unit
Utilise the bolts and washers from your toolkit. Hand-tighten each bolt initially to ensure everything fits properly. Once aligned, use a socket wrench to tighten them firmly, but be careful not to overtighten, as this could lead to cracking the frame or damaging the components.
Final Checks
After securing the equipment, double-check that all connections are accessible and that there’s no interference with other parts of the system. It’s wise to inspect for any potential leaks or loose fittings before testing. A well-installed unit not only enhances functionality but can significantly extend the lifespan of your equipment.
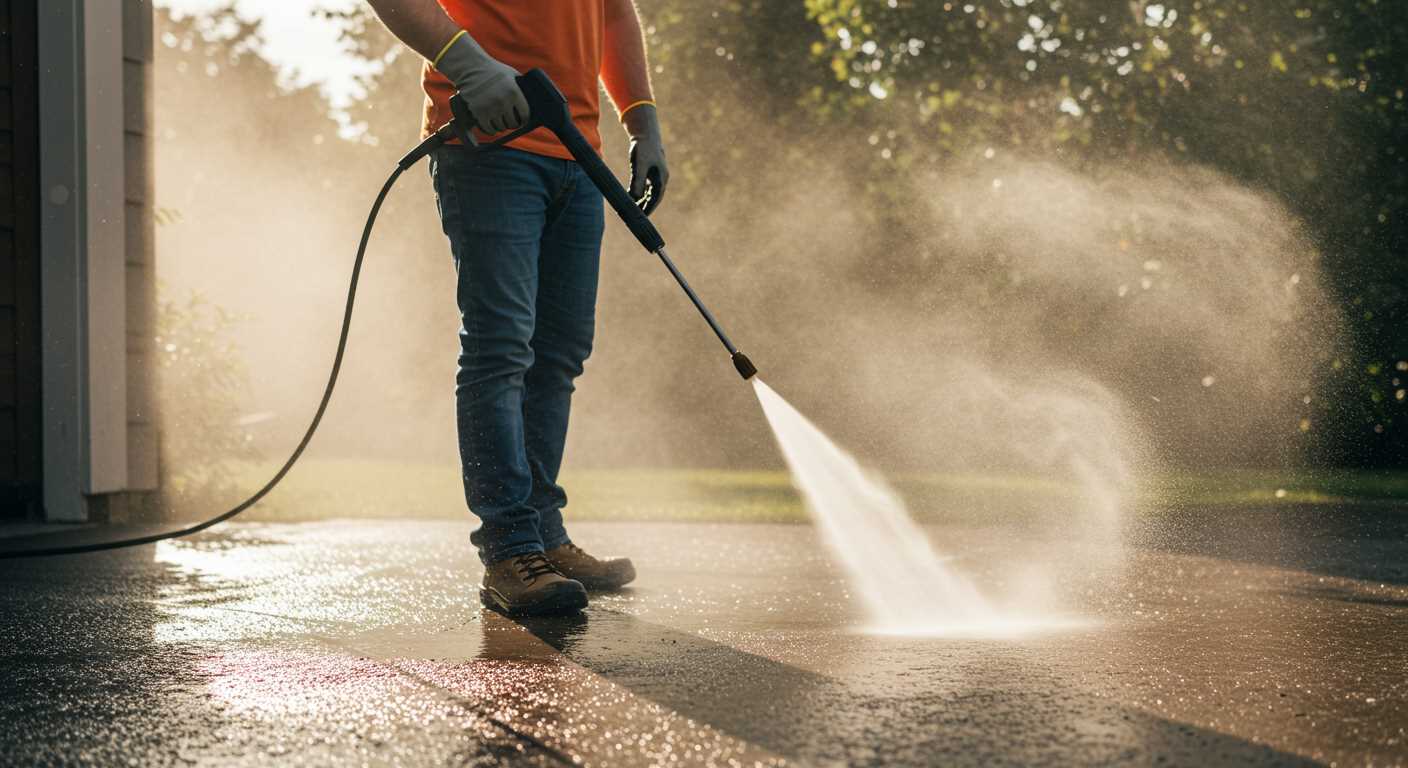
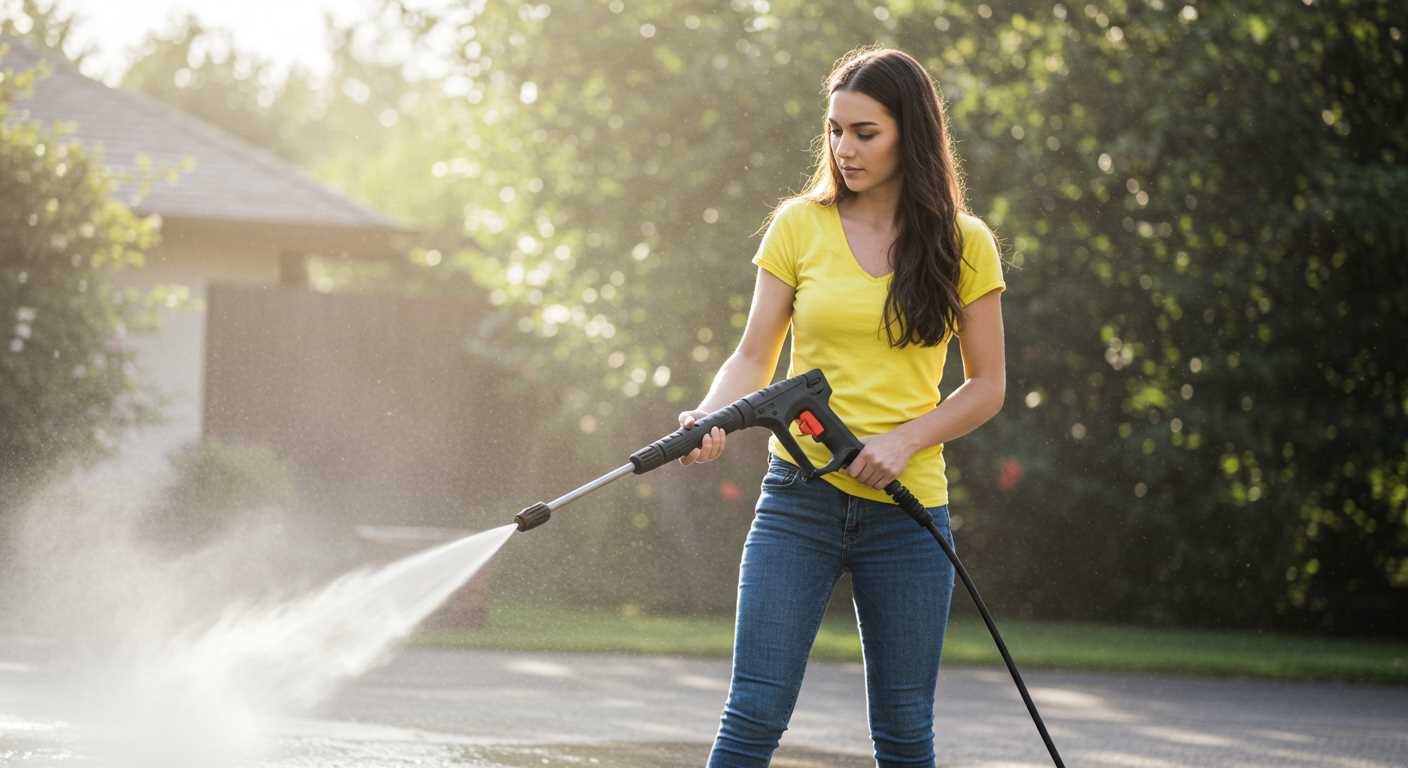
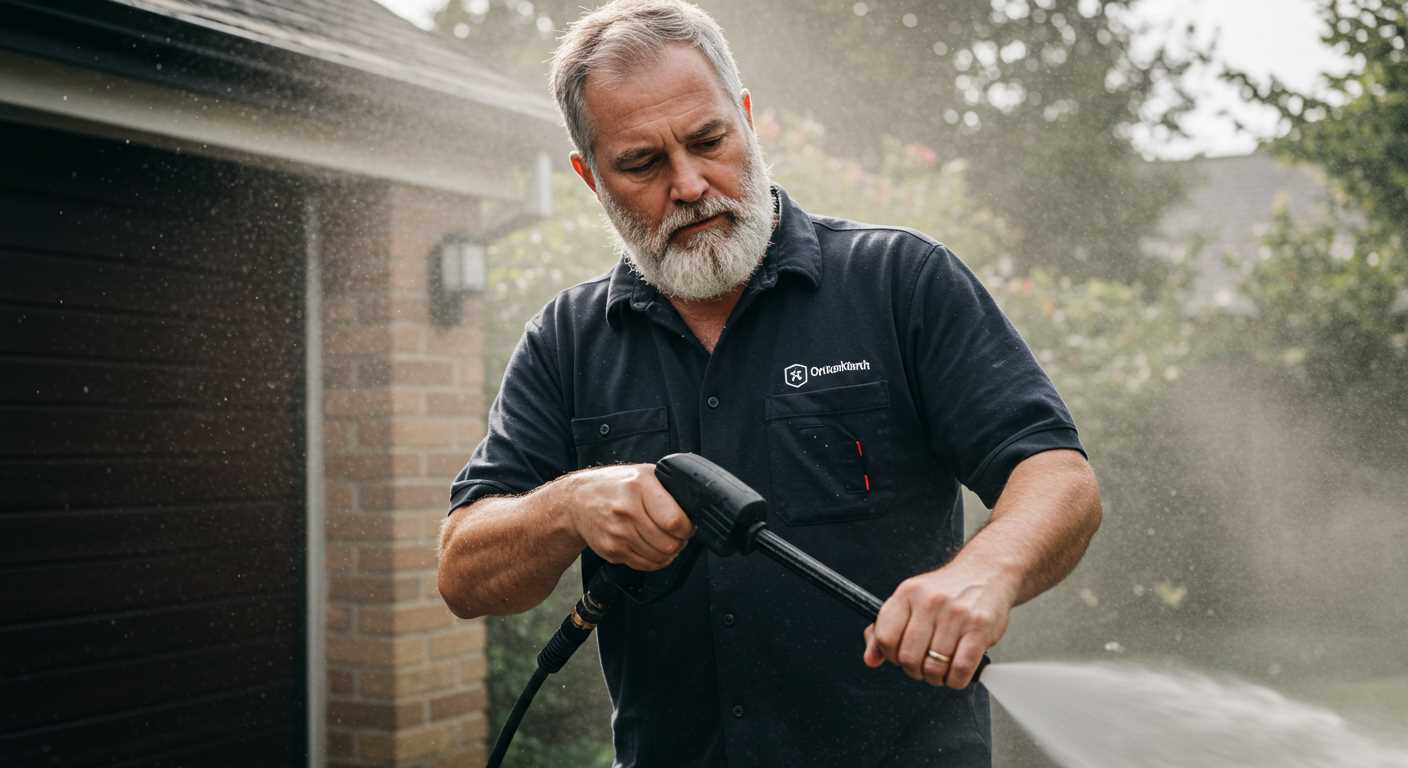
Testing the Connection for Leaks and Proper Functionality
Once everything is connected, the next step is to ensure there are no leaks and that the system operates correctly. Begin by turning on the water supply and checking all the joints and fittings for moisture. A small drip can quickly escalate into a larger issue if not addressed promptly.
Conducting a Visual Inspection
Carefully examine the hoses and connections for any signs of water escape. Pay special attention to areas where the hoses meet the fittings. These are common leak points. If water seeps out, consider tightening the connection or applying thread seal tape to improve the seal. In my experience, a quick visual check can save a lot of hassle later.
Running a Test Cycle
After ensuring there are no visible leaks, move on to the next phase: testing the functionality. Start the unit without any attachments to observe its operation. Listen for unusual sounds that might indicate a problem. If everything sounds smooth, attach your nozzle and run a brief cycle. Monitor the water pressure and spray pattern. A consistent and steady stream is a good sign that everything is functioning as it should. If you notice fluctuations in pressure or an irregular spray, recheck your connections and troubleshoot accordingly.
Video:
.jpg)


