


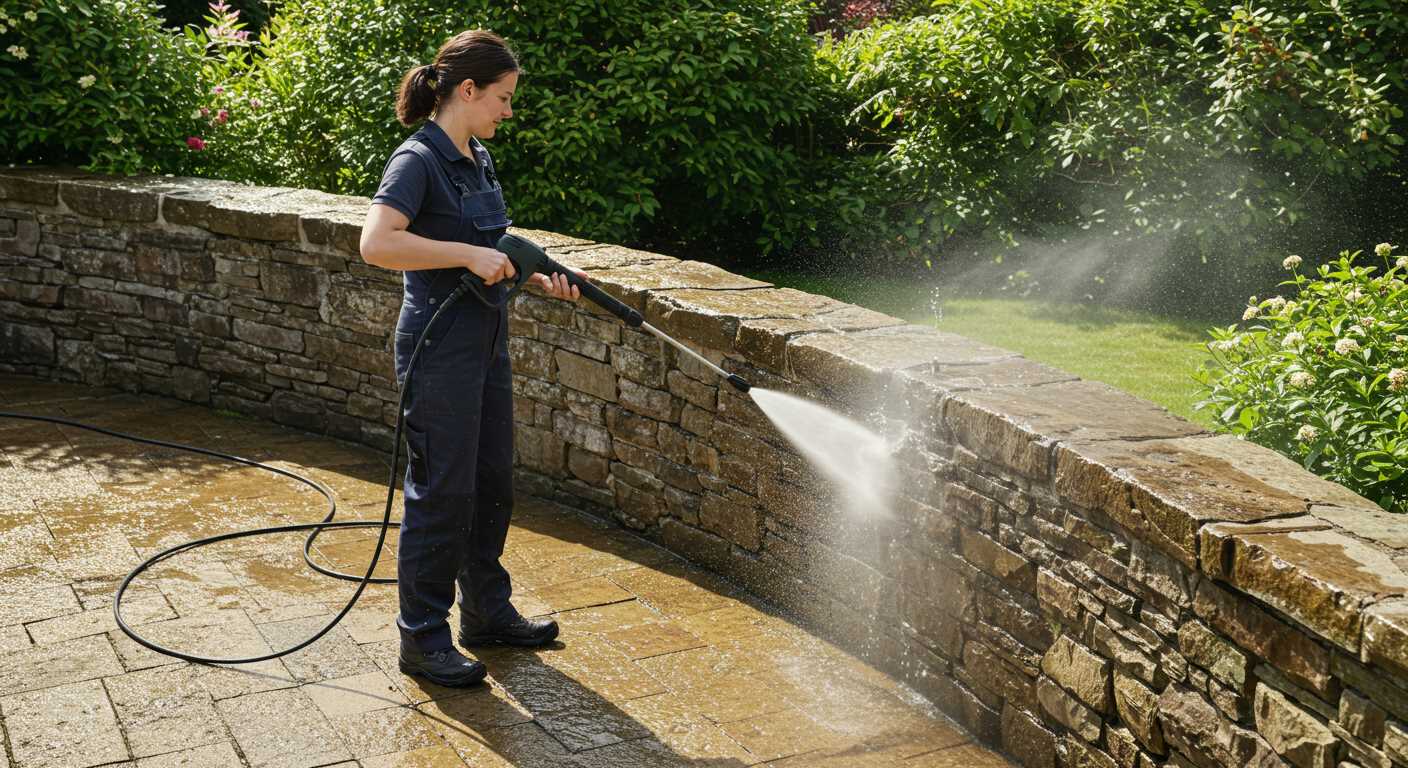
Start with a reliable supply line. I recommend using a sturdy hose with the right diameter for your equipment. A standard garden hose often suffices, but for optimal flow, consider a thicker option. Ensure the connections are tight to prevent leaks.
Next, position your reservoir strategically. Elevating the container can create a natural flow, reducing the strain on your motor. I learnt this from my early days testing various machines. Placing the tank on a stable surface, like a platform or a raised area, really enhances performance.
Utilize a filter at the inlet. This simple addition prevents debris from clogging the system. I encountered numerous issues when I neglected this step; a clean intake is crucial for longevity. A sediment filter can be a game changer, ensuring smooth operation during your cleaning tasks.
Finally, check the pressure settings on your device. Each model has specific requirements for optimal function. Experiment with different settings to find the perfect balance between power and efficiency. My experience has shown that a little trial and error goes a long way in achieving the best results.
Selecting the Right Water Storage for Your Cleaning Equipment
Choose a reservoir with a minimum capacity of 100 litres to ensure uninterrupted operation. This size strikes a balance between portability and the ability to handle larger tasks without frequent refills. For extensive projects, consider options that hold 200 litres or more.
Material and Durability
Opt for polyethylene or fibreglass models, as they resist corrosion and UV damage. I once used a metal container that rusted within months, leading to contamination. Always check for a food-grade designation if the liquid might touch sensitive surfaces.
Portability and Accessibility
Look for units with built-in handles or wheels for easy movement. I’ve encountered fixed tanks that were cumbersome and impractical, especially when trying to manoeuvre them around a job site. Also, ensure the design allows for easy access to the filling point, which can save time during set-up.
Understanding Water Intake Requirements
Choosing the right flow rate is crucial. Most high-pressure cleaning devices require a minimum flow rate of around 3 to 4 litres per minute. If the supply is insufficient, performance drops significantly. I recall a time when I was working on a project at a friend’s farm. We underestimated the flow from a small reservoir, leading to a frustrating experience where the machine kept shutting off due to lack of intake.
Pressure Specifications
Each model comes with specific intake pressure ratings. Generally, an intake pressure of 20 to 100 psi is acceptable. However, exceeding this can cause damage. I once witnessed a unit malfunction because the owner connected it to a high-pressure line without checking the specs. Always consult the manufacturer’s guidelines.
Fittings and Hose Size
Using the correct diameter hose is key. A standard garden hose works for most, but for higher efficiency, consider a ¾ inch hose. I learned this the hard way after using a smaller hose, which restricted flow and affected the entire cleaning process. Additionally, ensure all connections are watertight to prevent air from entering the system.
To summarise, pay attention to flow rates, intake pressure, and fittings. They all play a significant role in ensuring peak performance during operations. The right setup eliminates unnecessary headaches and maximises efficiency.
Gathering Necessary Tools and Equipment for the Setup
Start by collecting the right connectors. You’ll typically need a hose connector that fits both your cleaning device and the reservoir. Look for a sturdy, durable connector to avoid leaks during operation. A quick-connect fitting can save you time, enabling swift changes when needed.
Hoses and Adapters
Ensure you have sufficient length of high-quality hose. A garden hose can work, but a reinforced, heavy-duty alternative offers better durability and pressure tolerance. You’ll also want to keep a selection of adapters on hand; these can bridge the gap between different fittings and sizes, providing flexibility in your setup.
Additional Tools
A wrench will be necessary for tightening connections securely. Have some thread seal tape available to prevent any unwanted leaks at the joints. If you’re setting this up outdoors, consider a hose reel to manage your hose effectively and keep it from tangling.
Preparing the Water Container for Connection
Clean the interior thoroughly before setting up your reservoir. Any residue can clog filters or damage pump components. Use a mixture of vinegar and water for effective cleaning, ensuring all corners are scrubbed well. Rinse thoroughly to eliminate any cleaning agents.
Check for leaks or damage. Inspect the container for cracks or holes that could affect performance. If you find any, patch them with a suitable sealant or replace the unit entirely. A well-maintained structure will ensure a steady supply of liquid during operations.
Fill the reservoir to the appropriate level. Maintaining sufficient liquid ensures optimal flow and prevents the pump from running dry. Refer to the manufacturer’s specifications for the recommended fill line, as it may vary by model.
Install a filtration system if not already in place. A filter prevents debris from entering the pump, which is crucial for longevity. Consider a sediment filter or a screen filter based on your specific needs and the quality of the source liquid.
Position the container at an optimal height. Elevating it can enhance gravity feed, reducing strain on the pump. If elevation isn’t possible, ensure the suction line is short and unobstructed to maintain efficient flow.
Finally, secure all connections. Use quality hoses and fittings to create a tight seal and prevent leaks. Regularly inspect these connections during use to ensure everything remains intact.
Installing a Suitable Hose for Water Supply
Choose a hose specifically designed for high flow rates to ensure optimal performance during operation. Look for a diameter of at least 3/4 inch, which allows ample volume to reach the cleaning unit efficiently.
Materials to Consider
- Reinforced PVC: Durable and resistant to kinks, this material is ideal for outdoor use.
- Rubber: Offers flexibility and withstands temperature fluctuations, ensuring longevity.
Length Matters
Avoid excessive lengths; ideally, keep the hose under 50 feet to reduce pressure loss. If you need additional length, consider using a larger diameter hose or adding a booster pump.
Always inspect the fittings. Use brass connectors for durability and a secure fit. Ensure all connections are tight to prevent leaks. If you’re using a quick-connect system, verify that it aligns properly with the inlet of the cleaning device.
In my experience, a poorly chosen hose can lead to frustrating performance issues. I once encountered a situation where a customer used a standard garden hose; it caused significant pressure drops, leading to unsatisfactory cleaning results. Switching to a more suitable hose transformed the experience entirely.
Lastly, don’t forget to test the setup before starting a major cleaning task. Check for leaks and ensure that everything flows smoothly. Proper installation of the right hose dramatically improves the outcome of your cleaning efforts. For those planning to capture moments while cleaning, you might want to check if are digital cameras allowed inside the santiago bernabeu for inspiration on where to showcase your work.
Connecting the Hose to the Pressure Unit
Begin by ensuring that the fittings on both the hose and the cleaning apparatus match. Most models feature a quick-release mechanism, making the attachment straightforward.
First, take the hose and align it with the inlet on the unit. If using a threaded connection, turn it clockwise until it feels snug. Use pliers if necessary, but avoid overtightening, as this can damage the threads.
Next, check the connection for any leaks. Turn on the supply from your reservoir and look for drips around the fittings. If you notice any, disconnect and reattach, ensuring the gasket is in place.
For optimal performance, consider the length and diameter of the hose. A thicker hose may reduce pressure loss over longer distances, which I’ve found beneficial in larger outdoor spaces.
Here’s a quick reference table for hose specifications based on your model:
| Model | Hose Diameter | Maximum Length |
|---|---|---|
| Model A | 1/4 inch | 50 feet |
| Model B | 3/8 inch | 100 feet |
| Model C | 1/2 inch | 75 feet |
After securing the hose, it’s wise to run the machine for a few minutes without any attachments. This allows you to observe the flow and performance, ensuring everything is functioning correctly. If issues arise, revisit the connections or consult the manual for troubleshooting tips.
From my experience, maintaining a clean inlet filter is also critical. Regularly inspect and clean it to prevent blockages that could hinder performance.
Ensuring Proper Flow and Pressure
For optimal performance, maintaining a consistent flow and adequate pressure is non-negotiable. I once encountered a situation where a friend’s setup was underperforming due to improper hose selection. They used a standard garden hose, which restricted flow, leading to disappointing results.
Choosing the Right Hose
Invest in a high-quality, reinforced hose. A diameter of at least 3/4 inch is recommended to ensure sufficient water flow. This size allows more volume to reach the machine, reducing strain on the motor. Remember, the longer the hose, the more pressure loss you may experience. Keep it as short as possible while still reaching your desired area.
Monitoring Water Supply
Regularly check the water source’s volume. A tank that cannot maintain a steady supply will result in fluctuating performance. If you notice the machine losing power or pulsating, it may be a sign of insufficient flow. Position the holding container at an elevation if possible; gravity can assist in maintaining consistent pressure.
| Hose Diameter | Recommended Length | Flow Rate (GPM) |
|---|---|---|
| 1/2 inch | Up to 50 feet | 5 GPM |
| 3/4 inch | Up to 100 feet | 8 GPM |
| 1 inch | Up to 150 feet | 10 GPM |
Always ensure that the connections are tight and leak-free. I learned the hard way that even a small leak can lead to significant pressure drops, resulting in subpar cleaning outcomes. If you’re looking to achieve professional results, especially for tasks like pressure washing to strip a deck, every detail counts.
Testing the Setup for Leaks and Functionality
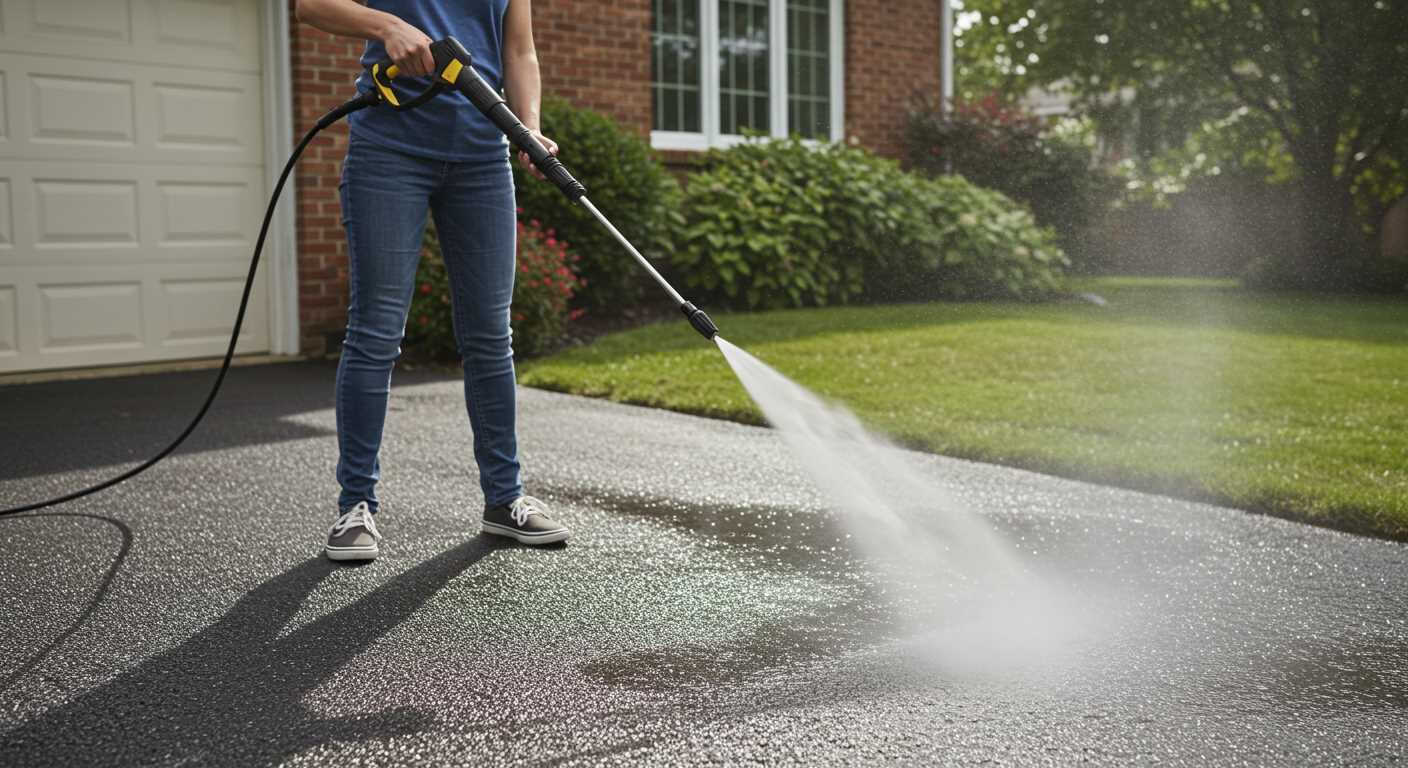
Begin by filling your reservoir with clean liquid. Once it’s full, turn on the system and observe for any leaks at the connections. Pay special attention to joints and fittings, as these are common culprits. If you notice any drips, tighten the connections or replace any faulty components.
Checking for Leaks
- Inspect all hose attachments thoroughly.
- Look for signs of moisture around the fittings.
- If leaks are present, use plumber’s tape to seal the threads.
Assessing Functionality
Activate the unit to test its performance. Monitor the flow rate and ensure it meets the specifications of your equipment. If the jet isn’t strong enough, it may indicate a blockage or an issue with the suction setup.
- Check the inlet filter for debris.
- Ensure that the hose is fully submerged if required by the model.
- Listen for unusual sounds from the motor, which could signal a problem.
After a successful test, run the system for a few minutes to ensure consistent operation. This will help identify any intermittent issues that might not be apparent at first. If everything checks out, you are ready to start your cleaning tasks with confidence!
Maintaining the Connection for Long-Term Use
Regular checks are key to ensuring your setup remains functional over time. After a few uses, inspect all connections for wear and tear. Look for cracks in hoses and ensure that fittings are tight. If you notice any leaks, replace seals or fittings immediately to prevent further damage.
Routine Maintenance Steps
- Inspect hoses for kinks or abrasions.
- Check all connectors for rust or corrosion.
- Clean any debris from fittings to ensure a snug fit.
- Periodically test the system under pressure to identify any weaknesses.
Seasonal Preparation
Before seasonal use, it’s wise to prepare your setup. Drain any remaining fluid from lines or tanks to avoid freezing in colder months. If you’re storing your equipment for an extended period, consider using a storage solution specifically designed for this purpose to protect internal components.
- Flush out the system with fresh water to remove any residue.
- Apply a protective spray on all metal components to prevent rust.
- Store hoses coiled properly to avoid kinks.
Keeping your connections well-maintained not only extends the lifespan of your equipment but also ensures optimal performance each time you operate it. Regular upkeep is a small investment of time that pays off significantly in efficiency and reliability.
FAQ:
What type of water tank can I use with my pressure washer?
You can use various types of water tanks, including plastic storage tanks, rainwater harvesting tanks, or any other container capable of holding clean water. Ensure that the tank is large enough to supply the pressure washer for the duration of your tasks. Also, check that the tank is free from debris or contaminants that could damage the pressure washer.
What equipment do I need to connect a pressure washer to a water tank?
To connect a pressure washer to a water tank, you will typically need a garden hose, an appropriate hose connector, and possibly a submersible pump if the tank is not gravity-fed. Depending on the model of your pressure washer, you may also need an adapter to fit the hose to the washer’s inlet. It’s important to ensure that all connections are secure to prevent leaks.
Can I use a pressure washer with a water tank that has low water pressure?
Using a pressure washer with a water tank that has low water pressure can be challenging. Some pressure washers require a minimum water pressure to operate effectively. If your tank does not provide sufficient pressure, consider using a submersible pump to boost the water flow. This can help ensure that your pressure washer functions optimally, maintaining the necessary water supply during operation.
How do I prevent my pressure washer from sucking in air when connected to a water tank?
To prevent your pressure washer from sucking in air, make sure that the hose is fully submerged in the water tank and that there are no leaks in the connections. You can also use a one-way valve on the inlet side of the pressure washer to stop air from entering the system. Regularly check the hose and connectors for any signs of wear or damage, as these can lead to air intake issues.
Is it safe to use a pressure washer connected to a water tank for outdoor cleaning?
Yes, it is generally safe to use a pressure washer connected to a water tank for outdoor cleaning, as long as you follow safety guidelines. Ensure that the area is clear of obstructions, and wear appropriate safety gear such as gloves and goggles. Additionally, be mindful of electrical connections if your pressure washer is electric, and avoid using it in wet conditions to prevent electrical hazards.
What tools do I need to connect a pressure washer to a water tank?
To connect a pressure washer to a water tank, you will need several tools and materials. Firstly, ensure you have a compatible hose that can connect from the water tank to the pressure washer. A garden hose is typically suitable, but check the specifications of your pressure washer. You may also require a hose connector or adapter to fit the tank’s outlet. Additionally, it’s advisable to have a filter to prevent debris from entering the pressure washer. A wrench may be needed for tightening connections, and some users opt for a submersible pump if the tank is underground or if gravity feed is not sufficient.



.jpg)


