


Begin with a reliable outdoor water source equipped with a standard garden hose connector. This setup ensures a steady flow, vital for optimal performance of your cleaning apparatus. Attach a quality hose to the tap, ensuring a snug fit to prevent leaks that can disrupt your work.
Next, check the specifications of your cleaning device to determine the required inlet pressure and flow rate. Most models operate efficiently with water pressure ranging from 20 to 150 PSI. If your supply is insufficient, consider using a pump to boost pressure. This simple adjustment can make all the difference in achieving a thorough clean.
Once the hose is securely fitted, proceed to attach the other end to your device. Many units come with quick-release fittings, simplifying the process. If your model requires a screw-on connection, make sure to tighten it adequately to prevent any accidental disconnections during use. A little extra care here can save you from unexpected interruptions.
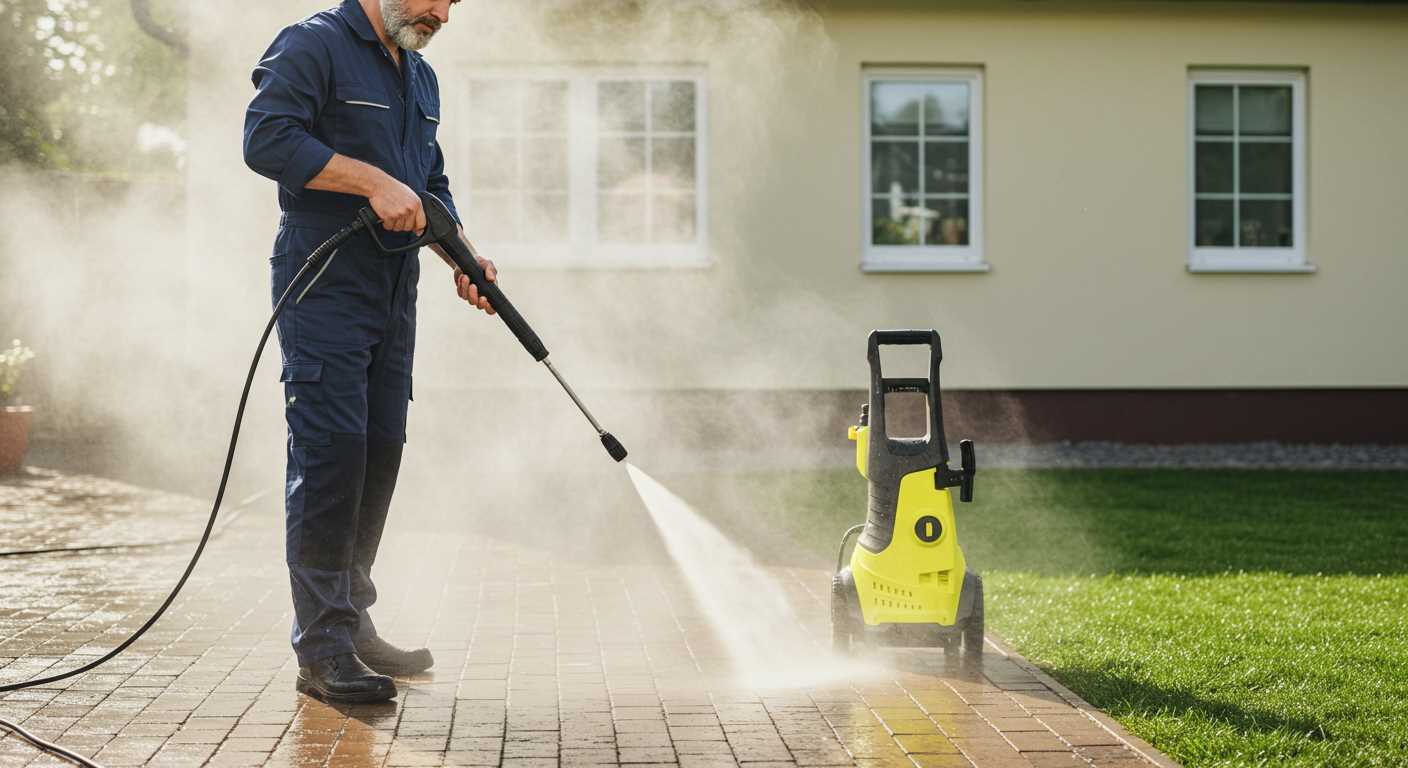
Before starting your cleaning mission, turn on the water supply gradually. This allows air to escape from the hose, ensuring a smooth flow. Check for any leaks at the connections and tighten as necessary. With everything in place, you’re ready to tackle those tough cleaning tasks with confidence.
Choosing the Right Adaptor for Your Pressure Cleaner
Opt for a screw-on adaptor that fits your cleaning device’s inlet. This ensures a secure attachment and prevents leaks. I once used a cheap plastic adaptor that didn’t quite fit, causing a frustrating spray of water everywhere. It’s worth investing in a quality brass or stainless steel option for durability and reliability.
Compatibility Matters
Check the thread size of your garden fixture. Most use a ¾ inch BSP (British Standard Pipe) thread, but it’s wise to verify. I’ve encountered systems with different sizes, and having the correct adaptor saved me a lot of hassle during setup. If your cleaner requires a specific connector, make sure your adaptor matches that requirement precisely.
Features to Look For
Consider adaptors with quick-release mechanisms for easy assembly and disassembly. I appreciate those that come with rubber washers, as they provide an extra layer of protection against leaks. In my experience, these small details can make a significant difference in the long run, saving time and water wastage.
Locating the Outside Tap and Preparing the Area
Begin by identifying the nearest water source. Look for outdoor faucets commonly located at the front or back of your home. They often resemble standard indoor taps but may have different fittings. If your property has a garden, the spigot is likely near it; otherwise, check the garage or side of the house.
Clearing the Area
Once you’ve pinpointed the location, ensure the area around the faucet is accessible. Remove any debris, plants, or garden furniture that could obstruct your access. A clear path not only simplifies the setup but also prevents accidents while you work. You don’t want to trip over a tool or stumble into a flowerbed while managing your equipment.
Check for Functionality
Test the tap to confirm it’s operational. Turn it on to see if water flows freely. If there are any issues, such as leaks or low pressure, address them before proceeding. It’s wise to have a bucket handy to catch any excess water during this process. This small step can save you from unnecessary mess later on.
For those considering the best models for your needs, check out the best cordless pressure washers. They’re often more versatile and easier to handle in tight or awkward spaces.
Connecting the Pressure Washer Hose to the Adaptor
Begin by ensuring both the hose and adaptor are dry and free from debris. Align the hose with the adaptor’s inlet, making sure the threads are properly aligned. If there’s any resistance, don’t force it; check for misalignment or dirt that might be obstructing the connection.
Once aligned, gently twist the hose into the adaptor, turning it clockwise. I’ve often found that a firm grip helps, but avoid overtightening as this can damage the threads. You want a snug fit that prevents leaks but doesn’t require excessive force.
After securing the hose, it’s beneficial to give it a gentle tug to ensure it’s firmly attached. If you notice any movement, it might be a sign to reassess the connection. A small amount of water can be run through the system to check for leaks; if water escapes, disconnect and reattach the hose carefully.
In my years of experience, I’ve seen many individuals overlook this step, leading to frustrating leaks during operation. Taking the time to ensure a proper seal can save a lot of hassle later on. If you’re using a quick-release system, simply press the button or lever to secure it properly. Listen for a click, which indicates that everything is in place.
Lastly, always check the manufacturer’s instructions for any specific requirements regarding hose connections. Each model can have unique features, and adhering to those guidelines will enhance performance and longevity.
Ensuring a secure connection to the outside tap
For a leak-free operation, ensuring a snug attachment to the water source is paramount. Here are some steps that I found invaluable during my years of working with various cleaning systems:
- Inspect the threads: Check the threads on both the tap and the connector. They should be clean and devoid of any debris. Any dirt can hinder a solid fit.
- Use Teflon tape: Wrap Teflon tape around the male threads of the adaptor for added sealing. This simple addition can prevent leaks and make disassembly easier later.
- Tighten securely: After attaching the adaptor, ensure it is tightened adequately. Use your hands to tighten it first, then consider using a wrench for an extra turn, but avoid overtightening to prevent damage.
- Check for leaks: After everything is set up, turn on the water slowly and observe the connection. If you see any moisture, you may need to readjust or reapply Teflon tape.
In my experience, a well-sealed connection not only enhances performance but also prolongs the life of your equipment. Regular maintenance of these connections can save you from unexpected issues down the line.
Checking for leaks before starting the high-pressure cleaning device
Before firing up your equipment, it’s crucial to inspect all connections for leaks. A simple yet effective method is to turn on the water supply and observe for any drips or sprays around the fittings. Pay special attention to the interface between the hose and the adaptor, as well as where the adaptor meets the water source. If you spot any signs of leakage, ensure that the fittings are tightly secured and that any rubber seals are in good condition.
Using a towel for detection

Another technique I often employ involves wrapping a dry towel around the connection points. If the towel becomes wet after turning on the water, you’ve identified a leak that requires attention. Sometimes, tightening the connection is all it takes. Other times, replacing a worn washer may be necessary to create a proper seal.
Testing the system
Once you’ve ensured that all connections are secure, it’s wise to perform a quick test run. Turn on the machine briefly while monitoring for leaks. If everything appears dry, you’re ready to proceed with your cleaning tasks. For those looking to enhance their cleaning experience, consider checking out an outdoor cleaner for pressure washer to maximise efficiency and results.
Tips for maintaining water flow during use
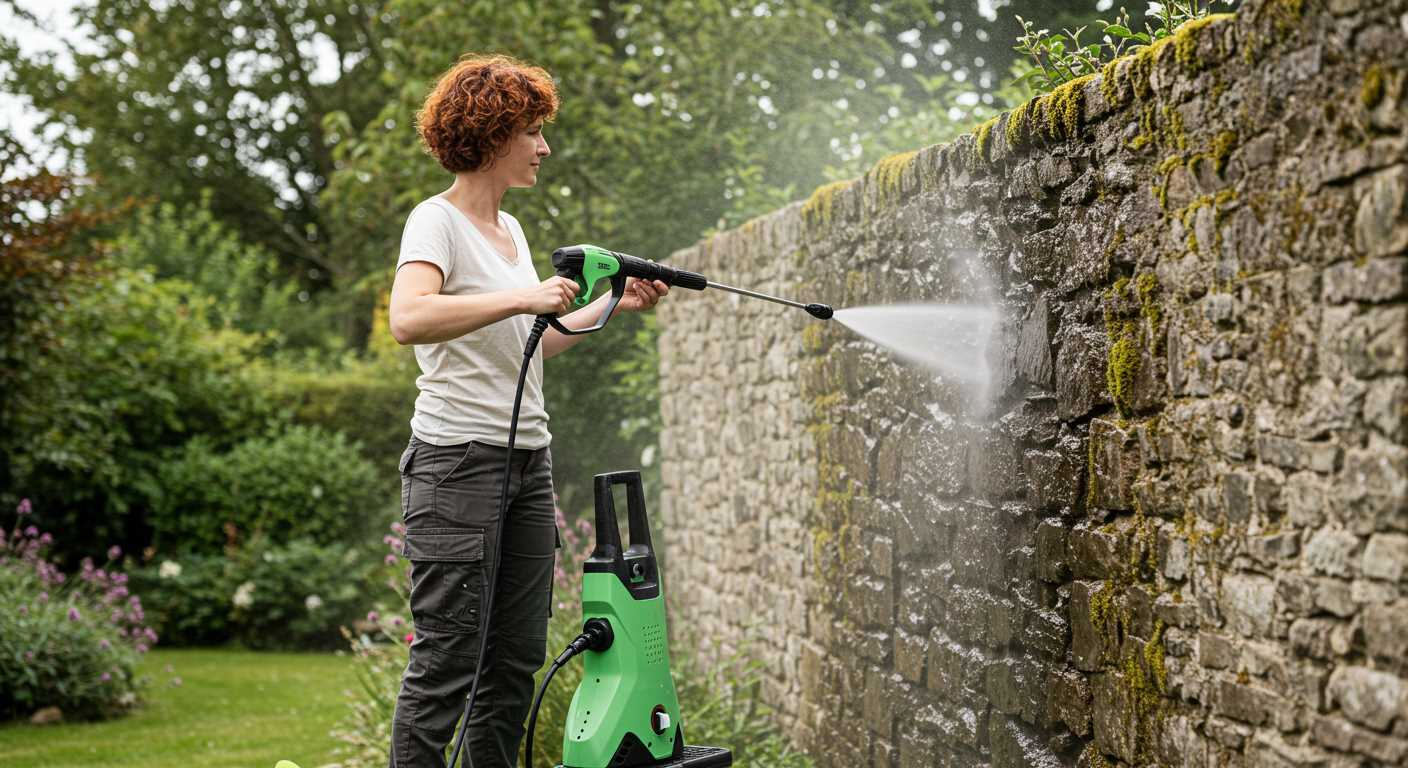
Always ensure the water source remains open and unobstructed. I recall a day when I was wrapped up in a project, only to notice a significant drop in performance. Turns out, the hose was kinked. Regularly check the hose for twists or bends that could restrict flow.
Using a hose reel can help prevent tangles and maintain a straight line. I’ve found that keeping the hose neatly coiled avoids unnecessary strain and keeps the water moving smoothly.
Monitor the water pressure at the source. If it’s low, it might be worth checking for blockages in the line or the fitting. I had a similar issue once, and after a quick inspection, I found debris obstructing the inlet. Clearing this resolved the problem immediately.
Temperature is another factor. Cold water flows better than warm, so try to use cooler water if possible. On particularly hot days, I’ve noticed that water can heat up in the hose, leading to a decrease in pressure. Keeping it shaded or using insulated hoses can help maintain optimal flow.
Lastly, be mindful of the distance between the source and your equipment. Longer runs can lead to a drop in pressure. I prefer to position my setup as close to the tap as possible. This simple adjustment can make a noticeable difference in efficiency during tasks.
.jpg)


