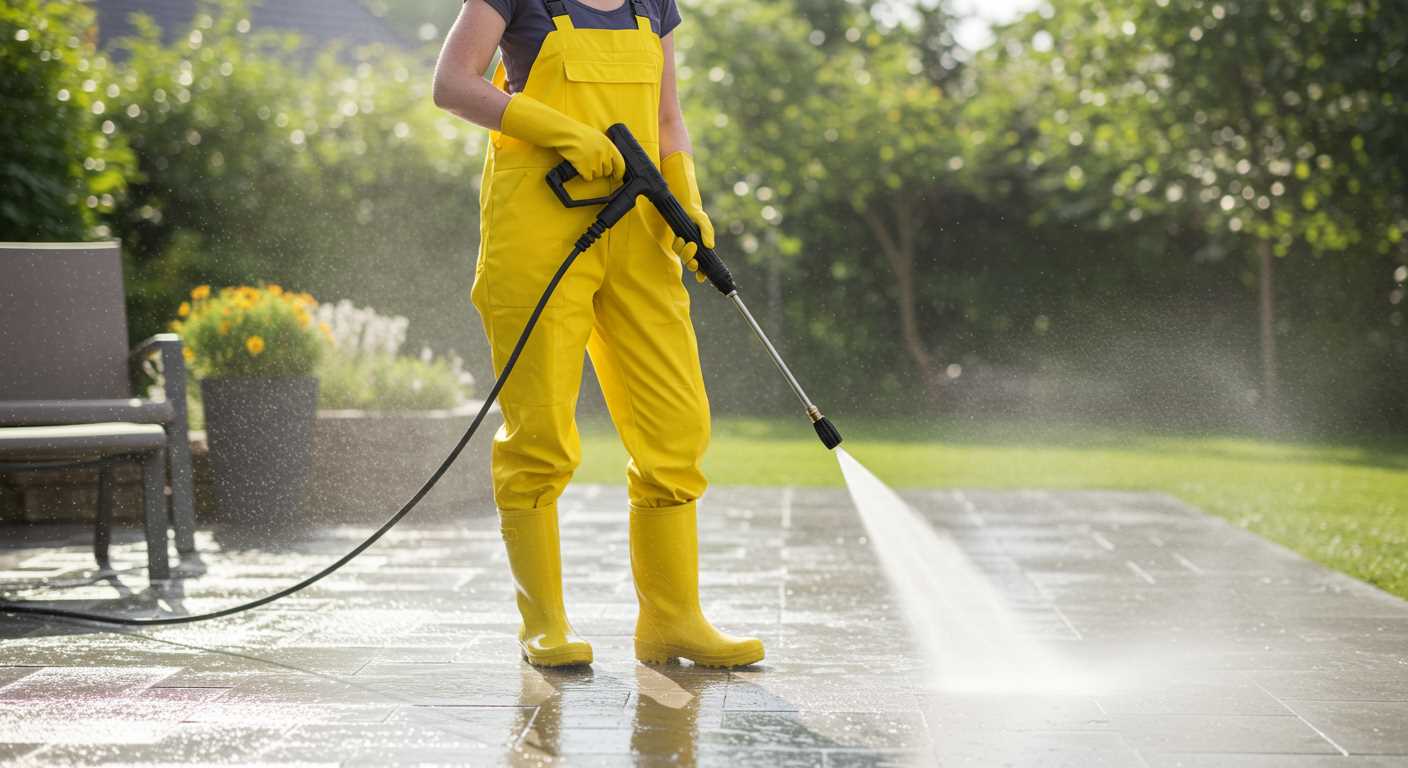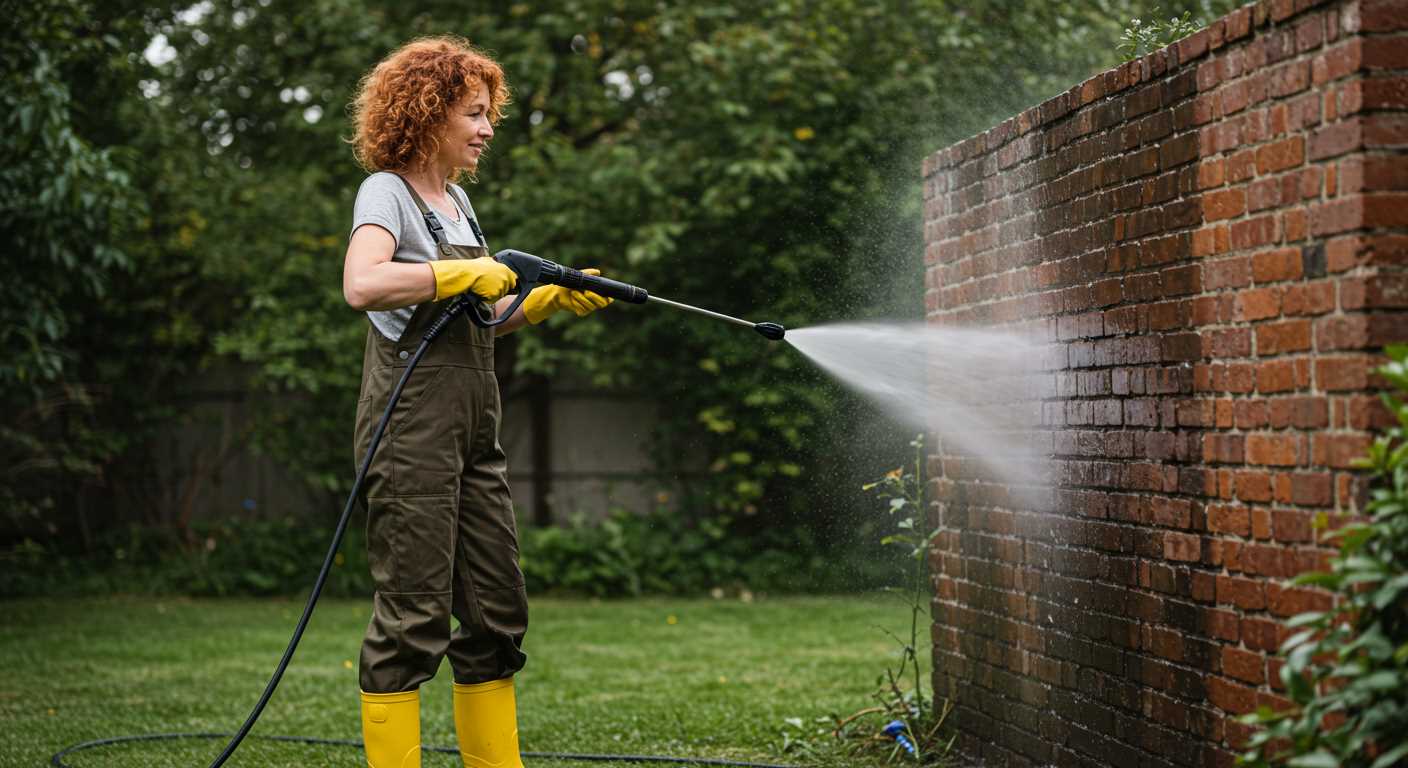


Begin by ensuring you have the correct adapter for your specific model of cleaning device. Each unit has unique fittings, so compatibility is key. I remember the first time I attempted this; I spent ages wrestling with mismatched parts. It was a simple oversight that cost me precious time.
Next, securely attach the applicator to the outlet of your machine. The connection should be tight enough to prevent any leaks but not so tight that it risks damaging the threads. A little twist and a firm push usually do the trick. I often recommend double-checking the fit before turning on the machine to avoid surprises.
Fill the applicator with the appropriate cleaning solution, ensuring you follow the manufacturer’s guidelines for dilution. I’ve experimented with various products over the years, and the right mixture can make all the difference in performance. Too concentrated, and you might clog the system; too diluted, and you lose the cleaning power you need.
Finally, adjust the nozzle to your desired setting. A wider spray is ideal for larger areas, while a narrower stream is perfect for stubborn dirt. I once made the mistake of using a narrow setting on a broad surface, which led to excessive time spent cleaning. Learn from my experience and set it right before you start!
Attaching a Snow Foam Applicator to Your High-Pressure Cleaning Device
Begin with the correct fittings that match both the cleaning apparatus and the applicator. Most commercial models come with a standard connection size, typically 1/4 inch quick-connect. Ensure that you have the right adapter if your equipment uses a different size.
Follow these steps for a smooth attachment process:
- Turn off the machine and unplug it from the power source for safety.
- Remove the existing nozzle from the spray gun by pulling the quick-connect collar and sliding it off.
- Attach the foam applicator by aligning it with the connector on the spray gun. Push it in firmly until it clicks into place.
- Double-check the connection to ensure it’s secure. A loose attachment can lead to leaks or ineffective application.
- Fill the applicator container with the desired cleaning solution, following the manufacturer’s instructions for dilution ratios.
- Reconnect to the water supply, ensuring all hoses are secure and leak-free.
- Turn on the device and adjust the pressure settings as needed. Generally, a lower setting is ideal for foam application.
During my years in the industry, I’ve found that the right mix of cleaning agent is crucial for effective results. Always test a small area first to ensure compatibility with the surface you’re cleaning.
After use, detach the applicator and flush it with clean water to prevent any residue build-up. This simple maintenance step will prolong its lifespan and keep it functioning optimally.
Investing a bit of time in setup pays off with a more effective cleaning experience, leaving surfaces spotless with minimal effort.
Choosing the Right Snow Foam Lance for Your Pressure Washer
Selecting the appropriate device for your cleaning rig is crucial. Consider the following aspects to ensure compatibility and performance:
1. Compatibility with Your Equipment
- Check the PSI and GPM ratings of your cleaning unit. Most models require a lance that matches or operates within these specifications.
- Determine the fitting size. Many units use M22 or 3/8-inch quick connect fittings. Ensure your choice aligns with your existing setup.
- Some models feature adjustable nozzles. Opt for one that allows you to customise the foam thickness and spray pattern.
2. Build Quality and Material
- Look for brass or stainless steel connectors. They offer durability and resist corrosion better than plastic alternatives.
- Check the quality of the lance body. A robust design will withstand high pressure and frequent use.
- Inspect the foam generation system. A good lance should produce a thick and clinging layer of cleaning solution.
From my experience, investing in a high-quality model pays off in the long run. A well-made lance can significantly enhance your cleaning results and extend the life of your equipment. Always test a few options if possible to see which works best with your setup. It’s all about finding the right match for your needs and ensuring a seamless cleaning experience.
Gathering Necessary Tools and Equipment for Connection
Start with a high-quality connector that fits both the lance and the cleaning device. I prefer connectors made of brass or stainless steel for durability. Ensure that the diameter matches your equipment specifications to avoid leaks. Check your user manuals for the precise measurements.
Additional Items to Consider
Have a bucket on hand to mix the cleaning solution efficiently. A measuring jug is also helpful for accurate dilution ratios, as incorrect mixing can affect performance. A soft brush can assist in applying the mixture to tough spots before using the high-pressure equipment.
Don’t forget about personal protective equipment. Safety goggles and gloves are essential to protect yourself from chemical splashes and debris. A sturdy pair of boots will keep your feet safe and dry during the task.
Preparation Steps
Before you start, ensure your equipment is clean and free from debris. Inspect the hoses for any cracks or leaks; replacing damaged ones beforehand saves time and ensures optimal performance. Familiarise yourself with the pressure settings to adjust them according to the task’s demands. This preparation avoids mishaps and maximises the effectiveness of your cleaning session.
Understanding the Connection Points of Your Cleaning Equipment
When dealing with high-pressure cleaning tools, familiarity with connection points is key. These are the areas where attachments are fixed, influencing both performance and convenience. Most models feature a standard quick-connect system, simplifying the process of swapping out accessories. Regular checks for wear and tear on these points can prevent leaks and ensure a tight fit.
Types of Connections
There are primarily two types of connection points: the inlet and the outlet. The inlet is where the water supply enters the machine, typically compatible with standard hoses. Ensure the hose is firmly attached to avoid loss of pressure. The outlet is where attachments like cleaners are fitted. It’s crucial to ensure that the threads are clean and free from debris before securing any accessory.
Compatibility Considerations
Not every accessory fits every model. Take care to verify the specifications of your machine before purchasing additional tools. Manufacturer guidelines can usually be found in the user manual or online. I once encountered a situation where I bought an attachment that seemed perfect, only to find it was incompatible. A little research beforehand saved me a lot of frustration.
Preparing the Snow Foam Lance for Attachment
Before you start the assembly process, ensure that the foam applicator is clean and free from any residue from previous use. I’ve seen how old soap can clog the nozzle, leading to uneven distribution. Rinse it thoroughly with water to remove any remnants.
Next, check the injector settings on the foam applicator. If it has adjustable settings, start with the lowest dilution ratio. This will allow you to gradually increase the concentration as needed, avoiding wastage of cleaning solution.
Inspect the hose and connectors for any signs of wear or damage. I once encountered a scenario where a small crack in the connector led to a frustrating leak during use, wasting time and resources. If anything looks worn out, it’s wise to replace it before proceeding.
Secure the bottle tightly. A loose bottle can result in a messy situation when you’re ready to apply the mixture. I once had a bottle detach mid-application, and let me tell you, it was a sight to behold–definitely not the way to impress your neighbours.
Finally, ensure that the mixture you’re using is appropriate for the task at hand. Some solutions are designed for specific surfaces. I recall a friend using an all-purpose cleaner on his delicate car paint, which led to unsightly streaks. Always read the label to match the cleaner with the surface type.
Connecting the Snow Foam Lance to the Pressure Washer
Begin by ensuring the nozzle of your attachment fits securely onto the machine’s outlet. A snug fit is crucial for optimal performance. If you’ve selected a compatible accessory, aligning the threading or quick-release mechanism should be straightforward. Always check for any seals or O-rings included with the lance to prevent leaks during operation.
Next, adjust the settings on your machine. You’ll want to set it to a low-pressure mode when using this attachment. This not only protects your vehicle’s surfaces but also allows the cleaning solution to be properly dispersed. Remember that using a high-pressure setting can damage both the surface you’re cleaning and the equipment itself.
Once the lance is in place, test the connection by running the unit briefly to check for leaks. If any solution escapes at the junction, re-tighten the connection or check the seals. It’s always a good idea to have spare seals on hand; they can wear out after multiple uses.
After confirming everything is secure, prepare your cleaning solution according to the manufacturer’s instructions. Pour it into the reservoir of the lance, ensuring you use the right ratio as recommended. This ensures effective cleaning without damaging the surfaces.
When you’re ready to wash, always start from the top down. This method prevents dirty water from running over already cleaned areas. For vehicles, maintaining a distance of about 1-2 feet from the surface helps achieve a thick layer of bubbles without causing harm.
| Tips for Successful Attachment | Common Issues |
|---|---|
| Ensure a tight seal to avoid leaks. | Leaks at the connection point. |
| Use low pressure for application. | Incorrect pressure settings. |
| Test for leaks before use. | Insufficient foam coverage. |
| Follow solution mixing ratios precisely. | Using wrong cleaning solution. |
For those looking for a quieter option, consider a silence pressure washer for car. They offer effective cleaning without the noise, making the task more enjoyable.
Lastly, while working with cleaning equipment, always be aware of your surroundings. If you have pets, ensure they are safe and out of reach, particularly if you’re concerned about things like whether can an electric fence injure dog. Safety first, always!
Testing the Connection for Leaks and Proper Fit
After securing all components, the next step is to ensure everything is airtight and fits correctly. Begin by turning on the water supply to the cleaning unit without activating the motor. This allows you to check for leaks at the connection points. Look closely for any signs of water escaping around the fittings. A small trick I learned is to wipe the connections with a cloth beforehand; it makes leaks more visible.
If you spot any drips or moisture, it’s crucial to tighten the connectors. Use an adjustable wrench, but be careful not to overtighten, as this can damage the seals. If the issue persists, consider using plumbing tape on the threads to enhance the seal. This simple addition often resolves minor leakage issues.
Next, once you’re satisfied with the fittings, it’s time to check the fit of the attachment itself. With the water running, briefly trigger the cleaning unit. Observe the flow and ensure it’s steady without any interruptions. An inconsistent spray pattern or sputtering can indicate a poor fit. In my experience, ensuring the attachment is fully seated and aligned can often solve these issues.
Lastly, while testing, pay attention to the pressure. It should remain stable throughout the operation. If you notice fluctuations, double-check all connections again. A secure and leak-free connection not only enhances performance but also prolongs the lifespan of your equipment. After all, a few minutes spent on this test can save you from future headaches and costly repairs.
Adjusting Foam Settings for Optimal Performance
For the best results, calibrating the consistency and thickness of the suds is key. I typically start by adjusting the nozzle on the attachment. A wider opening will produce less dense foam, while a narrower one creates a thicker lather. Experimenting with these settings has always yielded better outcomes for me when tackling various cleaning tasks.
Next, the dilution ratio of the cleaning agent plays a vital role. I’ve found that mixing the solution according to the manufacturer’s recommendations can make a significant difference. If you prefer a lighter application, dilute the soap more; for stubborn grime, a stronger mix may be necessary. The type of vehicle or surface will often dictate this adjustment, so keep that in mind.
Temperature also influences foam performance. Warm water generally enhances the cleaning power of the detergent, making it more effective in breaking down dirt and stains. If possible, use warm water in the reservoir. I’ve noticed that this simple tweak can save time and effort during the cleaning process.
Finally, the distance from the surface being cleaned impacts foam delivery. Standing too far away can lead to a less effective application, while getting too close might result in oversaturation. I typically aim for a distance of around 2 to 3 feet, allowing the foam to cling properly without running off too quickly.
Implementing these adjustments has consistently improved my cleaning routine, helping me achieve that professional finish with minimal effort. Every piece of equipment has its quirks, so take the time to fine-tune these settings based on your specific needs and experiences.
Maintaining Your Snow Foam Lance and Pressure Washer After Use
After each cleaning session, it’s crucial to ensure that your equipment remains in top shape. Start by rinsing the attachment thoroughly with clean water. This step removes any residual cleaning agents that could corrode the components over time. I’ve often seen people overlook this, only to face clogs and reduced performance later on.
Next, inspect the components for any signs of wear or damage. Pay special attention to O-rings and seals; if they appear cracked or brittle, replace them promptly to avoid leaks during your next use. I’ve learned through experience that a small crack can lead to significant pressure loss, impacting effectiveness.
Storing your gear properly is equally important. Make sure the lance is stored in a cool, dry place away from direct sunlight. I’ve had units deteriorate prematurely simply because they were left exposed. Keeping them in a protective case or a shaded area can extend their lifespan remarkably.
Before storage, detach the cleaning solution container and rinse it as well to prevent residue buildup. I’ve found that a quick rinse can save a lot of hassle later, especially when switching between different cleaning solutions.
Lastly, give your high-pressure cleaner a check-up. Ensure all hoses are coiled neatly to prevent kinks. Regular maintenance, such as checking the oil level (if applicable) and keeping the air filter clean, can drastically improve the longevity and performance of your unit. I’ve always made it a habit to perform these checks after each use, and it’s paid off in reliability over the years.


.jpg)


