
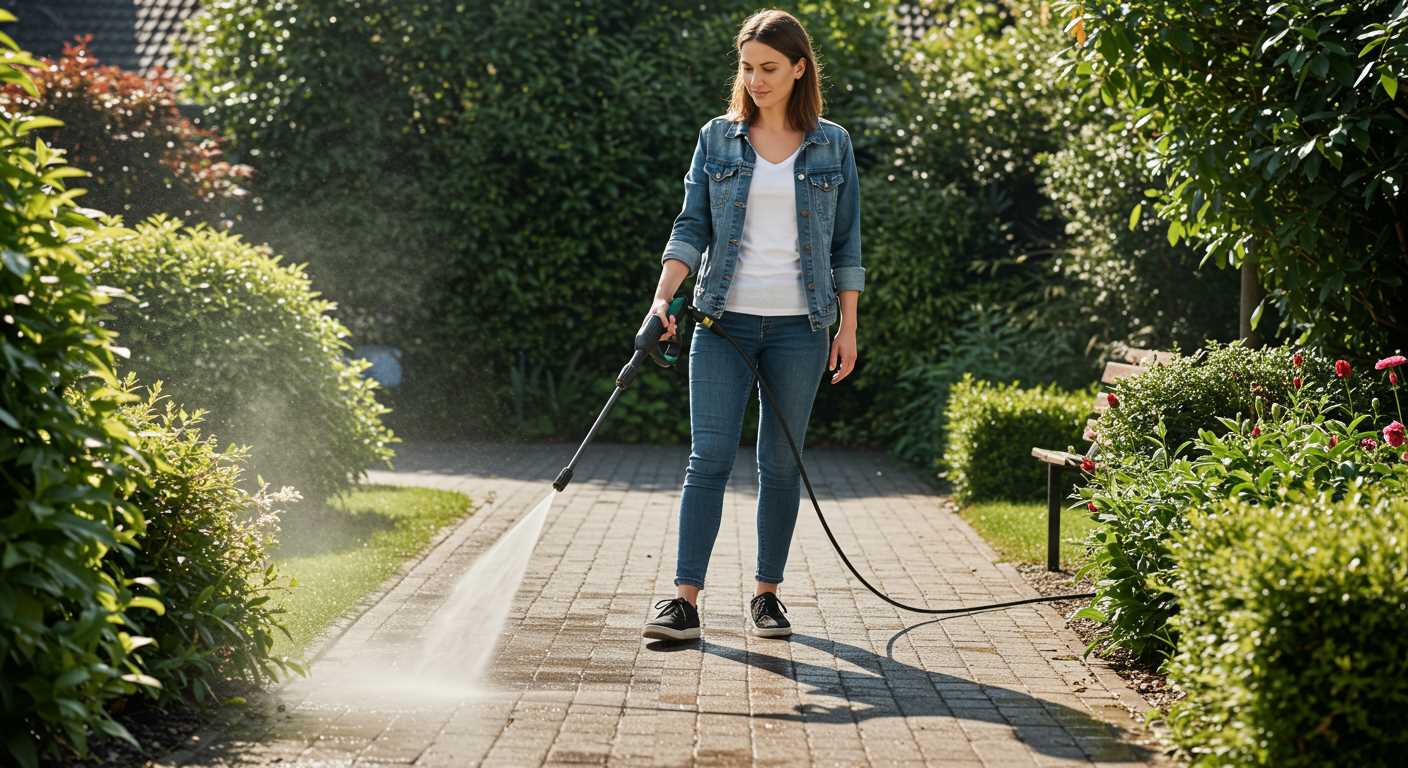


Begin by ensuring your cleaning unit is switched off and unplugged. Safety first! I’ve seen my fair share of mishaps caused by rushing into set-ups without proper precautions. Once you’re ready, inspect the end of your flexible pipe and the connector on your device. A tight seal is crucial to prevent leaks.
Next, align the end of the flexible tube with the connector. Gently push it onto the fitting until you hear a click or feel it lock into place. This is a step I often emphasise to new users since a proper fit means a more powerful flow during use.

After securing the connection, check it by tugging lightly on the pipe. If it feels loose, it’s best to start over. Once satisfied, turn on your power cleaner, and you’ll be ready to tackle any cleaning task. I’ve learned the hard way that attention to detail here saves a lot of frustration later on during a big job.
Connecting a Flexible Tube to a High-Pressure Cleaner
To achieve a secure attachment, begin by ensuring that both the flexible tube and the cleaning unit are clean and free from debris. A quick wipe can prevent leaks and ensure a tight fit. Next, align the connector of the tube with the outlet on the cleaner. This alignment is crucial; any angle can hinder a proper seal.
Securing the Joint
Once aligned, push the connector firmly into the outlet until you hear a click or feel it lock into place. If your model features a locking mechanism, engage it to prevent accidental disconnection during use. A solid connection is vital; it allows for optimal water flow and pressure.
Testing for Leaks
After securing the joint, turn on the cleaner briefly to check for leaks at the connection point. If water seeps out, disconnect and reattach, ensuring everything is fitted snugly. This step is often overlooked, yet it’s essential for maintaining performance and preventing water wastage.
Choosing the Right Expanding Hose for Your Pressure Washer
For optimal performance, selecting the right flexible tubing is paramount. I remember a time when I opted for a low-cost option, thinking it would suffice. It didn’t take long before I faced issues with kinks and pressure loss. The experience taught me to prioritise quality and compatibility with my equipment.
Material Matters
Focus on durability and flexibility. Look for materials like high-grade polyurethane or PVC, as they resist abrasion and UV damage. I once tested a model that claimed to be lightweight but wore out after a few uses due to poor material choice. Investing in a sturdy option pays off in the long run.
Size and Length Considerations
Consider the length and diameter of the tubing. A longer length allows for greater reach but can lead to pressure drop if too thin. I prefer a diameter of at least 3/4 inch for most applications, ensuring a robust flow. Additionally, measure your typical working area to avoid unnecessary excess.
Finally, always check compatibility with your existing accessories. Mismatched fittings can lead to leaks and inefficiencies. I learned this the hard way after a day of work was interrupted by a connector that wouldn’t fit. Stay vigilant about specifications to ensure a seamless operation.
Preparing the Pressure Washer for Hose Connection
Begin by ensuring the device is switched off and unplugged. This simple precaution prevents any accidental activation while you work. Next, check the water source. Ensure that the tap is fully open and that there are no leaks in the line leading to the unit. A consistent water supply is vital for optimal performance.
Inspect the inlet port on the machine. Clear any debris or obstructions that might hinder water flow. I recall once encountering a stubborn blockage that led to poor performance. A quick clean-up resolved the issue and allowed for seamless operation.
After that, examine the fittings on the equipment. Look for signs of wear or damage. If any parts appear compromised, consider replacing them before proceeding. I’ve seen how a small crack can lead to significant pressure loss during use.
Once everything is in order, it’s advisable to run a short test. With the water supply on, turn the machine on briefly to verify that water flows freely through the inlet. This step helps identify any hidden problems before you attach your new equipment.
Lastly, if you’re looking for efficient cleaning solutions, check out the best pressure washer surface cleaners. They can enhance your experience and help achieve better results.
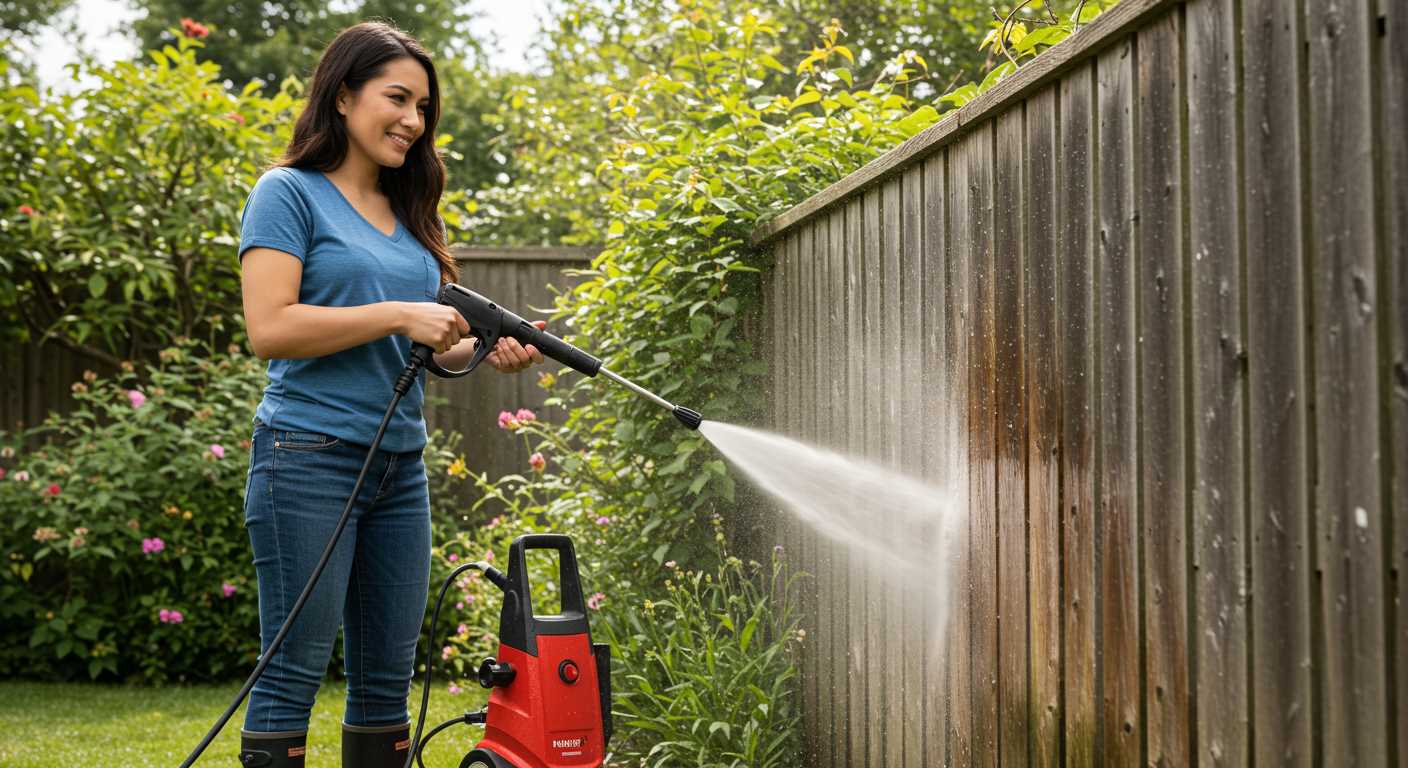
Attaching the Expanding Hose to the Pressure Washer Outlet
Start by ensuring the connector on the end of your flexible tubing matches the outlet size of the cleaning device. I’ve seen too many people struggle because they assumed compatibility without checking. If they don’t align, you may need an adapter, which is a simple fix. It’s always worth investing in good quality attachments to prevent leaks.
Steps for a Secure Fit
First, align the fitting of your tubing with the outlet. Apply firm pressure while twisting it into place. You should hear a click or feel it lock, indicating a secure fit. Over the years, I’ve learned that a gentle twist helps avoid cross-threading, which can damage the components. If it feels too tight, back off slightly and try again.
Final Checks
Once attached, turn on the device briefly to check for leaks. Inspect the connection closely; any small drips can lead to bigger issues down the line. If you spot any, detach and reattach, ensuring all parts are aligned and securely fastened. Trust me, a little diligence now saves a lot of hassle later.
Securing the Connection for Optimal Performance
To ensure a solid attachment that maximises efficiency, use a thread seal tape on the connector threads before assembly. This tape prevents leaks and provides a tighter fit, reducing the risk of pressure loss during operation.
- Wrap the tape around the threads clockwise. This ensures the tape does not unravel when tightening.
- Only a few layers are necessary; excess tape can lead to difficulties in securing the connection.
Once the tape is applied, align the connector straight with the outlet. Avoid cross-threading, which can cause damage and lead to leaks. Hand-tighten initially, then use an adjustable wrench for a snug fit, but be cautious not to overtighten, as this can also create issues.
Regular maintenance checks are wise. Inspect the connection periodically for signs of wear or leaks, especially after heavy use. If you notice any moisture around the joints, it’s time to reapply tape or check the integrity of the connector.
For those using an indoor pressure washer, the same principles apply. Ensure the environment is clean and dry to promote a secure connection and optimal performance.
In my experience, a well-sealed connection not only improves performance but also extends the lifespan of both the connector and the cleaning device. Keep tools handy for adjustments, and always prioritise safety by ensuring the unit is off before making any changes.
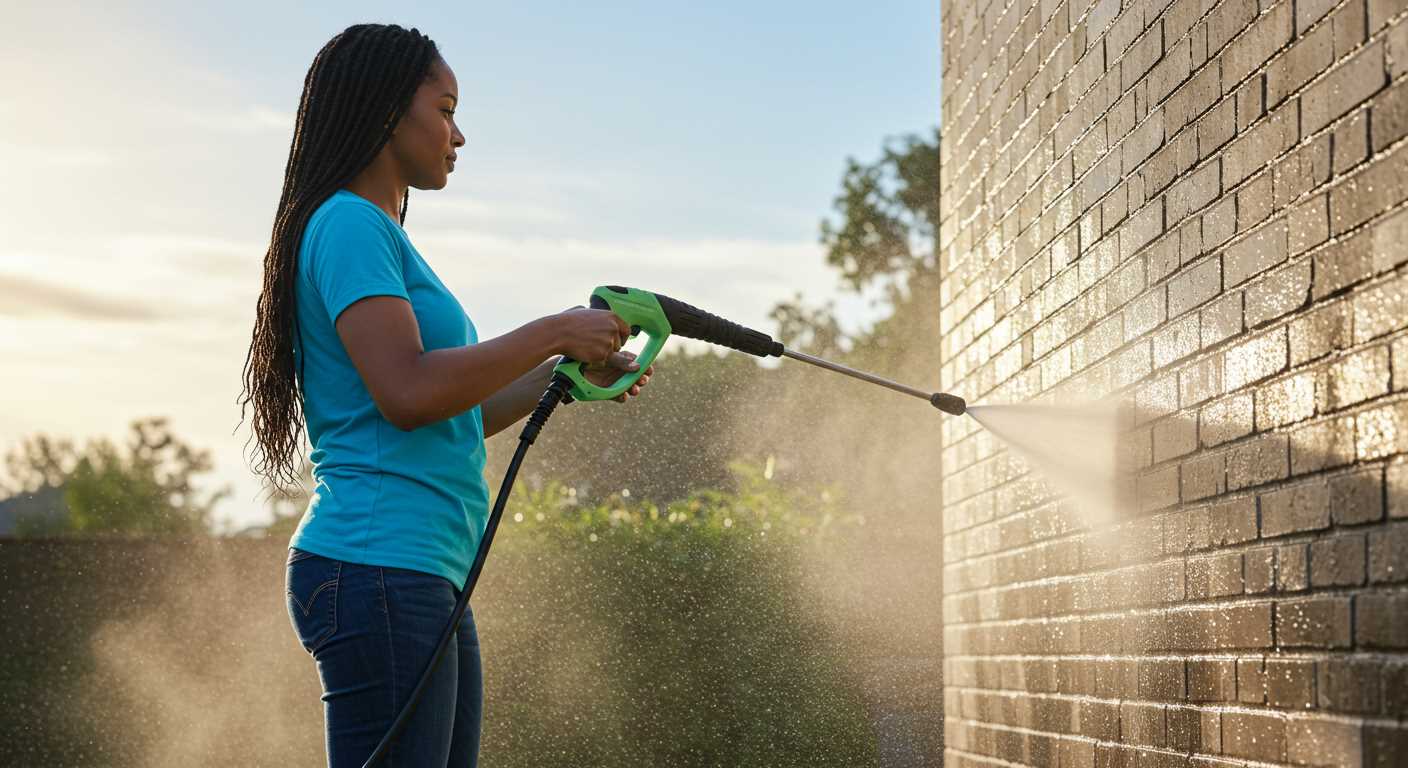
Testing the Setup for Leaks and Functionality
After ensuring everything is securely attached, it’s time to check for any leaks and confirm proper operation. Begin by running the equipment at a low setting. This allows you to observe any potential issues without risking significant pressure. Keep an eye on all connection points.
Listen for unusual sounds or hissing, which often indicates air escaping from a weak joint. You can also use a solution of soap and water to identify leaks; apply it to the connections and watch for bubbles forming. If you see any, tighten the joint or replace the washer as needed.
After leak testing, gradually increase the pressure. Monitor how the system responds. The flow should be consistent, and the output should feel powerful yet manageable. If there are fluctuations in water flow or pressure, it may signal an obstruction or a problem with the connections.
| Test | Description |
|---|---|
| Initial Run | Start at low pressure to check for leaks and listen for sounds. |
| Leak Detection | Apply soapy water to joints; look for bubbles indicating leaks. |
| Pressure Increase | Gradually raise pressure, observing flow consistency and power. |
| Final Check | Ensure no leaks and that all connections feel solid. |
Once you’ve confirmed everything is functioning correctly, you’re ready to start your cleaning tasks. A well-tested setup ensures efficiency and reduces the risk of interruptions during use.
Maintaining Your Expanding Hose and Pressure Washer Connection
Regular upkeep is crucial for ensuring longevity and efficient performance of your flexible tubing and cleaning unit. Here are key practices I’ve found invaluable over the years.

Routine Inspection
- Check for wear and tear on the connections. Look for cracks or fraying in the material.
- Inspect the sealing rings. If they appear damaged or hardened, replace them to prevent leaks.
- Examine the quick-connect fittings for rust or corrosion. Clean or replace as necessary.
Cleaning and Storage
- After each use, rinse the fittings and tubing to remove dirt and debris. This prevents clogs and wear.
- Store the tubing in a cool, dry place away from direct sunlight. This helps maintain its integrity.
- Avoid sharp bends or kinks when storing, as these can weaken the structure over time.
In my experience, using a dedicated reel for storage can significantly reduce the risk of damage. It keeps everything tidy and prevents tangling, which can lead to accidental breaks.
Seasonal Checks
- Before the first use of the season, inspect all components thoroughly. Consider replacing any parts that show signs of age.
- During colder months, ensure any residual water is drained from the tubing to avoid freezing and cracking.
I’ve seen many users overlook these simple checks, leading to frustrating leaks or performance issues. A bit of attention goes a long way in preserving your investment.
.jpg)


